Creamy Avocado Ranch Dressing Easy and Flavorful Recipe
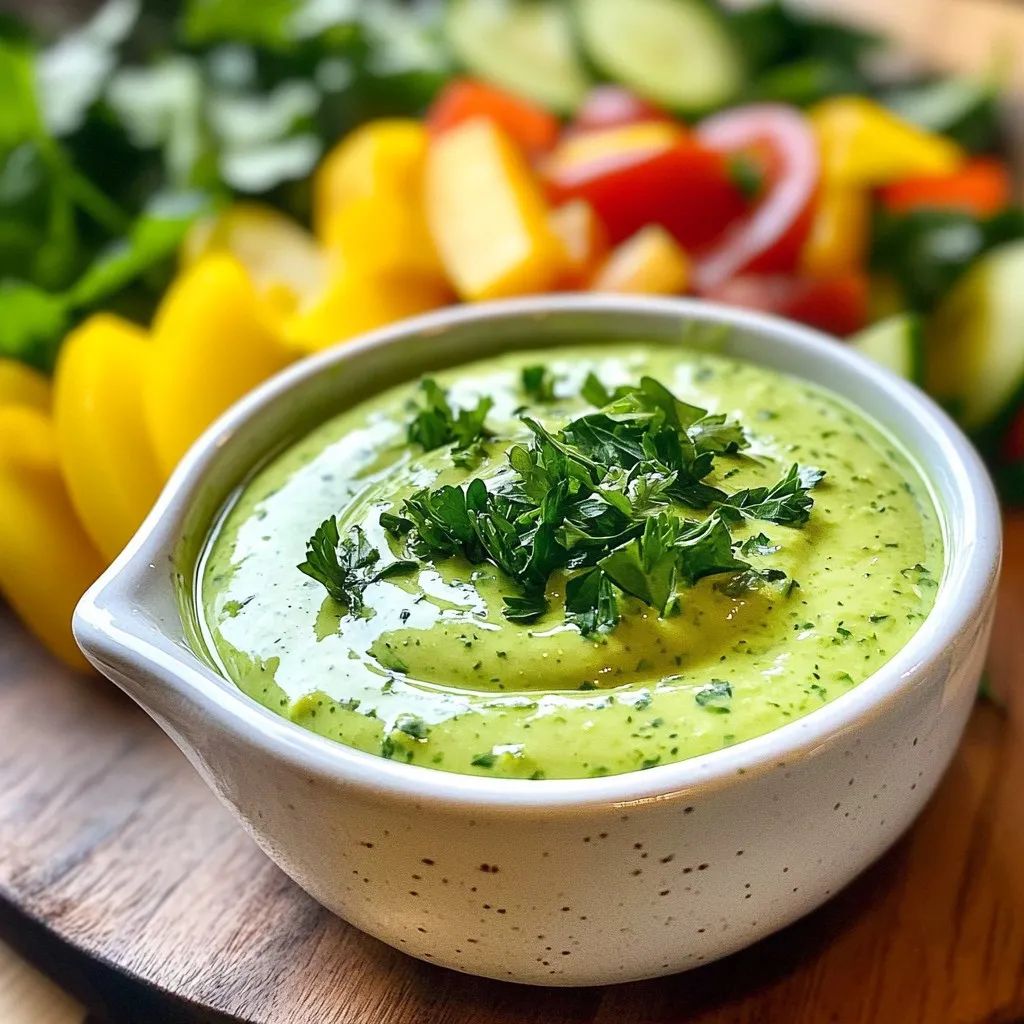
Are you ready to elevate your salads and dips? This easy and flavorful Creamy Avocado Ranch Dressing will be your
Are you ready to elevate your salads and dips? This easy and flavorful Creamy Avocado Ranch Dressing will be your
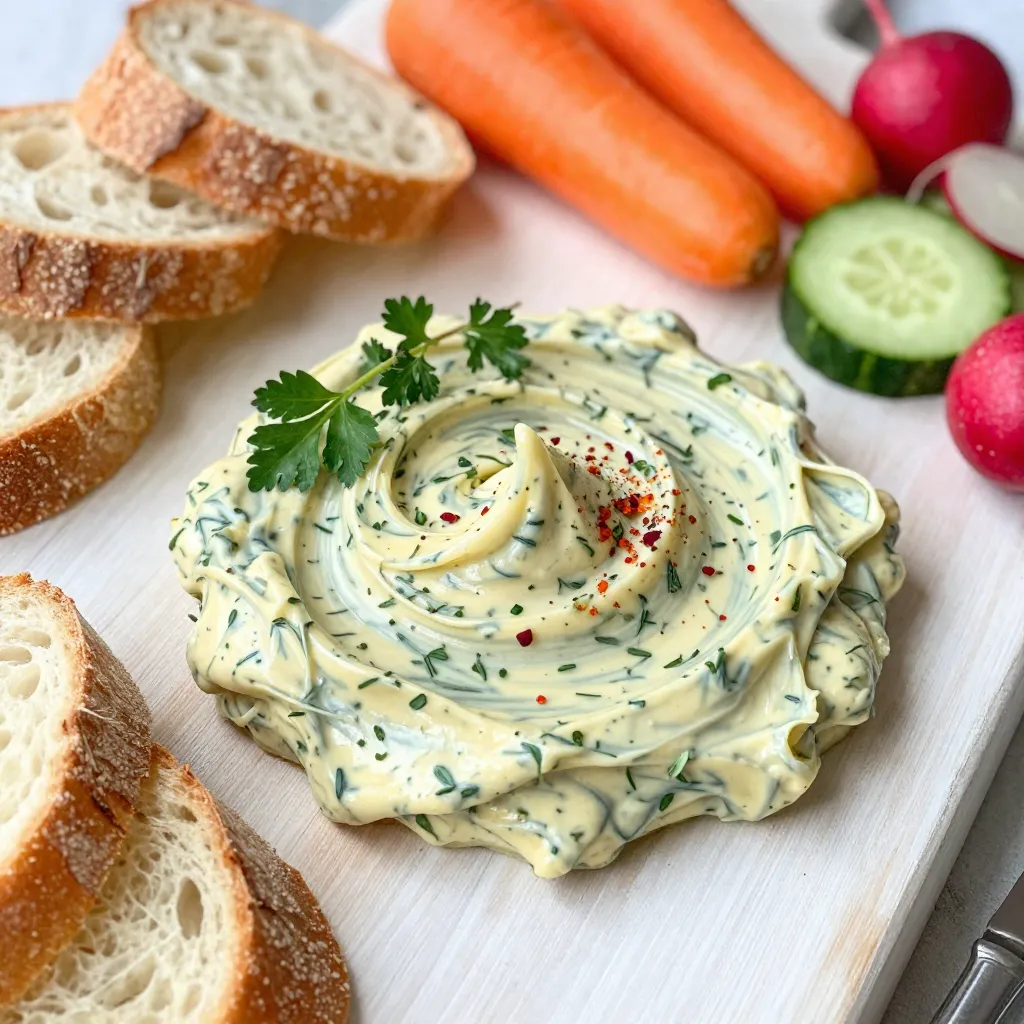
Welcome to the ultimate flavor experience with my Garlic Herb Butter Board! It’s simple, fun, and perfect for any occasion.

Are you ready for a deliciously easy meal? This Creamy Tomato Basil Tortellini Soup is made in your slow cooker,
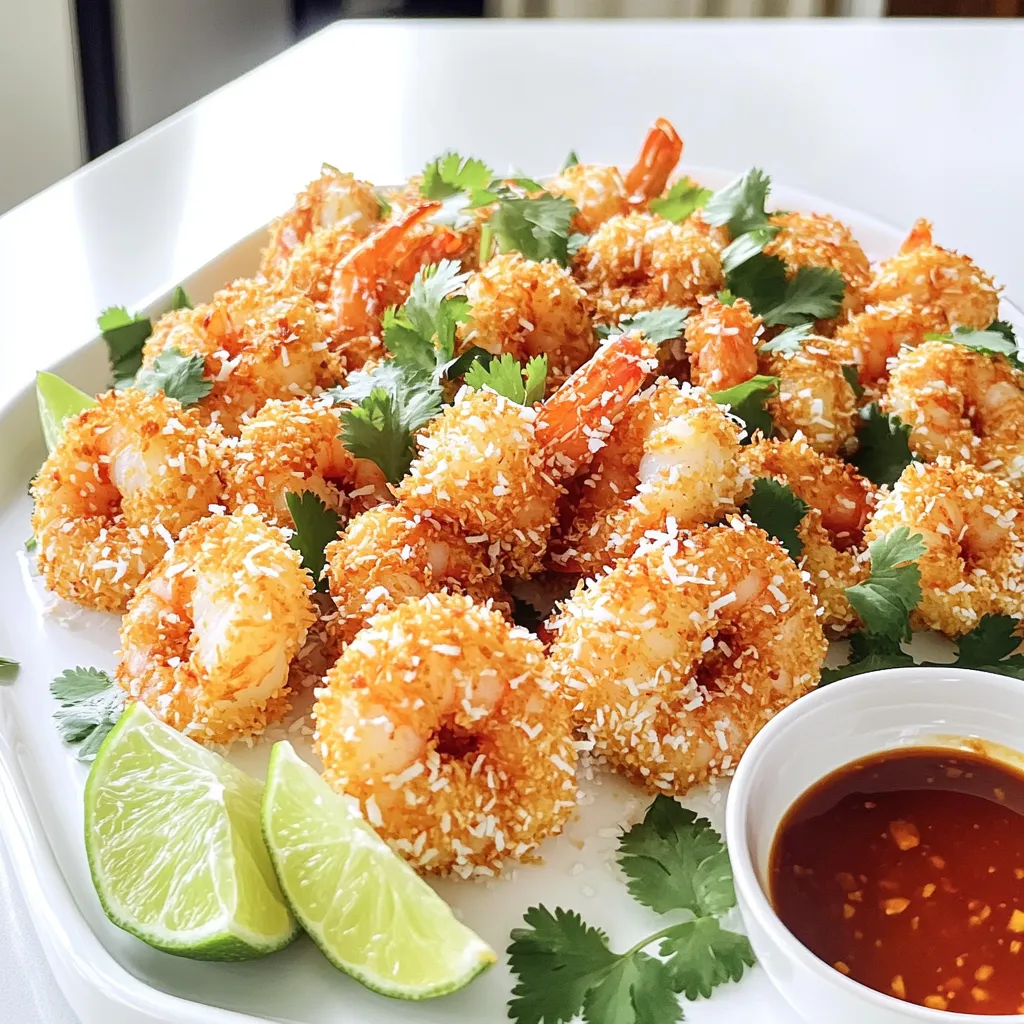
Are you ready to elevate your snack game? This Coconut Shrimp Air Fryer recipe delivers crispy, golden shrimp with the
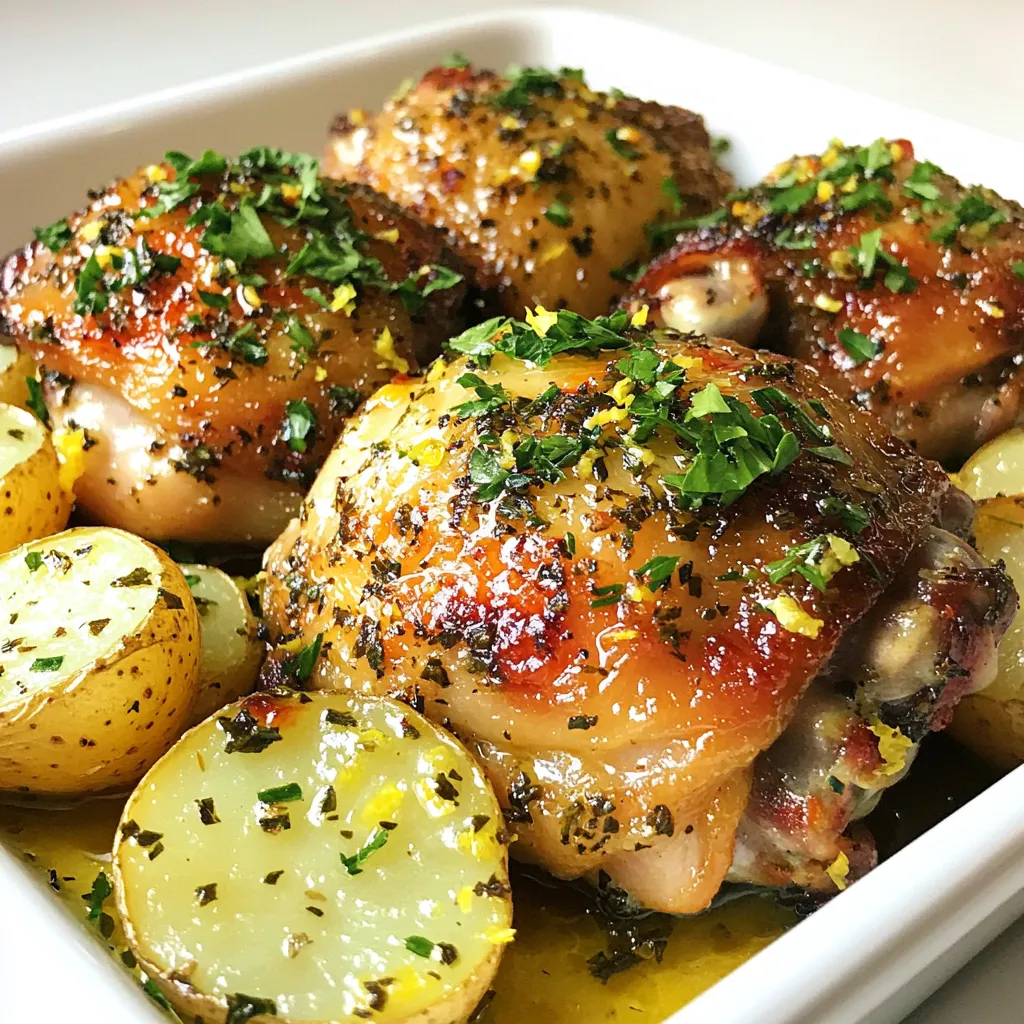
Get ready for a delicious meal that’s easy to make! My Lemon Herb Chicken & Potatoes Sheet Pan Delight combines

Are you ready to embrace the cozy vibes of autumn? In this blog post, I’ll guide you through making your

Welcome to the world of Gingerbread Cupcakes Bakery Style! If you crave a sweet treat that’s both cozy and festive,
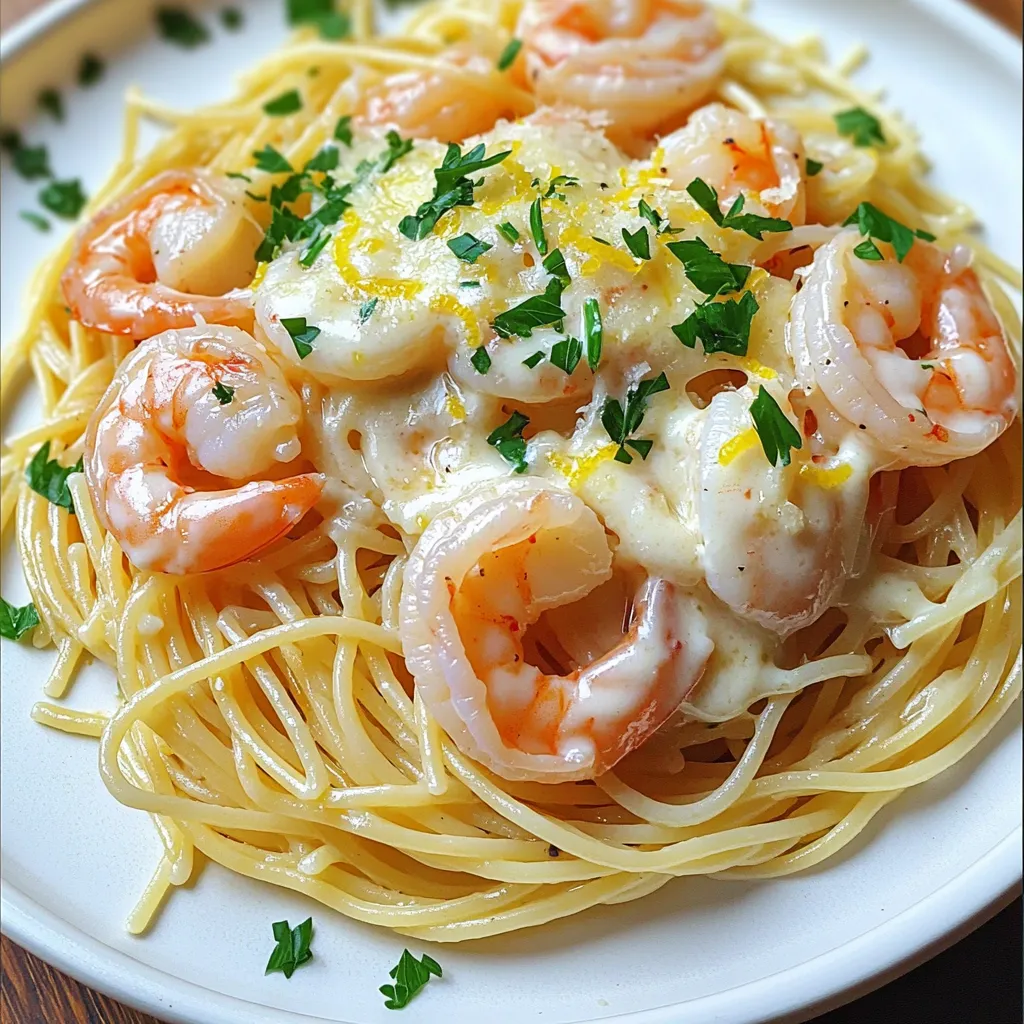
Ready for a quick and tasty dinner? My Minute Garlic Parmesan Shrimp Pasta is here to save your evening. With
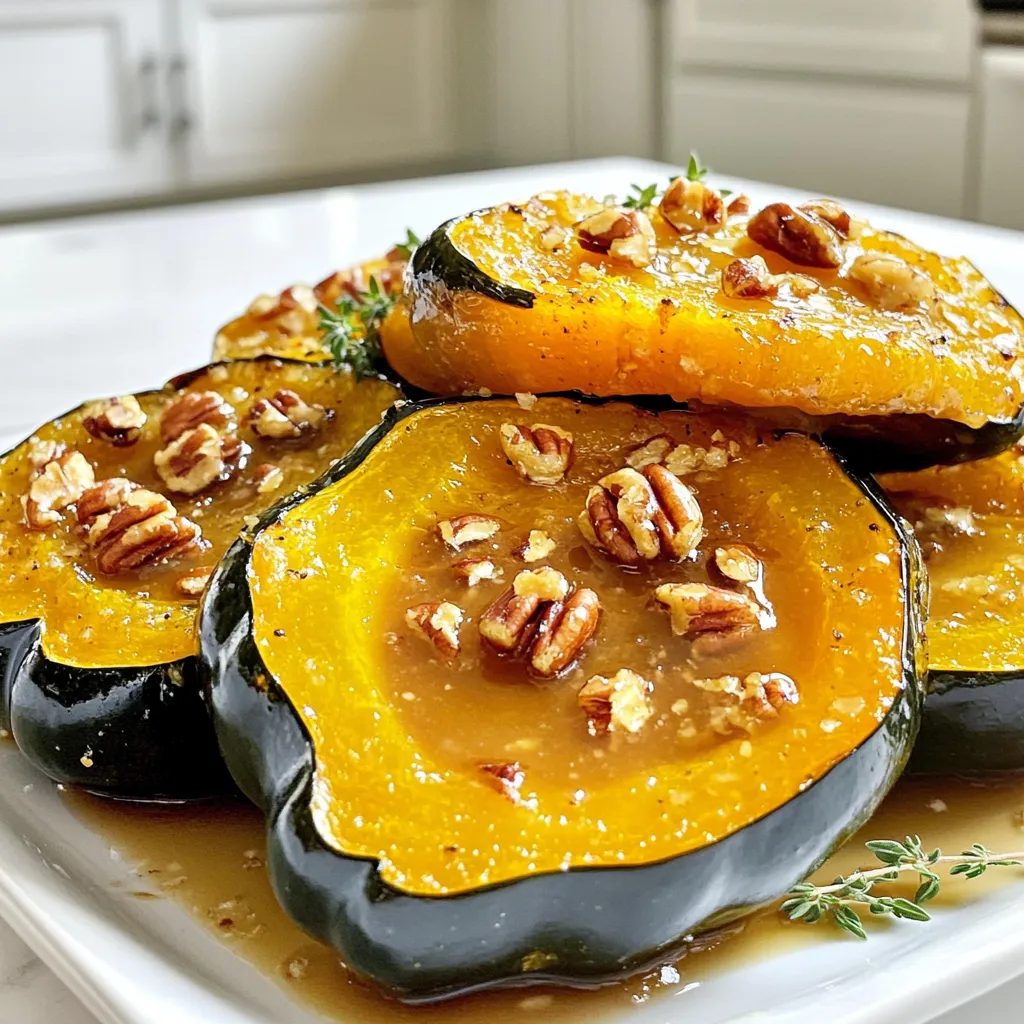
Are you ready to elevate your fall cooking? Maple Butter Roasted Acorn Squash is a warm and delightful dish that
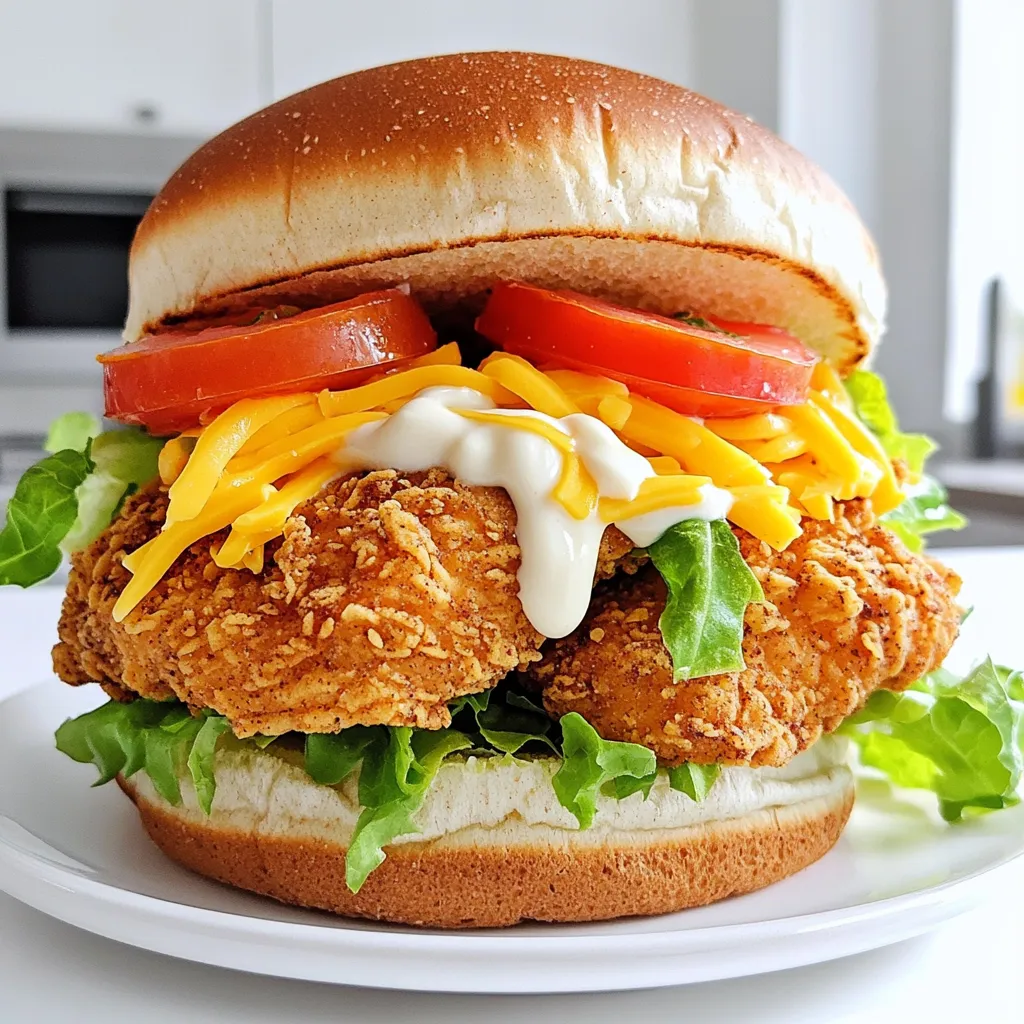
Are you ready for a crispy, juicy chicken sandwich that’s easy to make? This Crispy Chicken Sandwich Air Fryer Recipe
