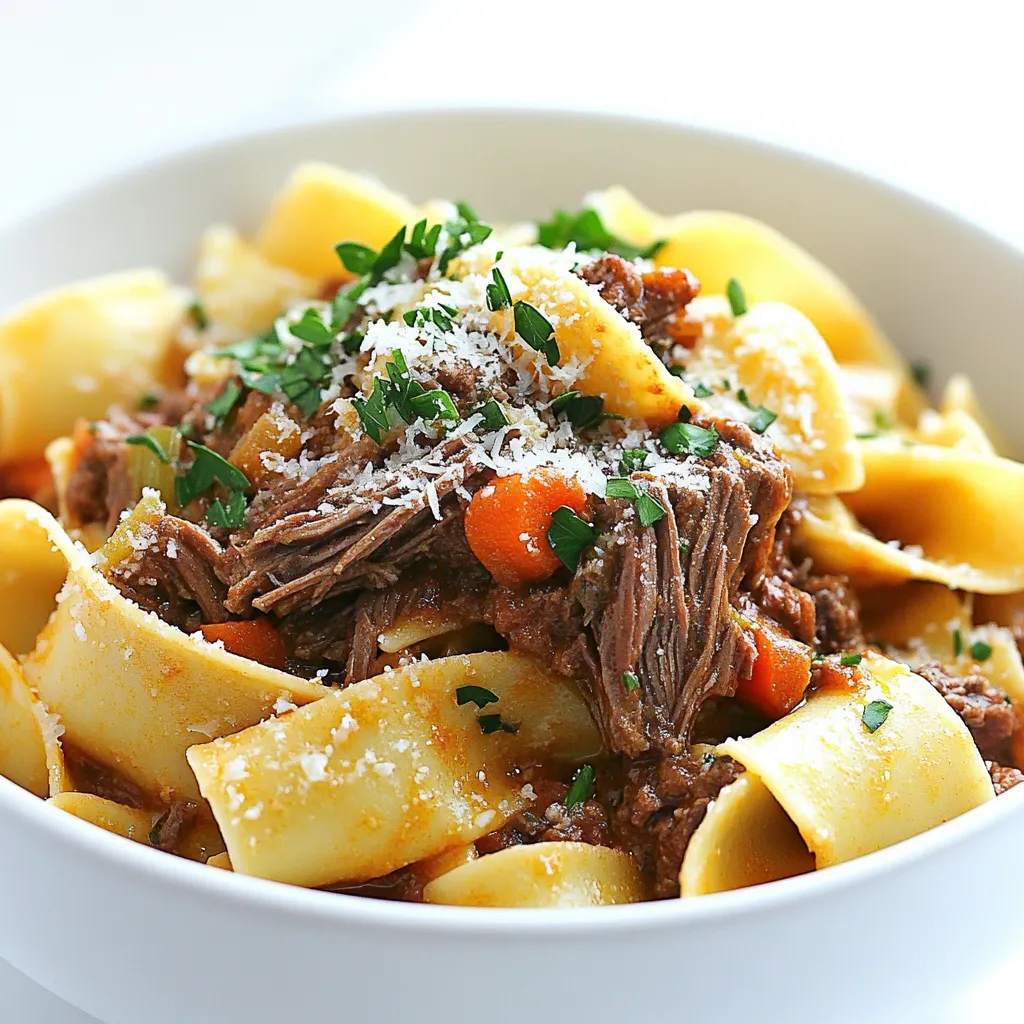
Savory Beef Ragu with Pappardelle Slow Cooker Recipe
If you crave rich flavors and comfort food, this Savory Beef Ragu with Pappardelle Slow Cooker Recipe is for you!
If you crave rich flavors and comfort food, this Savory Beef Ragu with Pappardelle Slow Cooker Recipe is for you!
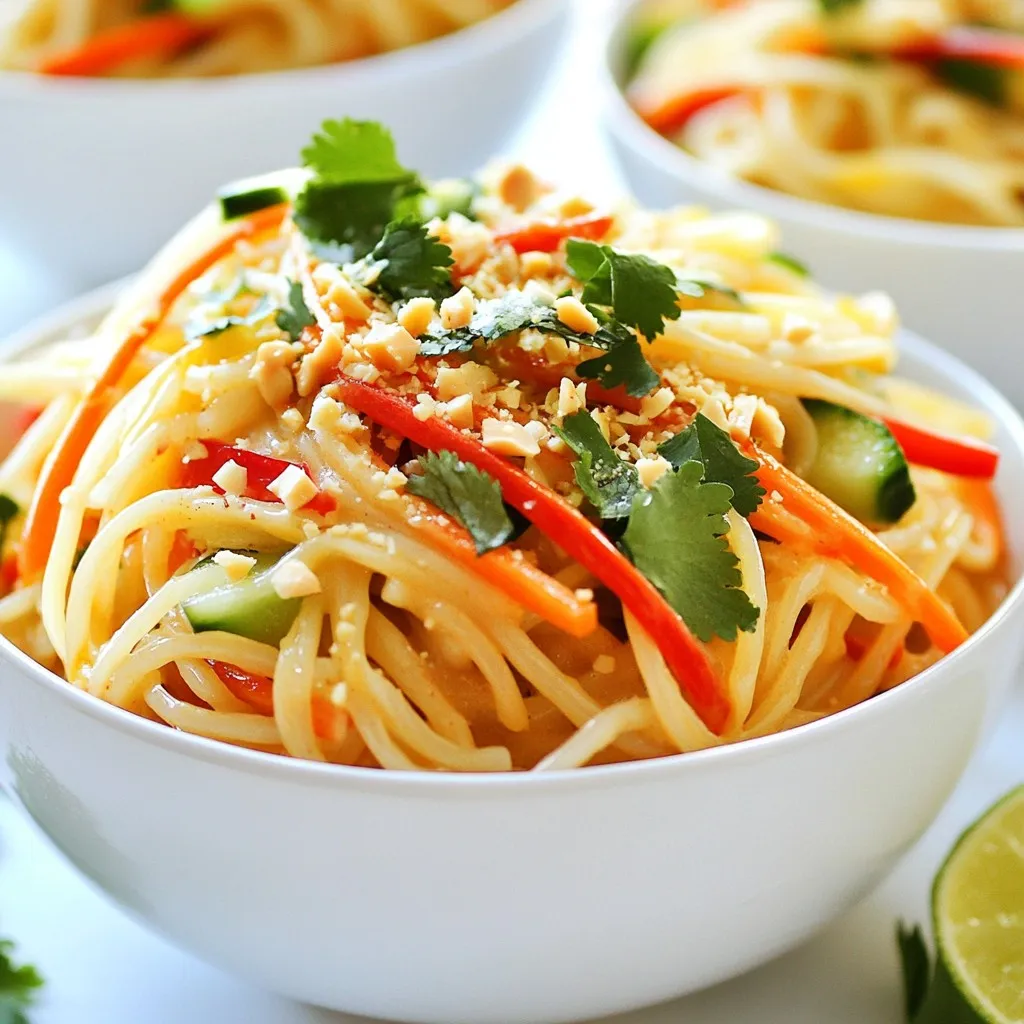
Are you ready for a meal that’s both quick and full of flavor? My Spicy Peanut Noodles deliver just that!
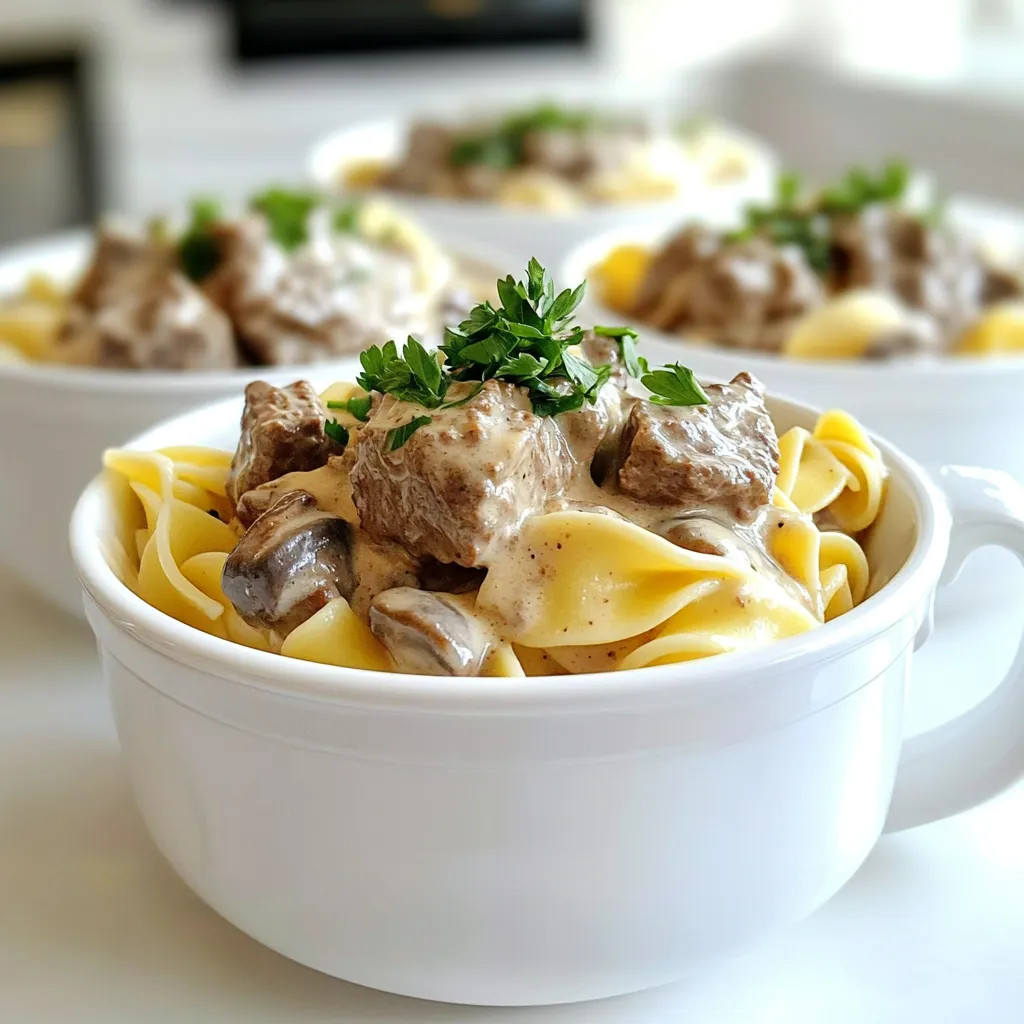
If you crave a simple yet delicious meal, you’ll love Slow Cooker Beef Stroganoff. This hearty dish combines tender beef
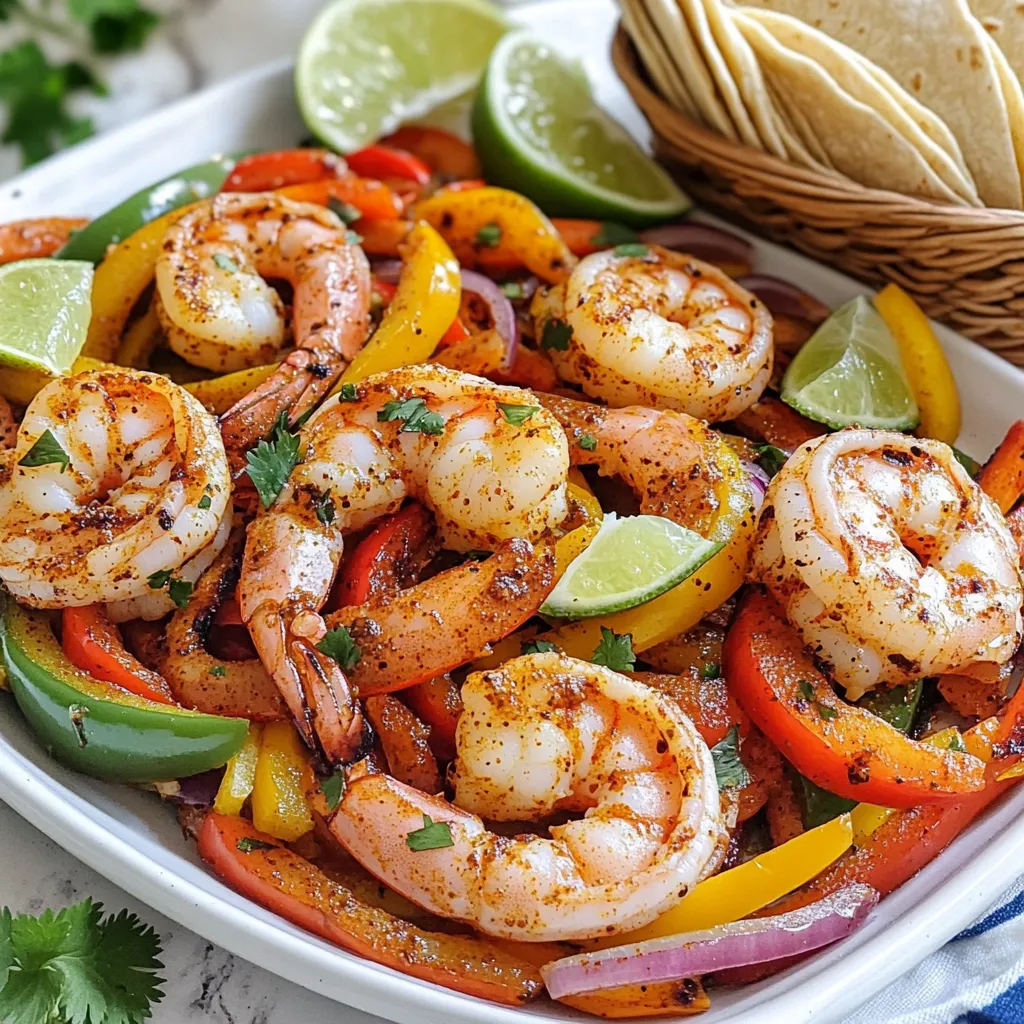
If you crave a dish that bursts with flavor and joy, you’re in for a treat! My Sheet Pan Chili
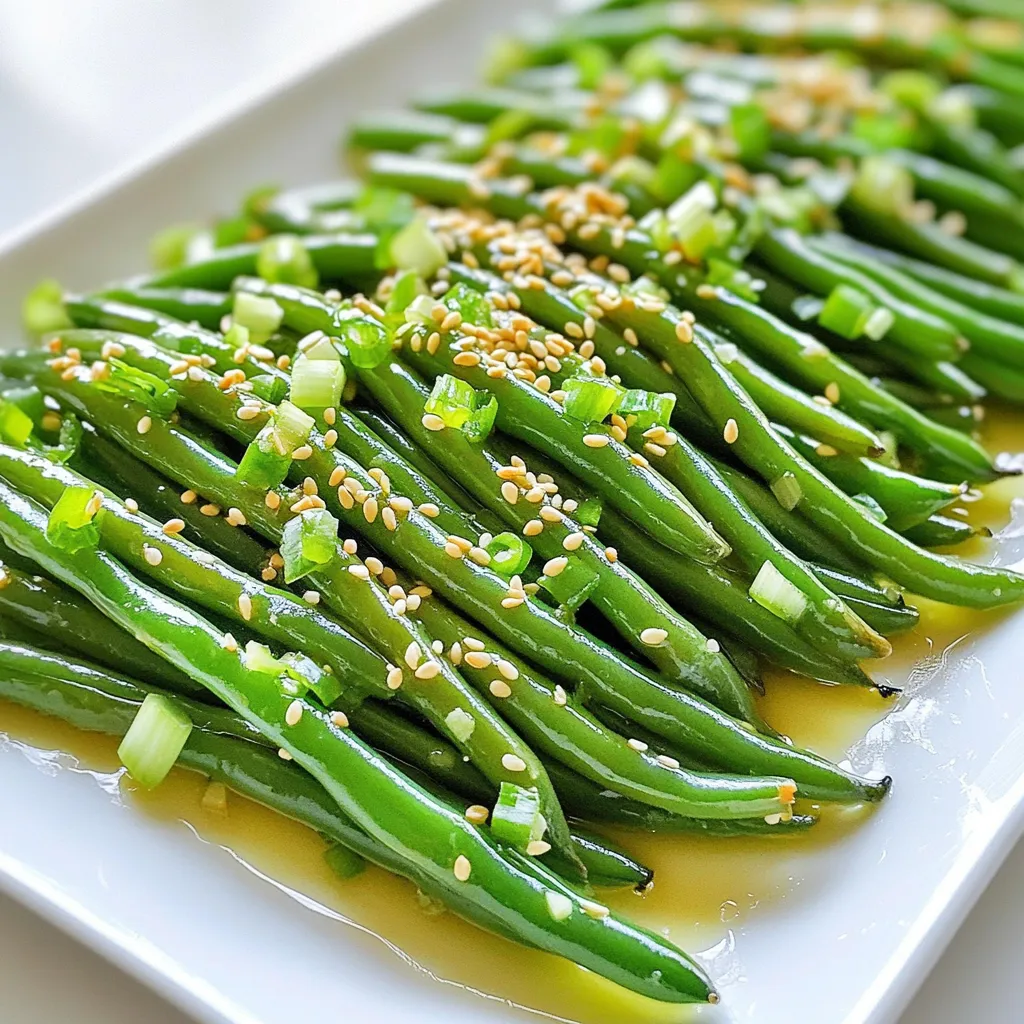
Are you ready to elevate your meal with a burst of flavor? This Sesame Garlic Green Beans recipe is both
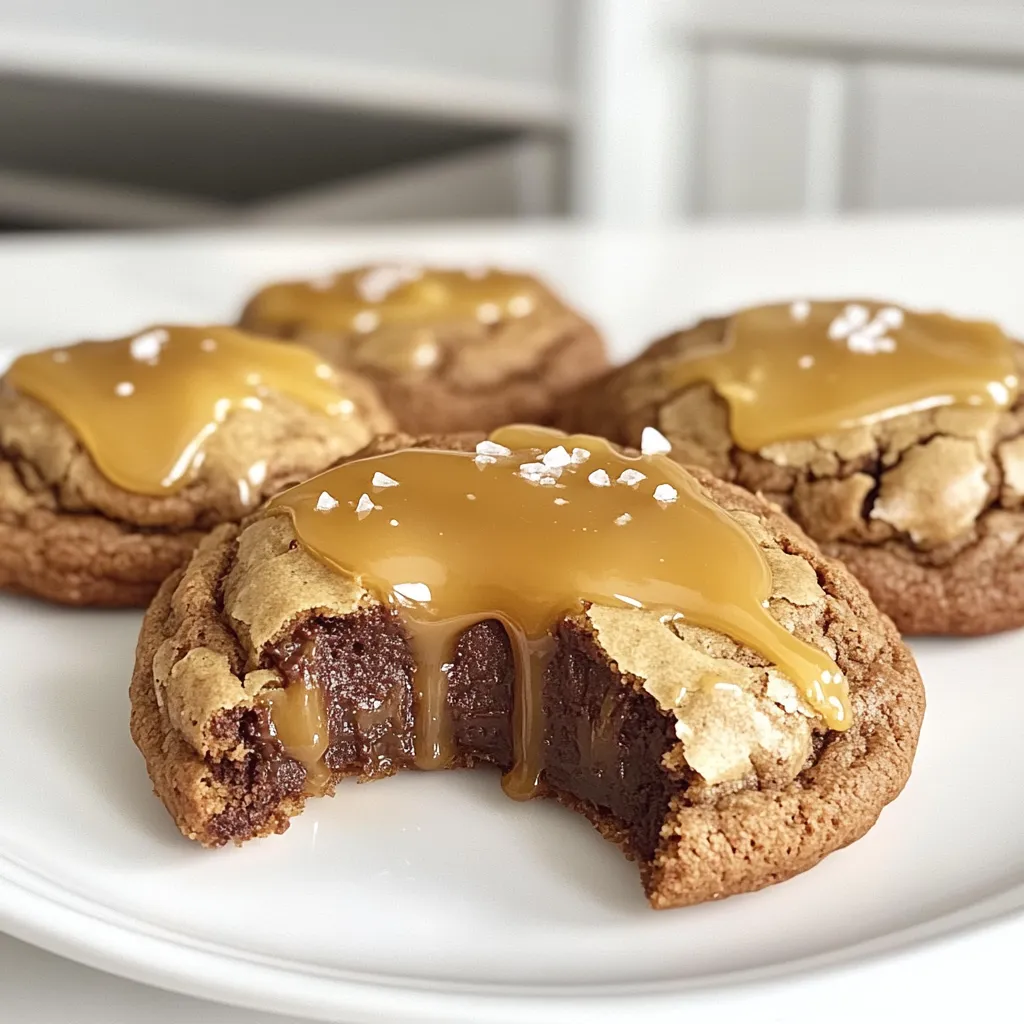
Are you ready to treat yourself to something truly special? Meet the Caramel Brownie Stuffed Cookies—a sweet delight that brings

Are you ready to whip up a meal that simply delights? With my Creamy Chicken Mushroom Orzo, you’ll impress your

Are you on the hunt for a quick and tasty snack? Look no further! Air Fryer Jalapeño Popper Bites are
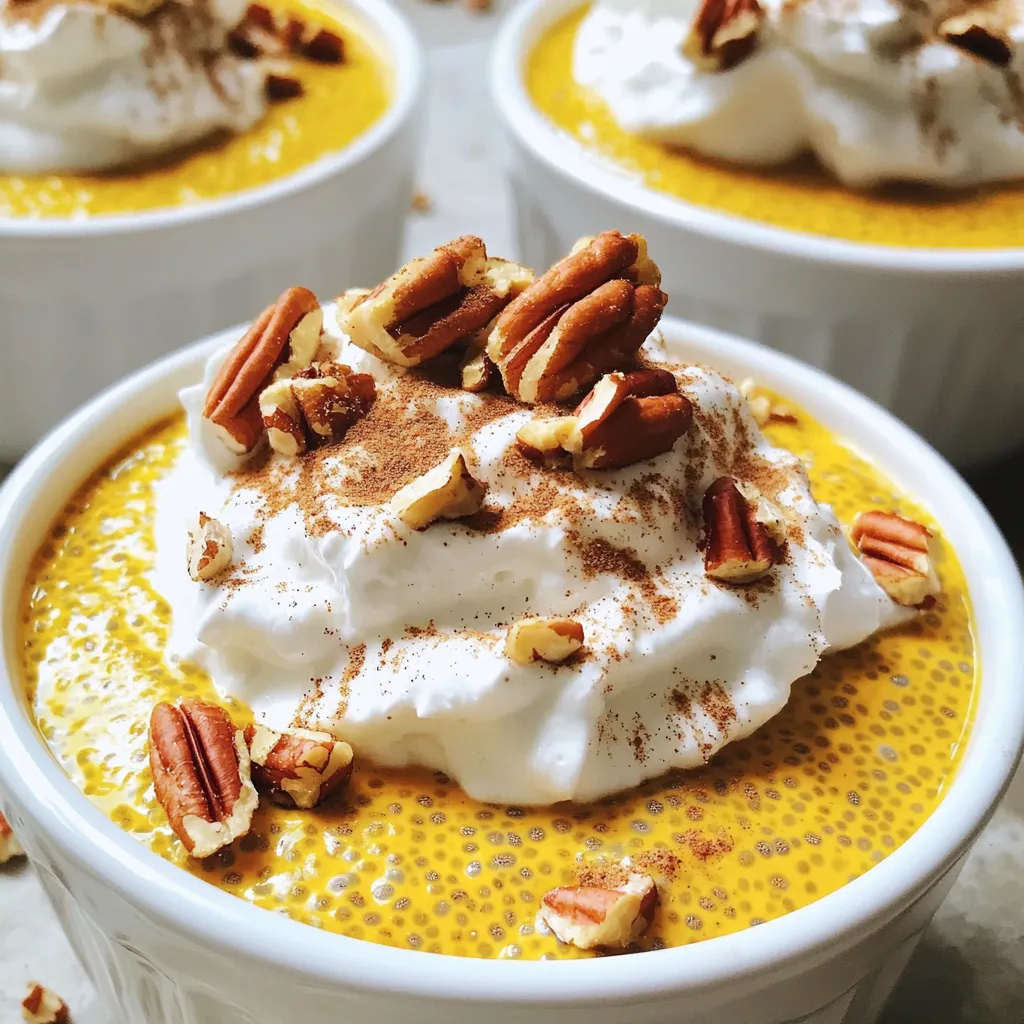
Craving a delicious and healthy treat? Let me introduce you to Pumpkin Pie Overnight Chia Pudding. This delightful dish combines

Fall is here, and that means it’s the perfect time for a cozy drink! The Apple Cider Margarita Mocktail offers
