![- 2 large zucchinis, spiralized - 1 cup bean sprouts - 1 bell pepper, thinly sliced (preferably a mix of red and yellow) - 1 carrot, julienned - 3 green onions, chopped (white and green parts separated) Zucchini is the star of this dish. It makes a great noodle substitute. Spiralizing the zucchinis gives them a fun shape. The texture stays crunchy, which I love. Bean sprouts add a nice bite. They also bring freshness. Bell peppers and carrots offer vibrant colors and sweetness. Together, they make the dish lively and bright. - 2 tablespoons peanut butter (smooth) - 3 tablespoons low-sodium soy sauce - 1 tablespoon fish sauce (or use coconut aminos for a vegan option) - 1 lime, juiced - 2 cloves garlic, minced - 1 tablespoon fresh ginger, minced - 1 tablespoon sesame oil The sauce is where the magic happens. Peanut butter gives it creaminess. Soy sauce adds salt and umami. Lime juice brings a zesty kick. Garlic and ginger add warmth and depth. This simple blend creates a tasty sauce that hugs the noodles. - 1/2 cup unsalted peanuts, crushed - Fresh cilantro for garnish (optional) - Red pepper flakes (to taste; optional) Garnishes make your dish look pretty. Crushed peanuts give a nice crunch. Fresh cilantro adds a pop of color and flavor. Red pepper flakes can add heat if you like. These toppings make your Zucchini Noodle Pad Thai even better. For the full recipe, check the details above. Spiralizing Techniques To make zucchini noodles, start with two large zucchinis. You can use a spiralizer or a julienne peeler. Both tools create long, curly noodles. Take your time to get nice, even strands. Salting and Drying Once you spiralize the zucchinis, place them in a colander. Sprinkle a pinch of salt over them. Let them sit for about ten minutes. This process helps to draw out excess moisture. After ten minutes, pat them dry with paper towels. This step keeps your noodles from getting soggy. Heating the Oil and Aromatics In a large skillet or wok, heat one tablespoon of sesame oil over medium heat. Add two cloves of minced garlic and one tablespoon of minced ginger. Sauté them for about one minute until they smell nice and fragrant. Adding the Vegetables Now, add one thinly sliced bell pepper and one julienned carrot to the skillet. Also, toss in the white parts of three chopped green onions. Cook these veggies for about three to four minutes. You want them to soften a little but not lose their crunch. Mixing in the Sauce Next, stir in your zucchini noodles. Cook for an additional three to five minutes, tossing gently. You want them heated through but still a bit chewy. In a small bowl, whisk together two tablespoons of peanut butter, three tablespoons of soy sauce, one tablespoon of fish sauce, and the juice of one lime. Pour this sauce over the noodles and mix well. Adding Garnishes and Serving Toss in one cup of bean sprouts and cook for another one to two minutes. This keeps them crunchy. Remove the skillet from heat. Serve hot, garnished with crushed peanuts, the green parts of the scallions, and fresh cilantro if you like. Enjoy your fresh and flavorful Zucchini Noodle Pad Thai! For the full recipe, check out the detailed instructions above. Avoiding Overcooked Zucchini Noodles To keep your zucchini noodles firm, cook them briefly. Heat them just until warm. If you overcook them, they'll turn mushy. Remember, you want a nice chew. Keep an eye on them while cooking. They should be tender but not limp. When to Add Bean Sprouts Add the bean sprouts at the end of cooking. This way, they stay crunchy. If you cook them too long, they lose their snap. Toss them in for a minute, just to warm them up. Adjusting Spice Levels You can make this dish as spicy as you like. Add red pepper flakes to the sauce for heat. Start with a little, then taste it. You can always add more spice, but you can't take it out. Alternative Sauces If you want to change up the flavor, try different sauces. You can use tahini instead of peanut butter. Coconut aminos is a great soy sauce substitute for a sweeter taste. Experiment with what you like best. Best Spiralizer to Use A good spiralizer makes creating zucchini noodles easy. Look for one with a sturdy base. It should let you make long, even noodles. A handheld spiralizer is great for small kitchens. Choosing the Right Pan Use a large skillet or wok for making this dish. A wide pan helps the noodles cook evenly. Plus, it gives you room to toss everything together without making a mess. A non-stick pan works well to prevent sticking. For the complete recipe, check out the [Full Recipe]. {{image_2}} Vegan Substitutes You can easily make Zucchini Noodle Pad Thai vegan. Replace fish sauce with coconut aminos. This swap keeps the flavor but makes it plant-based. Use extra veggies or tofu for protein. Gluten-Free Options For gluten-free Pad Thai, choose gluten-free soy sauce or tamari. This keeps it safe for those with gluten allergies. Check labels to ensure all ingredients are gluten-free. Protein Options (Tofu, Chicken, Shrimp) You can add protein to your dish. Tofu works well as a meat substitute. Cube it and sauté until golden. Chicken or shrimp can also enhance flavor. Cook them well before adding to the noodles. Vegetables to Experiment With Feel free to add more veggies. Broccoli, snap peas, or mushrooms can add color and taste. Experiment with what you love. Each veggie brings a unique crunch and flavor. Using Other Vegetables If you want a twist, try other vegetables. Carrots or sweet potatoes can be spiralized too. These options offer different tastes and textures. Traditional Pad Thai Noodles You can also use traditional rice noodles. Cook them separately and mix with the zucchini noodles. This gives a classic Pad Thai feel while keeping it fresh. For the complete recipe, check out the [Full Recipe]. When you make Zucchini Noodle Pad Thai, you may have some leftovers. You can keep them in the fridge for about 3 days. Store them in an airtight container to keep them fresh. This helps lock in flavors and moisture. For reheating, you have two good options: microwave or stovetop. The microwave is quick, but it can make the noodles softer. The stovetop is better for keeping that nice texture. Heat them in a pan on medium heat. Stir gently until warm. This keeps the noodles from getting mushy. You might wonder, can you freeze zucchini noodles? Yes, but it’s best to freeze them before cooking. Raw zucchini noodles hold up better in the freezer. To thaw, place them in the fridge overnight. When ready, quickly sauté them in a pan. This method helps maintain their texture and flavor. If you want a full recipe to get started, check out the Zucchini Noodle Pad Thai recipe. Zucchini Noodle Pad Thai is a fresh take on traditional Pad Thai. Instead of using rice noodles, we use spiralized zucchinis. This dish has all the classic flavors you love but with fewer carbs and more veggies. You’ll find a mix of crunchy veggies and a creamy sauce that makes it so tasty. It’s fast, fun, and perfect for a weeknight meal. To keep zucchini noodles from getting soggy, start by salting them. After spiralizing, sprinkle salt on the noodles and let them sit for ten minutes. This will draw out excess water. Then, pat them dry with paper towels. Cooking them for just a few minutes helps keep them firm. Avoid overcooking, as this can turn them mushy. Yes, you can! If you want to swap zucchini, try using carrots or bell peppers. Spiralized carrots add sweetness and crunch. Thinly sliced bell peppers give a nice color and flavor. Other options include yellow squash or even cucumber for a cool twist. Mix and match to find your favorite veggie combo! For the full recipe, check the section above. In this blog post, I shared how to make Zucchini Noodle Pad Thai step-by-step. We covered the main ingredients, including zucchini, bean sprouts, and key sauce components. I provided tips for cooking and enhancing flavor. You also learned about storage and meal variations. This dish is simple and fun to make. It creates a healthy twist on a classic favorite. Enjoy your cooking adventure with Zucchini Noodle Pad Thai! Keep experimenting with different flavors and ingredients.](https://easycookingbite.com/wp-content/uploads/2025/05/9b92dd9d-9d96-4799-b2a1-3d780eed81ec.webp)
Zucchini Noodle Pad Thai Fresh and Flavorful Recipe
Are you ready to elevate your Pad Thai game? This Zucchini Noodle Pad Thai recipe is fresh, healthy, and bursting
Are you ready to elevate your Pad Thai game? This Zucchini Noodle Pad Thai recipe is fresh, healthy, and bursting
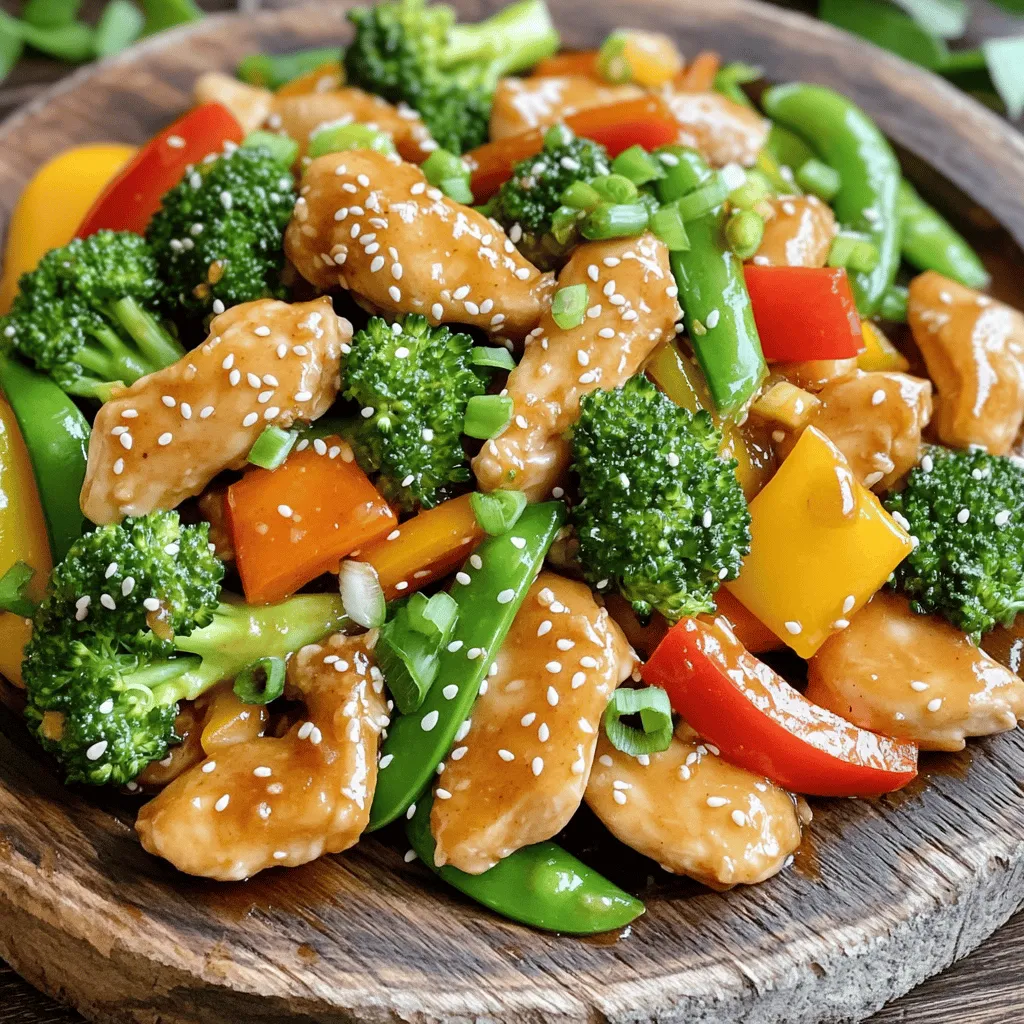
Looking for a quick and tasty dinner? Honey Garlic Chicken Stir-Fry is your answer! This dish combines sweet honey and

Looking for the perfect party snack? My Creamy Spinach Artichoke Dip is a crowd-pleaser! This cheesy, rich dip blends fresh
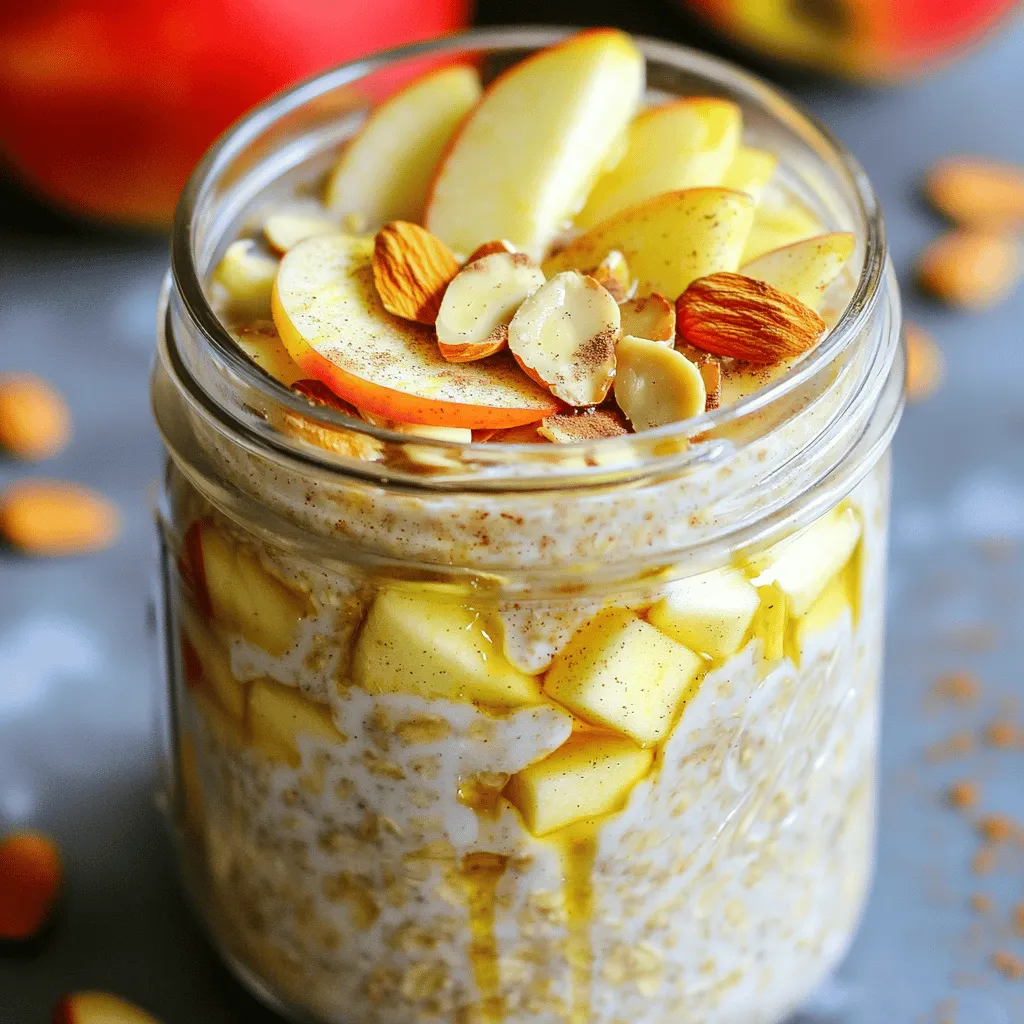
Looking for a quick, tasty breakfast option? Apple Cinnamon Overnight Oats are your answer! With just a few simple ingredients,
![- 1 ½ cups digestive biscuits, crushed - ½ cup unsalted butter, melted - 16 oz cream cheese, softened - 1 cup Nutella - 1 cup powdered sugar - 1 teaspoon vanilla extract - 1 cup heavy whipping cream - Chocolate shavings and crushed hazelnuts for garnish To create a no-bake Nutella cheesecake, you'll need a few simple ingredients. The base consists of crushed digestive biscuits mixed with melted unsalted butter. This mixture forms a crunchy crust to hold the creamy filling. For the filling, you will use softened cream cheese and rich Nutella. The combination makes this cheesecake smooth and indulgent. Powdered sugar adds sweetness, while vanilla extract enhances flavor. Finally, heavy whipping cream gives the filling a fluffy texture. You can also add optional garnishes. Chocolate shavings or crushed hazelnuts make lovely toppings. They add a bit of crunch and a touch of elegance. With these ingredients, you are ready to make a delicious dessert. You can find the full recipe above to guide you through the process. - Combine 1 ½ cups of crushed digestive biscuits with ½ cup of melted unsalted butter. - Mix until the crumbs are well-coated. - Pack this mixture tightly into the bottom of a 9-inch springform pan. - Use a flat-bottomed glass to ensure it's even. - Chill the crust in the refrigerator for about 15-20 minutes to firm it up. - In a large bowl, beat 16 oz of softened cream cheese until smooth. - Gradually add 1 cup of Nutella, 1 cup of powdered sugar, and 1 teaspoon of vanilla extract. - Mix until the filling is well combined and smooth. - In another bowl, whip 1 cup of heavy cream until stiff peaks form. - Carefully fold the whipped cream into the Nutella mixture in two parts. - Make sure not to deflate the whipped cream for a light texture. - Pour the Nutella cheesecake filling over the chilled crust. - Use a spatula to smooth the top. - Cover the cheesecake with plastic wrap and refrigerate for at least 4 hours, or overnight for the best results. - When ready to serve, remove the cheesecake from the springform pan. - Garnish with chocolate shavings and crushed hazelnuts for a beautiful finish. For a detailed overview, check the Full Recipe. - Overmixing the filling: When you mix too much, the filling can become dense. Mix just until smooth. - Not chilling long enough: Chilling is key for a firm cheesecake. Always let it rest for at least four hours. - Drizzling with Nutella: A simple drizzle of Nutella on top adds flair. Use a spoon for a nice touch. - Using different garnishes: Try chocolate shavings or crushed hazelnuts for added texture. Fresh berries also look great. - Springform pan: This pan allows easy removal of the cheesecake. It helps keep the shape intact. - Electric mixer: A strong mixer helps beat the cream cheese smoothly. It makes mixing quick and easy. For the full recipe and more details, check out the Full Recipe. {{image_2}} You can take your no-bake Nutella cheesecake to new heights with just a few tweaks. One way to enhance the flavor is by adding espresso. This gives your cheesecake a rich mocha taste that pairs perfectly with the Nutella. Just mix in a tablespoon of espresso powder when you combine the Nutella with the cream cheese. You can also play around with different types of chocolate. Dark chocolate adds depth, while white chocolate can give a sweet twist. You can melt the chocolate and swirl it into the filling, or sprinkle chocolate chips on top for added texture. If you have dietary needs, you can still enjoy this cheesecake. For a gluten-free option, swap the digestive biscuits for gluten-free cookies or almond flour. This keeps the crust delicious while accommodating your needs. For those who need dairy-free options, you can use vegan cream cheese. Brands like Tofutti or Kite Hill work well. Just make sure to check the packaging for the right consistency. This cheesecake is a showstopper on its own, but pairing it with fresh fruits can elevate it even more. Slices of strawberries or raspberries add a fresh burst of flavor. You could also serve it with a drizzle of chocolate or caramel sauce for extra indulgence. This dessert shines at gatherings or special occasions. Birthdays, holidays, or dinner parties are perfect times to serve it. Each slice will impress your guests and leave them craving more. For the best experience, serve it chilled and garnish it with chocolate shavings and crushed hazelnuts. For the full recipe, click here: [Full Recipe]. To keep your no-bake Nutella cheesecake fresh, start by refrigerating any leftovers. Place slices in an airtight container. This method helps the cheesecake stay creamy and tasty. You can also cover it with plastic wrap if you prefer. For longer storage, freezing is a great option. Wrap the cheesecake tightly in plastic wrap. Then, put it in a freezer-safe container. This keeps it safe from freezer burn. In the fridge, your cheesecake will last about 5 days. This gives you time to enjoy it after the first slice. Check for signs of spoilage. If it looks dry, has an off smell, or shows mold, it’s time to toss it. Always trust your senses. If you freeze the cheesecake, thaw it slowly. The best method is to place it in the fridge overnight. This allows it to soften gently without losing texture. Avoid using a microwave, as it can ruin the creamy filling. Enjoy each slice cold for the best taste! Yes, you can make this cheesecake a day or two before you serve it. This helps the flavors blend well. Just make sure to cover it tightly with plastic wrap. Chill it in the fridge until you're ready to serve. This way, you can enjoy the treat without rushing on the day of your event. To remove the cheesecake easily, first, run a knife around the edge of the pan. This helps loosen the cheesecake. Then, gently release the springform clasp to free the sides. If the cheesecake sticks to the bottom, use a spatula to slide it off. Place it on a serving plate for a stunning presentation. Absolutely! You can swap Nutella for any chocolate or hazelnut spread you like. If you're feeling adventurous, try using peanut butter or almond butter. Even cookie spreads can add a fun twist. Just keep in mind that each spread will change the flavor a bit. If you want a less sweet cheesecake, reduce the powdered sugar by a little. You can also use sugar substitutes like stevia or monk fruit if you're watching sugar intake. Just remember to taste as you mix, so you find the perfect balance for your sweet tooth. For the full recipe, check out the [Full Recipe]. This post covered how to make a delicious Nutella cheesecake. We examined the key ingredients, like digestive biscuits and cream cheese. I shared step-by-step instructions for the crust, filling, and assembly. I also included tips to avoid common mistakes and suggested fun variations. Remember to store your cheesecake properly to keep it fresh. Making this treat is easy and rewarding. I hope you enjoy creating this dessert as much as I do!](https://easycookingbite.com/wp-content/uploads/2025/05/3f8bdb4a-1d95-4b66-9ba7-ab050c0f921e.webp)
Craving something sweet and simple? This No-Bake Nutella Cheesecake is both easy to make and a pure delight! With creamy
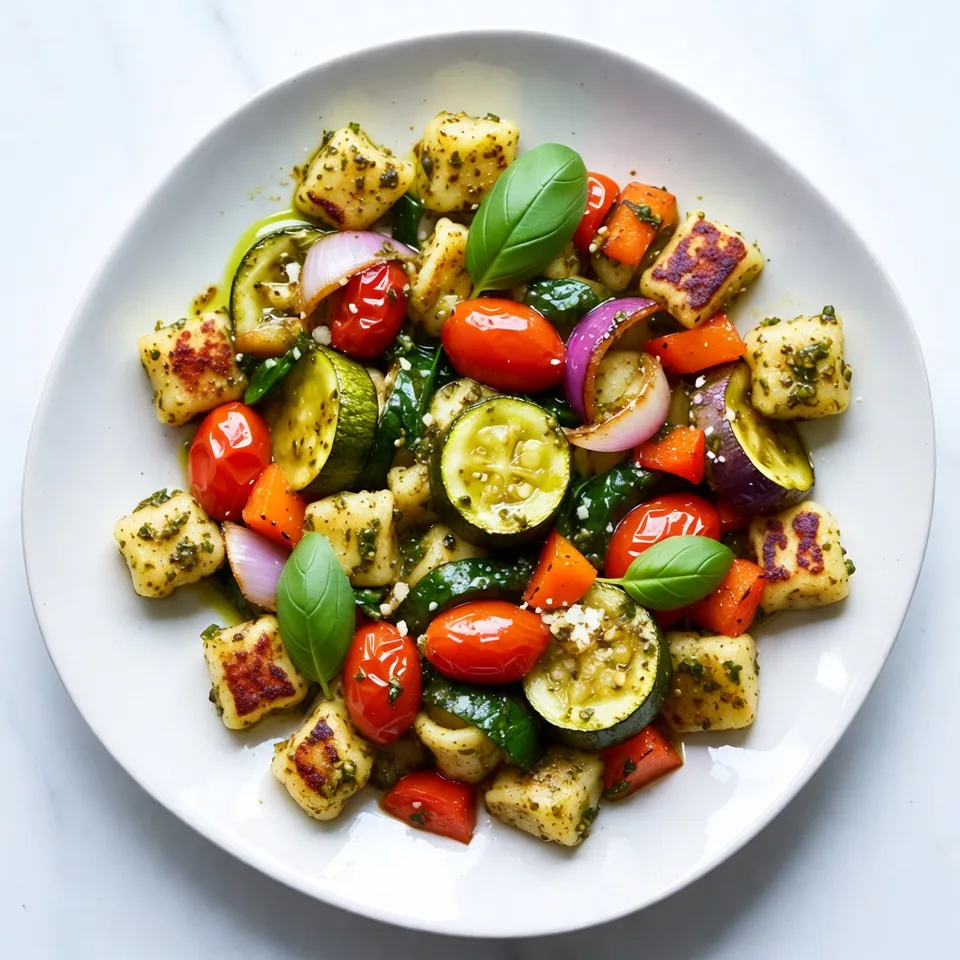
Are you ready to make dinner easy and delicious? This Sheet Pan Gnocchi with Pesto Veggies recipe is a game-changer.
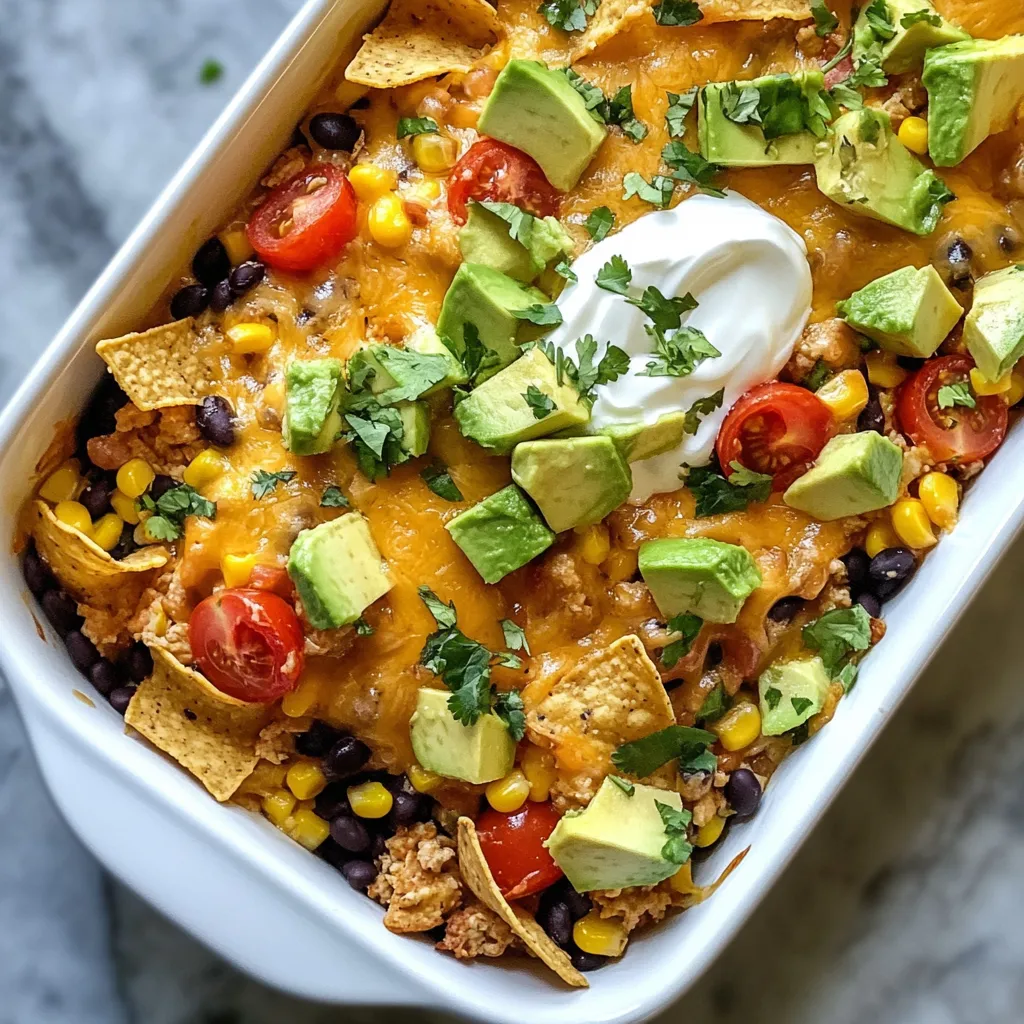
Looking for a delicious and easy dinner idea? Chicken Taco Casserole is the answer! This dish combines seasoned chicken, beans,

Looking for a delicious twist on pizza? Try my Zucchini Pizza Casserole! This easy recipe is packed with fresh flavors,
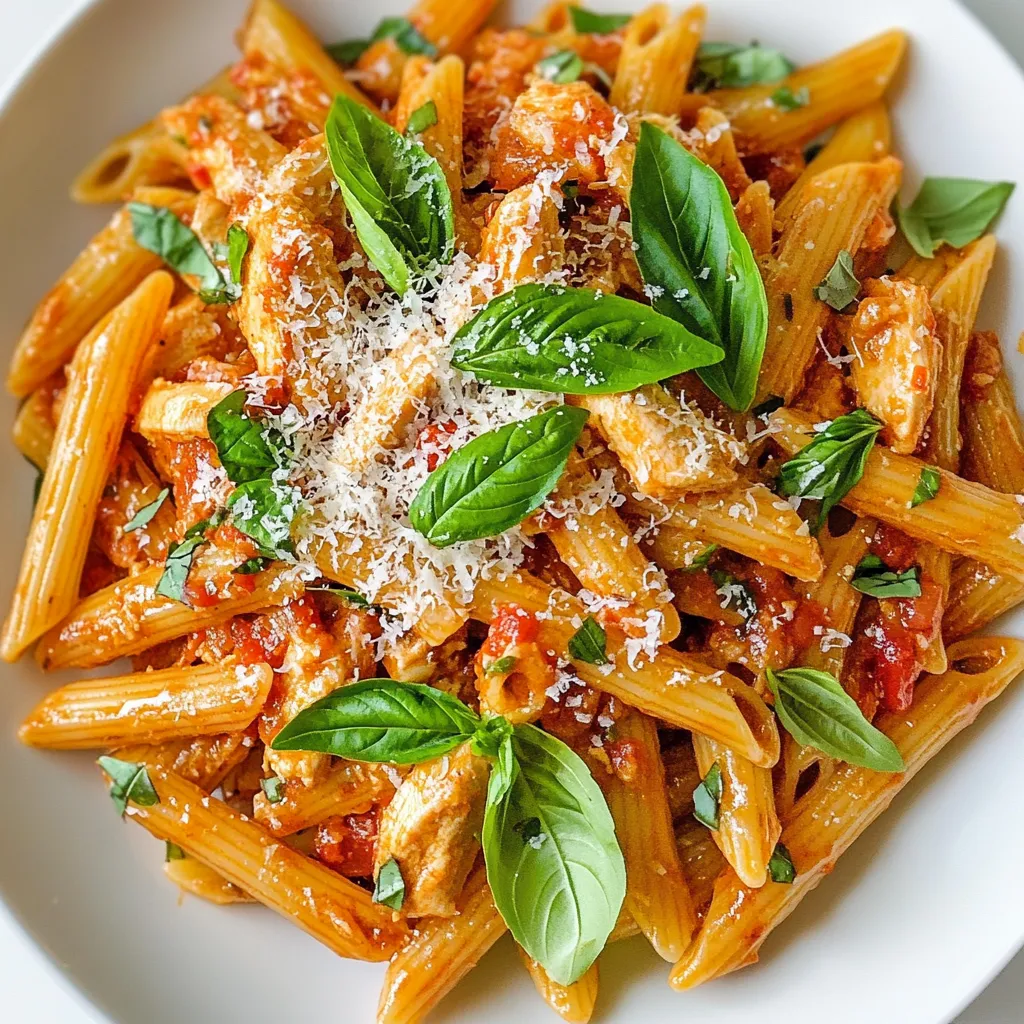
Looking for a dinner that’s packed with flavor and a kick of spice? Look no further! Spicy Chicken Arrabbiata Pasta
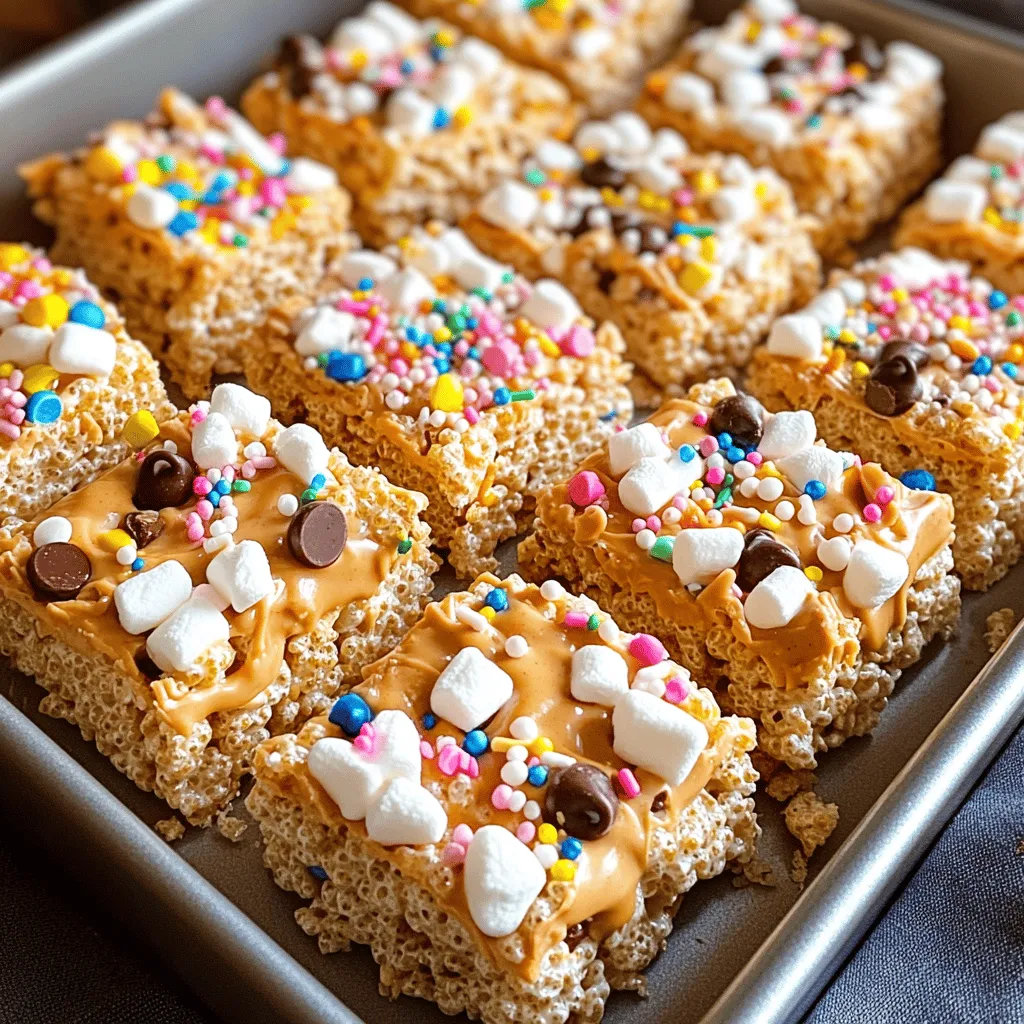
Are you ready to make the chewiest Rice Krispies Treats ever? This simple and tasty recipe is a hit with
