 for White Chocolate Strawberry Cookies. In this article, we covered ingredients, steps, tips, variations, and storage for perfect cookies. Each part plays a key role in creating tasty treats. Remember, you can swap in fresh strawberries or try gluten-free options. Keep your cookies fresh in a sealed container. With these insights, you’re set to bake amazing cookies. Enjoy the process and most importantly, enjoy the delicious results!](https://easycookingbite.com/wp-content/uploads/2025/05/d78baf86-3dc9-4c36-b745-7511bff41664.webp)
White Chocolate Strawberry Cookies Delightful and Simple
Do you love the sweet taste of strawberries mixed with rich white chocolate? If so, you’re in for a treat!
Do you love the sweet taste of strawberries mixed with rich white chocolate? If so, you’re in for a treat!
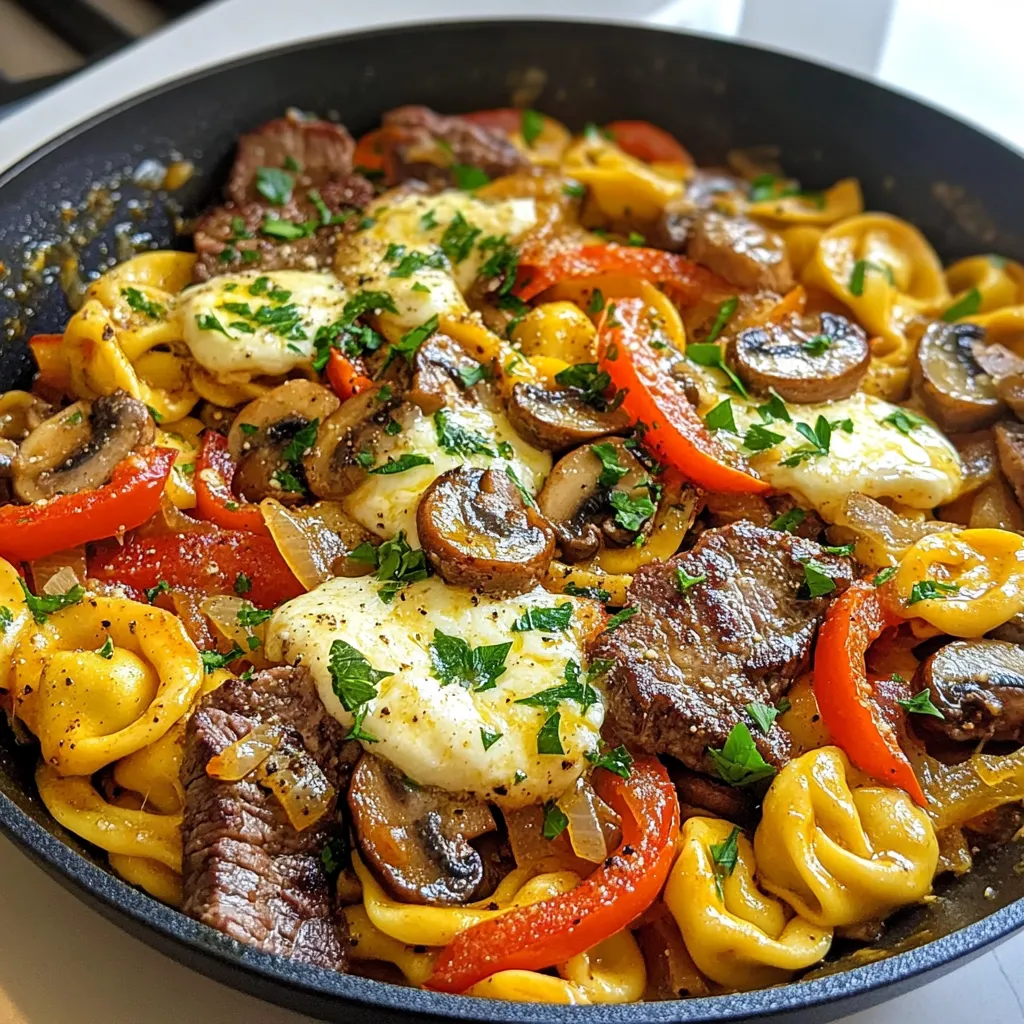
Looking for a quick, tasty dinner? This Savory Steak and Cheese Tortellini Skillet is your answer! It’s packed with flavor,
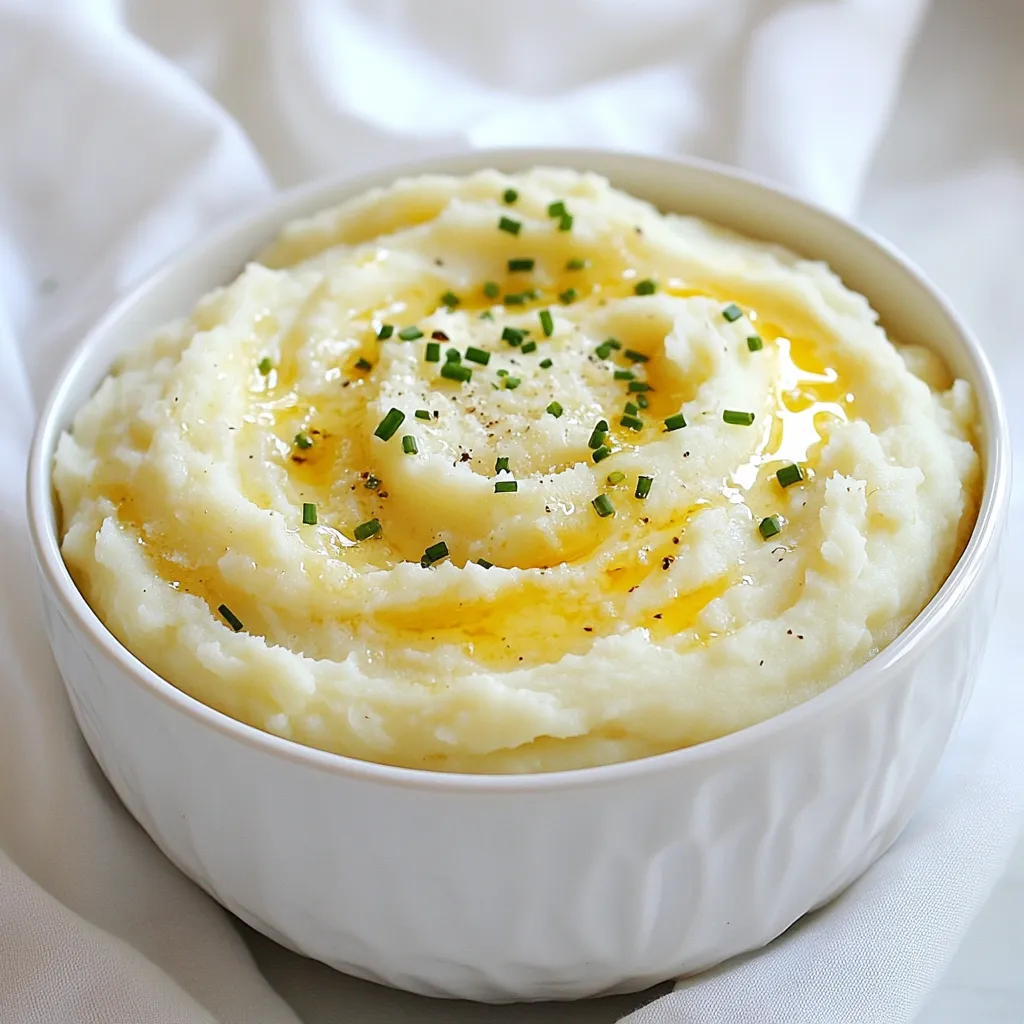
If you crave comfort food, you’ll love my Creamy Garlic Mashed Potatoes! This dish is rich, buttery, and overflows with
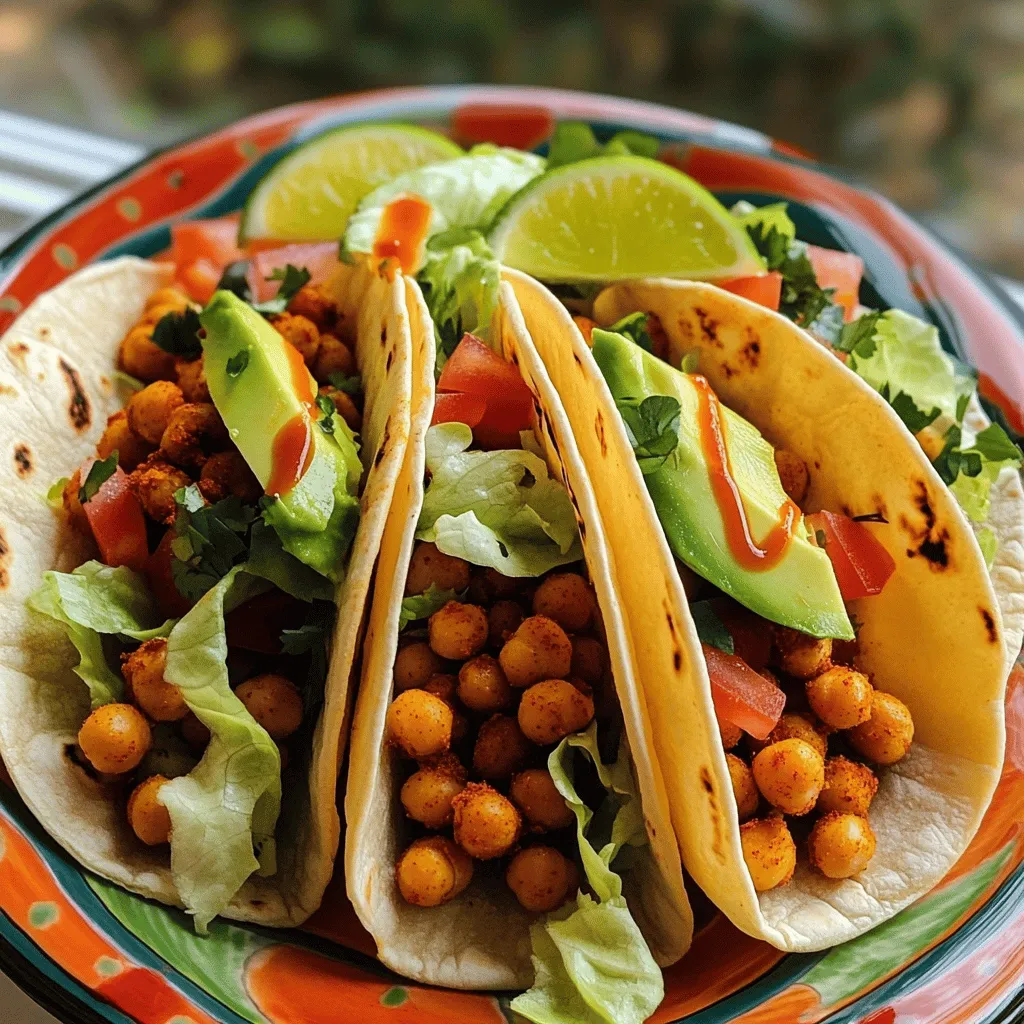
Are you tired of eating the same boring meals when money is tight? You’re not alone! I know how hard
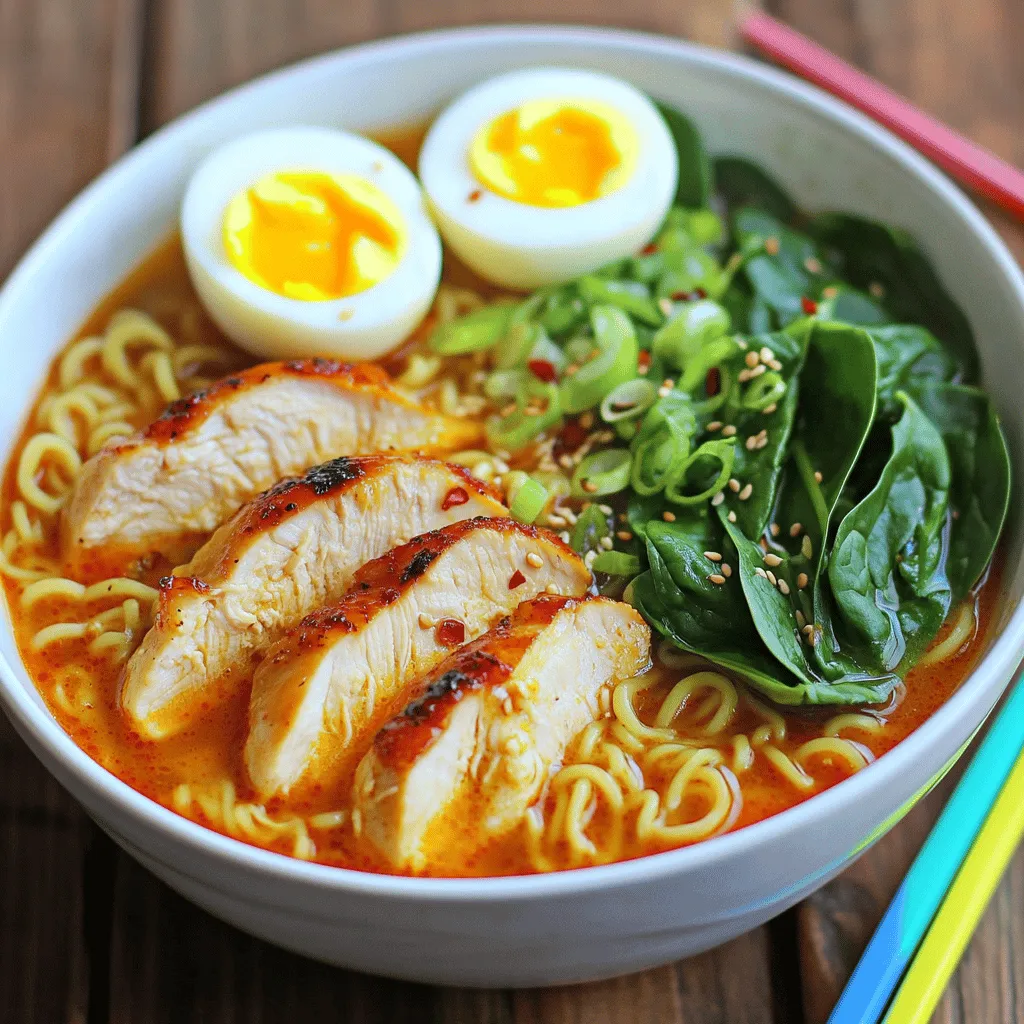
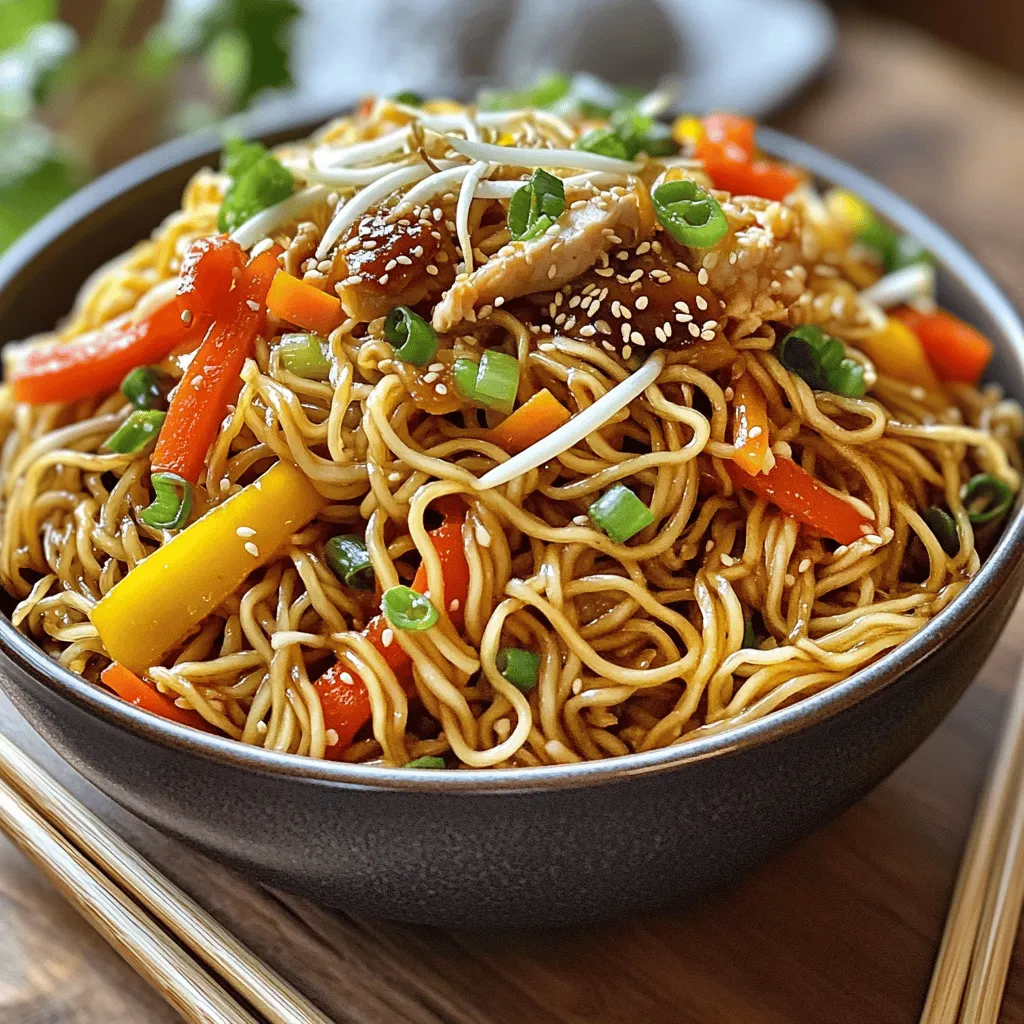
Craving something bold and comforting? Let me guide you through making Fiery Chicken Ramen with Creamy Garlic Sauce. This dish
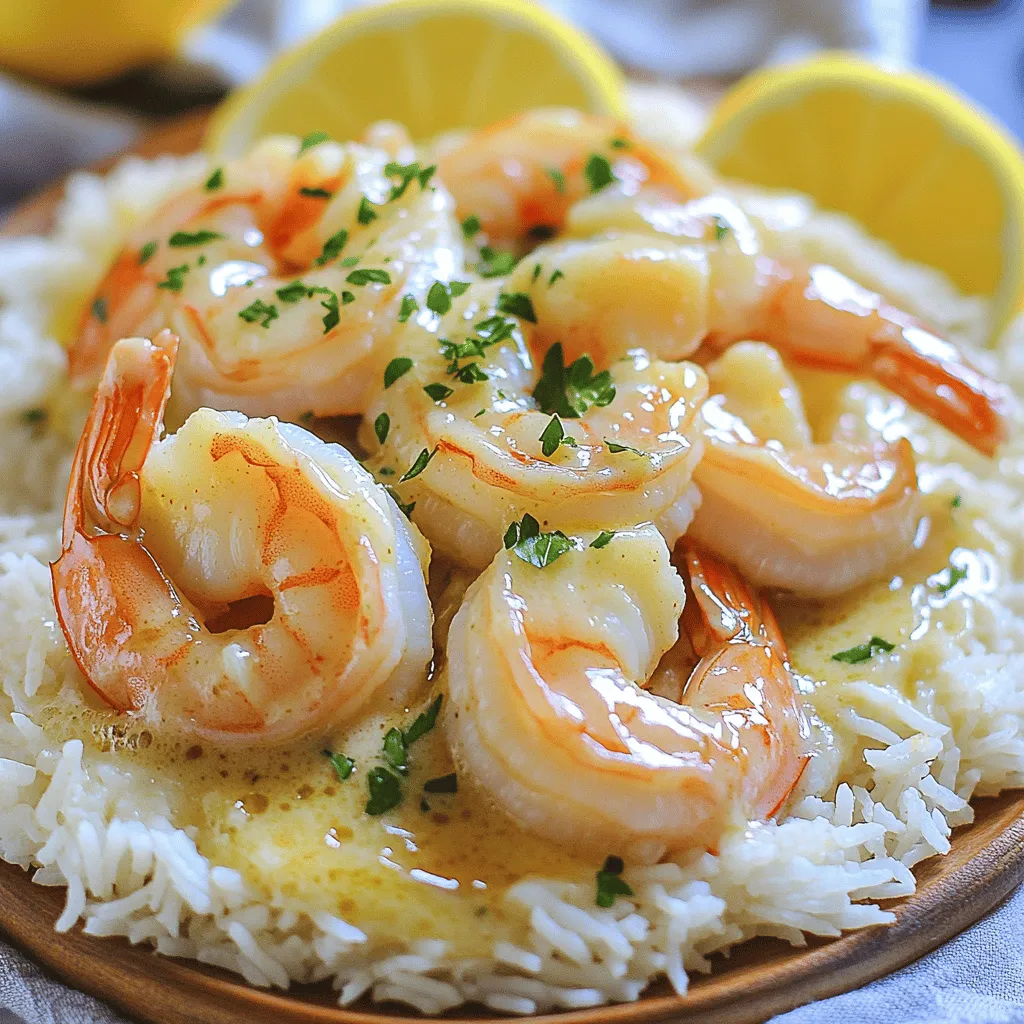
If you’re craving a quick and tasty meal, look no further! My Easy Creamy Garlic Shrimp recipe combines rich flavors
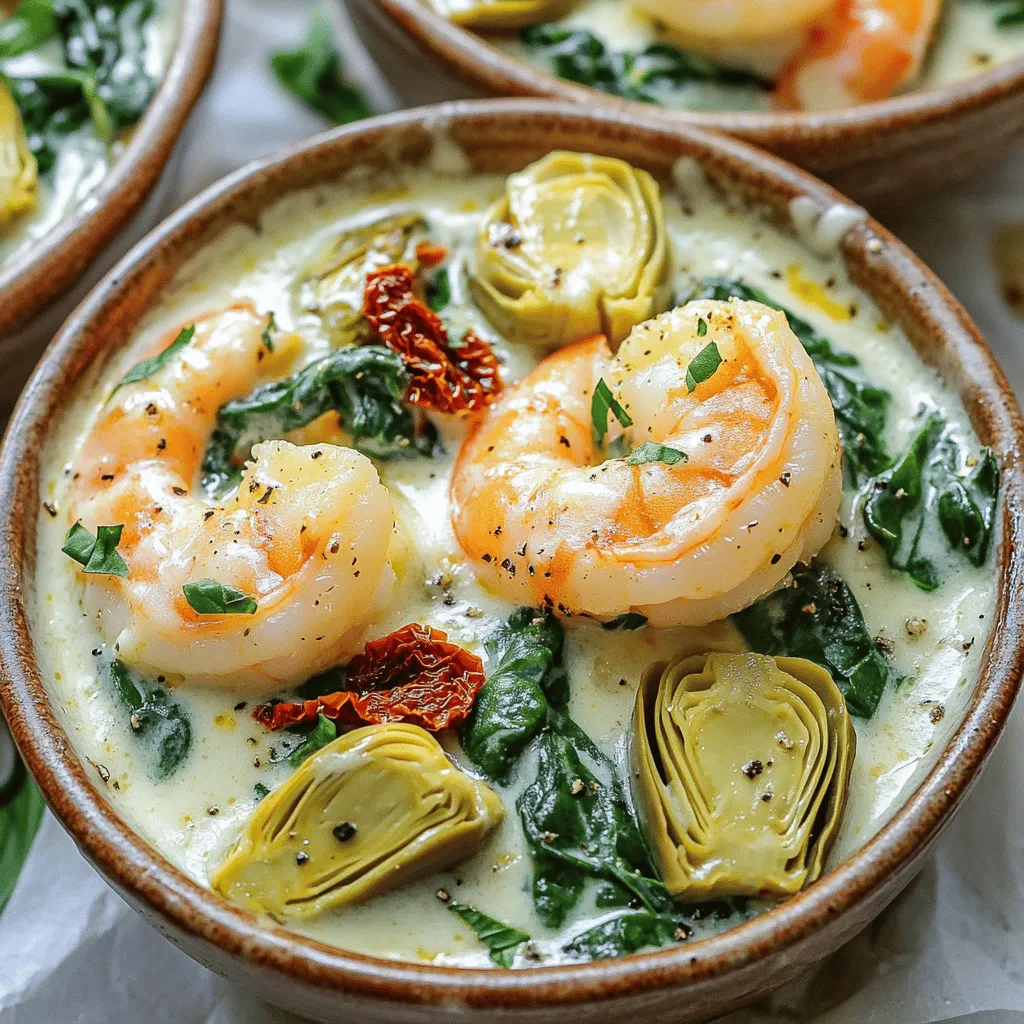
Are you ready to indulge in a creamy, flavorful dish? Tuscan Shrimp with Spinach Artichokes combines succulent shrimp, fresh spinach,
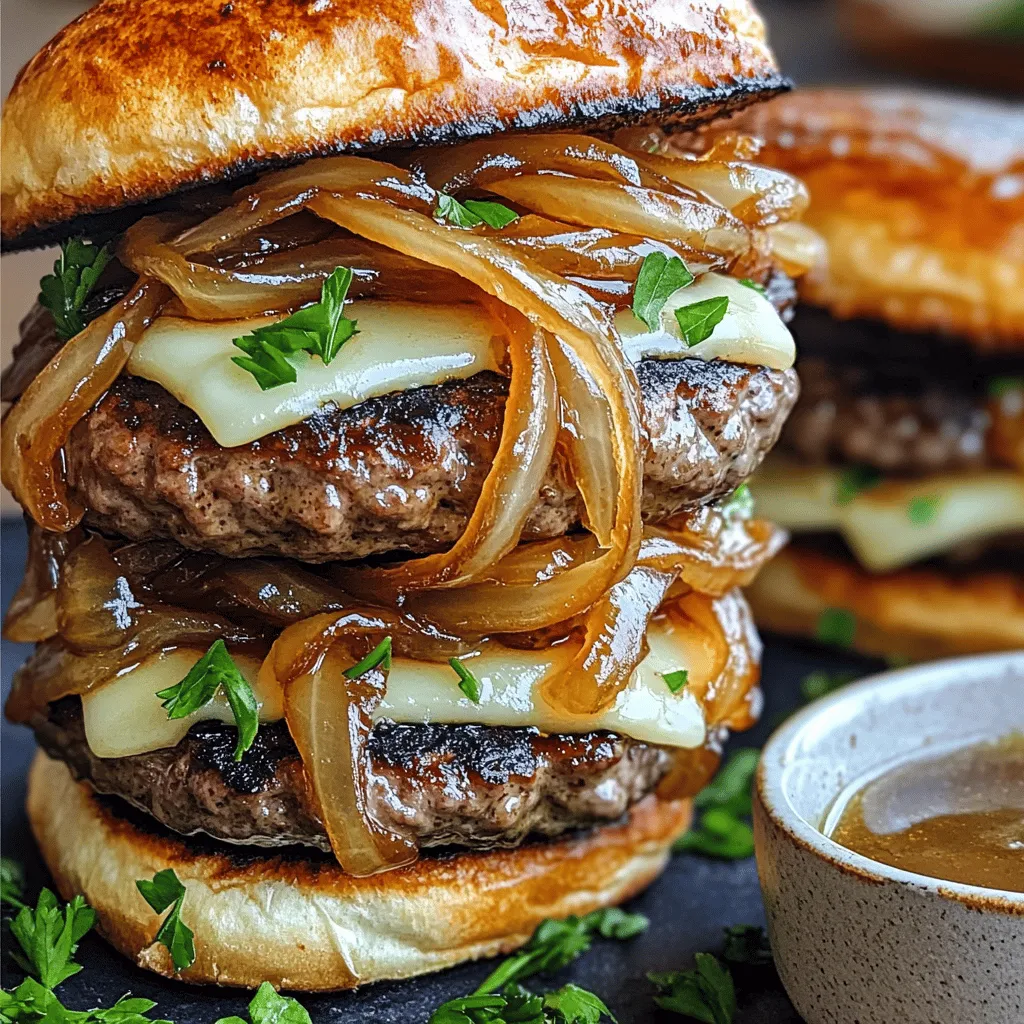
Are you ready to take your burger game to the next level? French Onion Soup Burgers combine the bold flavors
![To create a delicious Grilled Shrimp Bowl with Avocado Corn Salsa, you will need: - 1 lb large shrimp, peeled and deveined - 2 tablespoons olive oil - 1 teaspoon smoked paprika - 1 teaspoon garlic powder - 1 teaspoon cumin - Salt and pepper to taste - 2 cups cooked quinoa or brown rice These main ingredients form the tasty base of your dish. The shrimp bring a sweet, briny flavor, while spices add depth. Quinoa or brown rice gives you a hearty base to soak up all the flavors. For the bright and fresh avocado corn salsa, gather: - 1 cup corn (fresh or frozen) - 1 avocado, diced - 1 medium tomato, diced - 1/4 red onion, finely chopped - Juice of 1 lime This salsa is a colorful mix. The corn offers crunch, while avocado gives creaminess. Lime juice adds a zesty kick, balancing the richness of the avocado. You can enhance your bowl with: - Fresh cilantro, chopped, for garnish - Additional spices or toppings Fresh cilantro adds a pop of flavor and color. You can also add extra spices, like chili powder or a sprinkle of cheese, for fun twists. For the full recipe, check the [Full Recipe]. First, let's marinate the shrimp. In a bowl, mix the shrimp with olive oil, smoked paprika, garlic powder, cumin, salt, and pepper. Toss well to coat the shrimp evenly. Let it sit for at least 15 minutes. This helps the shrimp soak up all the flavors. Next, preheat your grill to medium-high heat. Make sure your grill is clean. This step helps prevent the shrimp from sticking. A well-oiled grill is key for a great cook. Now, it’s time to grill the shrimp. If you’re using skewers, thread the marinated shrimp onto them. If you have wooden skewers, soak them in water for 30 minutes beforehand. This keeps them from burning. Place the skewers on the grill once it's hot. Cook the shrimp for about 2-3 minutes on each side. They should turn pink and opaque when done. Remove them from the grill and set aside. While the shrimp cook, prepare the salsa. In a medium bowl, add corn, diced avocado, tomato, red onion, and lime juice. Sprinkle in some salt and pepper. Mix gently to combine the ingredients. Be careful not to mash the avocado; you want nice chunks for texture. For a fresh taste, use ripe avocado and fresh ingredients. This makes the salsa bright and flavorful. Now you’re ready to build your delicious Grilled Shrimp Bowl with Avocado Corn Salsa! Check the Full Recipe for more details. To make sure your shrimp don’t stick, oil your grill well. A clean grill helps too. Use a paper towel dipped in oil, and wipe down the grates. This simple step keeps your shrimp intact when flipping. For perfect grill marks, preheat the grill to medium-high heat. Place the shrimp on the grill without moving them for 2-3 minutes. When you see nice marks, flip them. This gives you that restaurant look at home. Choosing a ripe avocado is key. Look for an avocado that feels slightly soft when you squeeze it. If it’s too hard, wait a few days. A ripe avocado adds a creamy texture to your salsa. Balancing the flavors in the salsa is also important. Use fresh lime juice to add brightness. The lime cuts through the richness of the avocado. Mix in some salt to enhance all the flavors. Remember, taste as you go! For ideal pairings, serve your shrimp bowl with a light salad. A simple green salad works well. You can also add a slice of crusty bread for crunch. When it comes to presentation, use clear bowls for a colorful display. Layer the quinoa or rice at the bottom. Top with shrimp and salsa. Finish with a sprinkle of cilantro for a pop of color. This makes your dish look as good as it tastes! {{image_2}} You can easily switch the shrimp for chicken or tofu. Chicken adds a hearty texture. Use boneless, skinless chicken breasts for the best results. Cut them into bite-sized pieces for even cooking. Tofu is a great choice for vegetarians. Press it to remove excess water, then marinate just like the shrimp. Feel free to add different vegetables to the salsa. Try bell peppers for crunch or diced cucumber for freshness. You can also mix in fruits like mango for a sweet twist. Experiment with herbs, too! Fresh basil or mint can brighten the flavors and add depth. If you want to change things up, switch to other grains. Couscous or farro are great options that cook quickly. They add a nutty flavor and texture. For a low-carb choice, use cauliflower rice. It’s light and will soak up all that delicious salsa. To keep your grilled shrimp and avocado corn salsa fresh, follow these tips: - Shrimp: Store in an airtight container. Use within 2 days for best taste. - Salsa: Place in a separate container. Consume within 1 day to avoid browning. - Containers: Glass or BPA-free plastic containers work well. Label them with dates for easy tracking. Reheat grilled shrimp gently to keep them tender: - Shrimp: Warm in a skillet over low heat. Stir often for even heating. Do not overcook. - Salsa: Enjoy cold for the best taste. If you prefer warm, heat briefly in the microwave. This helps keep the avocado from getting mushy. Freezing is great for longer storage: - Shrimp: Freeze in a single layer on a baking sheet. Once firm, transfer to a freezer bag. - Salsa: Freeze ingredients separately. Avoid freezing avocado, as it changes texture. - Thawing: Thaw shrimp overnight in the fridge. For salsa, let it sit at room temperature for a bit before mixing again. With these tips, you can enjoy your Grilled Shrimp Bowl with Avocado Corn Salsa later. For the complete recipe, check the Full Recipe section. You should grill shrimp for about 2-3 minutes per side. This time works well for large shrimp, which cook fast. When they turn pink and opaque, they are done. Avoid overcooking, as shrimp can become tough and chewy. Yes, you can prepare the salsa ahead. To keep the avocado fresh, add lime juice right before serving. Store the salsa in an airtight container in the fridge. This helps to slow down browning. Mix gently to avoid mashing the avocado. Pair your grilled shrimp bowl with simple sides. Here are some great options: - Grilled vegetables for added flavor. - A fresh green salad to balance the meal. - Crusty bread to soak up any juices. These sides complement the shrimp and salsa well. You can also try different grains or dips. Feel free to explore your favorites! For the full recipe, check out the [Full Recipe] section. In this post, we explored a tasty grilled shrimp bowl. We covered key ingredients like shrimp, quinoa, and fresh avocado corn salsa. I shared easy steps for marinating and grilling shrimp. You learned tips for making delicious salsa and different ways to serve it. Now, enjoy experimenting with flavors and make this meal your own. Feel free to switch ingredients or try new combinations. Cooking should be fun, so let your creativity shine and savor every bite!](https://easycookingbite.com/wp-content/uploads/2025/04/707b2ac8-2195-4b75-a0d6-92c2073f7896.webp)
Get ready for a fresh and vibrant meal that’s perfect for any occasion! My Grilled Shrimp Bowl with Avocado Corn
Craving a delicious meal that’s quick to whip up? You’re in the right place! In this post, I’ll share my
