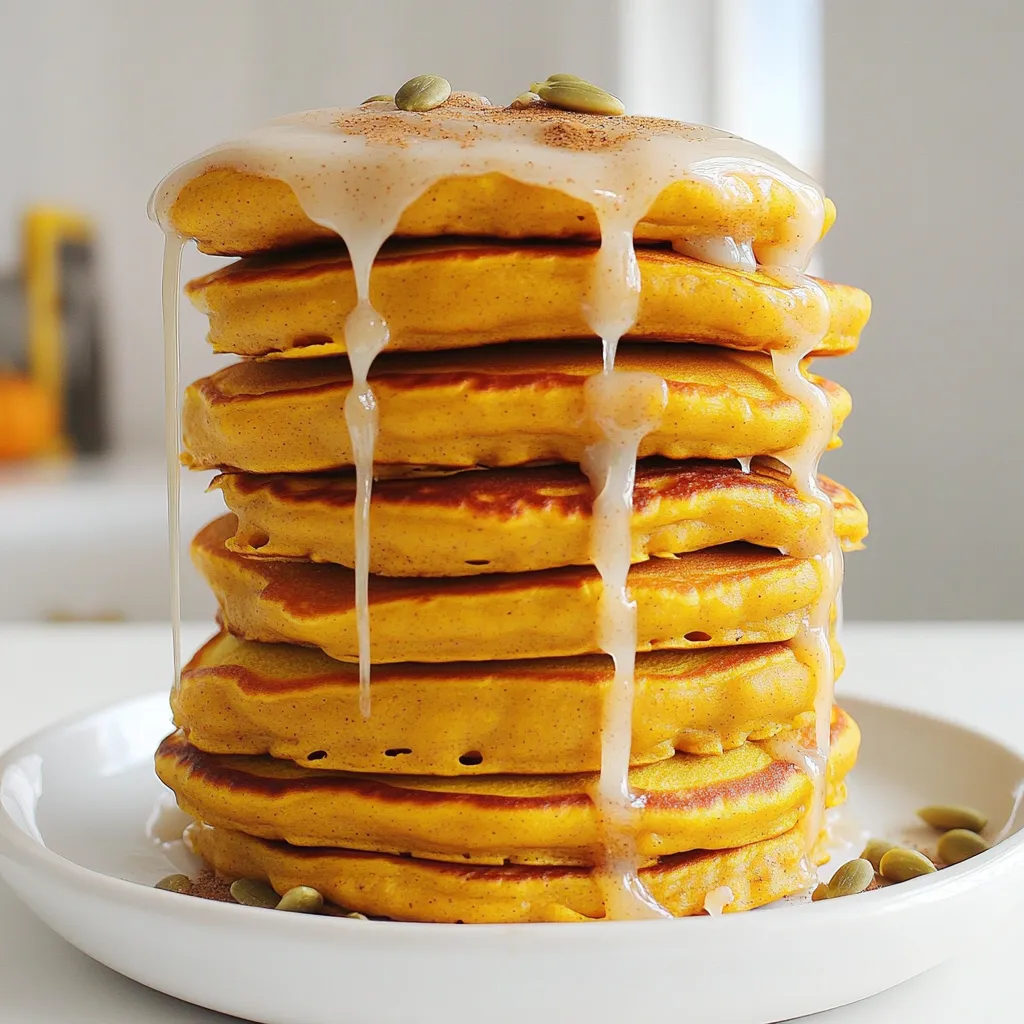
Cinnamon Roll Pumpkin Pancakes Irresistible Fall Treat
Get ready for a cozy fall treat with my Cinnamon Roll Pumpkin Pancakes! These fluffy pancakes blend warm spices and
Get ready for a cozy fall treat with my Cinnamon Roll Pumpkin Pancakes! These fluffy pancakes blend warm spices and
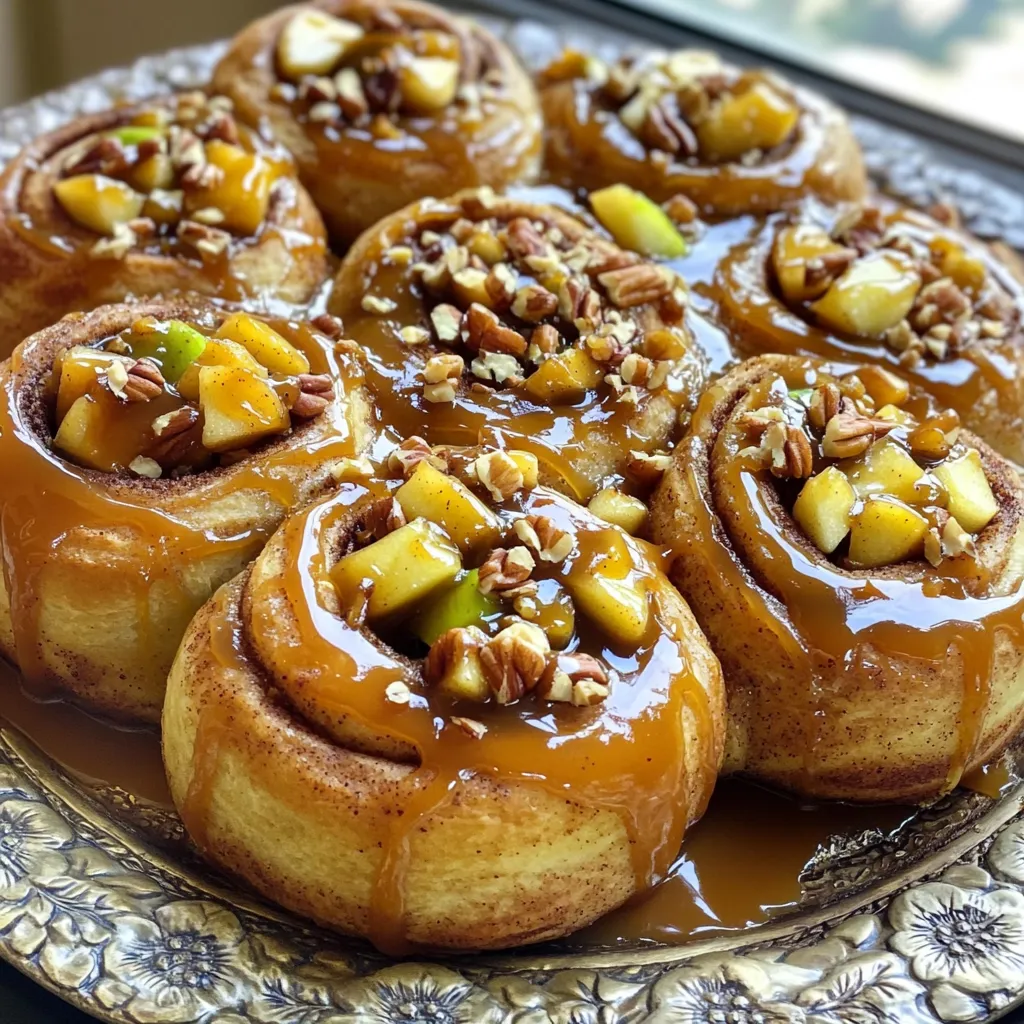
Are you ready to treat yourself to a warm, gooey delight? My Caramel Apple Cinnamon Rolls combine the sweet taste
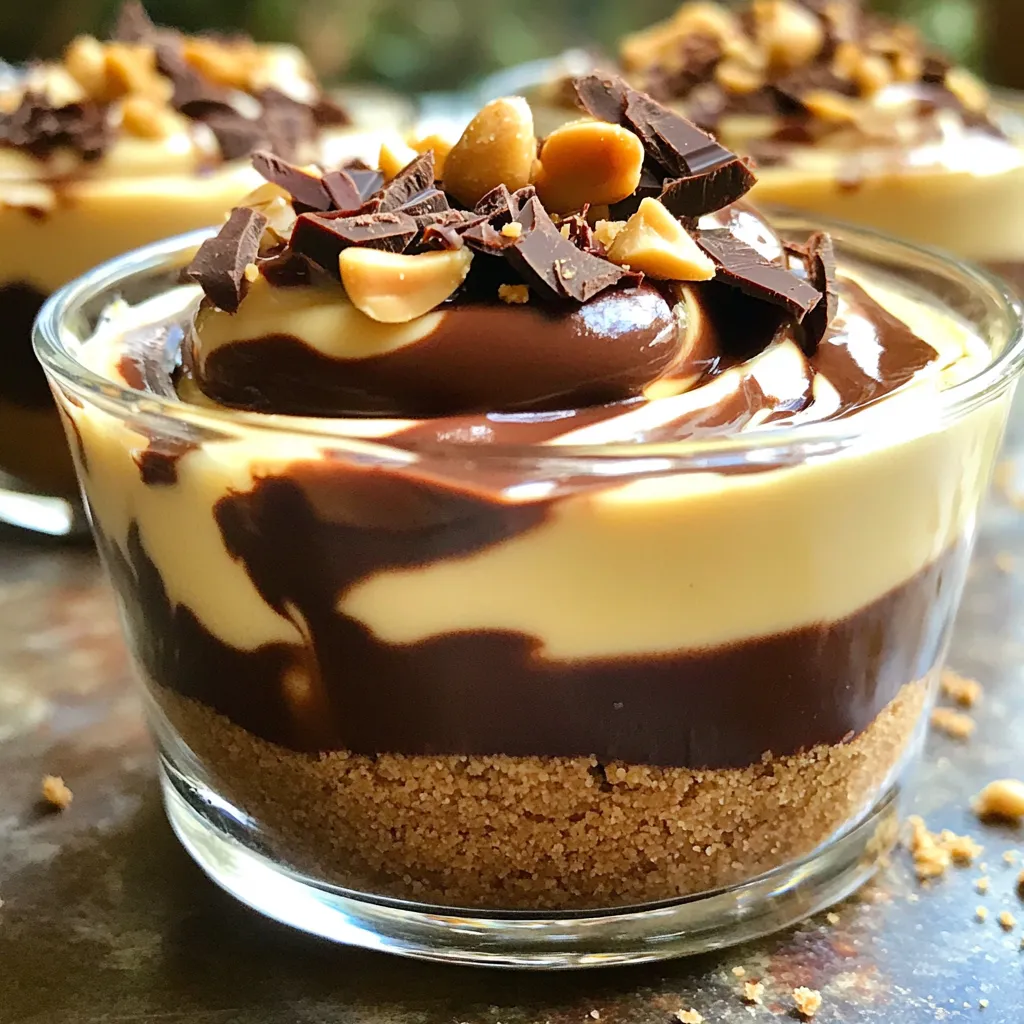
Are you ready for a dessert that combines smooth chocolate and rich peanut butter? These No-Bake Chocolate Peanut Butter Cheesecake
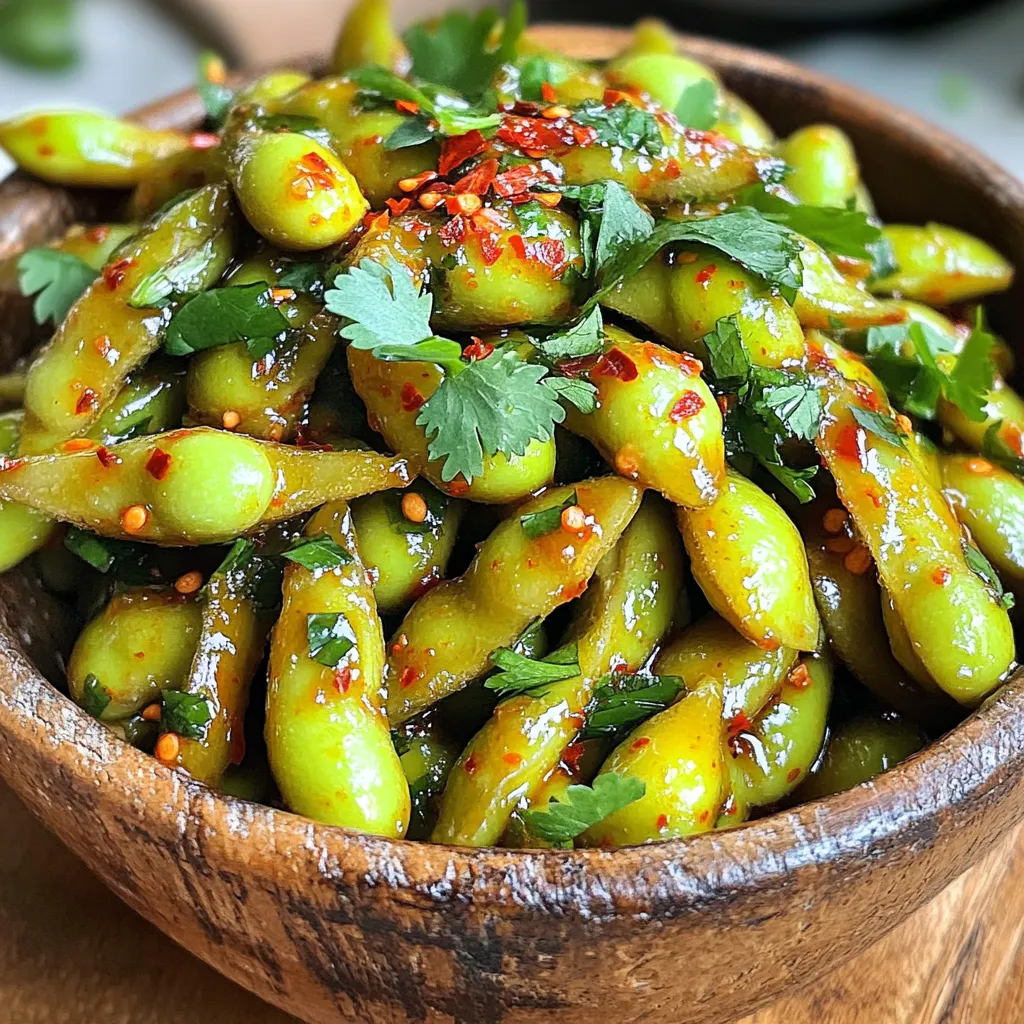
Looking for a quick and tasty snack? Try my Chili Garlic Edamame Snack for a spicy flavor boost! This easy

Get ready to savor a dish that’s both quick and delicious: One-Pot Creamy Pesto Shrimp Linguine! This meal is perfect
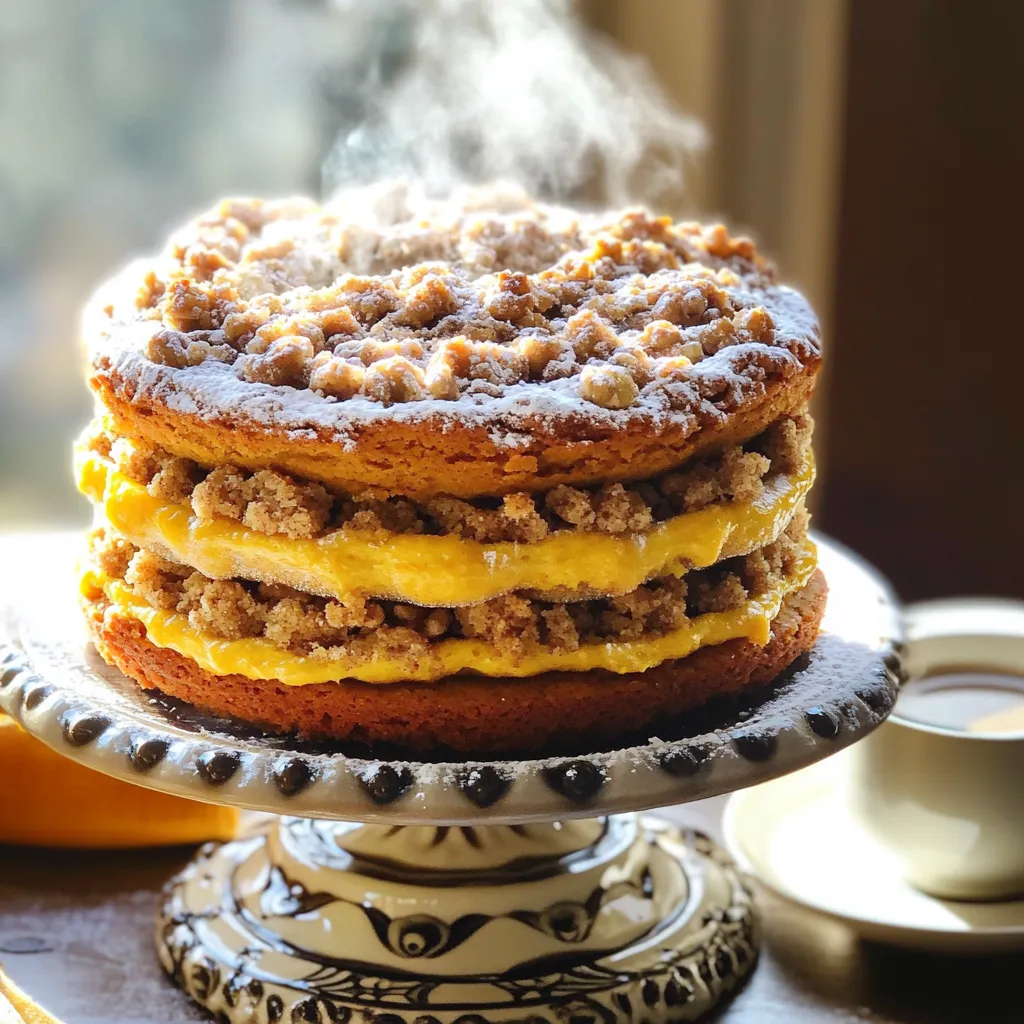
Are you ready to bake something special? This Pumpkin Streusel Coffee Cake is a simple treat that packs big flavor.
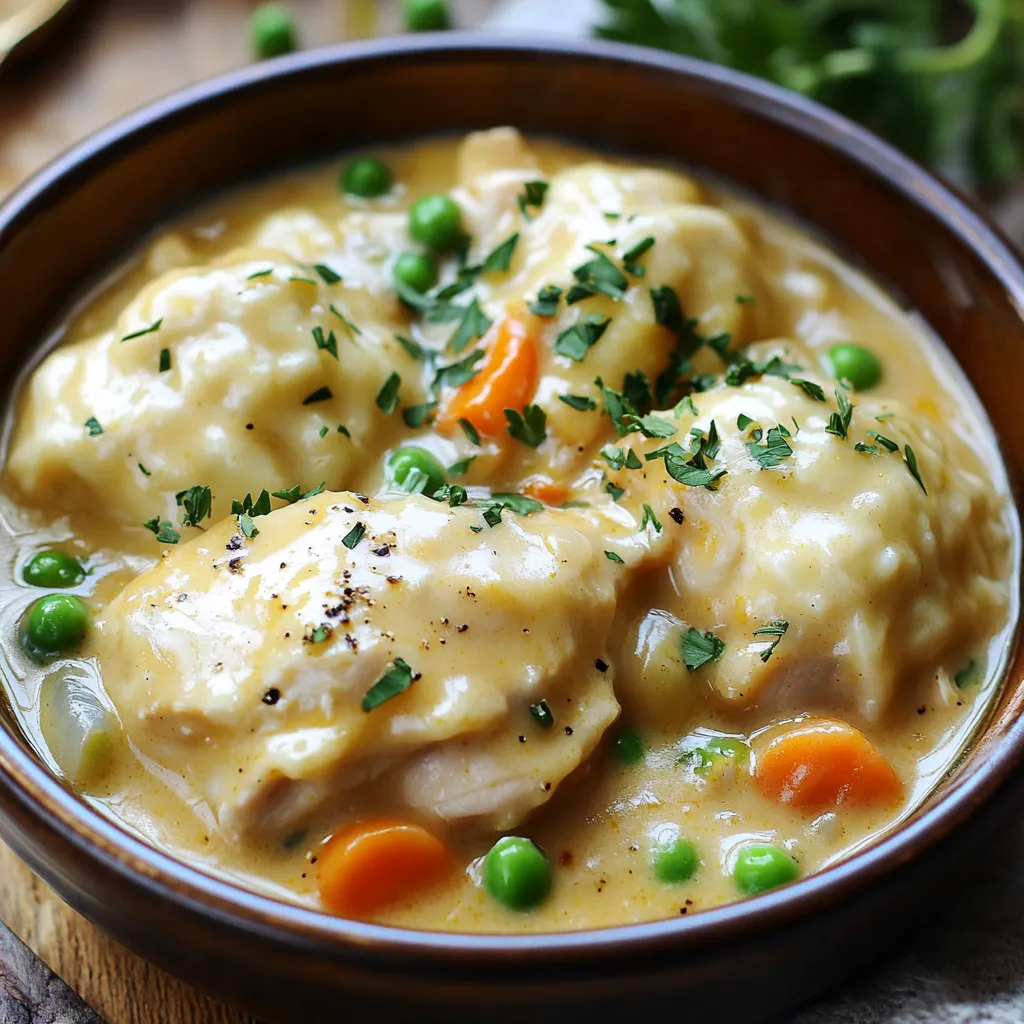
Craving a warm, hearty meal? Look no further! My Slow Cooker Creamy Chicken and Dumplings Delight is a cozy dish
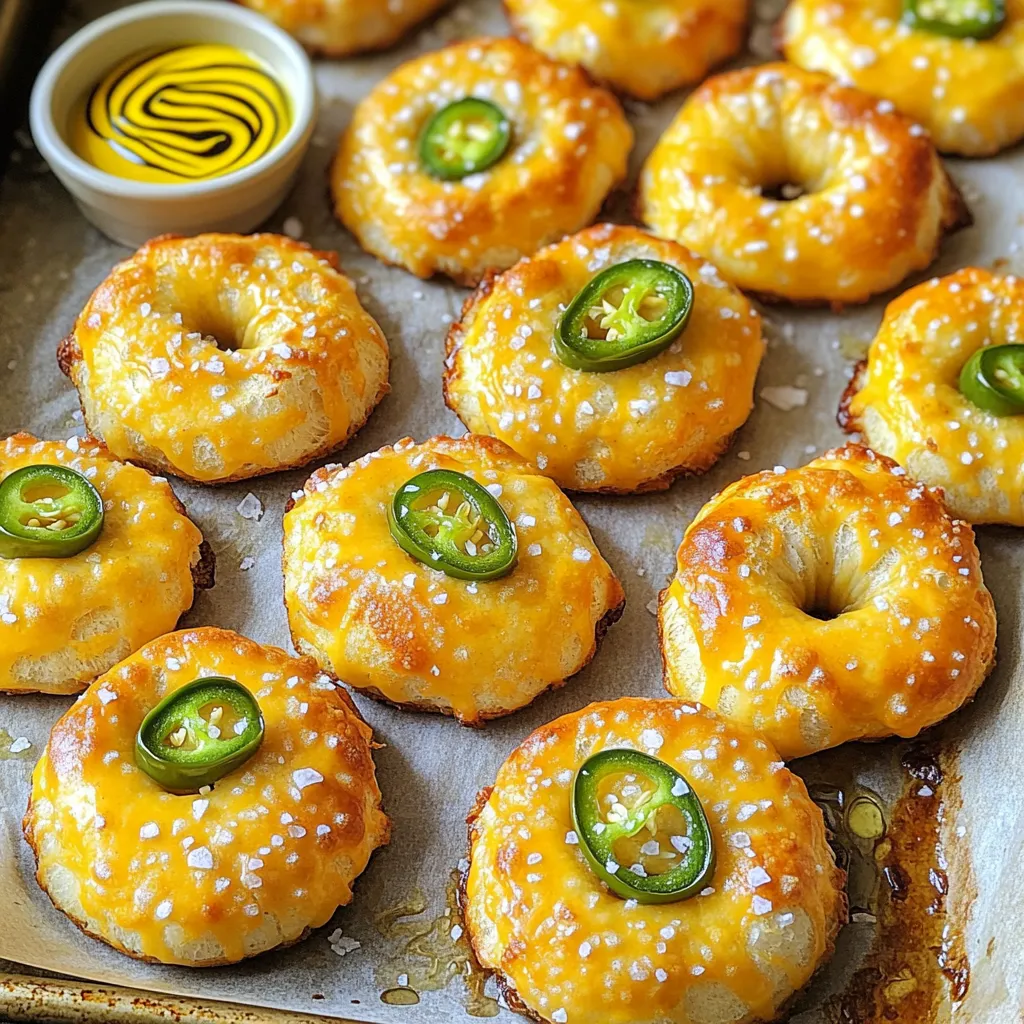
Are you ready for a tasty treat? My Air Fryer Jalapeño Cheddar Pretzel Bites are the perfect snack for any
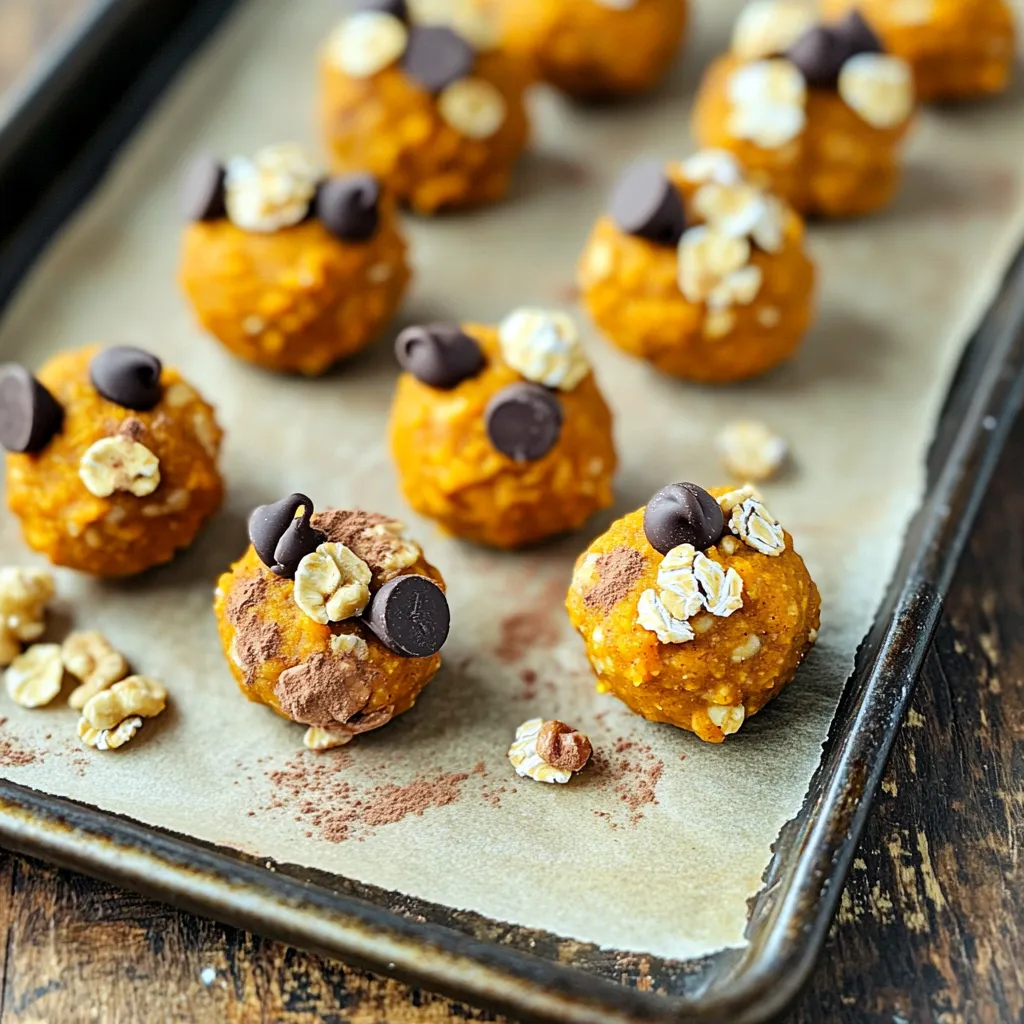
Looking for a tasty, healthy snack? Try my Pumpkin Chocolate Chip Energy Bites! These bites are easy to make and
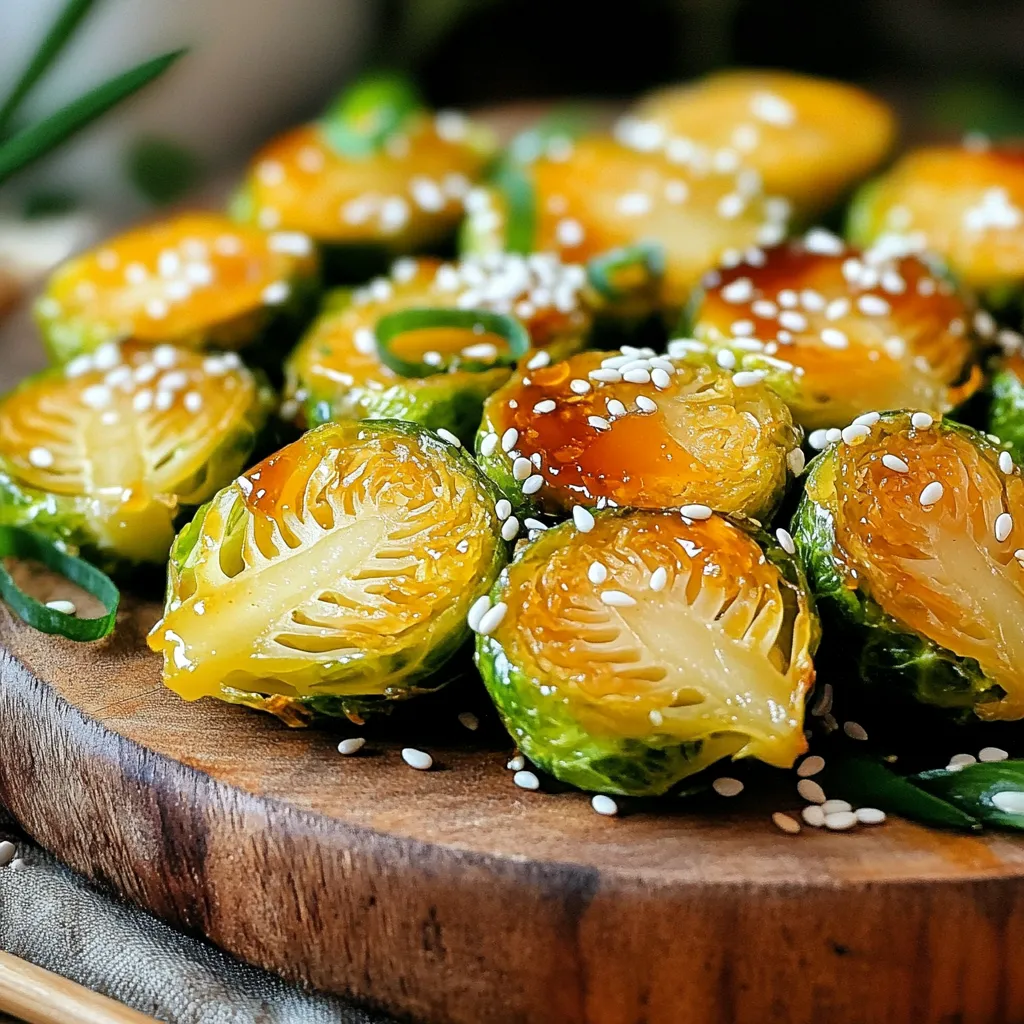
Looking for a side dish that packs a punch? Honey Sriracha Brussels Sprouts hit the mark with sweet and spicy
