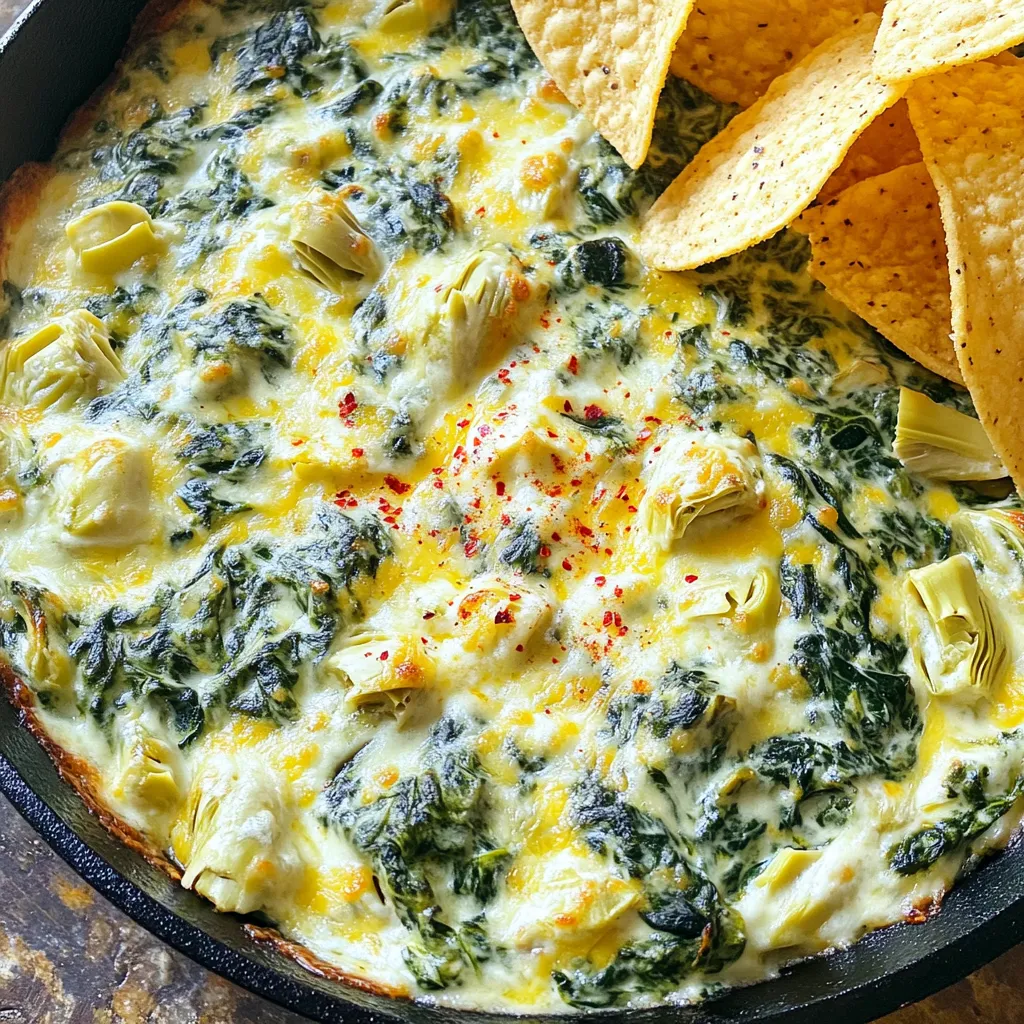
Cheesy Spinach Artichoke Dip Skillet Irresistible Treat
If you love cheesy treats, this Cheesy Spinach Artichoke Dip Skillet is for you! Packed with fresh spinach, artichoke hearts,
If you love cheesy treats, this Cheesy Spinach Artichoke Dip Skillet is for you! Packed with fresh spinach, artichoke hearts,

Dive into the world of easy and delicious with my Baked Lemon Ricotta Pancakes. These pancakes are simple, light, and
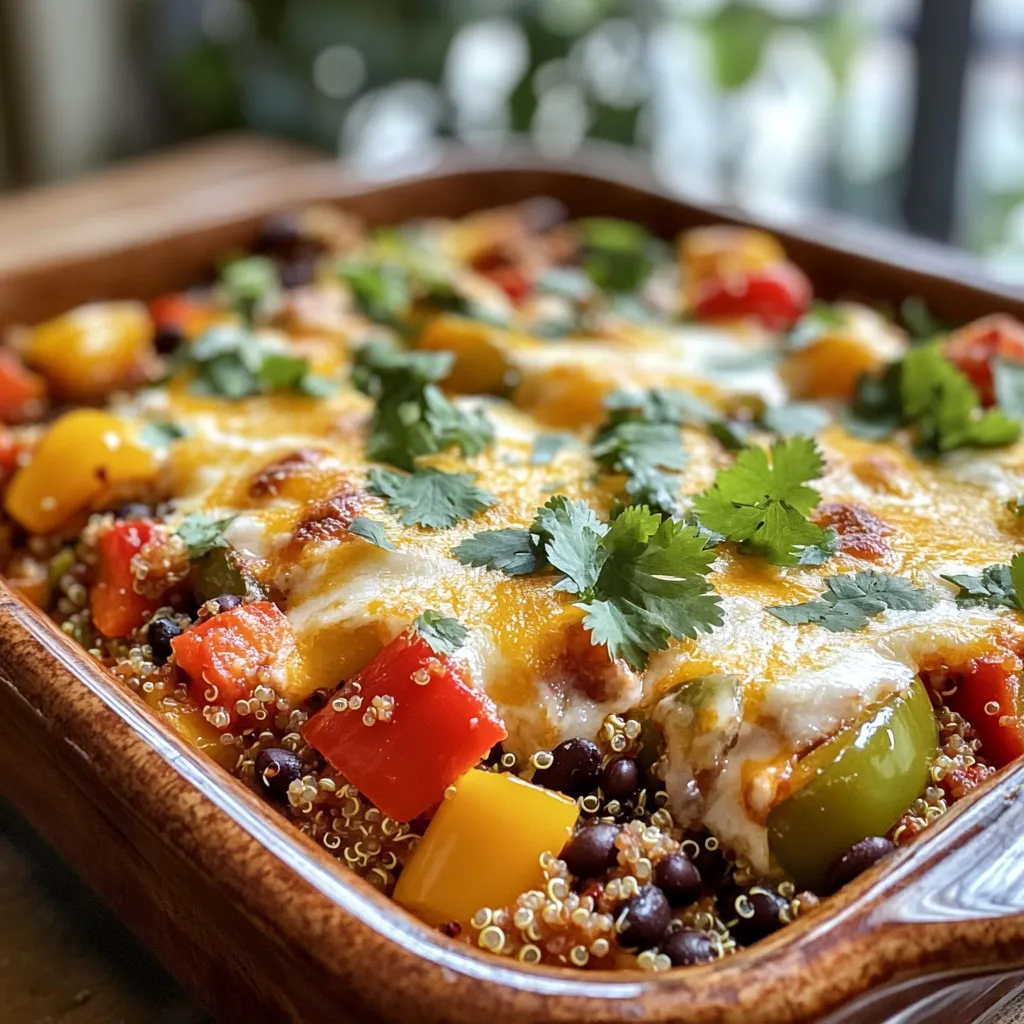
If you’re looking for a simple and tasty meal, you’ve found it! My Stuffed Bell Pepper Casserole is perfect for
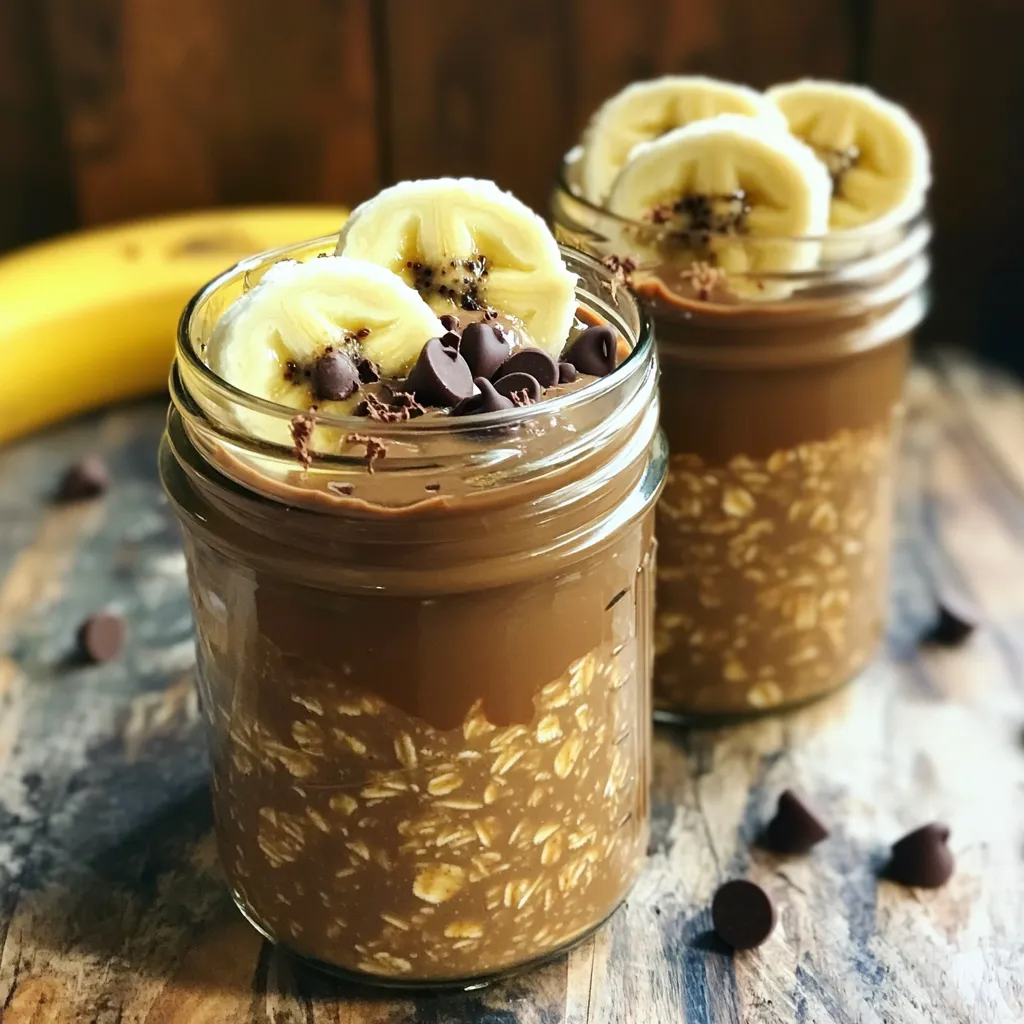
Start your day with a boost of energy and flavor! Mocha Overnight Oats are not only tasty, but they’re also
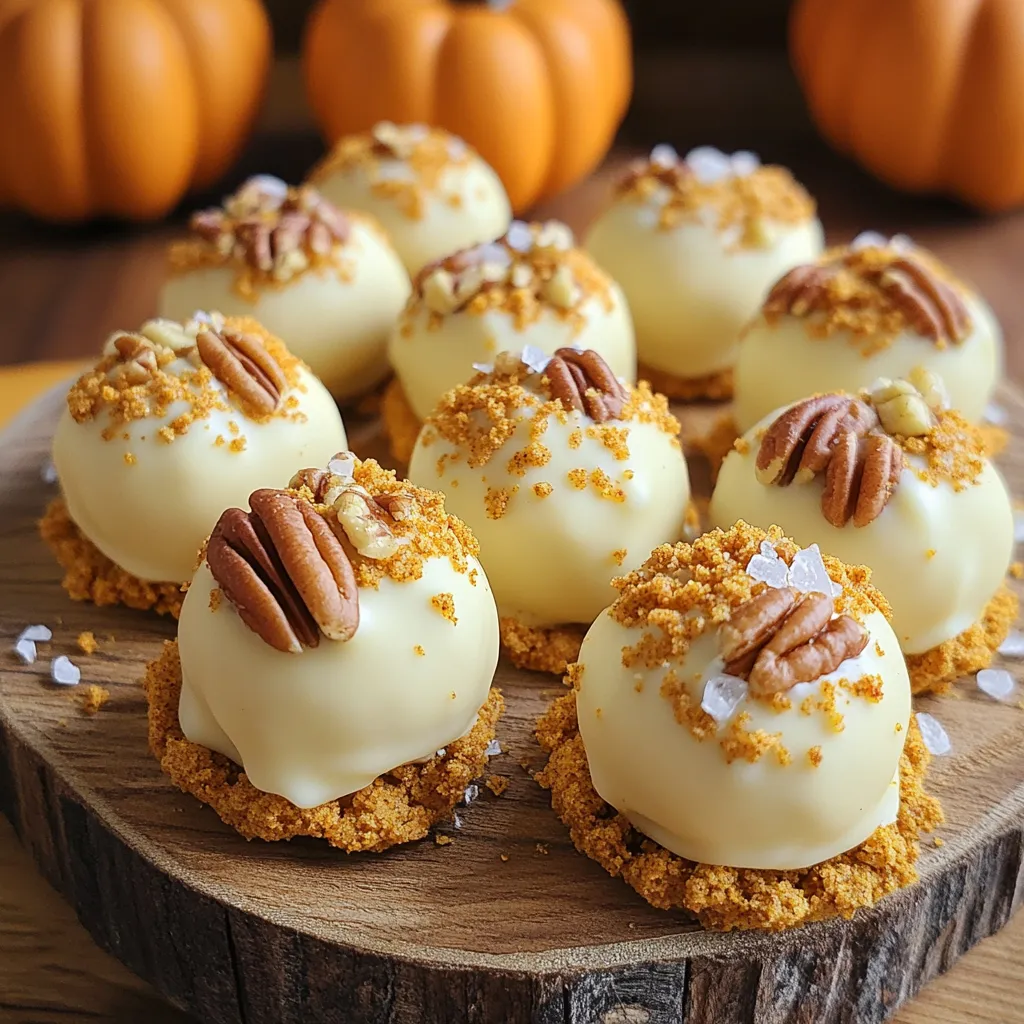
Are you ready to indulge in a sweet treat that screams fall? These Pumpkin Spice White Chocolate Truffles combine creamy
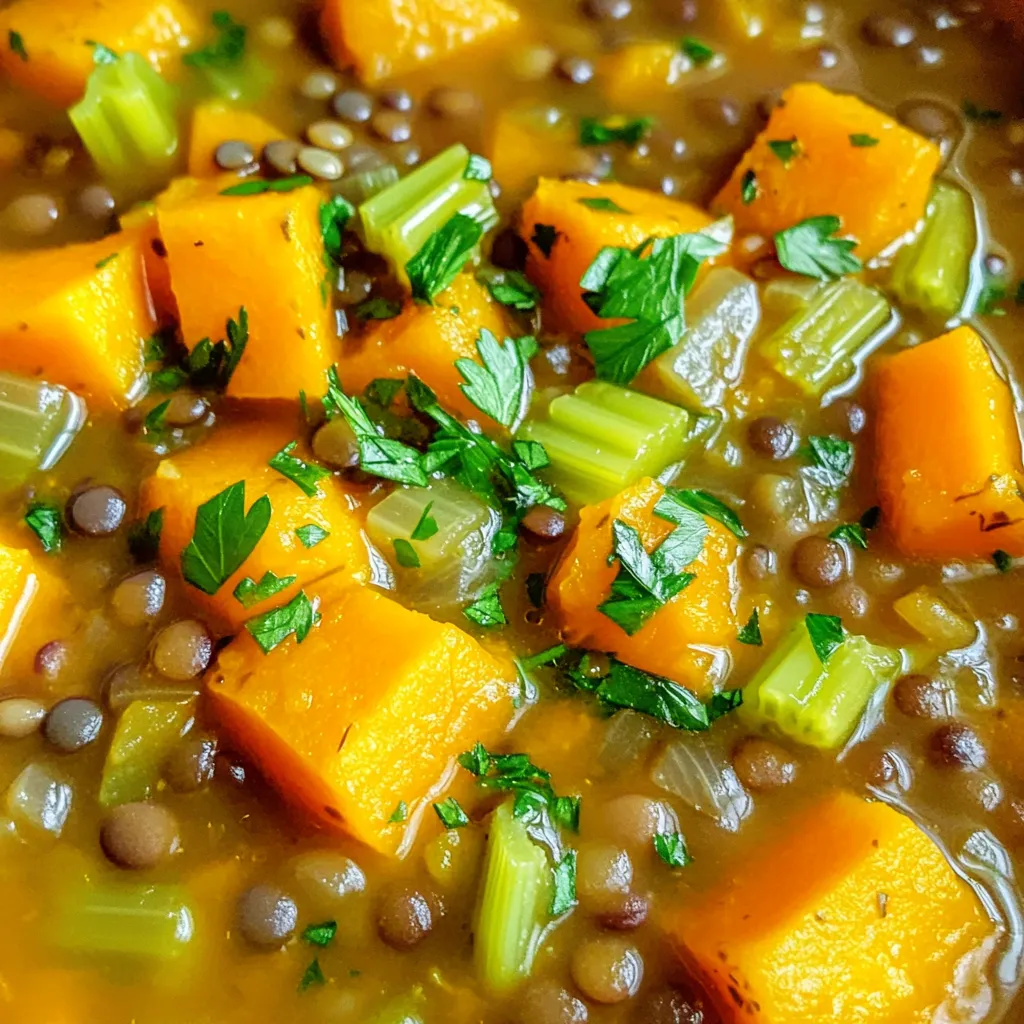
Are you looking for a delicious and healthy meal? Butternut Squash Lentil Stew is both hearty and easy to make.
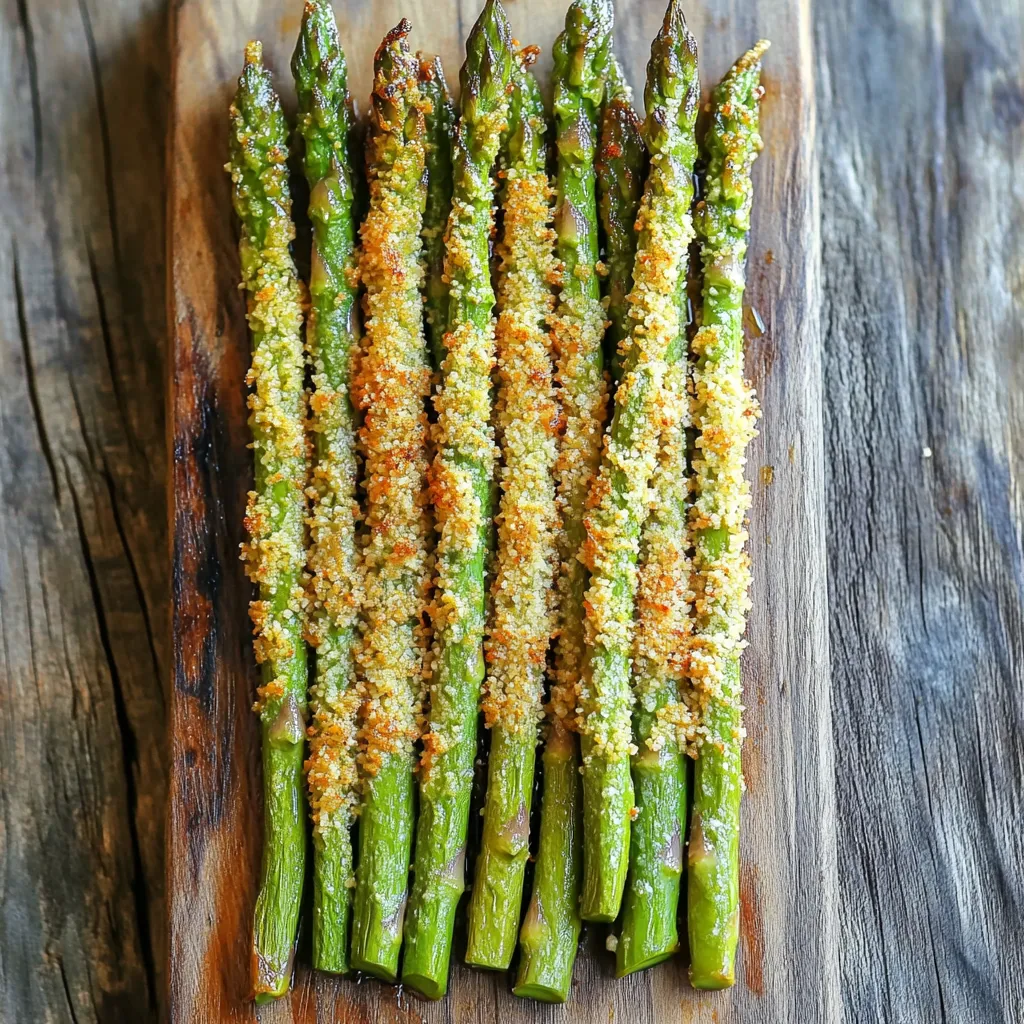
Are you ready to enjoy a crunchy, tasty snack that’s both healthy and easy to make? Air Fryer Parmesan Asparagus
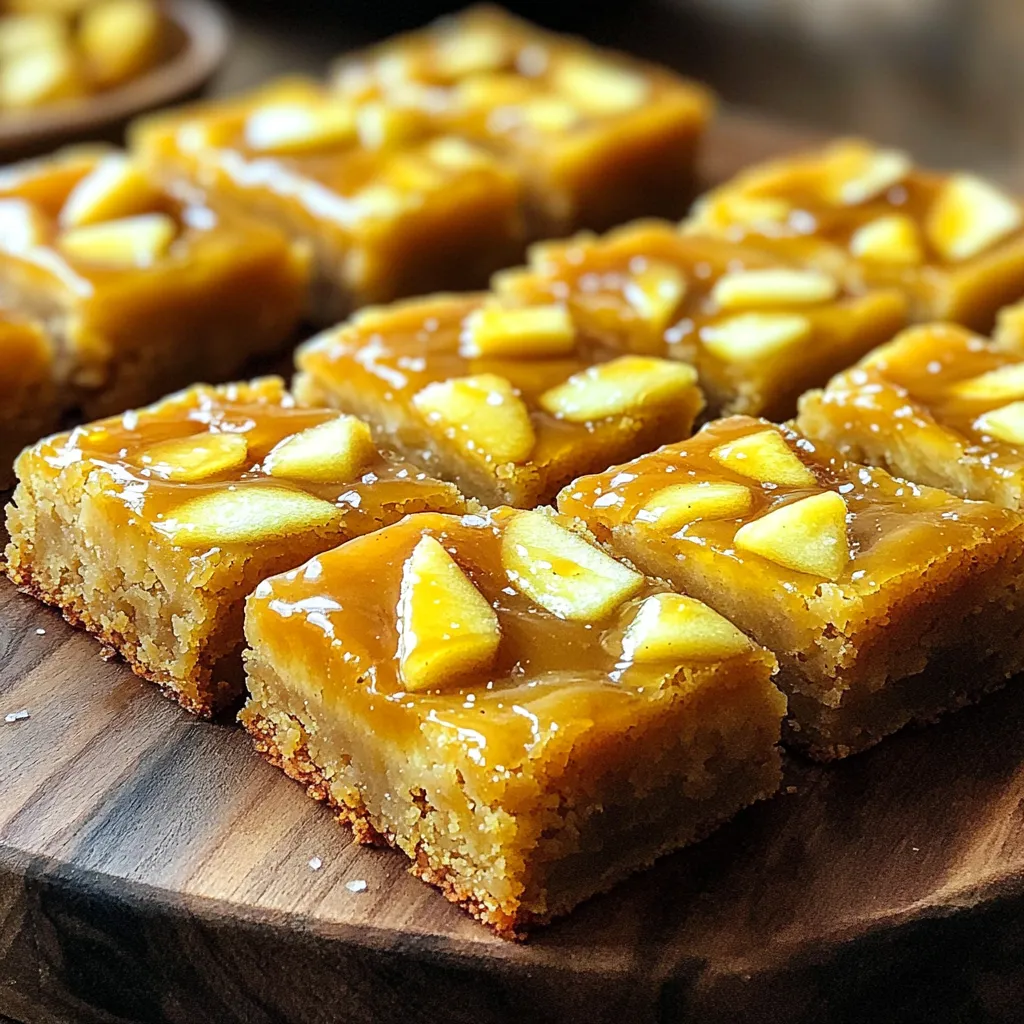
If you love sweet, chewy treats, you’re in for a delightful surprise! My Caramel Apple Cider Blondies bring fall’s favorite

Are you ready to elevate your dinner game with an easy and delicious recipe? This Spicy Garlic Chicken Ramen will
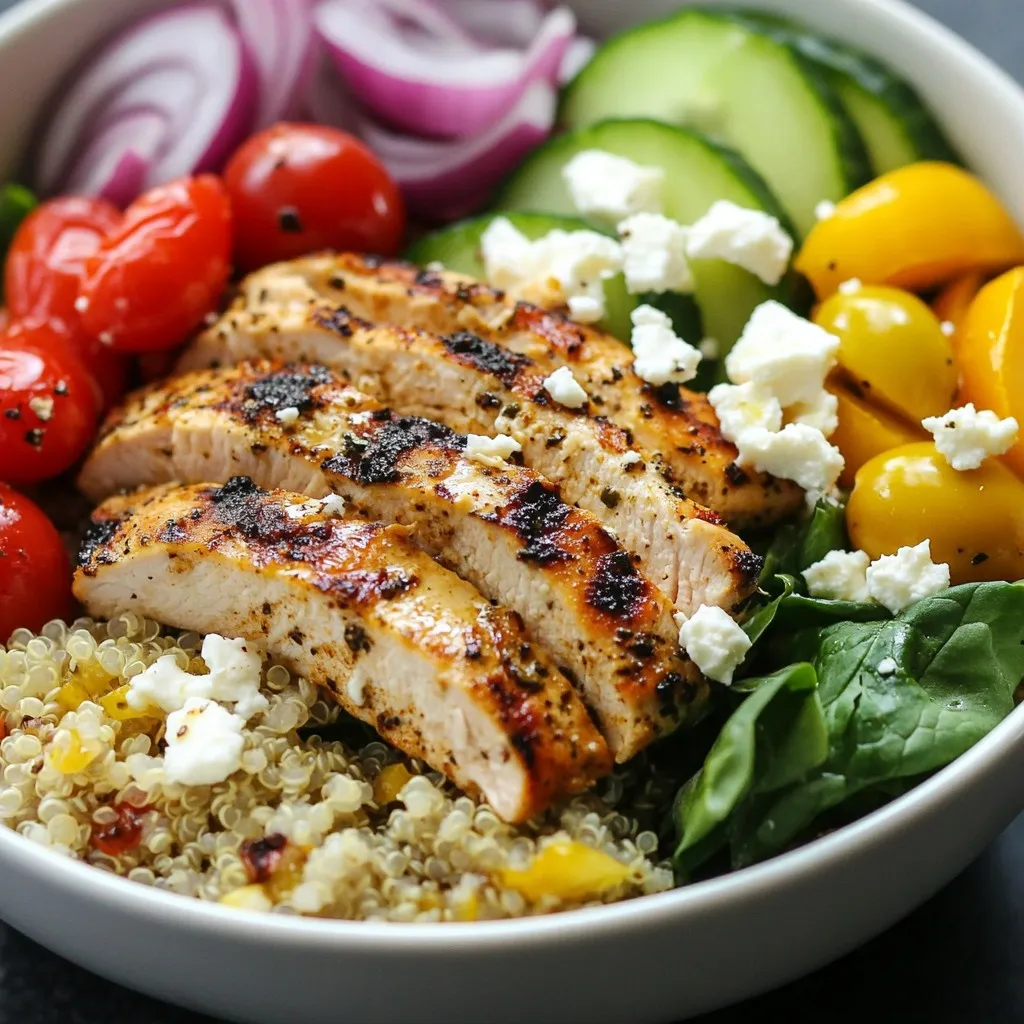
If you crave a tasty meal that’s quick and easy, you’ll love Greek Chicken Gyro Bowls! This recipe is packed
