
No-Bake Oreo Ghost Truffles Spooky and Simple Treat
Get ready for Halloween with these No-Bake Oreo Ghost Truffles! They’re spooky, simple, and perfect for parties. With just a
Get ready for Halloween with these No-Bake Oreo Ghost Truffles! They’re spooky, simple, and perfect for parties. With just a

Are you ready to indulge in some crispy, mouth-watering buttermilk fried chicken tenders? This easy recipe will have you impressing
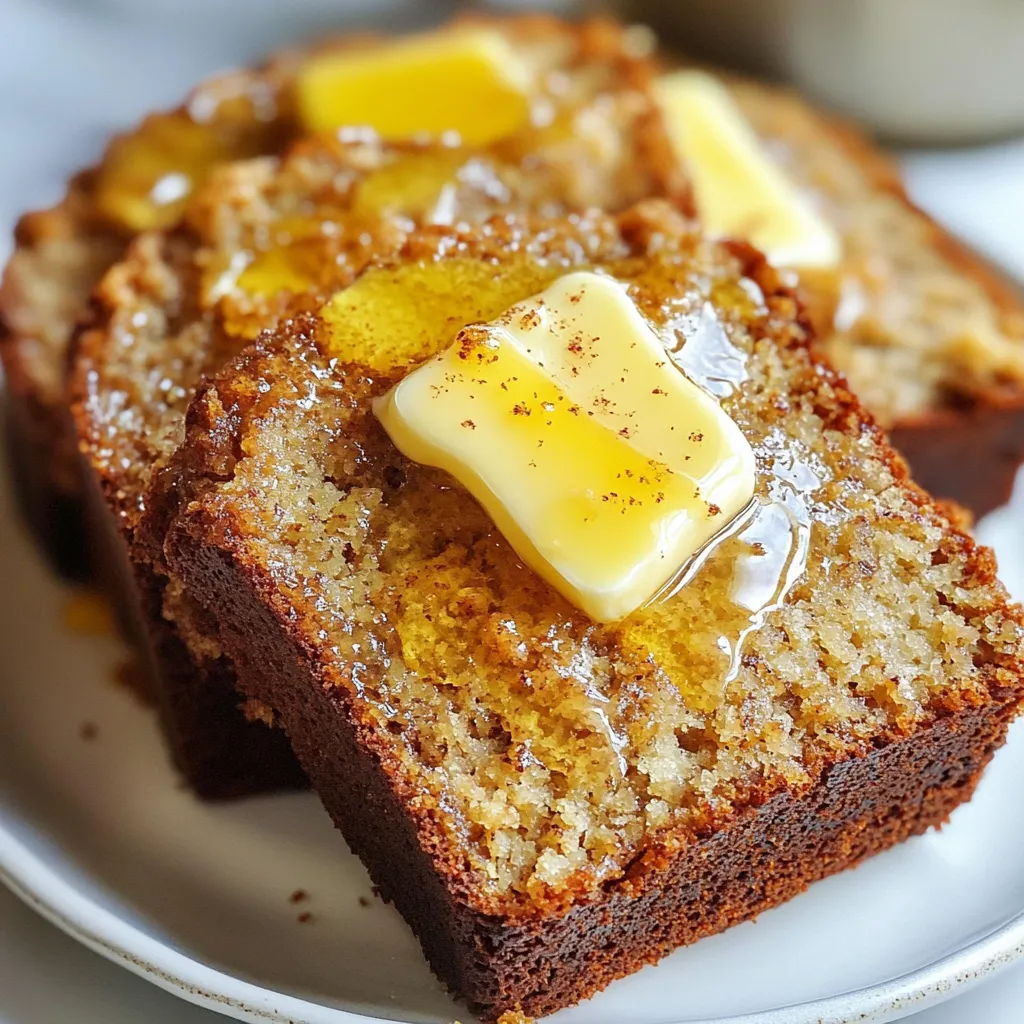
If you’re craving the perfect blend of flavors, my Brown Butter Banana Bread is your answer. This delicious treat combines
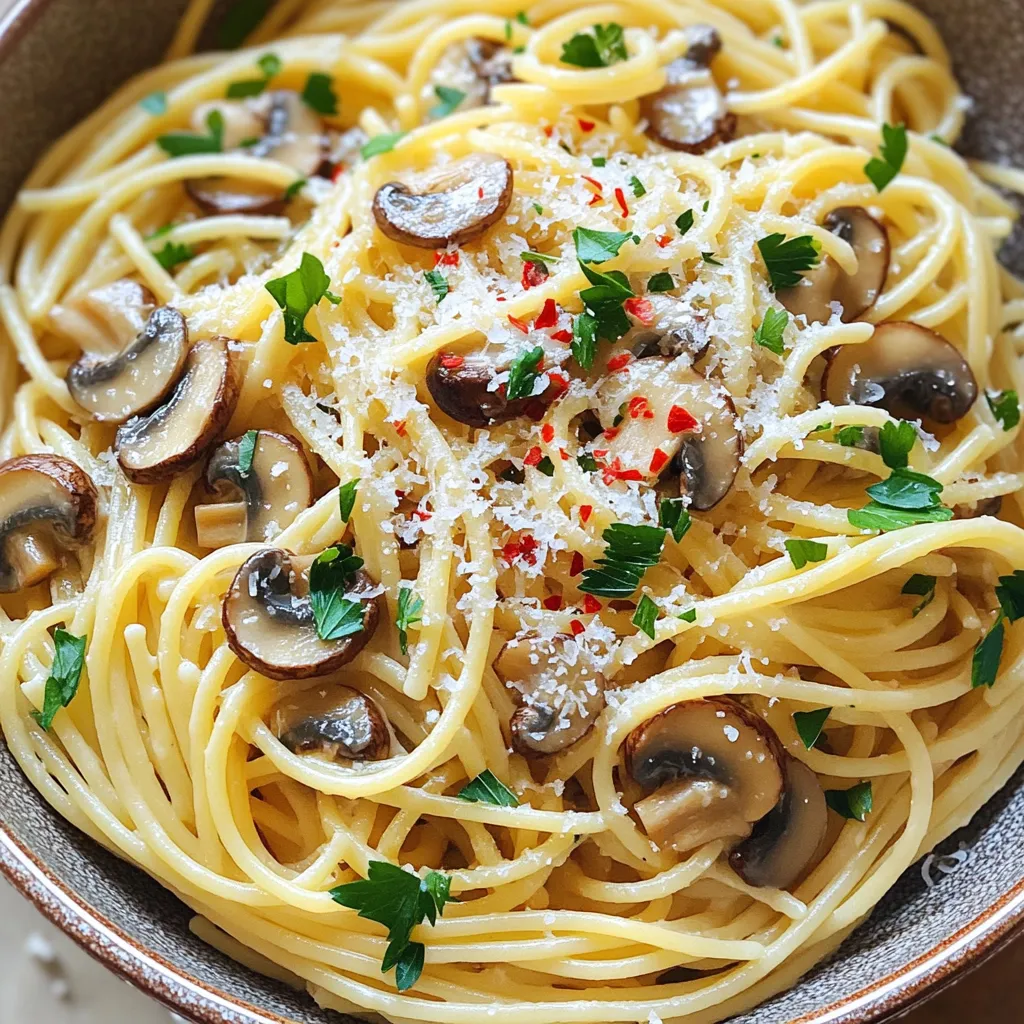
If you crave a fast and tasty dinner, try my Minute Garlic Mushroom Pasta. This dish is simple, quick, and

Looking for a quick and tasty meal? Try these Air Fryer BBQ Chicken Flatbreads! They’re simple to make and packed
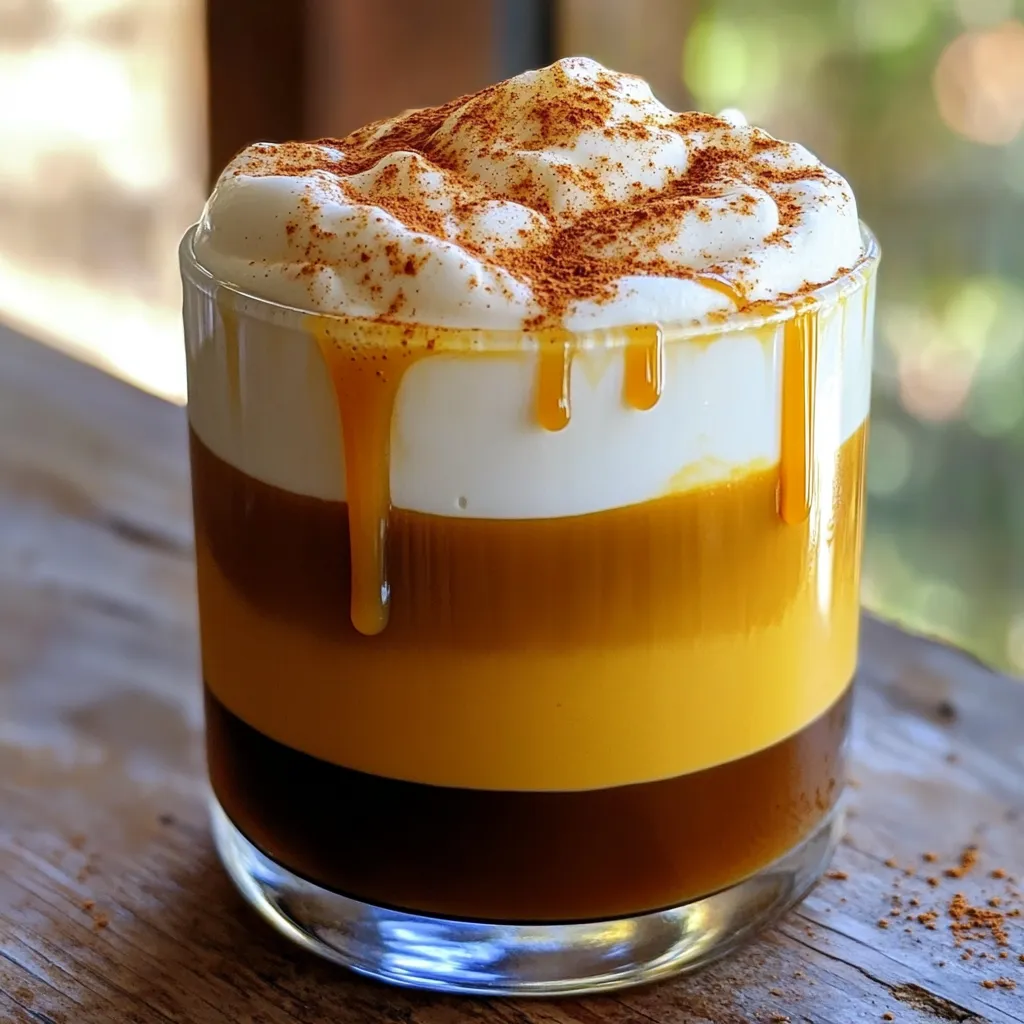
Are you ready to elevate your fall drinks game? My Pumpkin Cream Cold Foam recipe is not only delightful, but

Craving something creamy and tasty? Let me introduce you to Mocha Cottage Cheese Mousse! This dessert is simple, quick, and

If you’re searching for a quick and tasty dinner, look no further! My Sweet & Sour Meatballs Sheet Pan recipe
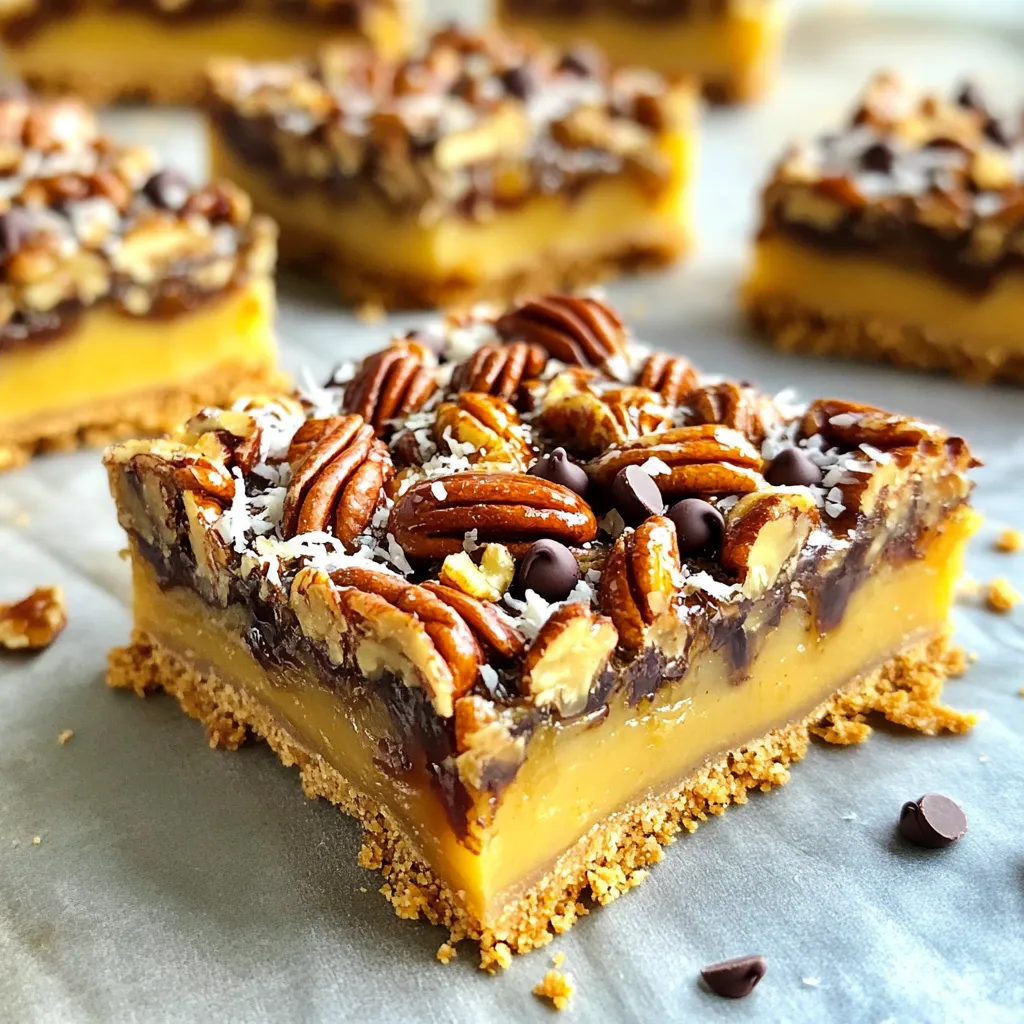
Looking for an easy and tasty dessert? You’ve found it with these No-Bake Maple Pecan Pie Bars! They combine rich
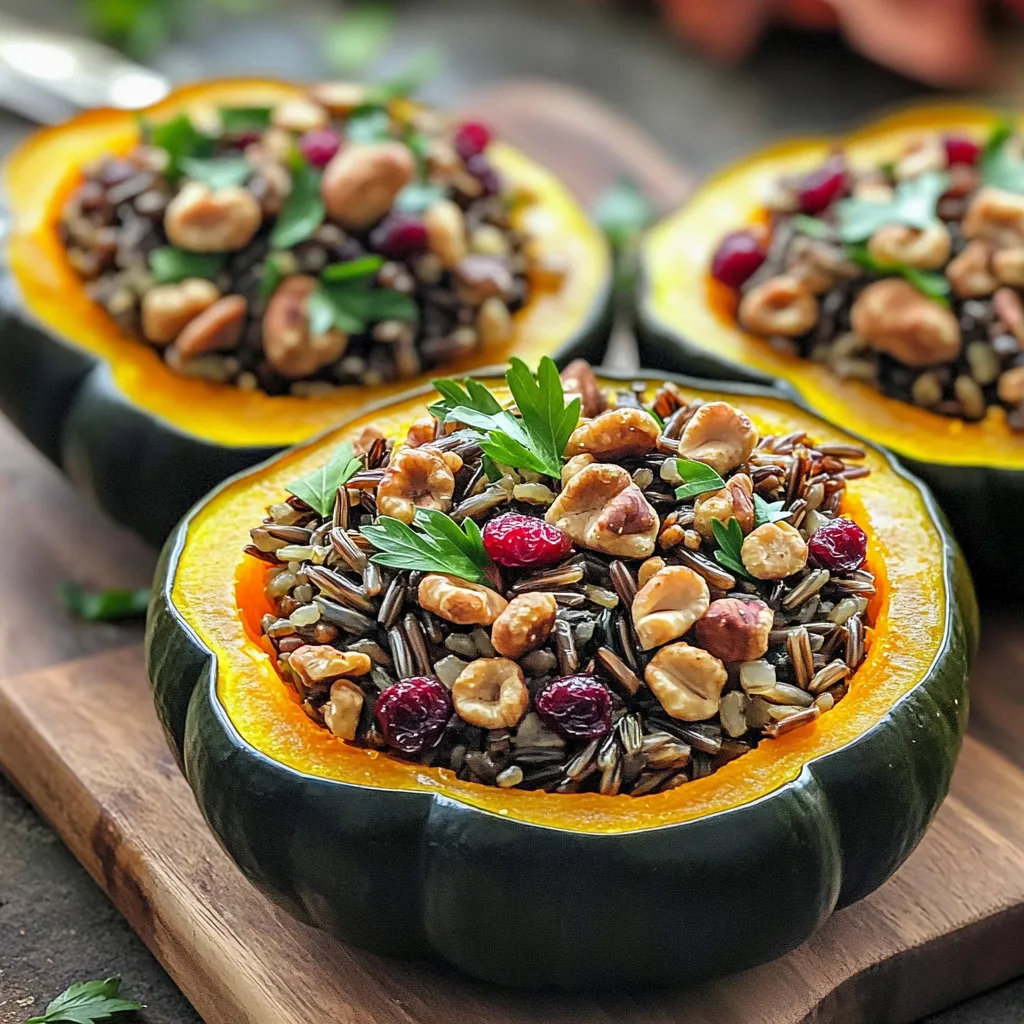
Fall flavors come alive in this Wild Rice Stuffed Squash dish! Imagine a tender acorn squash filled with a savory
