
Caramel Swirl Hot Chocolate Indulgent Cozy Drink
Craving a cozy drink that warms your heart and satisfies your sweet tooth? Look no further! This Caramel Swirl Hot
Craving a cozy drink that warms your heart and satisfies your sweet tooth? Look no further! This Caramel Swirl Hot

Are you ready for a dish that’s easy to make and full of flavor? This Savory Slow Cooker Tuscan Chicken
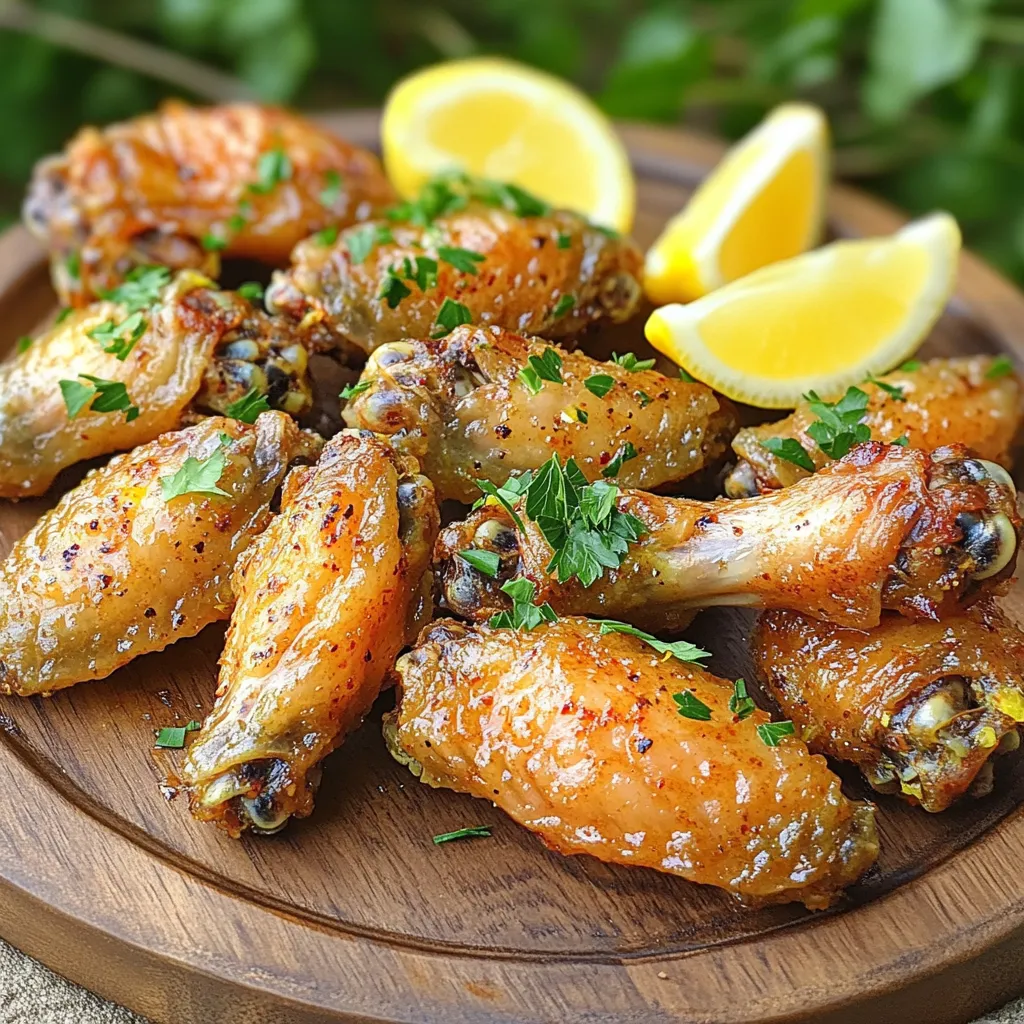
Are you ready to enjoy a tasty and crispy treat? Air fryer lemon pepper wings are the perfect snack for
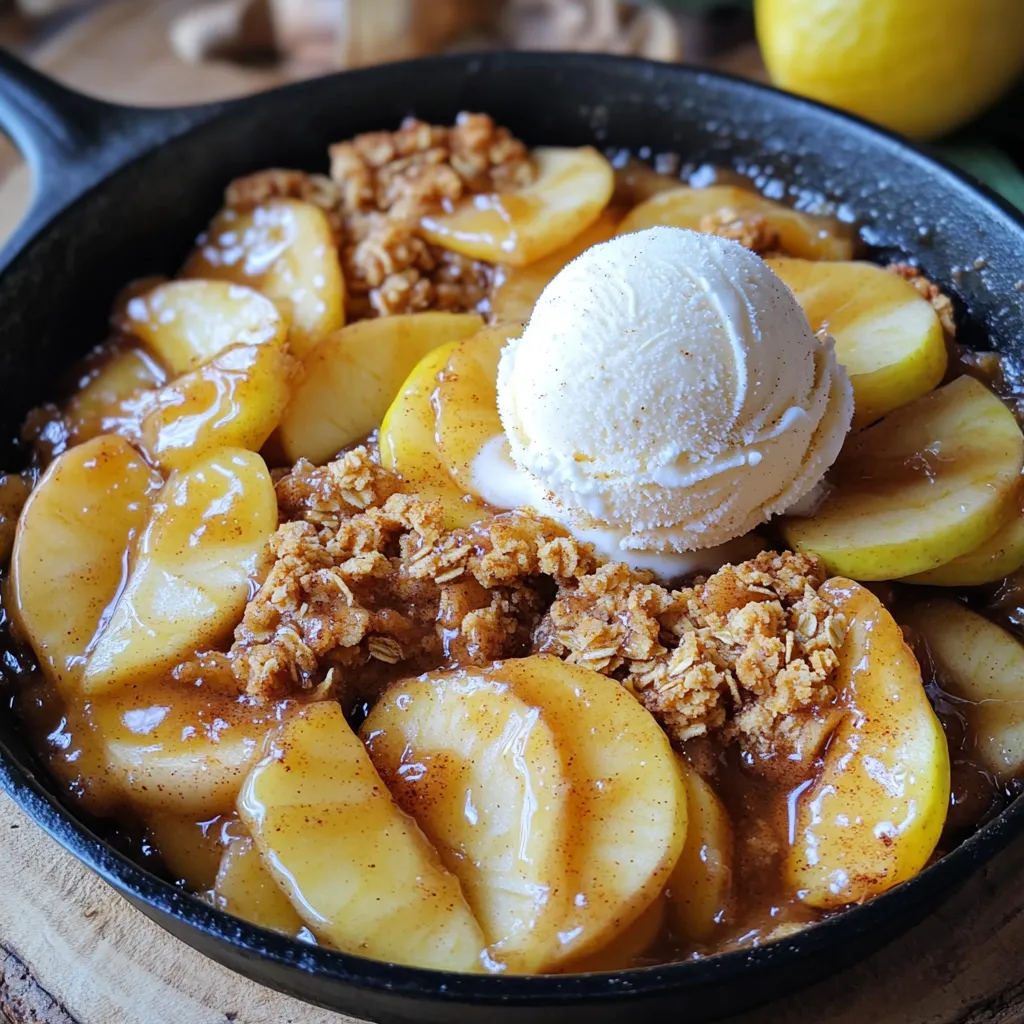
Ready to bake something amazing? This Skillet Cinnamon Apple Crisp is super easy and delicious! With warm, spiced apples and
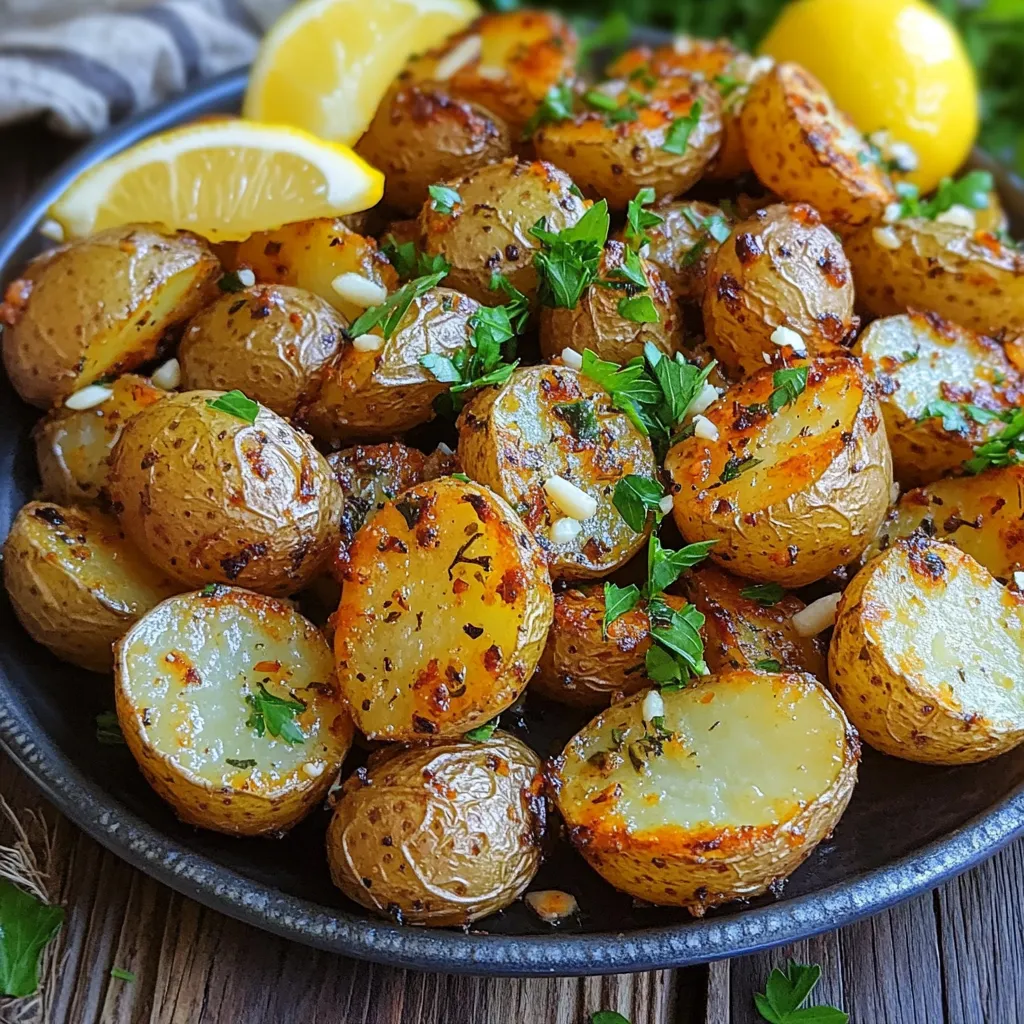
Looking for a simple yet tasty dish? Let me show you how to make Garlic Butter Sheet Pan Potatoes. In
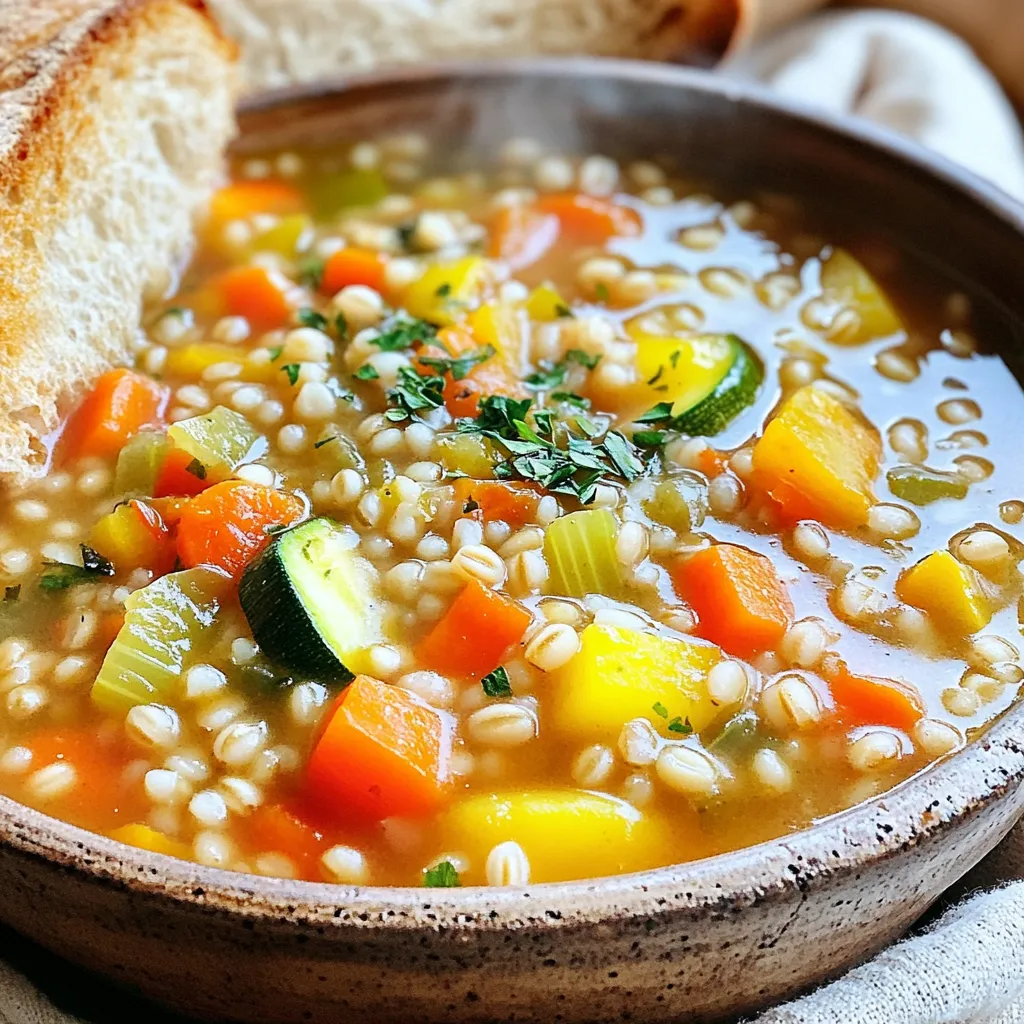
Are you ready to make a warm and tasty meal with ease? This Flavorful Slow Cooker Vegetable Barley Stew Recipe

Looking for a quick, tasty treat? These No Bake Chocolate Almond Butter Cups are your answer! With just a handful
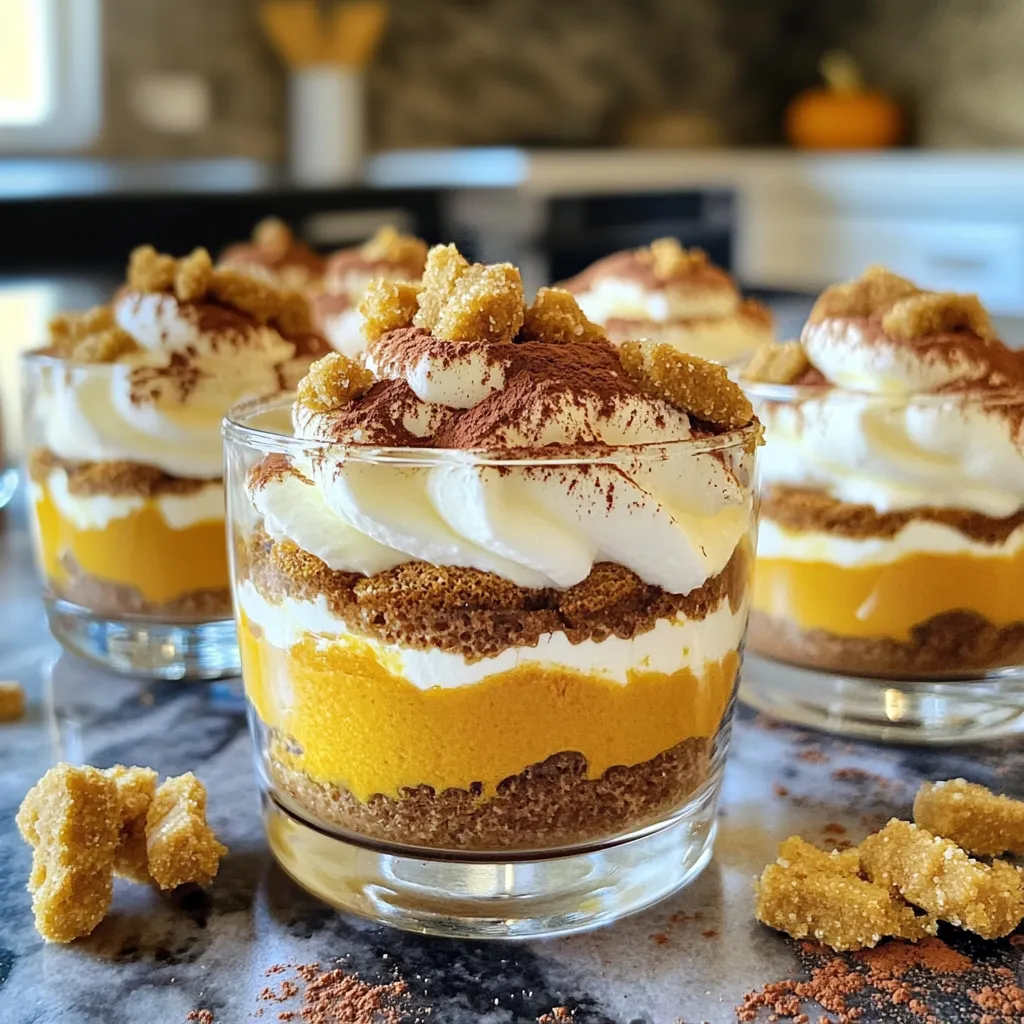
Looking for a dessert that’s perfect for fall? My Pumpkin Tiramisu Cups are easy, creamy, and full of flavor! This
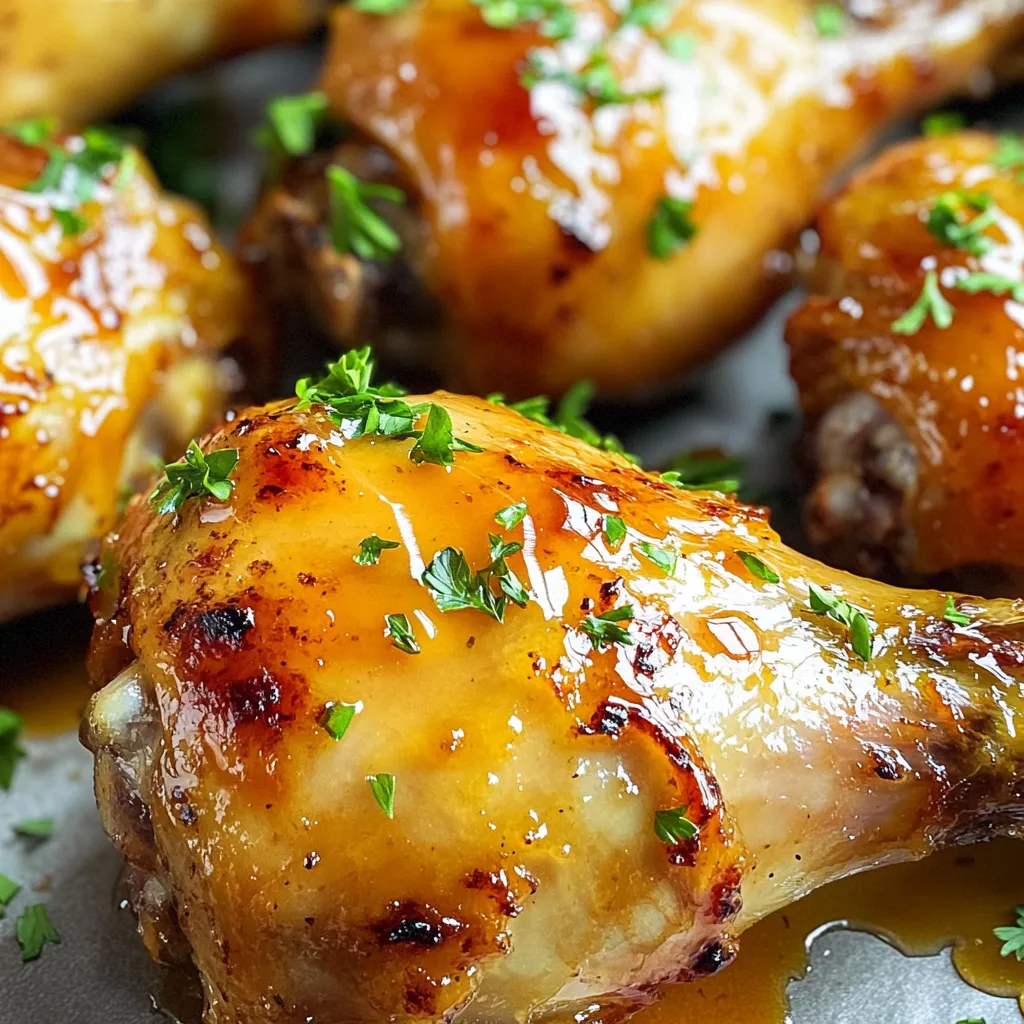
Craving a meal that’s both easy and packed with flavor? Let’s dive into my Air Fryer Maple Drumsticks recipe! These
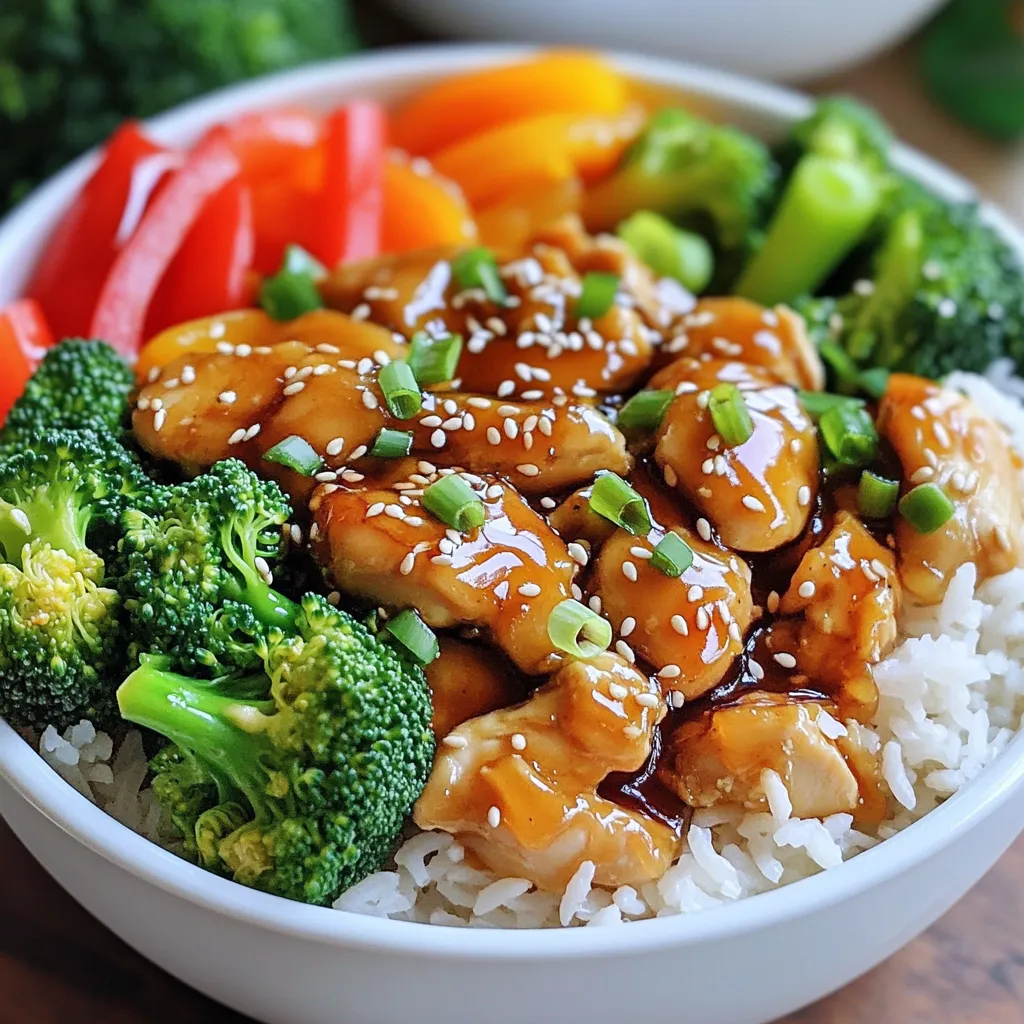
Looking to whip up a quick, delicious meal? Try my Honey Sesame Chicken Rice Bowls! This tasty dish combines juicy
