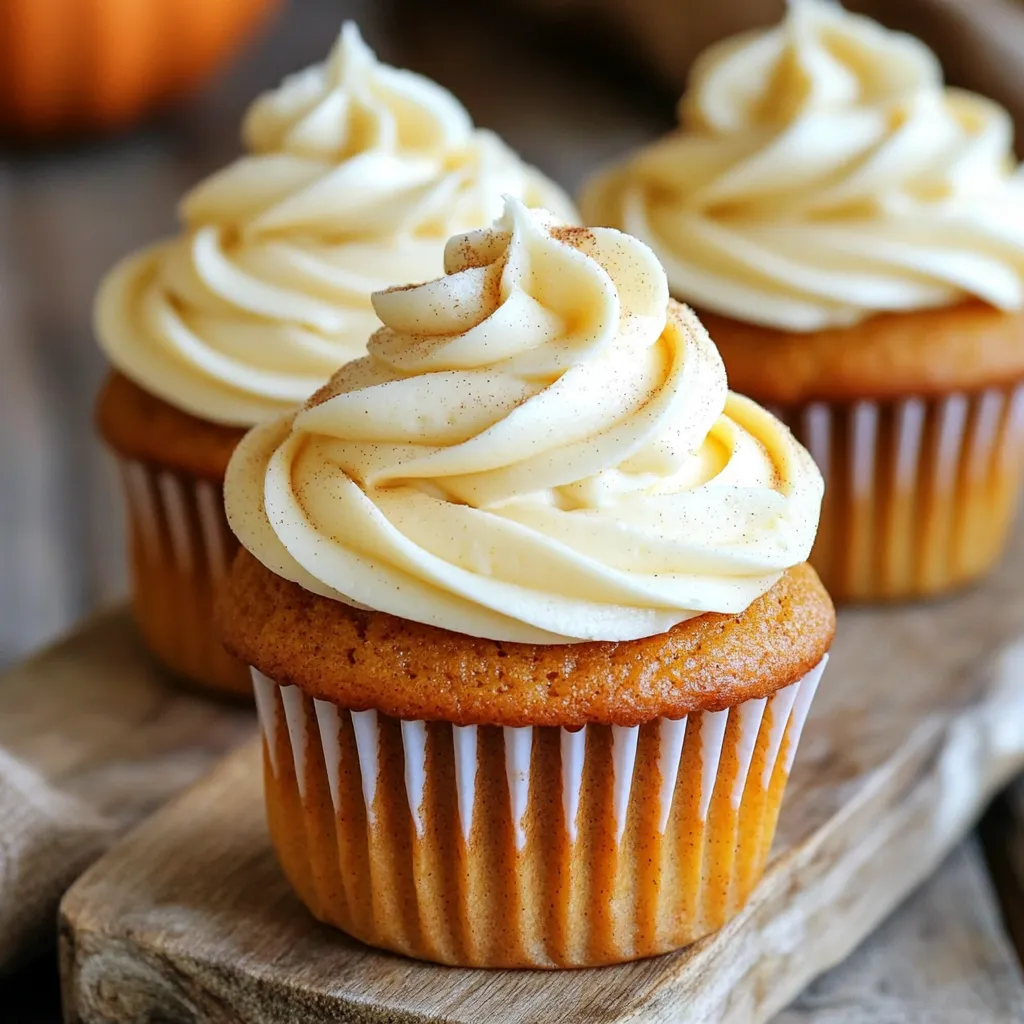
Pumpkin Spice Latte Cupcakes Delightful Fall Treat
If you’re craving a sweet treat that captures the essence of fall, look no further! My Pumpkin Spice Latte Cupcakes
If you’re craving a sweet treat that captures the essence of fall, look no further! My Pumpkin Spice Latte Cupcakes
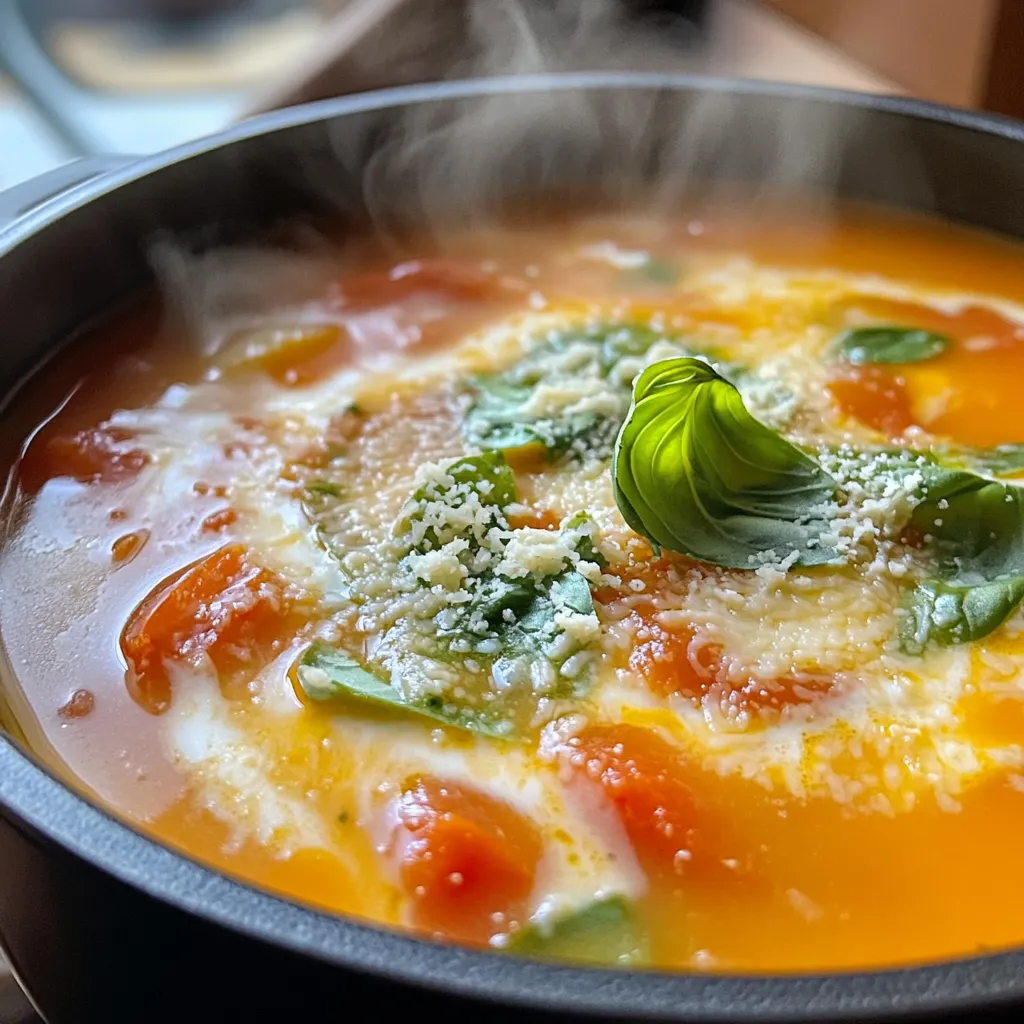
Looking for a quick, comforting meal? You’ll love this One Pot Tomato Parmesan Soup! It’s simple, tasty, and uses fresh
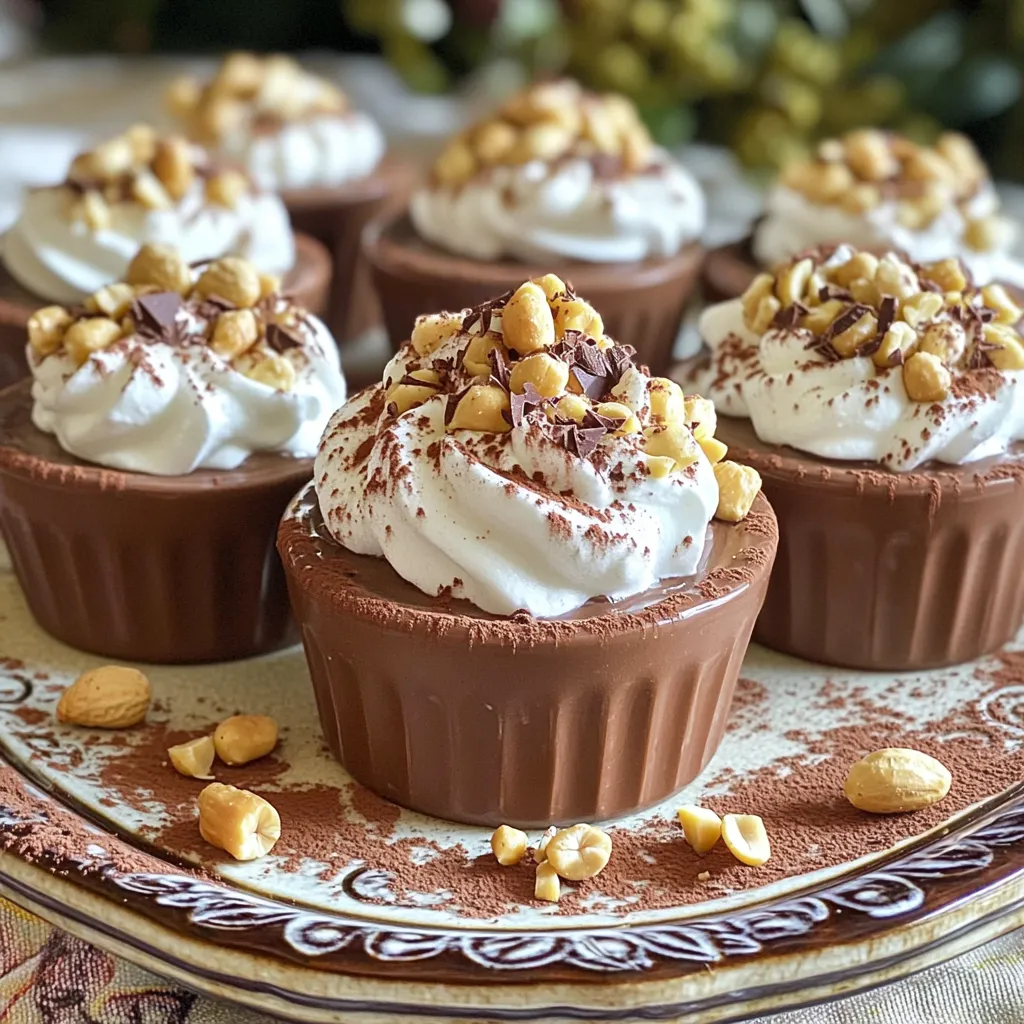
Who doesn’t love a creamy, chocolatey treat? Today, I’m sharing my favorite recipe: Chocolate Peanut Butter Pudding Cups. They’re simple
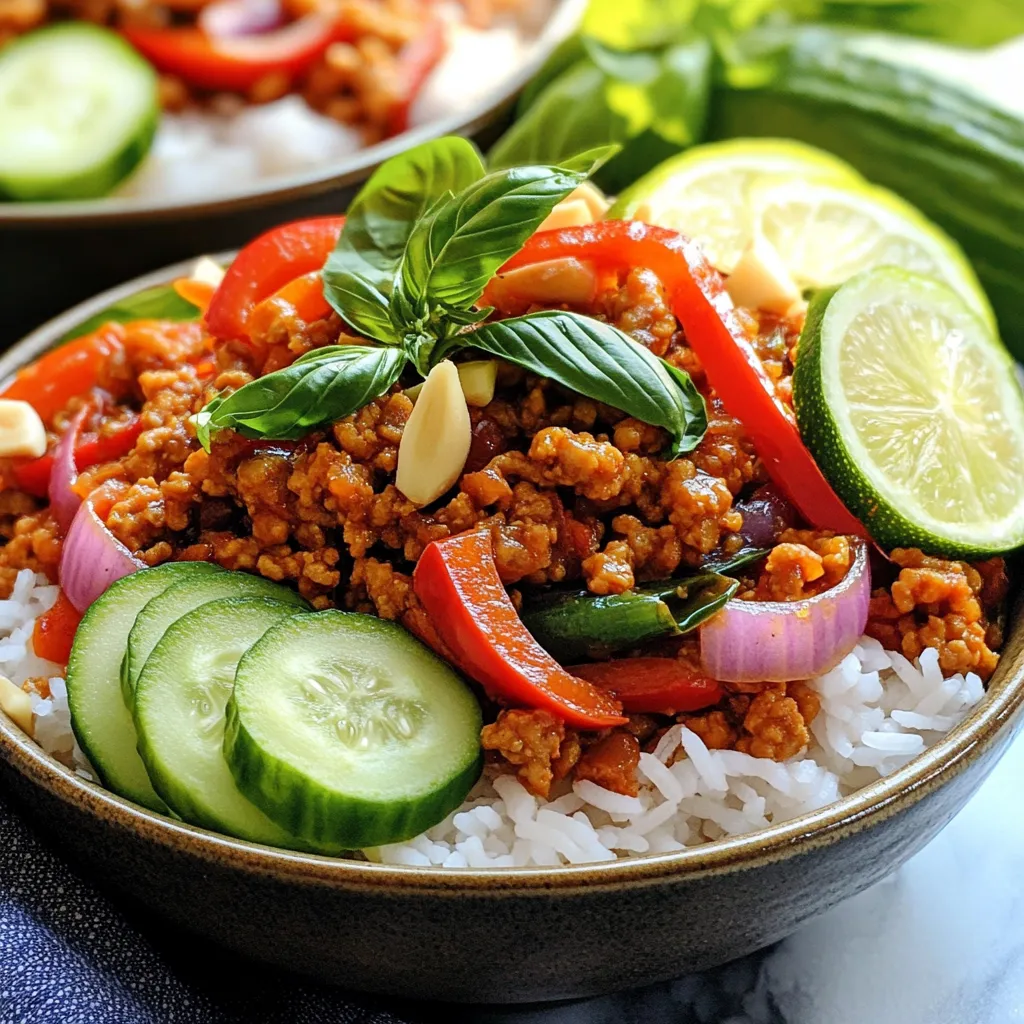
Ready for a meal that’s bursting with flavor and easy to make? Thai Basil Chicken Bowls are your answer! With
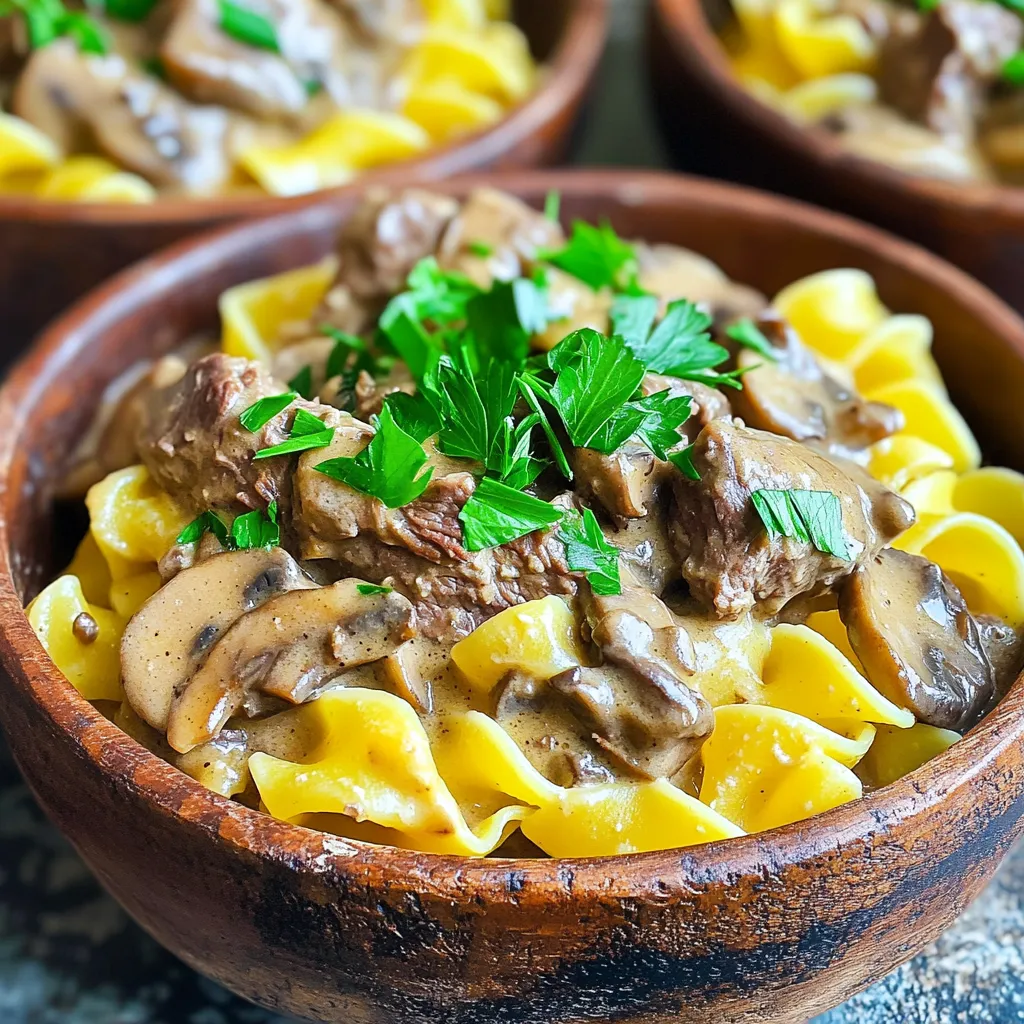
If you crave a meal that is both hearty and easy, you’re in the right place! This Slow Cooker Beef
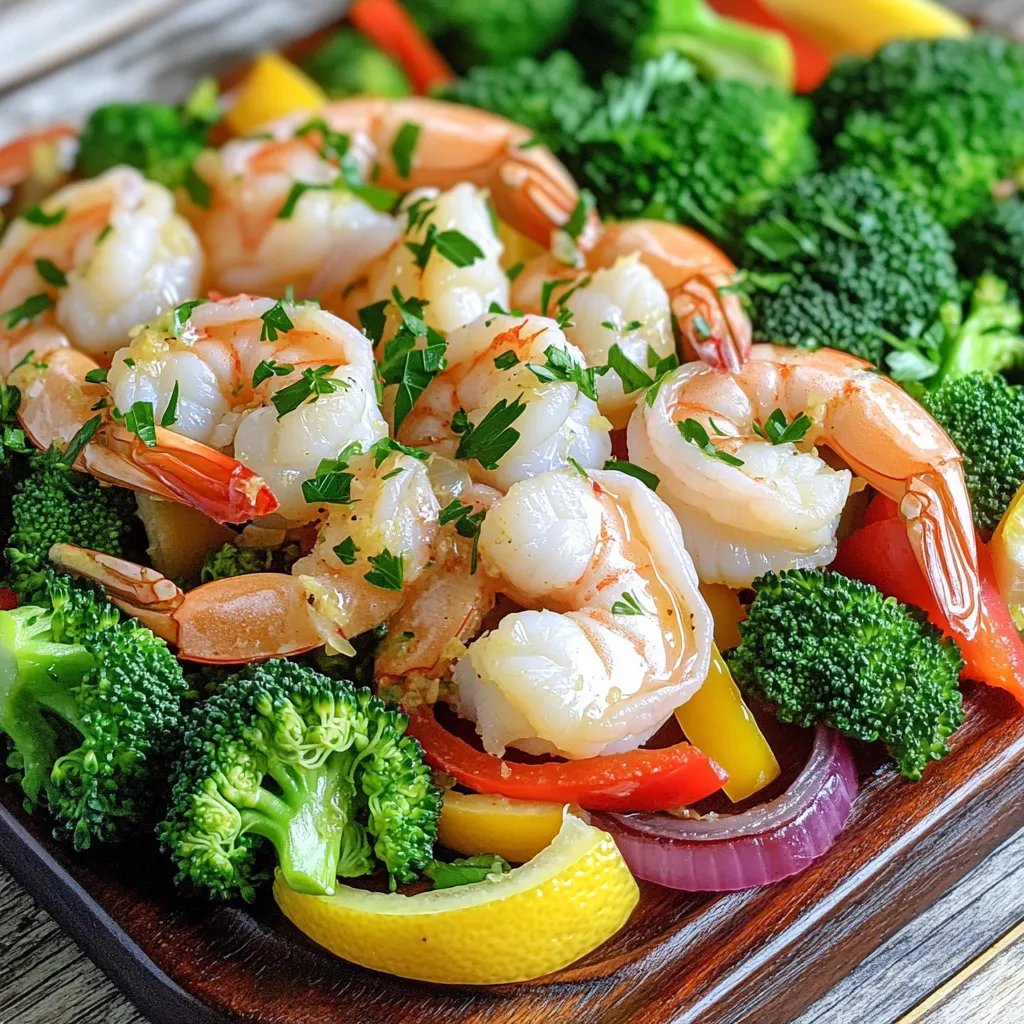
Looking for a quick and tasty meal? You’ll love my Sheet Pan Lemon Garlic Shrimp Veggies. This dish packs bold
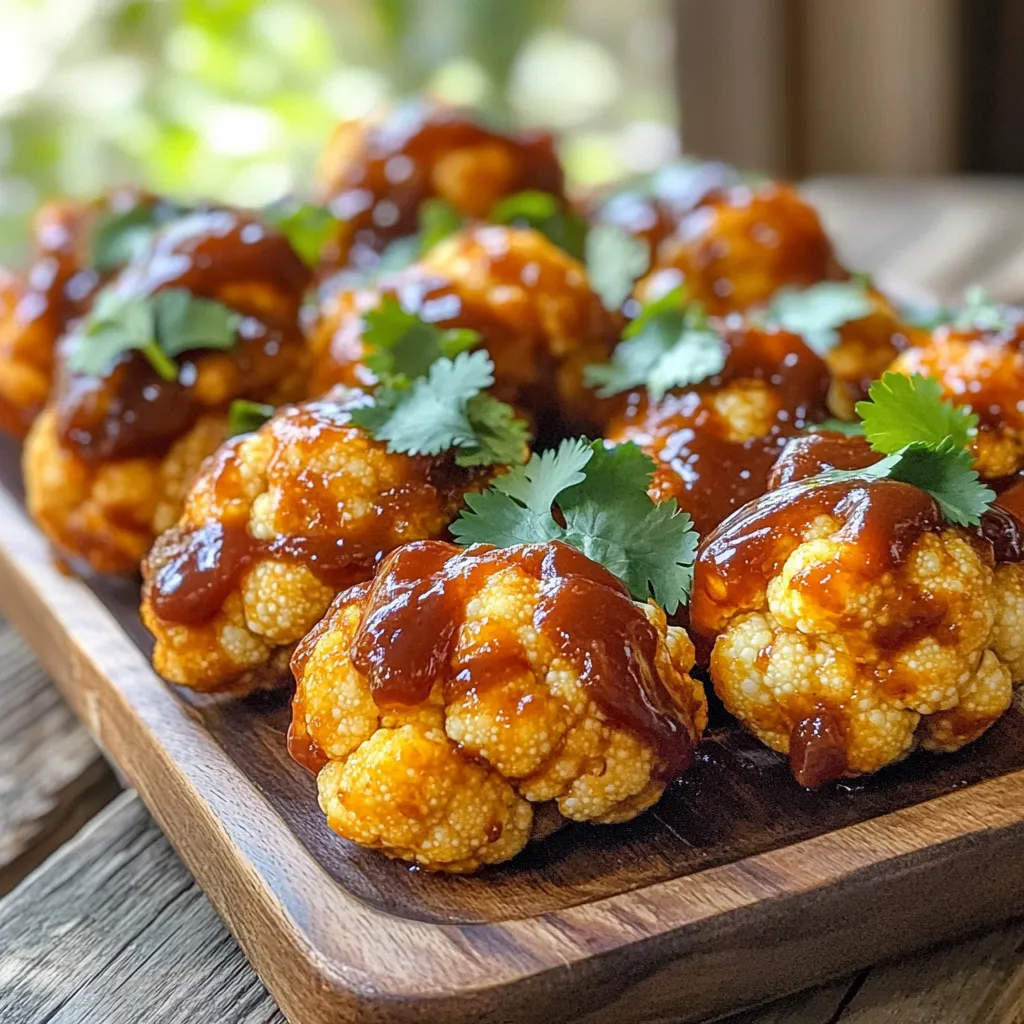
Are you ready for a tasty twist on a classic dish? These Air Fryer BBQ Cauliflower Wings are both easy
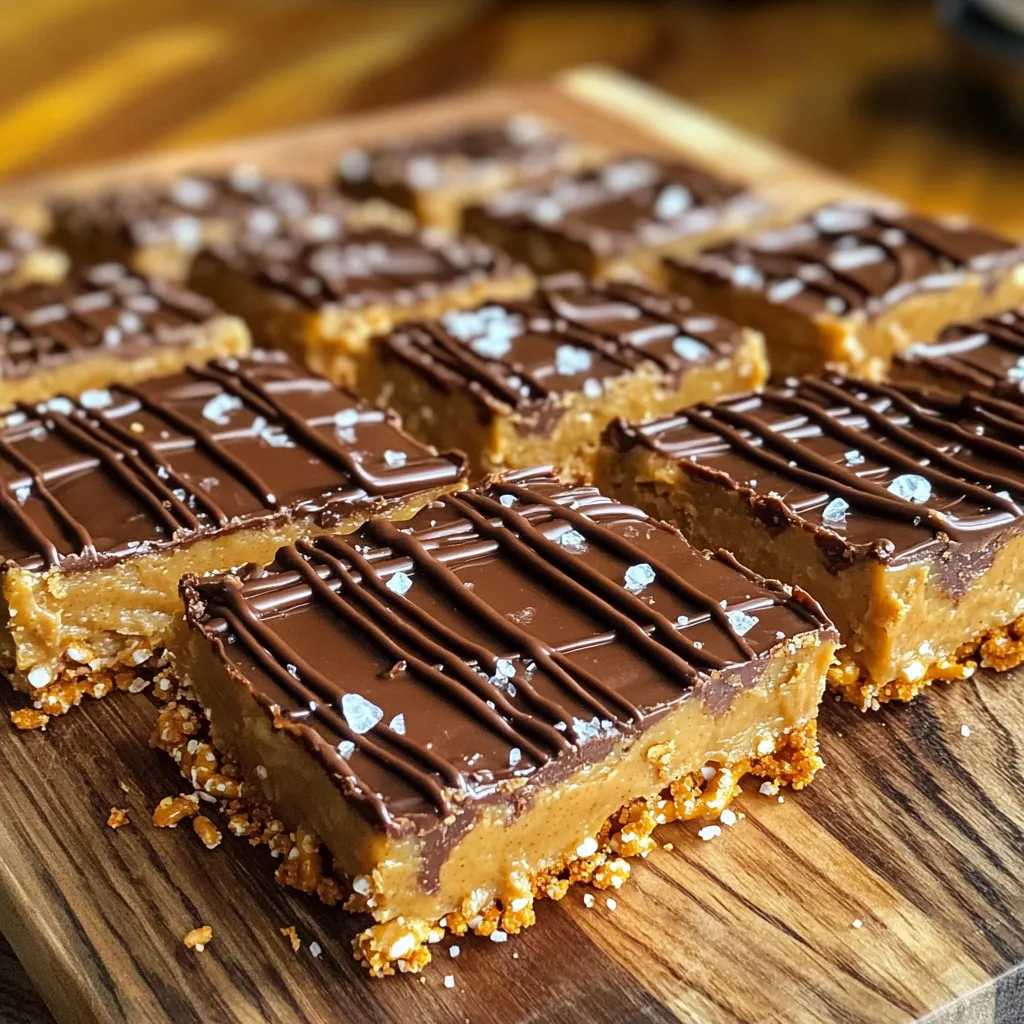
If you crave a sweet and salty treat that’s super easy to make, you’re in the right spot! These No
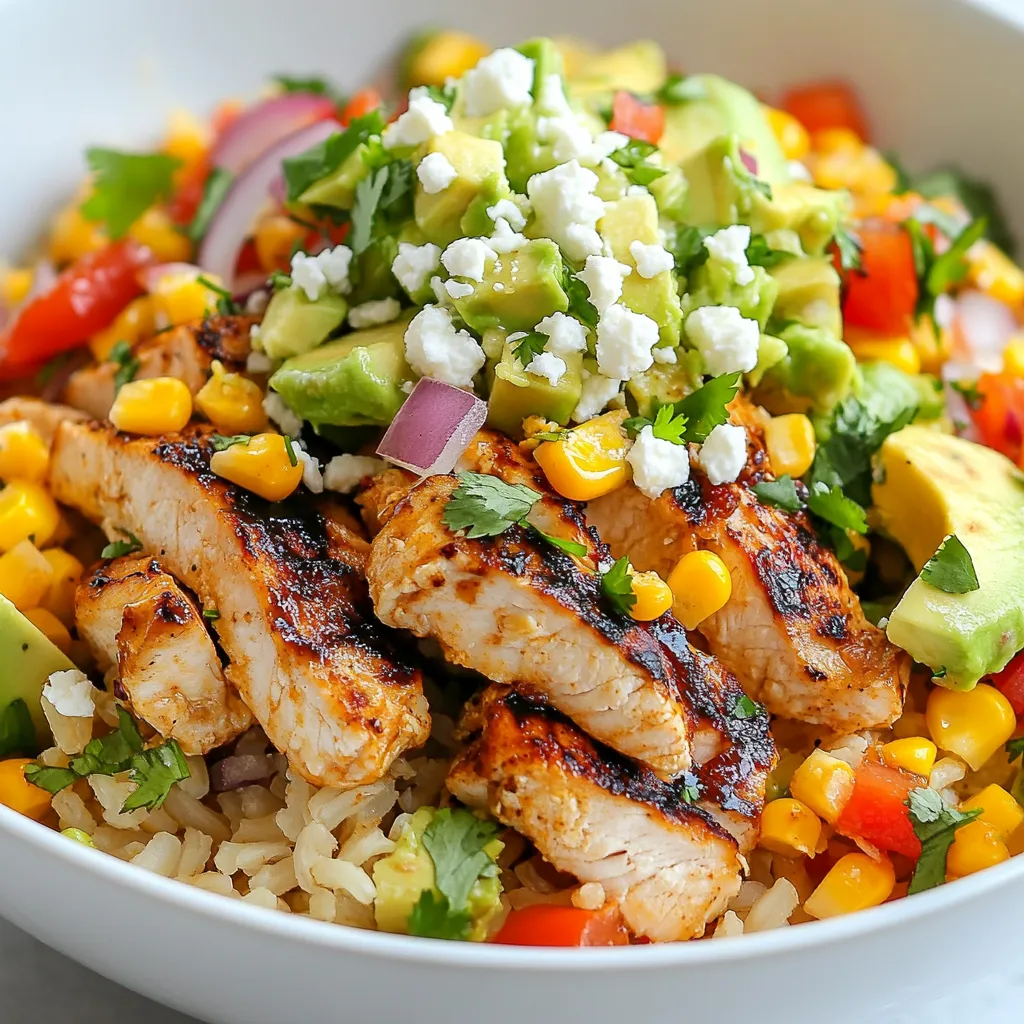
Looking for a tasty meal that’s both easy and fun to make? You’ve come to the right place! My Street
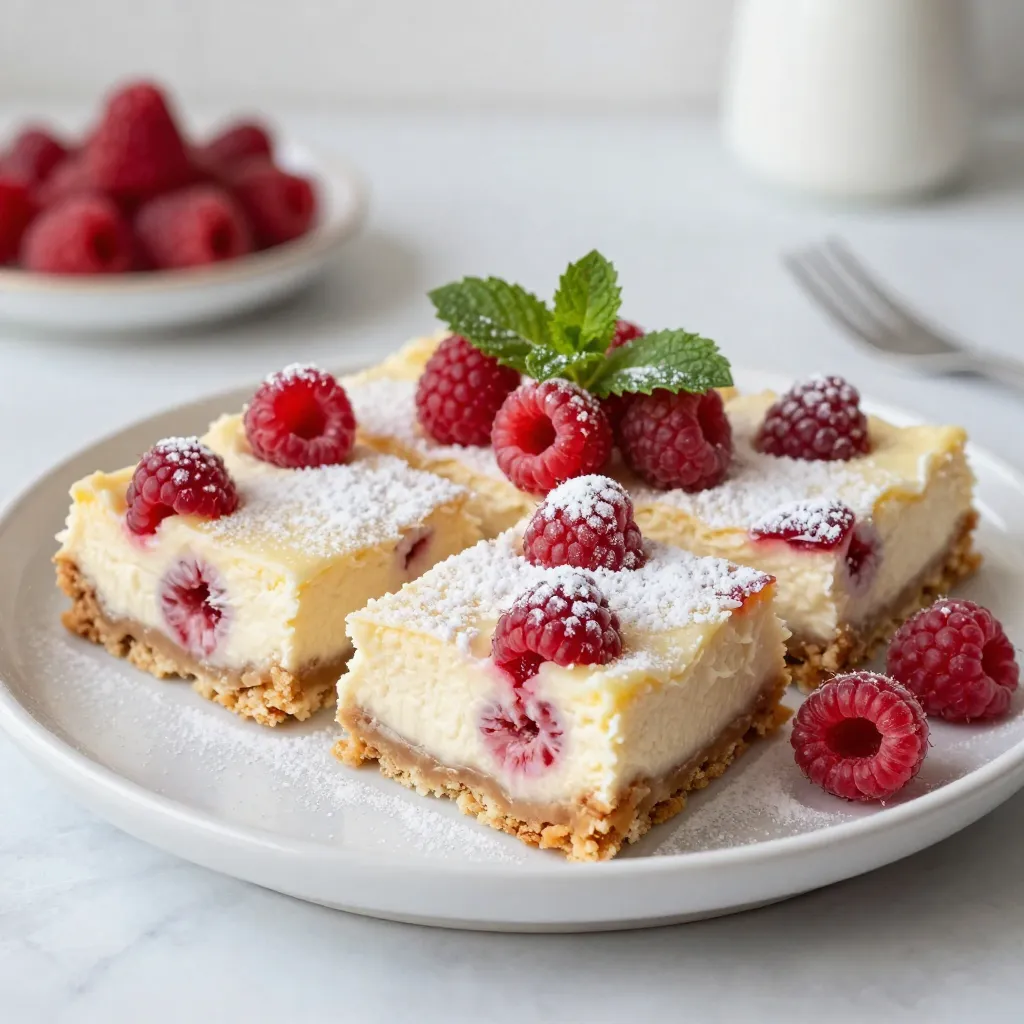
If you love treats that are both tart and sweet, you’ll adore my Lemon Raspberry Cheesecake Bars! These delightful bars
