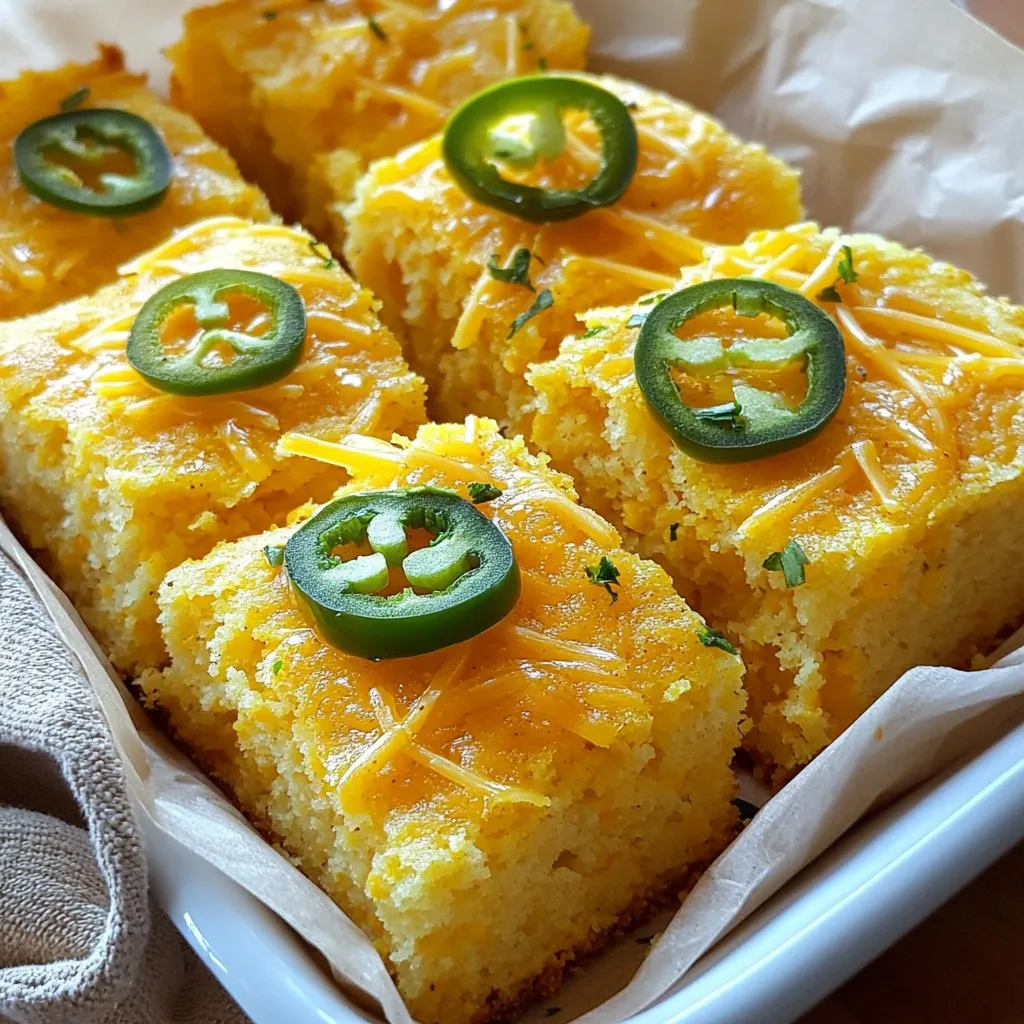
Jalapeño Cheddar Cornbread Simple and Savory Recipe
If you’re craving a warm, savory treat, this Jalapeño Cheddar Cornbread recipe is for you! It’s easy to make and
If you’re craving a warm, savory treat, this Jalapeño Cheddar Cornbread recipe is for you! It’s easy to make and

Baked apple cider donuts are a delightful treat that can warm any chilly day. If you love fall flavors, you’ll
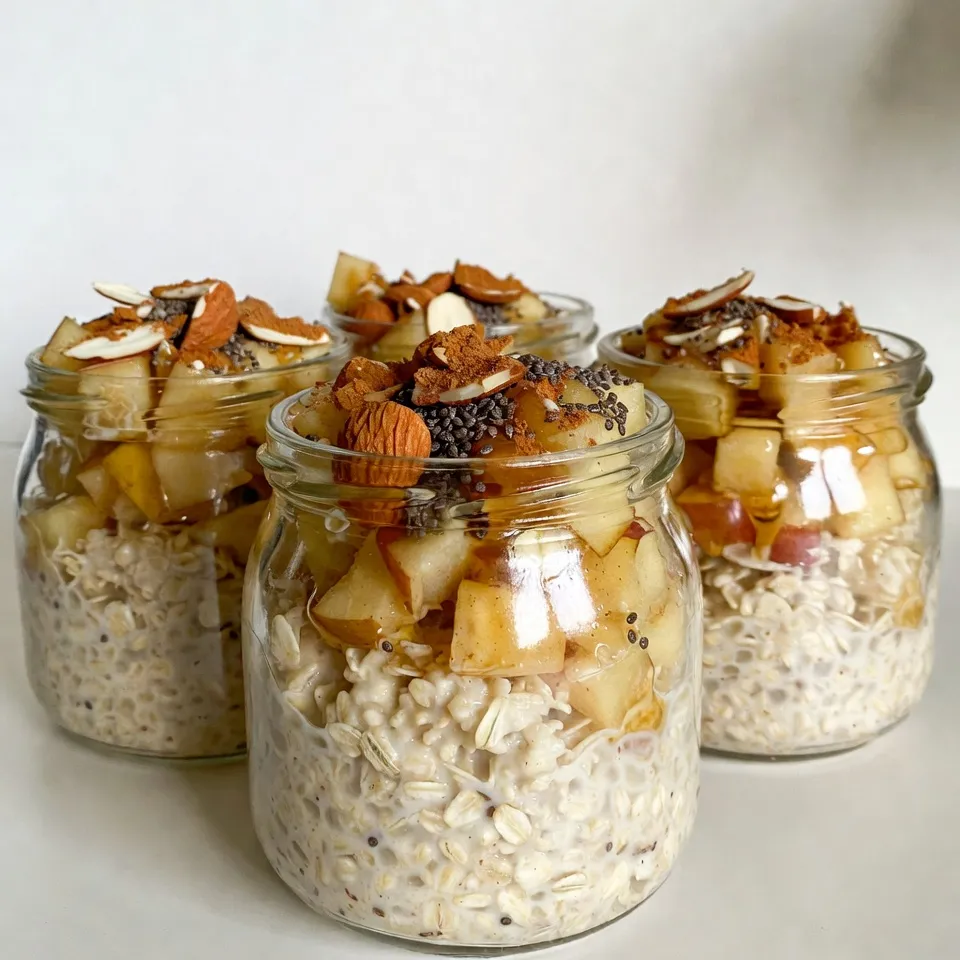
Start your day with a smile! Apple Cinnamon Overnight Oats are not just tasty; they are also healthy. In this

If you’re craving a treat that combines sweet, salty, and crunchy, I have the perfect recipe for you: Salted Caramel
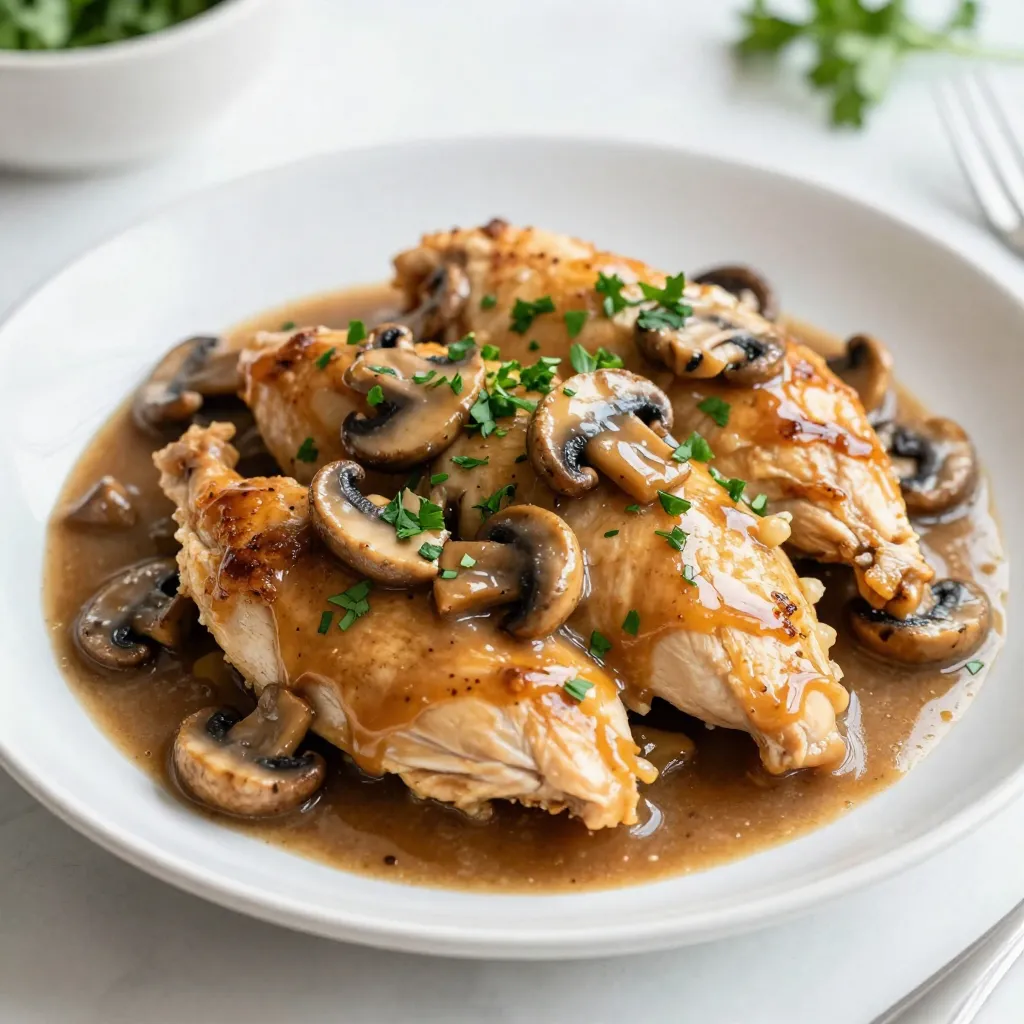
Looking to impress at dinner tonight? This Chicken Marsala recipe is both flavorful and simple! You’ll love the tender chicken

Do you crave a simple yet delicious breakfast? Try my One-Bowl Banana Oat Pancakes! They are easy to make and
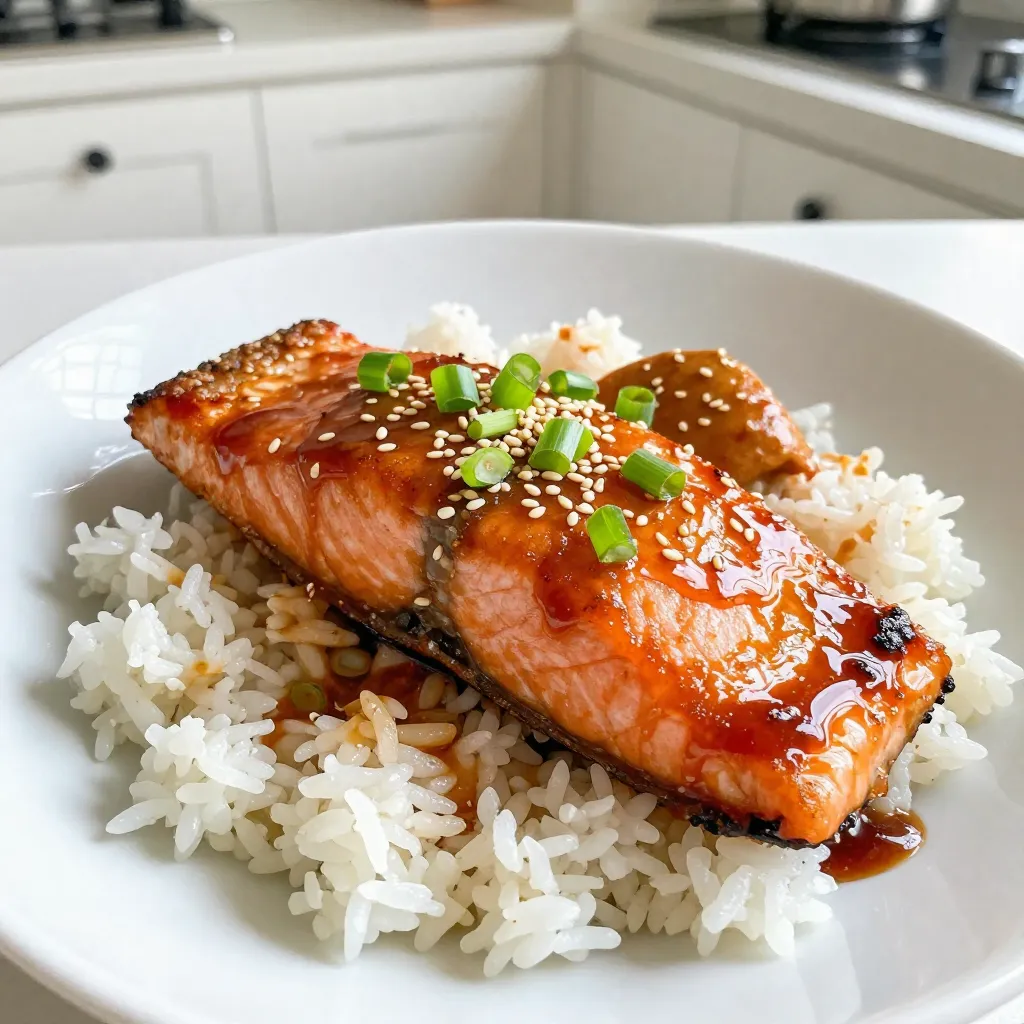
If you want a meal bursting with flavor yet easy to make, you’ve found it! This Ginger Soy Glazed Salmon

Are you ready to spice up your dinner routine? My Instant Pot Beef Barbacoa recipe is simple, flavorful, and perfect

Are you ready to delight your taste buds? This Greek Orzo Pasta Salad is both flavorful and easy to make.

If you’re craving a tasty treat that’s perfect for fall, look no further! My Pumpkin Cream Cheese Muffins are a
