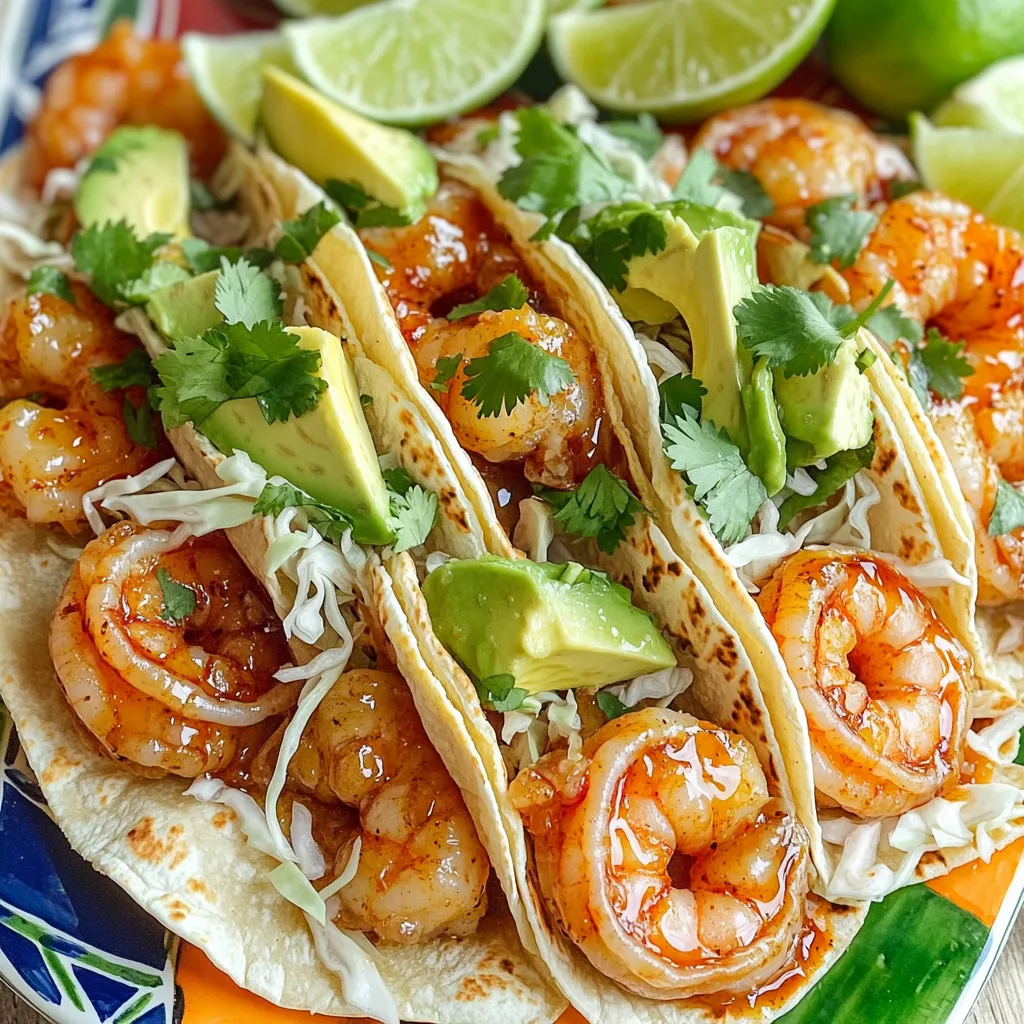
Scrumptious Sweet & Spicy Shrimp Tacos 15 Minutes
Are you ready for a quick and tasty meal? These Sweet & Spicy Shrimp Tacos can be on your table
Are you ready for a quick and tasty meal? These Sweet & Spicy Shrimp Tacos can be on your table

Dive into a world of flavors with my no-bake Chocolate Pumpkin Cheesecake Bars! This sweet treat combines rich chocolate and
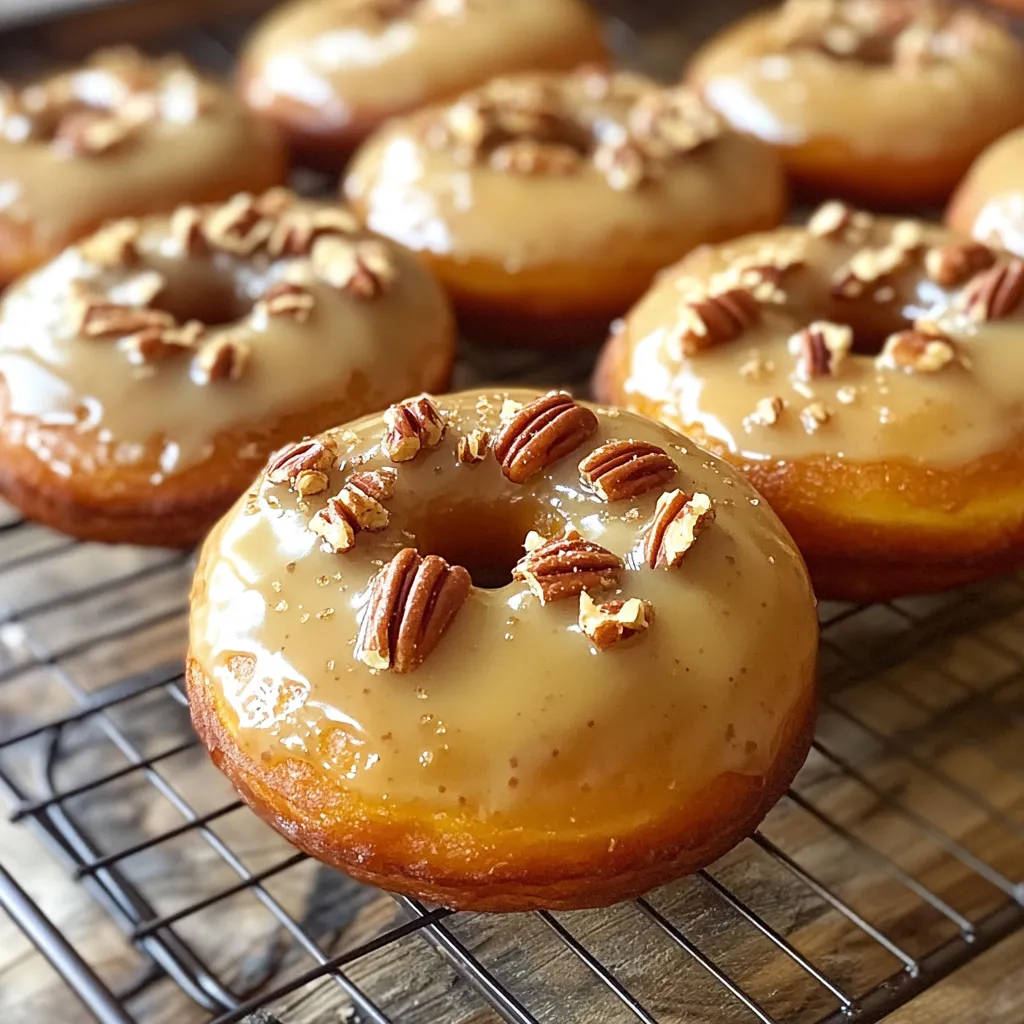
Get ready to indulge in a delightful treat! This Maple Pecan Donuts with Glaze Bakery Style recipe will turn your
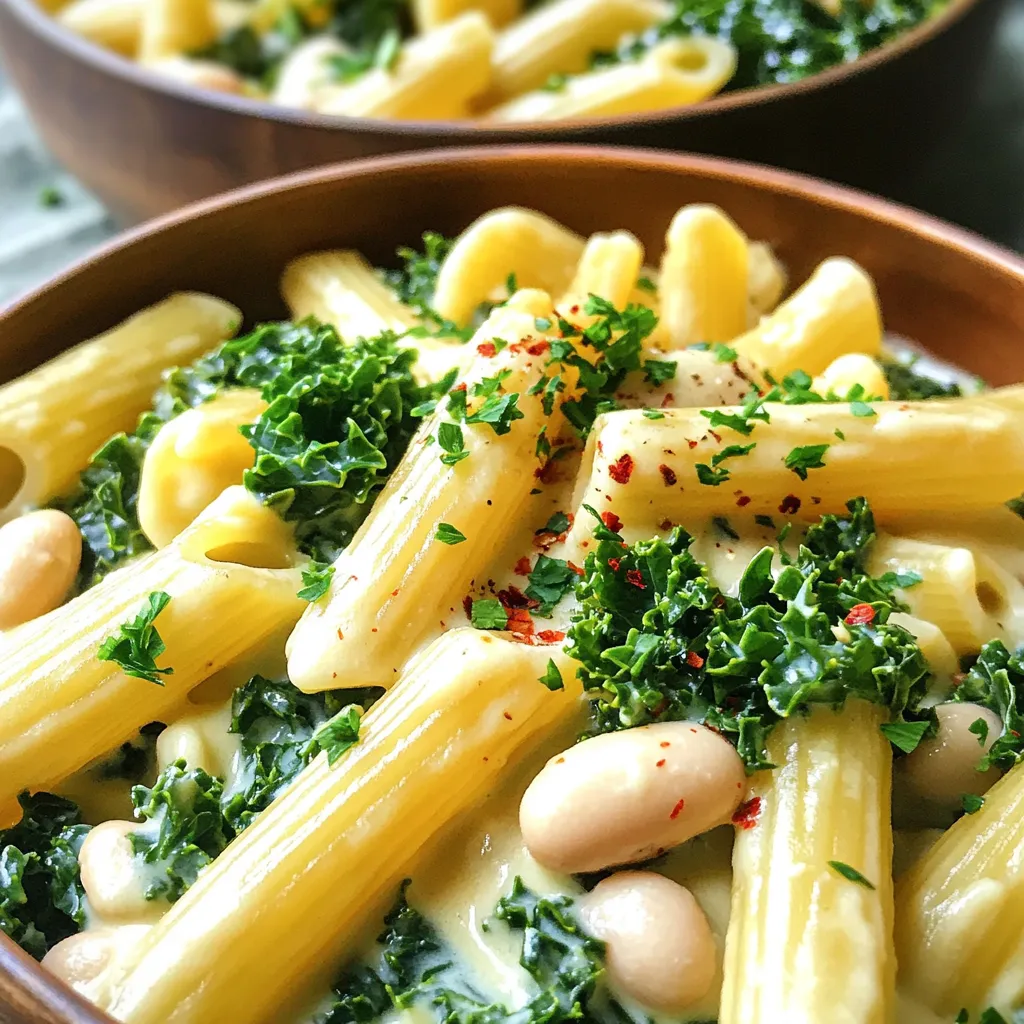
Welcome to my kitchen, where cooking is easy and delicious! Today, I’m excited to share a dish that combines healthy
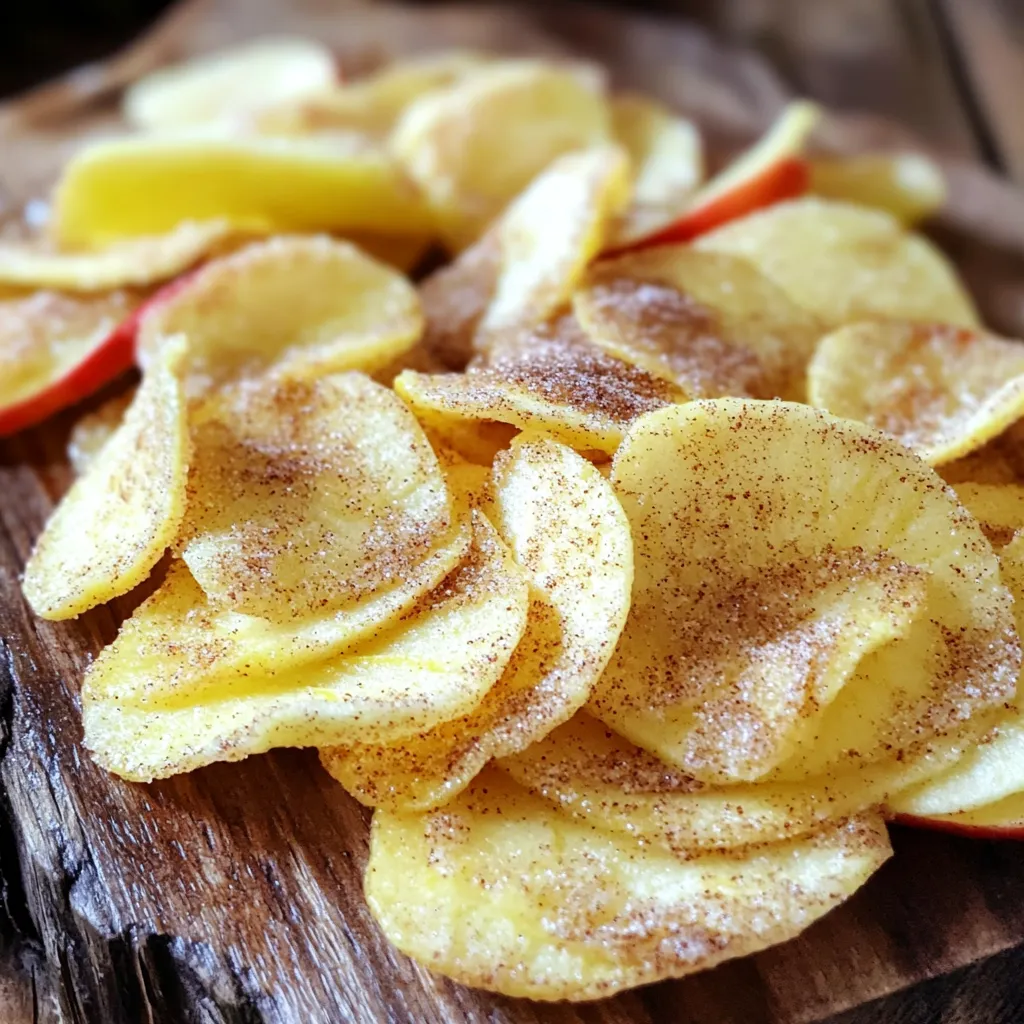
Craving a sweet snack that’s also healthy? You’ll love these Air Fryer Cinnamon Sugar Apple Chips! They’re easy to make

Looking for a cozy meal that practically cooks itself? Discover my Mushroom Stroganoff Egg Noodles Slow Cooker Delight! This dish

Looking for a quick snack that’s both tasty and good for you? Try my Coconut Almond Joy Energy Bites! These

If you love a sweet and tangy treat, Greek Yogurt Lemon Bars are for you! These easy and delightful bars
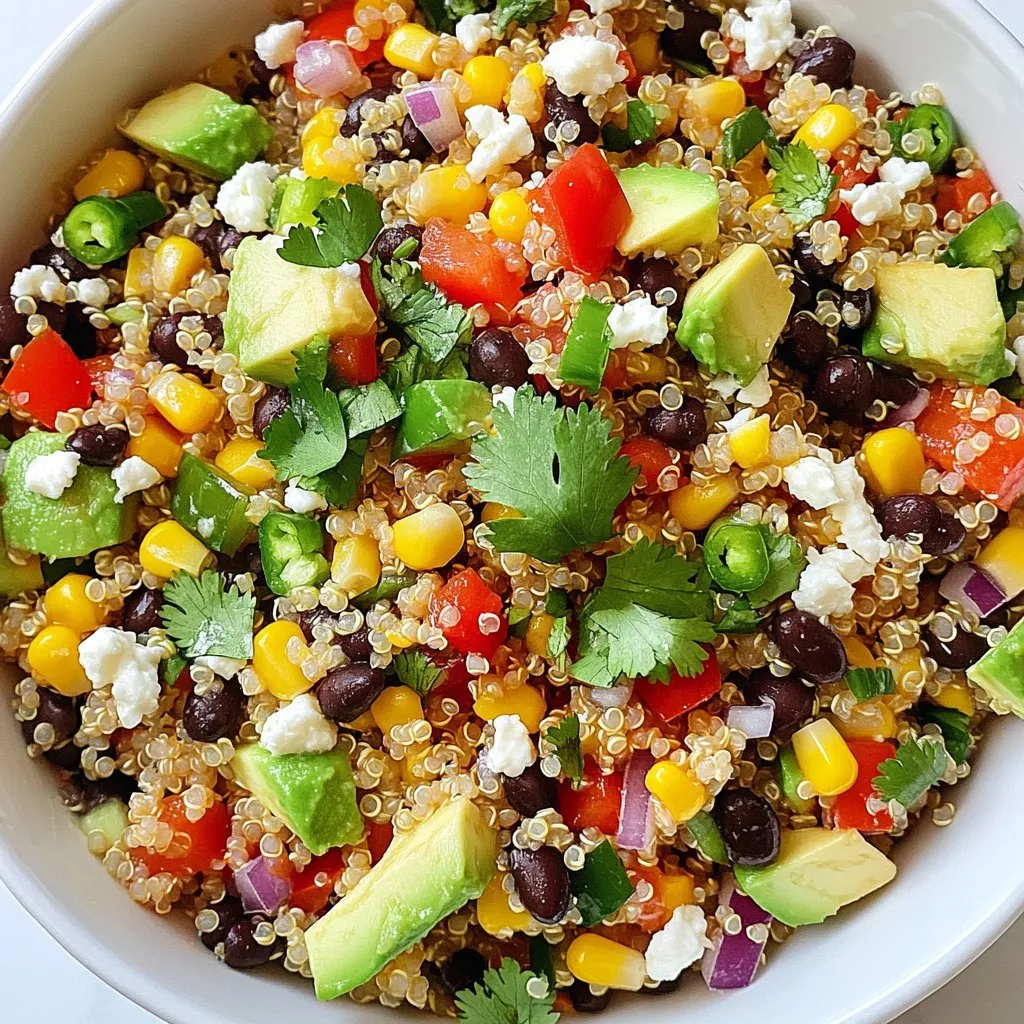
Get ready to elevate your meal game with my Savory Southwest Quinoa Salad! This easy and healthy recipe packs a
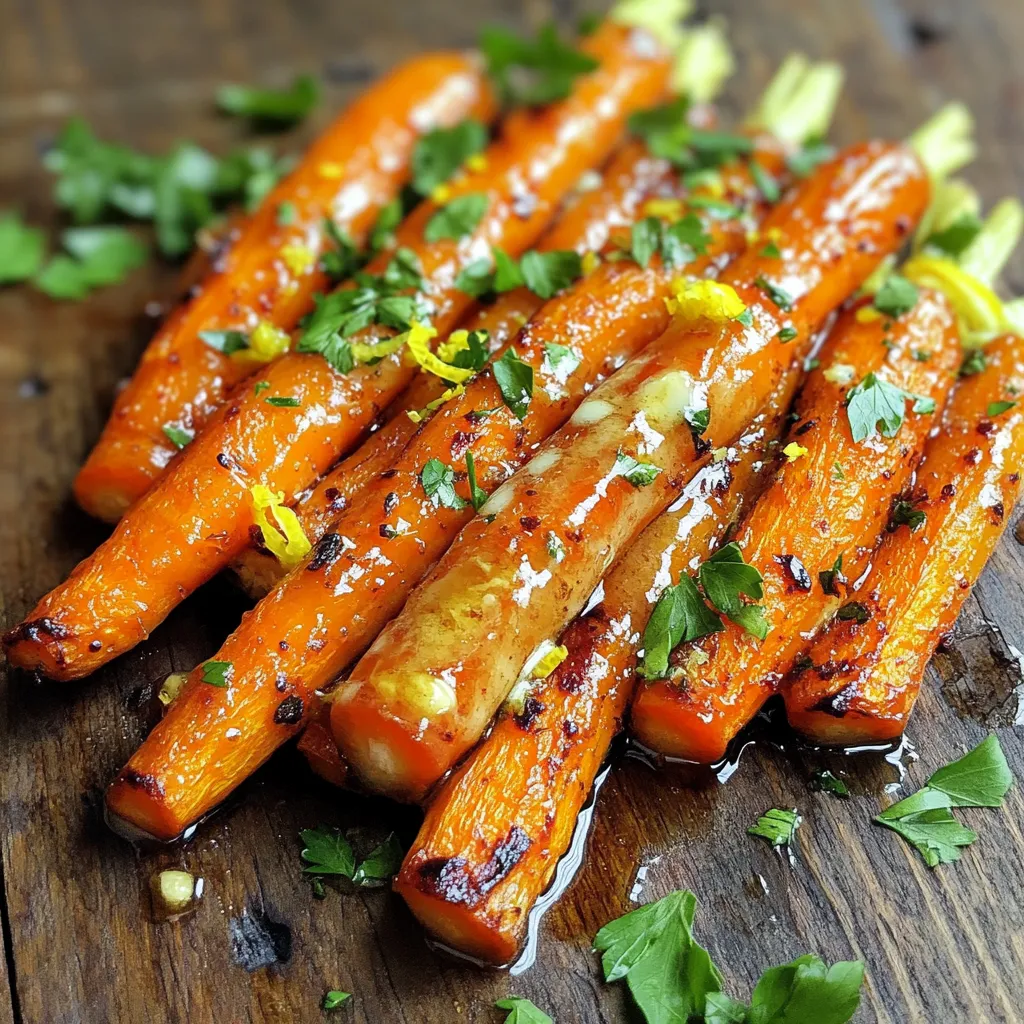
If you’re looking for a simple yet delicious side dish, garlic butter roasted carrots are the answer. These tender, sweet
