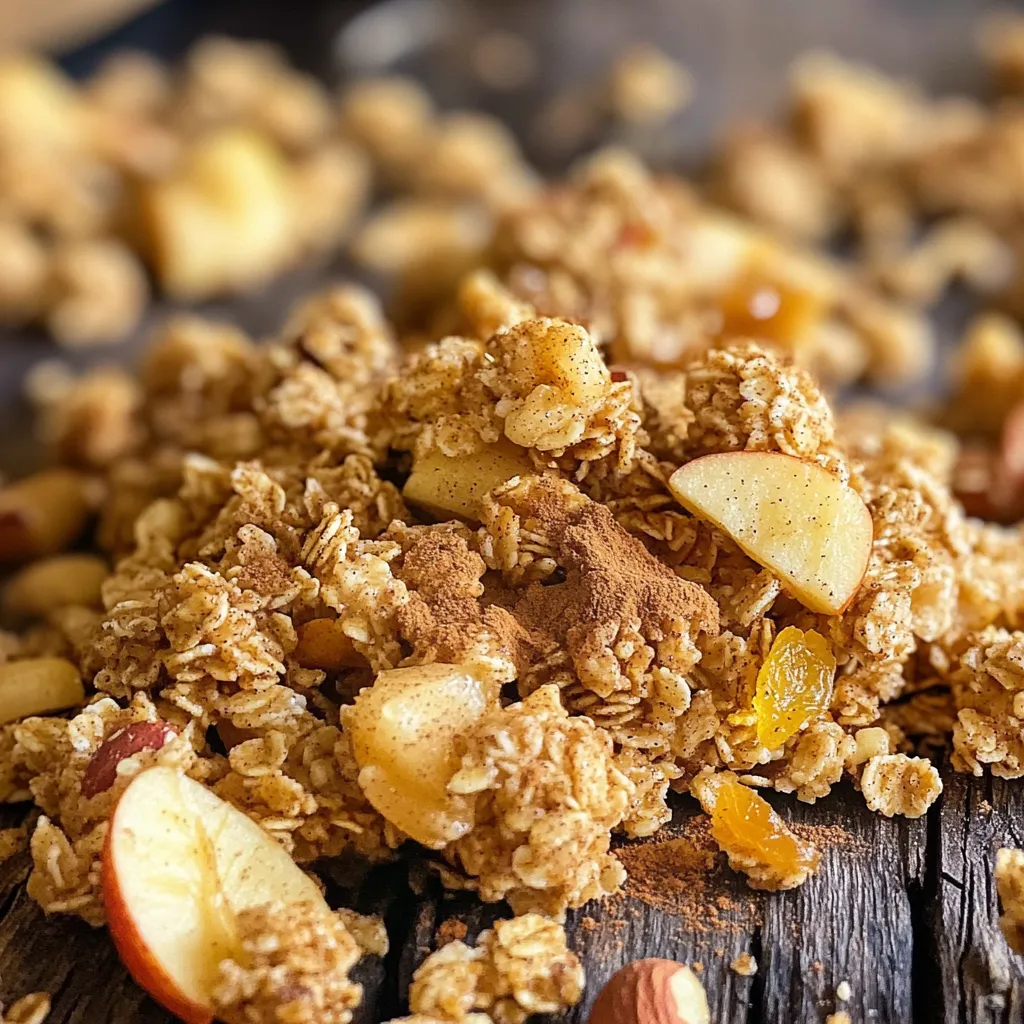
Apple Cinnamon Granola Clusters Healthy Snack Idea
Looking for a tasty yet healthy snack idea? Let me introduce you to my Apple Cinnamon Granola Clusters! Packed with
Looking for a tasty yet healthy snack idea? Let me introduce you to my Apple Cinnamon Granola Clusters! Packed with
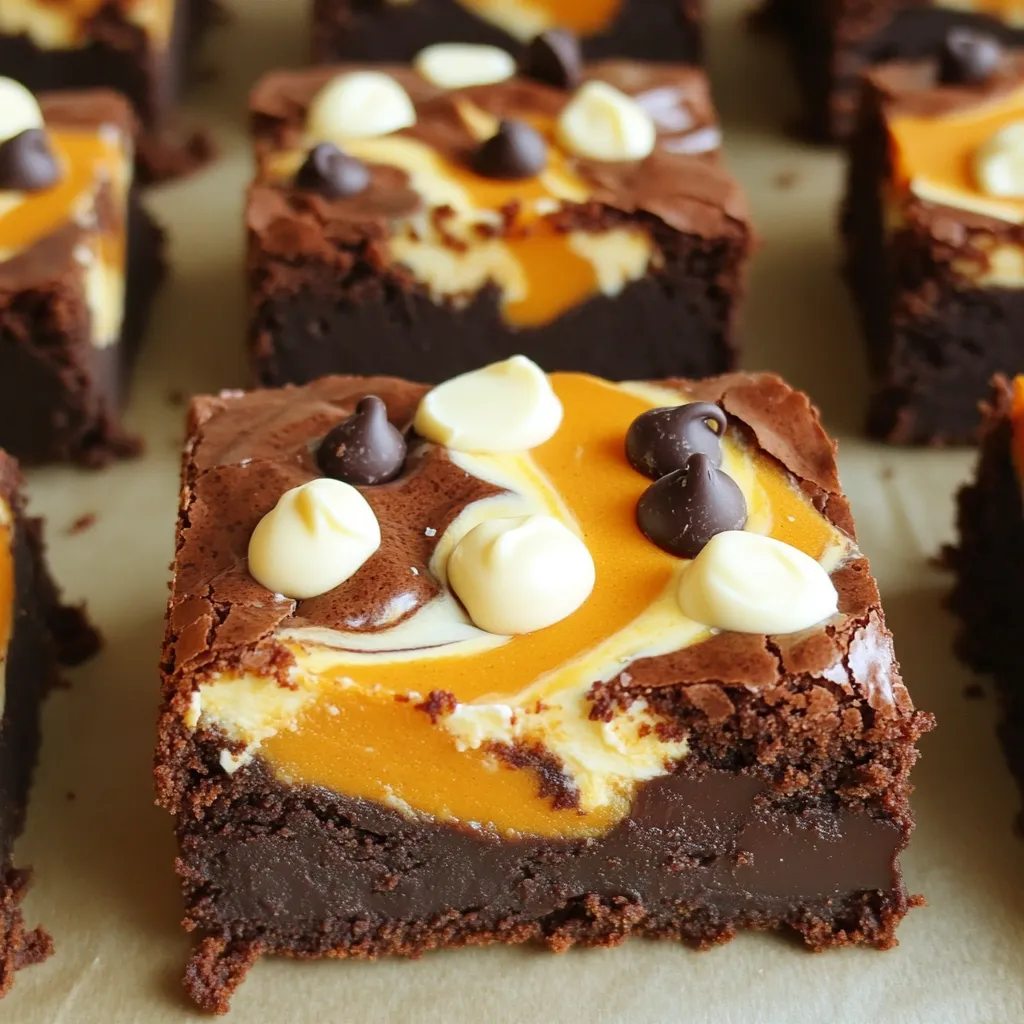
Are you ready to indulge in a treat that blends the cozy flavors of fall with rich sweetness? These Pumpkin
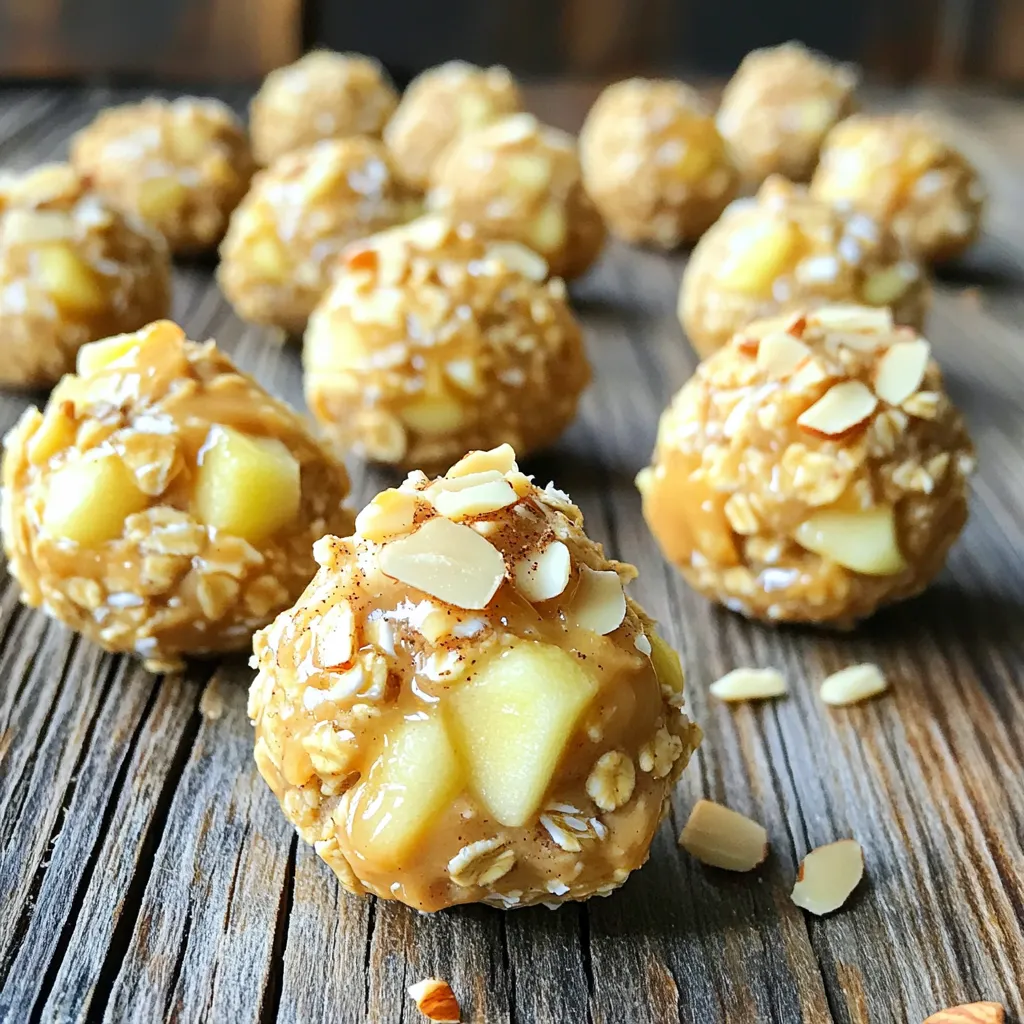
Looking for a quick treat that’s both yummy and healthy? These No-Bake Peanut Butter Apple Oat Bites are just what
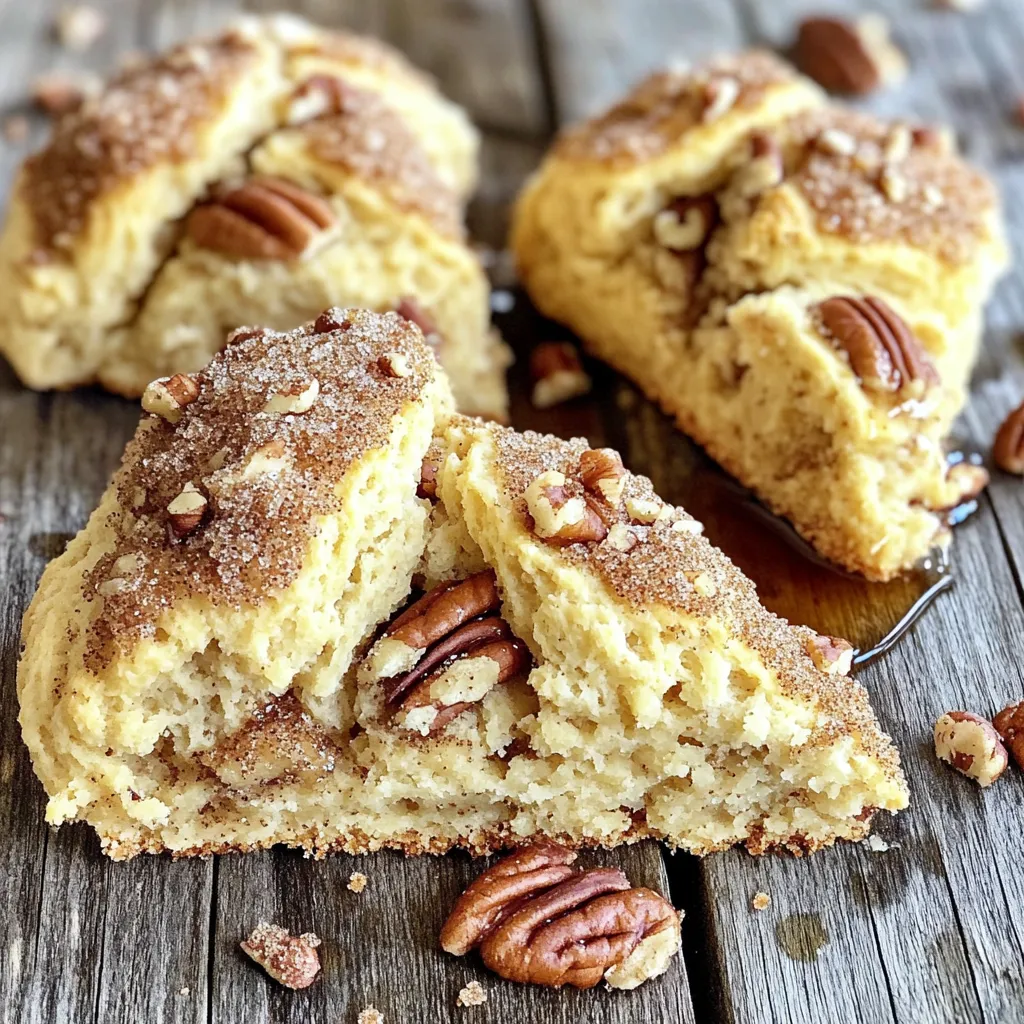
If you’re craving the warm, sweet comfort of a bakery treat, these Brown Sugar Maple Scones are for you! I’ll
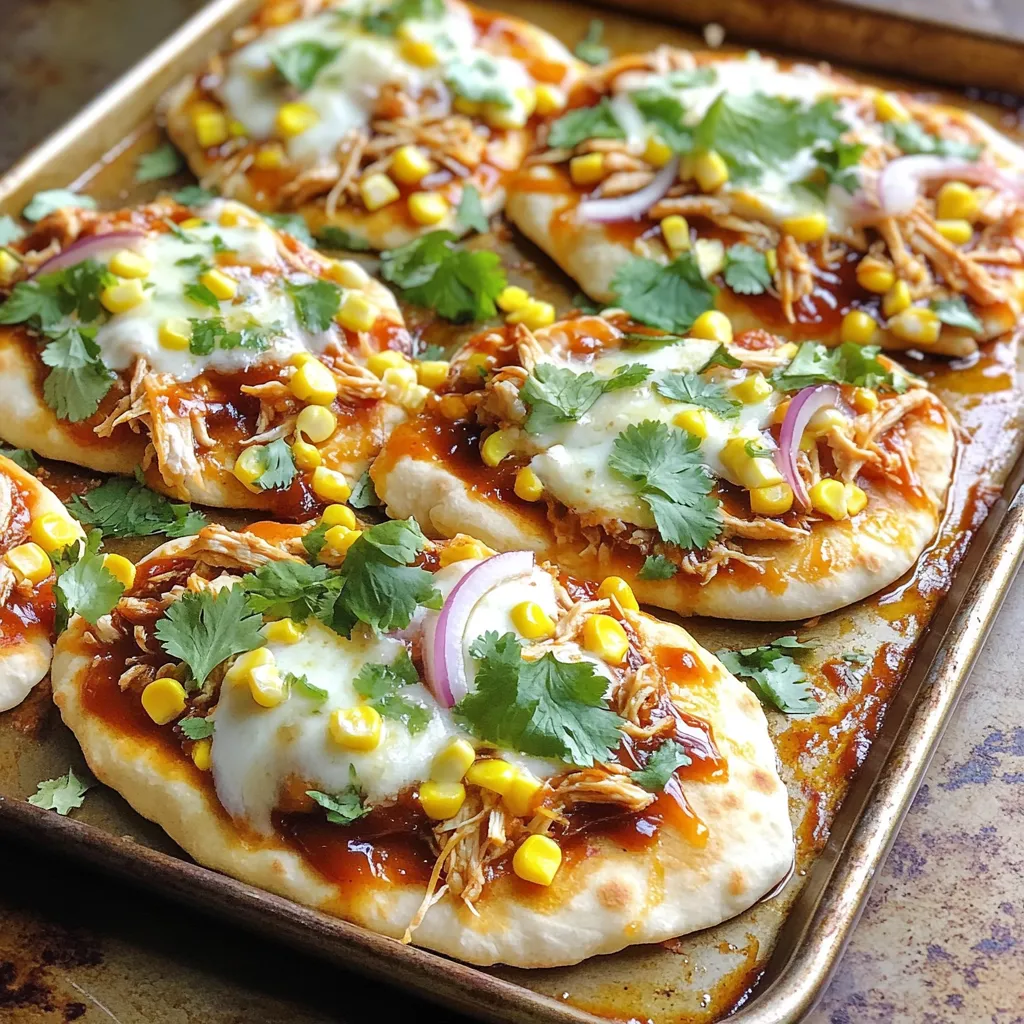
Looking for a quick and tasty meal? These Sheet-Pan BBQ Chicken Flatbreads are perfect for busy nights! With just a
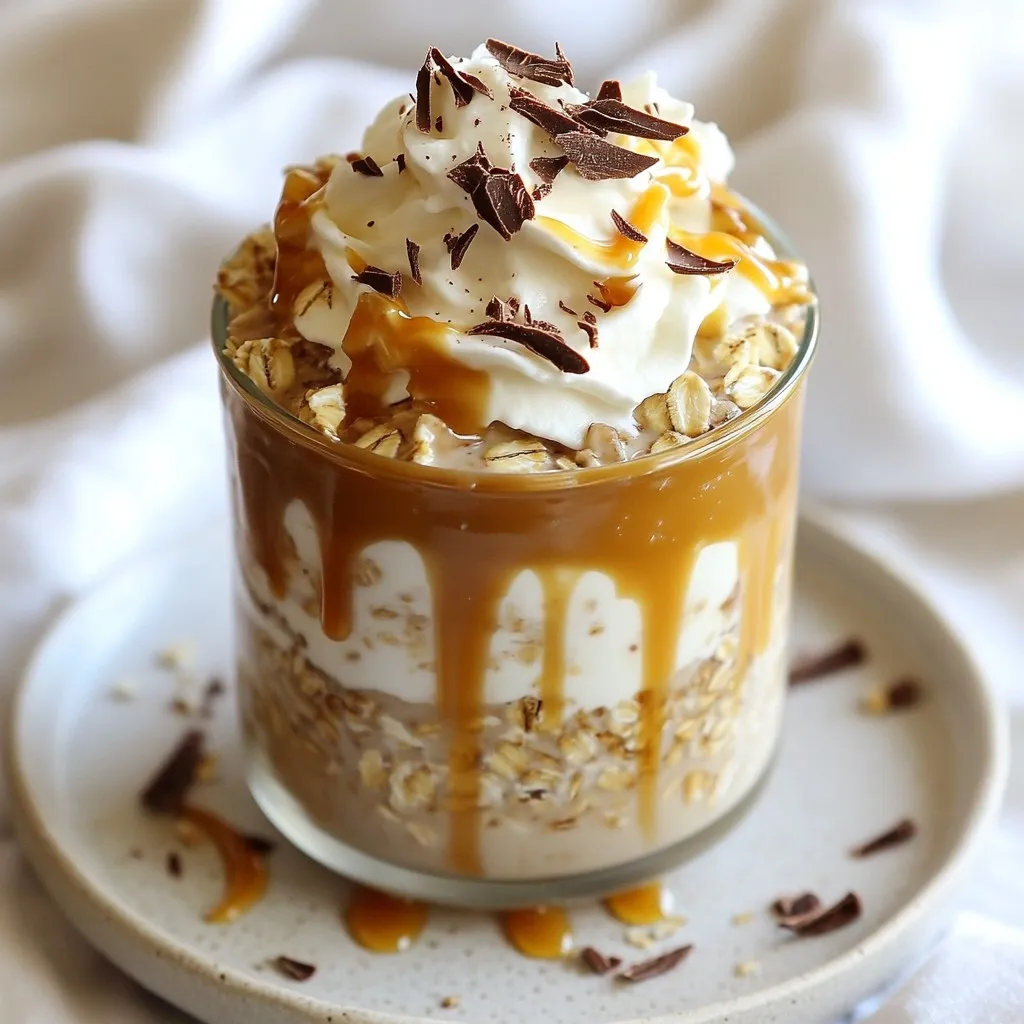
Start your morning right with my Caramel Macchiato Overnight Oats! This simple recipe combines bold coffee flavor with creamy oats,
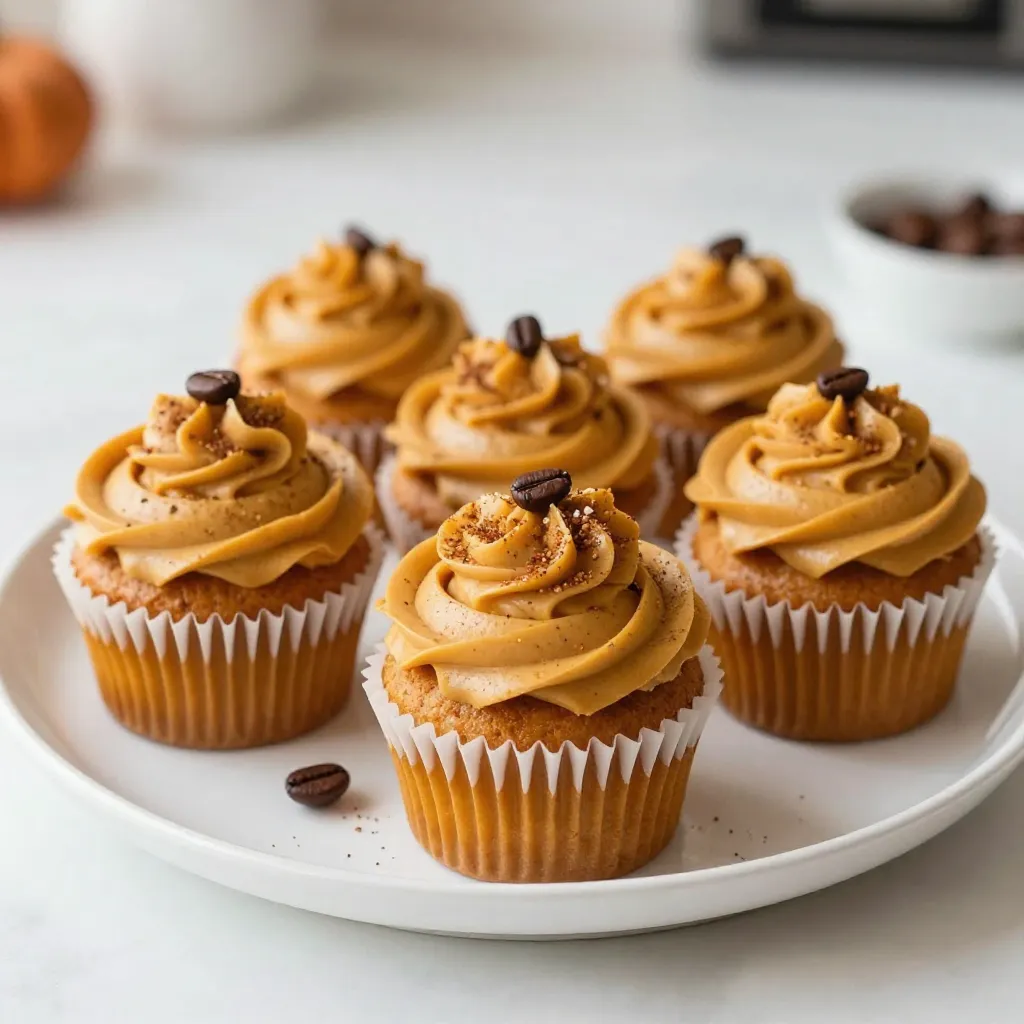
Craving a festive treat that blends fall flavors with your favorite coffee? Look no further! These Pumpkin Spice Latte Cupcakes
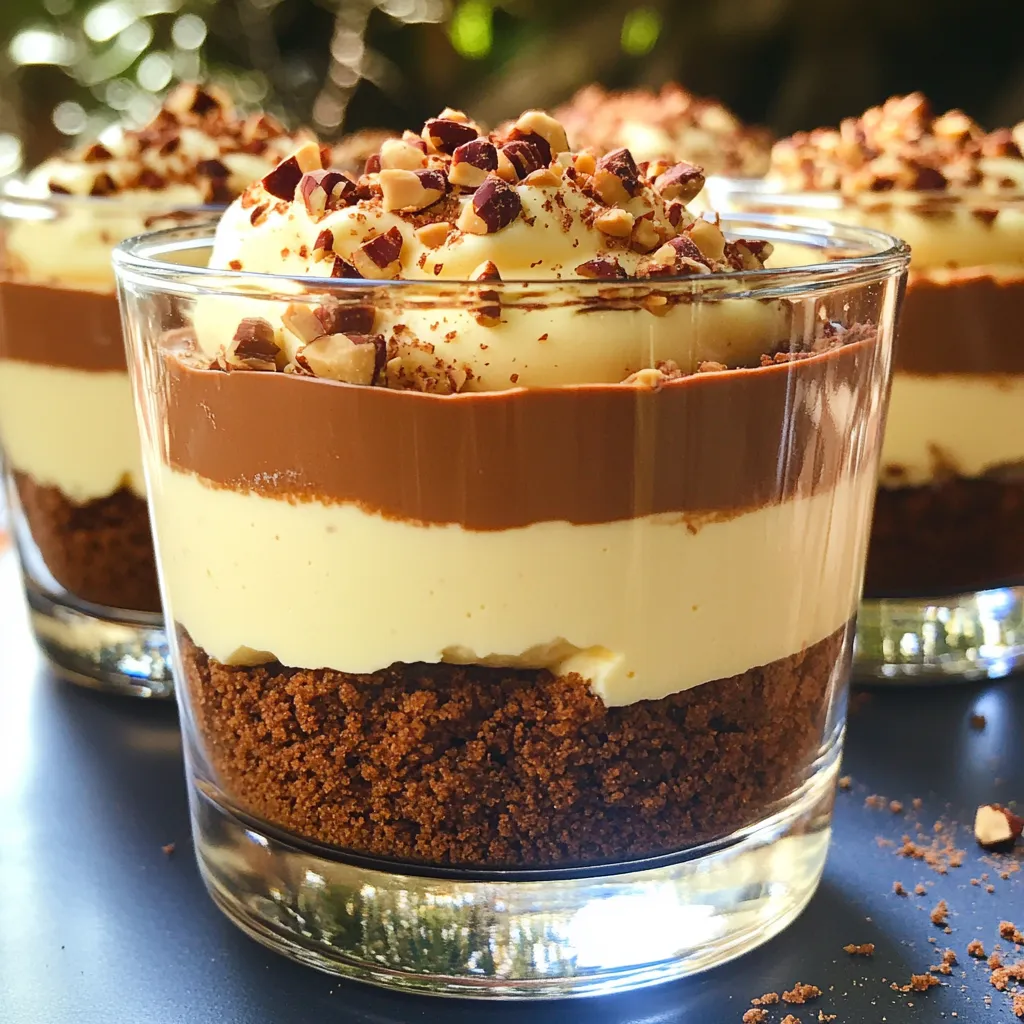
Are you ready to indulge in a sweet treat that requires no baking? These No-Bake Chocolate Hazelnut Cheesecake Cups are
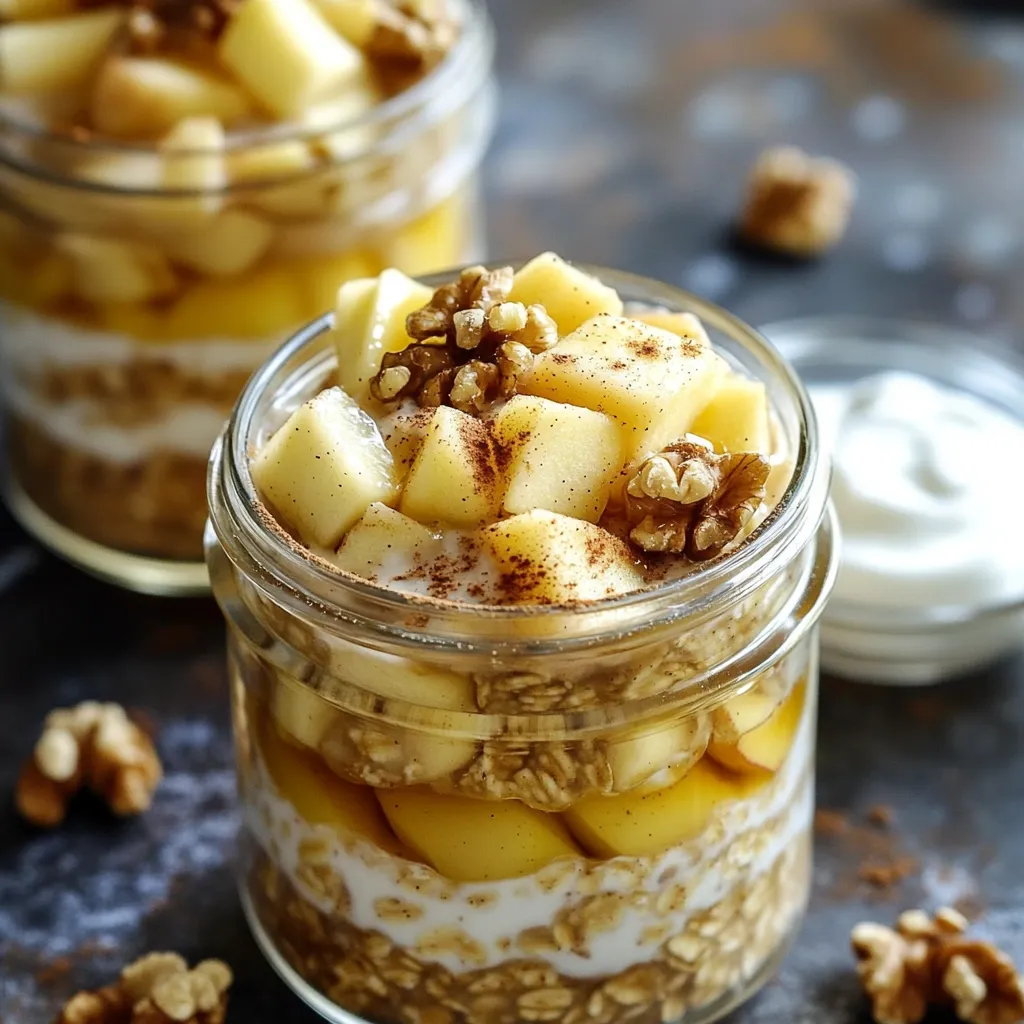
Are you ready to kickstart your mornings with something delicious? My Apple Cinnamon Overnight Oats are simple to whip up
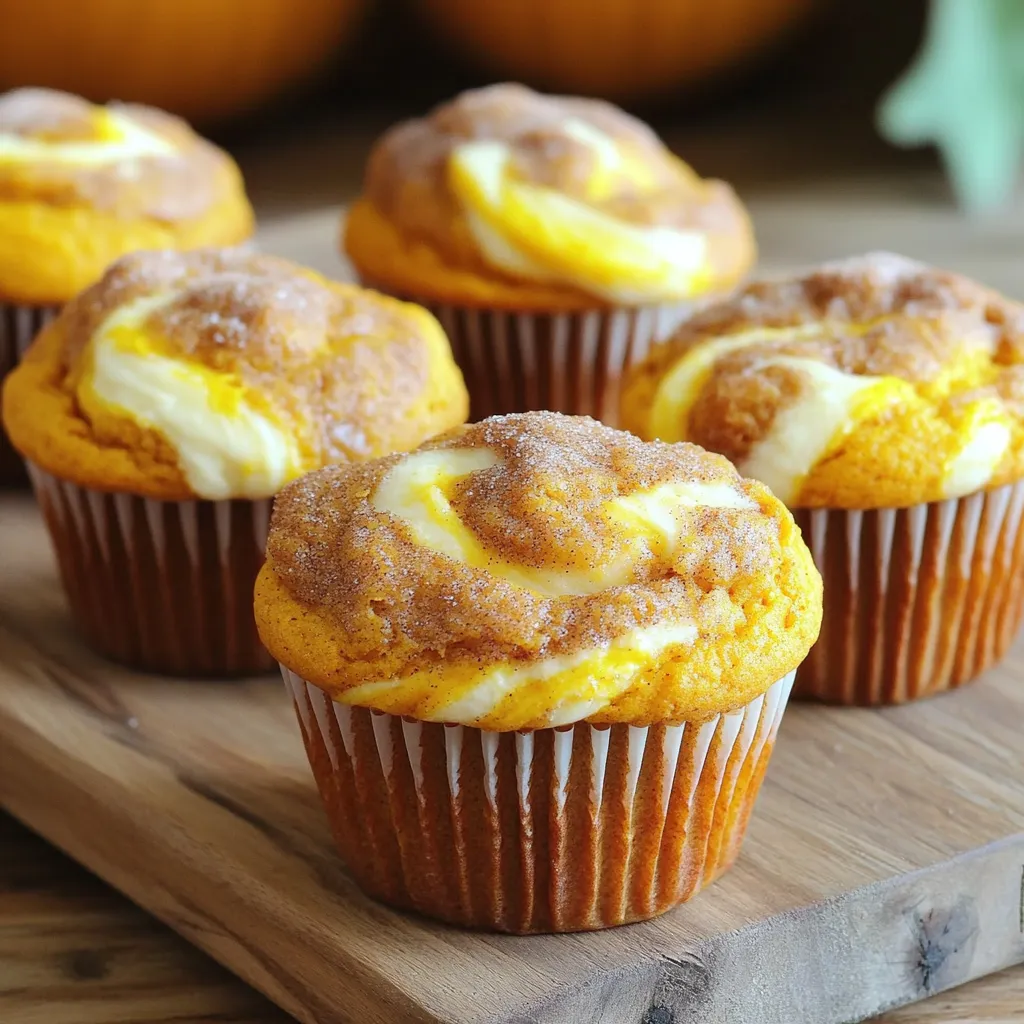
Are you ready to indulge in fall’s favorite treat? My Pumpkin Cream Cheese Swirl Muffins are a game-changer for breakfast
