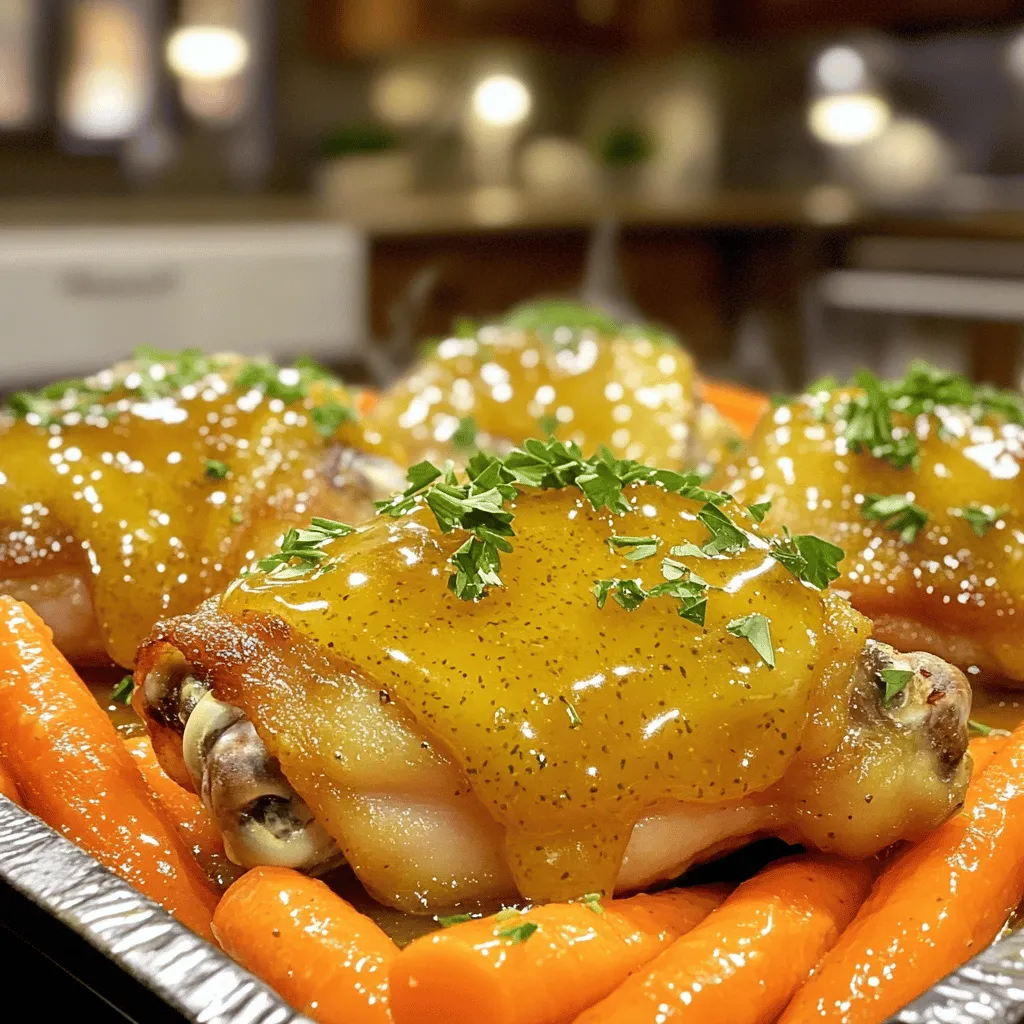
Honey Mustard Chicken and Carrots Sheet Pan Delight
Looking for an easy and tasty meal? Try my Honey Mustard Chicken and Carrots Sheet Pan Delight! In just a
Looking for an easy and tasty meal? Try my Honey Mustard Chicken and Carrots Sheet Pan Delight! In just a
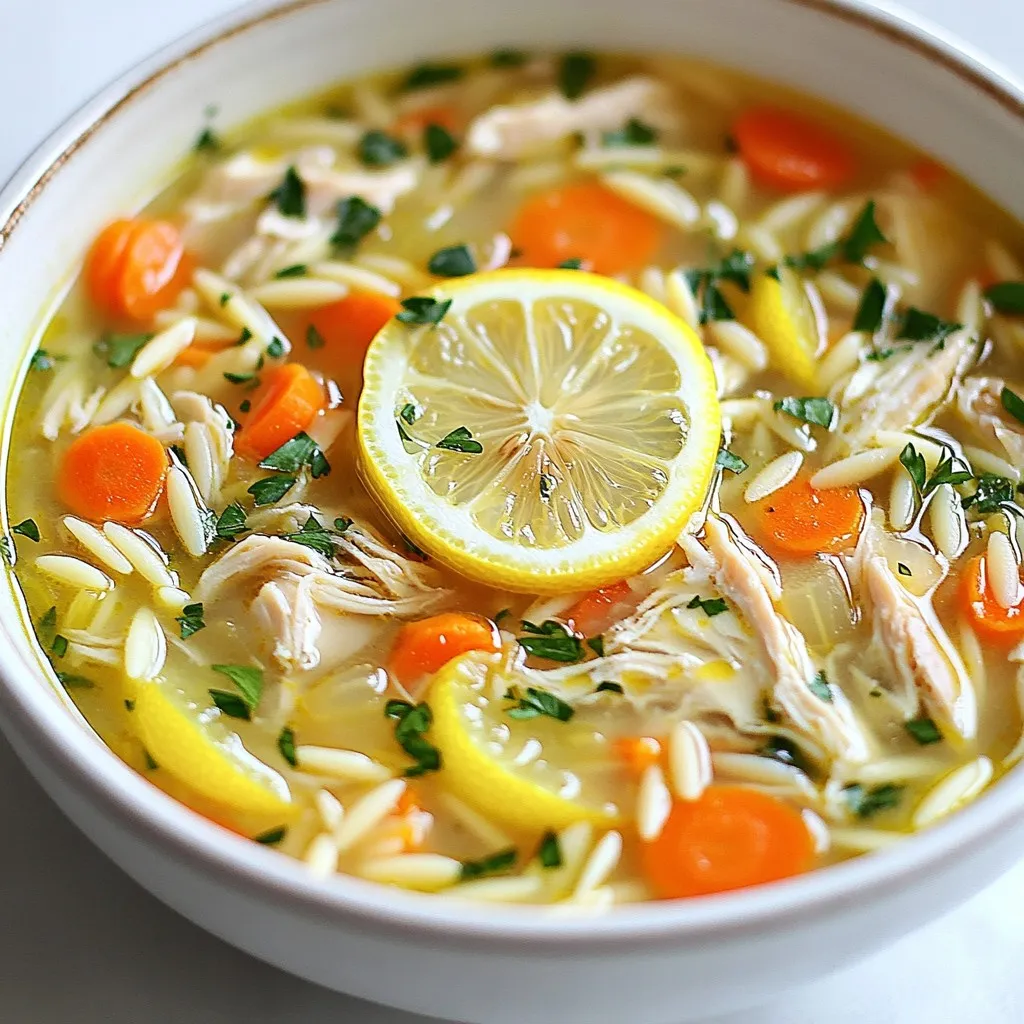
If you’re craving a warm bowl of comfort, Greek Lemon Chicken Soup is your answer. This dish is not only

Are you ready to indulge in a tasty fall treat? These Pumpkin Cheesecake Parfaits are a simple yet delightful way
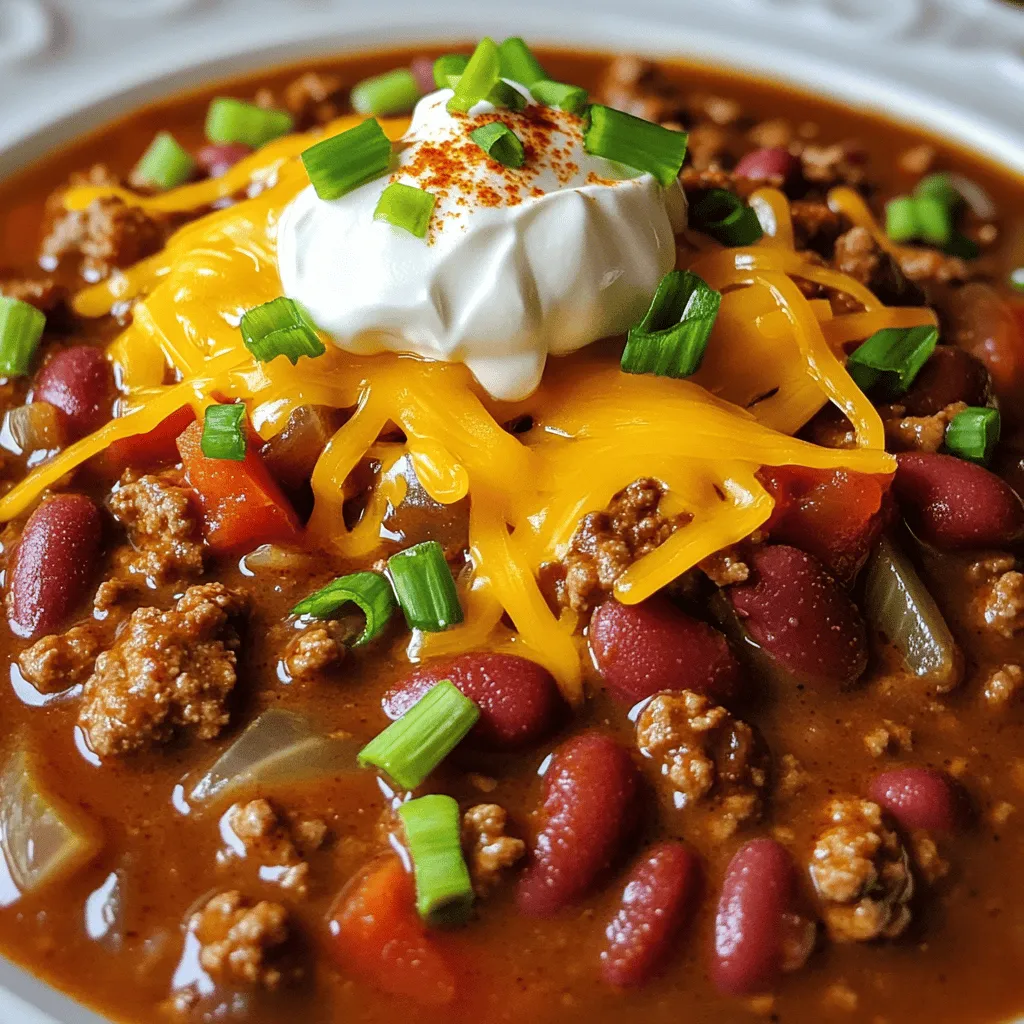
Are you ready to warm up your kitchen with a delicious bowl of Slow Cooker Beef Chili? This hearty meal

Craving a tasty snack? Look no further than these Air Fryer Chicken Taquitos! They’re crispy, flavorful, and easy to make.
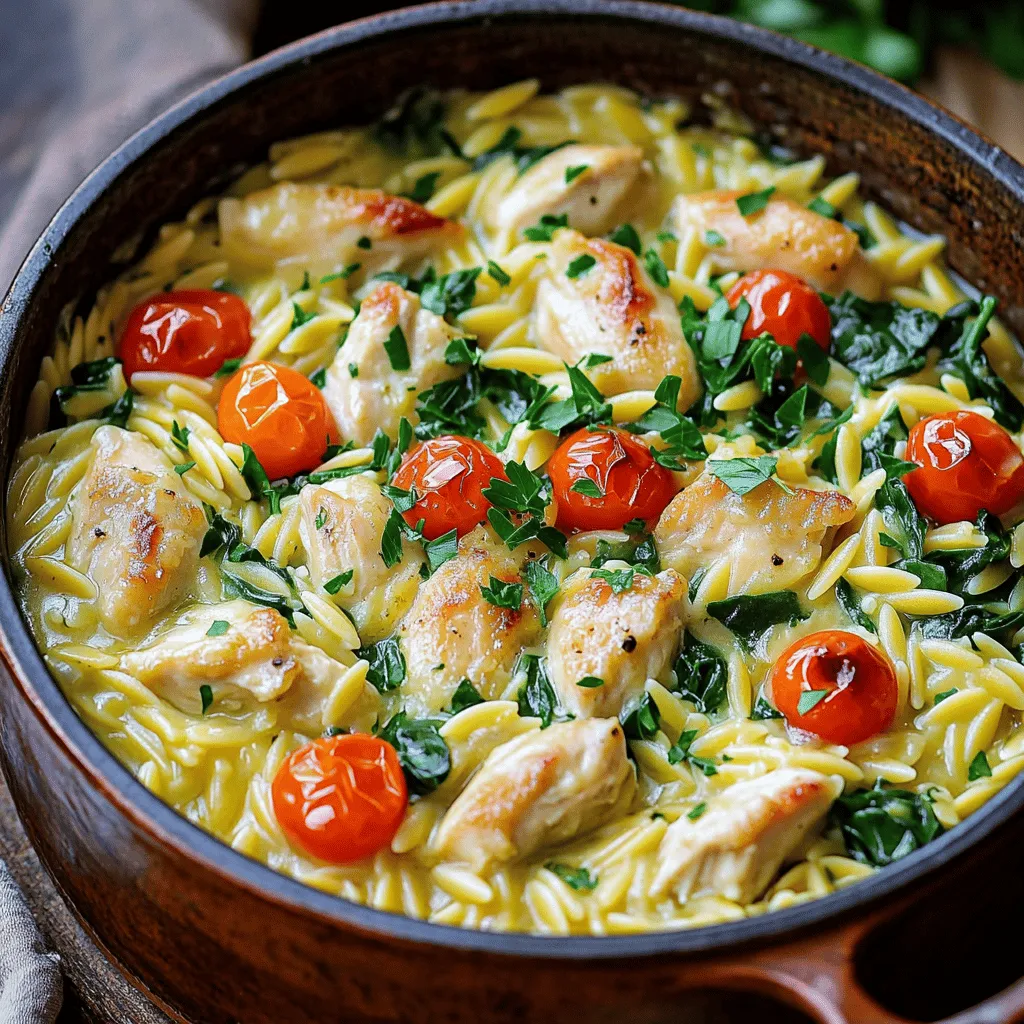
Welcome to Garlic Parmesan Orzo Chicken One-Pot Delight! If you’re looking for a simple yet delicious meal, you’ve come to
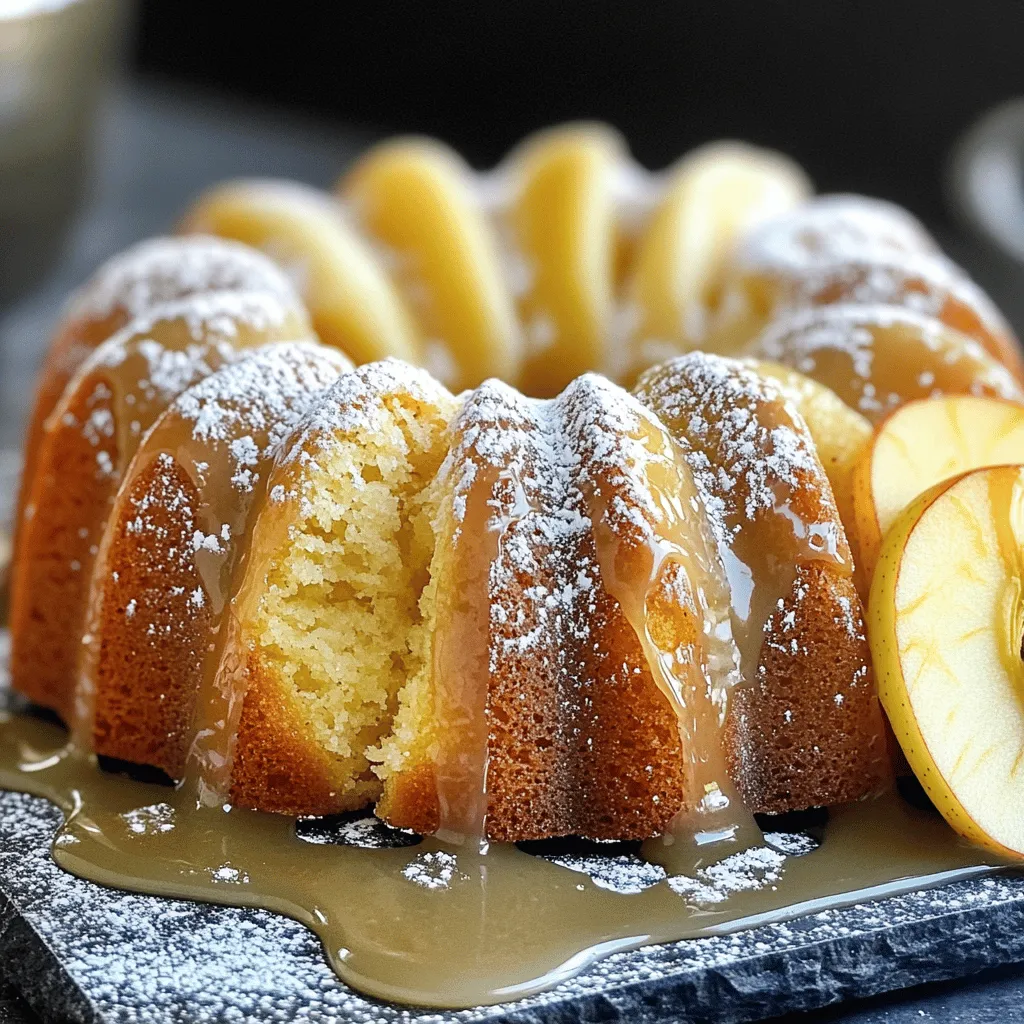
If you love the warm, cozy flavors of fall, you’ll adore my Irresistible Apple Cider Donut Pound Cake. This cake
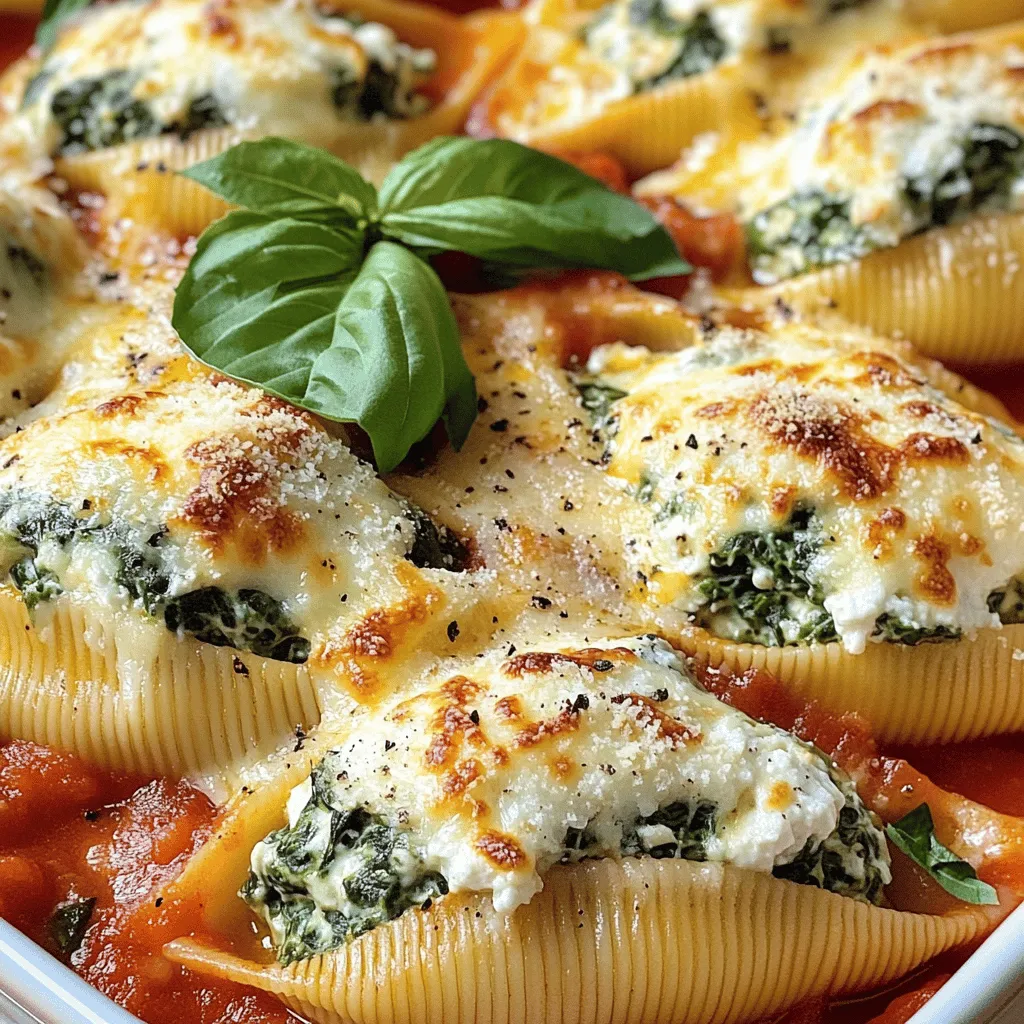
Looking for a quick, tasty dish that everyone will love? Spinach Ricotta Stuffed Shells might be your answer. These jumbo
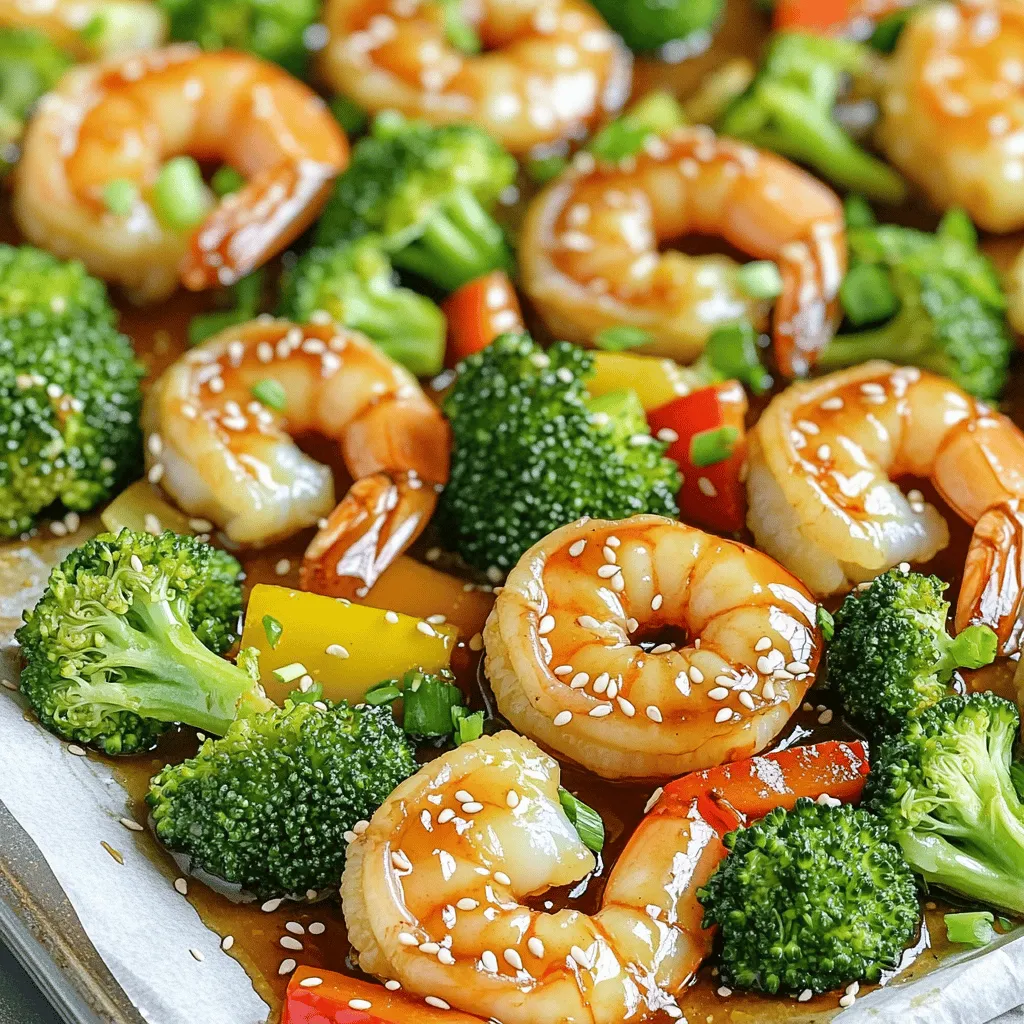
Are you ready to transform your dinner routine? In this Honey Garlic Shrimp & Broccoli Sheet Pan Delight, I’ll guide
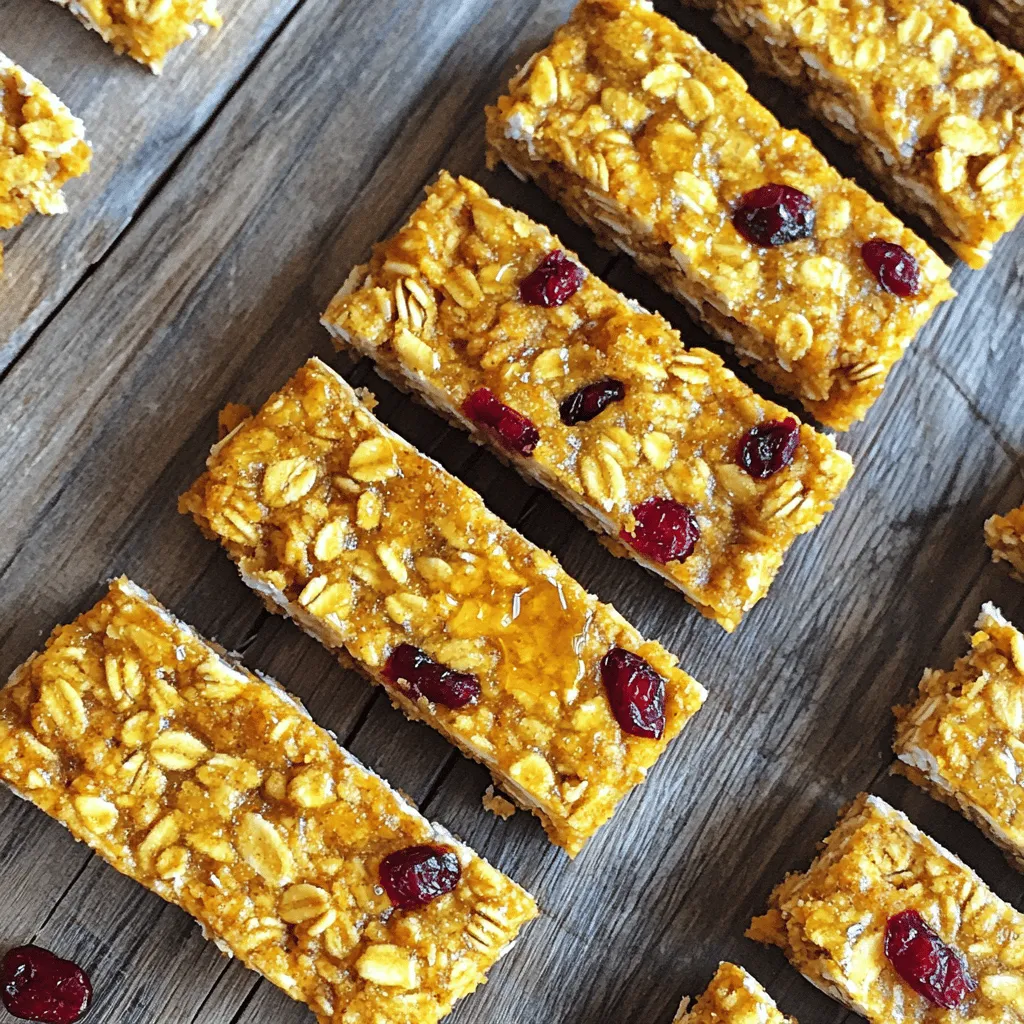
As the fall chill sets in, nothing feels cozier than a delicious treat that captures the season’s spirit. Pumpkin Spice
