Slow Cooker Chicken Noodle Soup Comforting and Easy
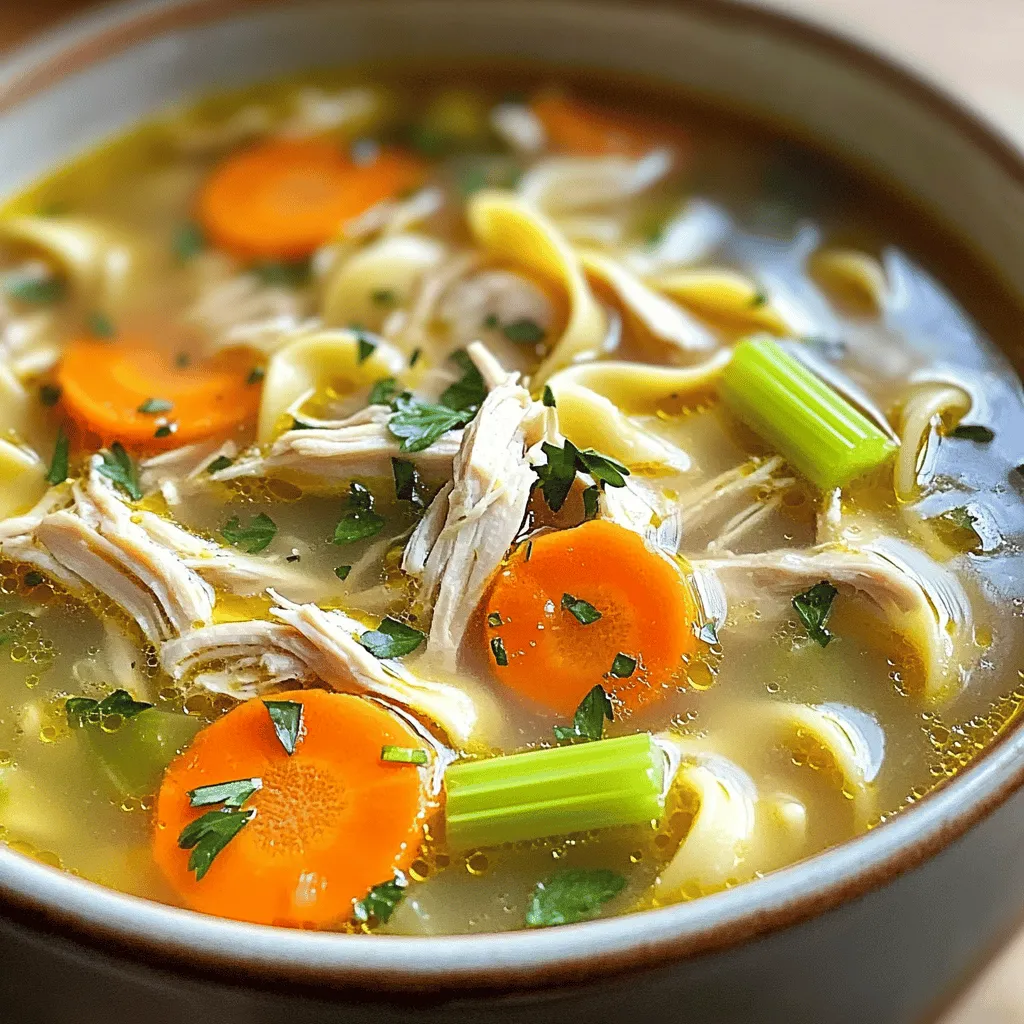
When you want a warm hug in a bowl, slow cooker chicken noodle soup is the answer. This easy recipe
When you want a warm hug in a bowl, slow cooker chicken noodle soup is the answer. This easy recipe
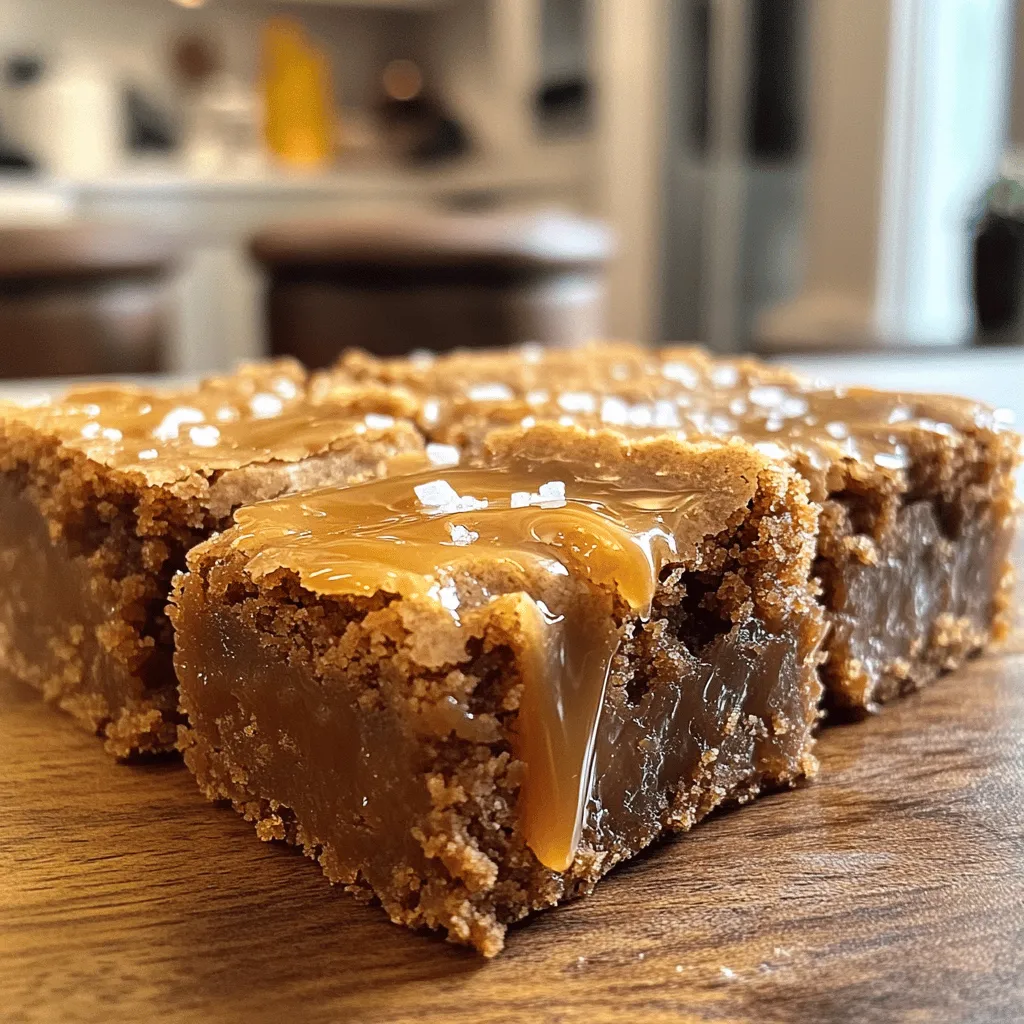
If you crave a sweet treat that’s both rich and easy to make, you’re in luck! These Brown Butter Salted
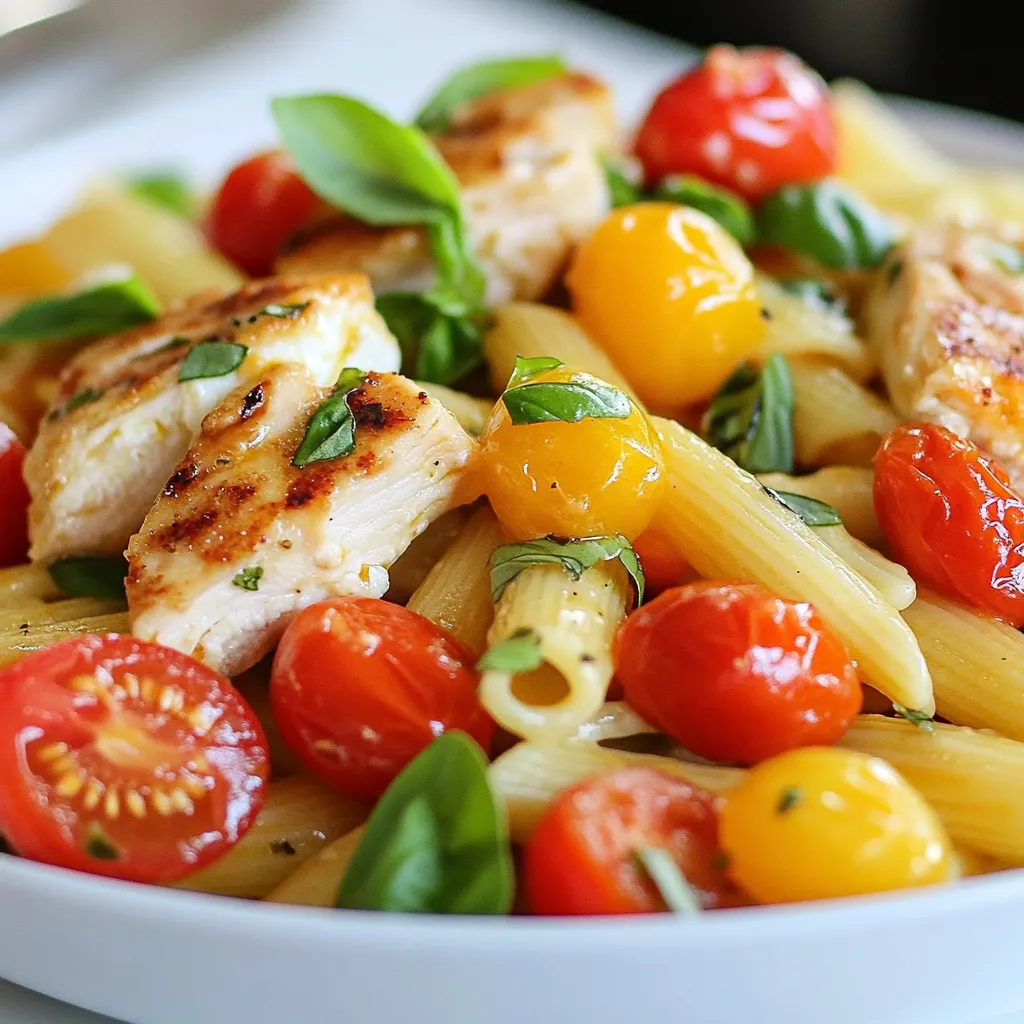
Looking for a tasty and simple meal? Bruschetta Chicken Pasta is here to impress! With just a few fresh ingredients,
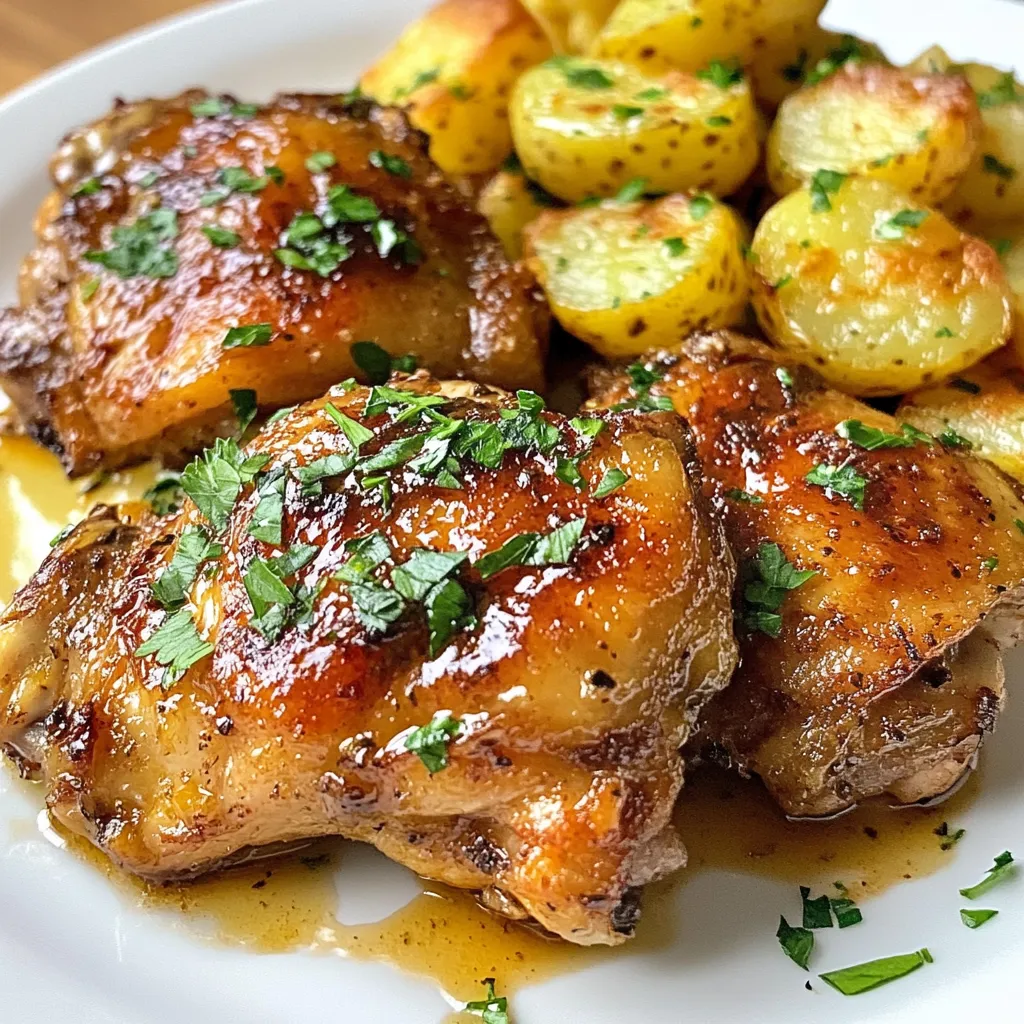
Looking for a simple and tasty dinner idea? This Garlic Butter Chicken and Potatoes recipe is perfect for you! With

Are you ready to indulge in a sweet treat without turning on the oven? These No-Bake Oreo Cheesecake Bars are

If you crave a tasty yet easy meal, you’ll love these Honey Garlic Tofu Nuggets! This simple recipe packs sweet

Get ready to savor the cozy flavors of fall with my Pumpkin Spice Coffee Cake Muffins! These muffins blend the
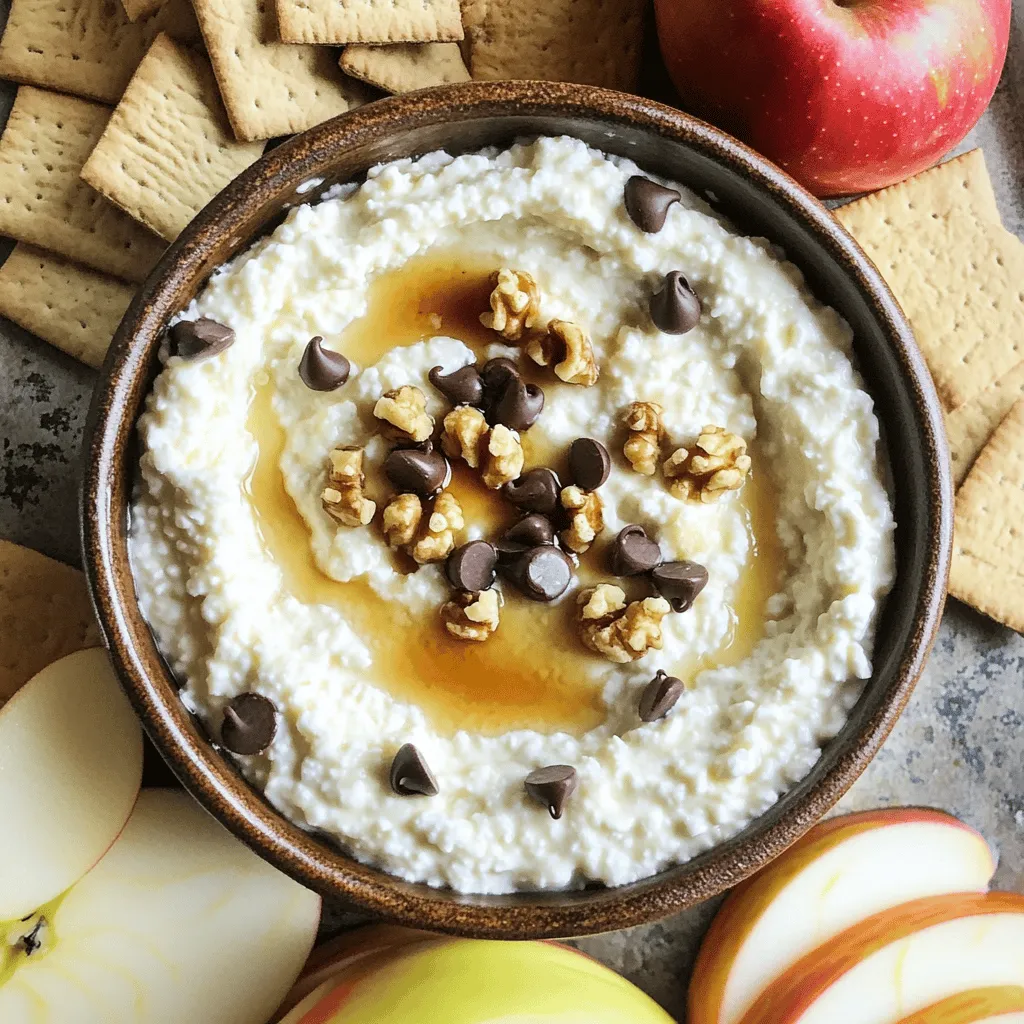
If you’re looking for a fun and tasty way to enjoy cottage cheese, you’ve come to the right place! This

Get ready for a sweet treat that’s easy to make and hard to resist! My Chocolate Peanut Butter Rice Krispie

Looking for a tasty snack that’s full of flavor and easy to make? These Air Fryer Buffalo Cauliflower Bites are
