
Cranberry Orange Scones Fresh and Flavorful Delight
Brighten your mornings with homemade cranberry orange scones! This recipe combines zesty orange and tart cranberries for a perfect balance.
Brighten your mornings with homemade cranberry orange scones! This recipe combines zesty orange and tart cranberries for a perfect balance.

Are you ready to whip up a meal that’s both delicious and easy? You’ll love these Ginger Soy Glazed Tofu
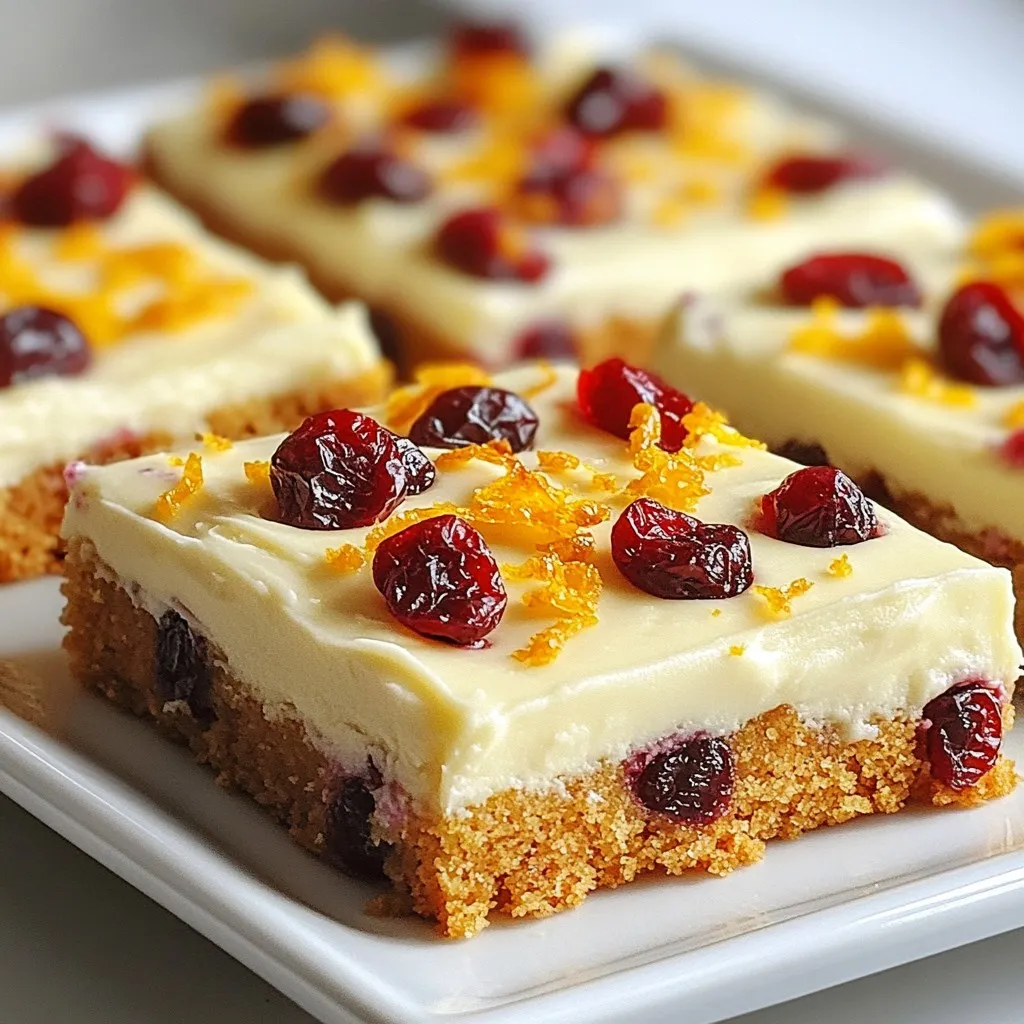
If you’re looking to add a sweet twist to your holiday treats, you’ll love these Cranberry Bliss Bars! Packed with
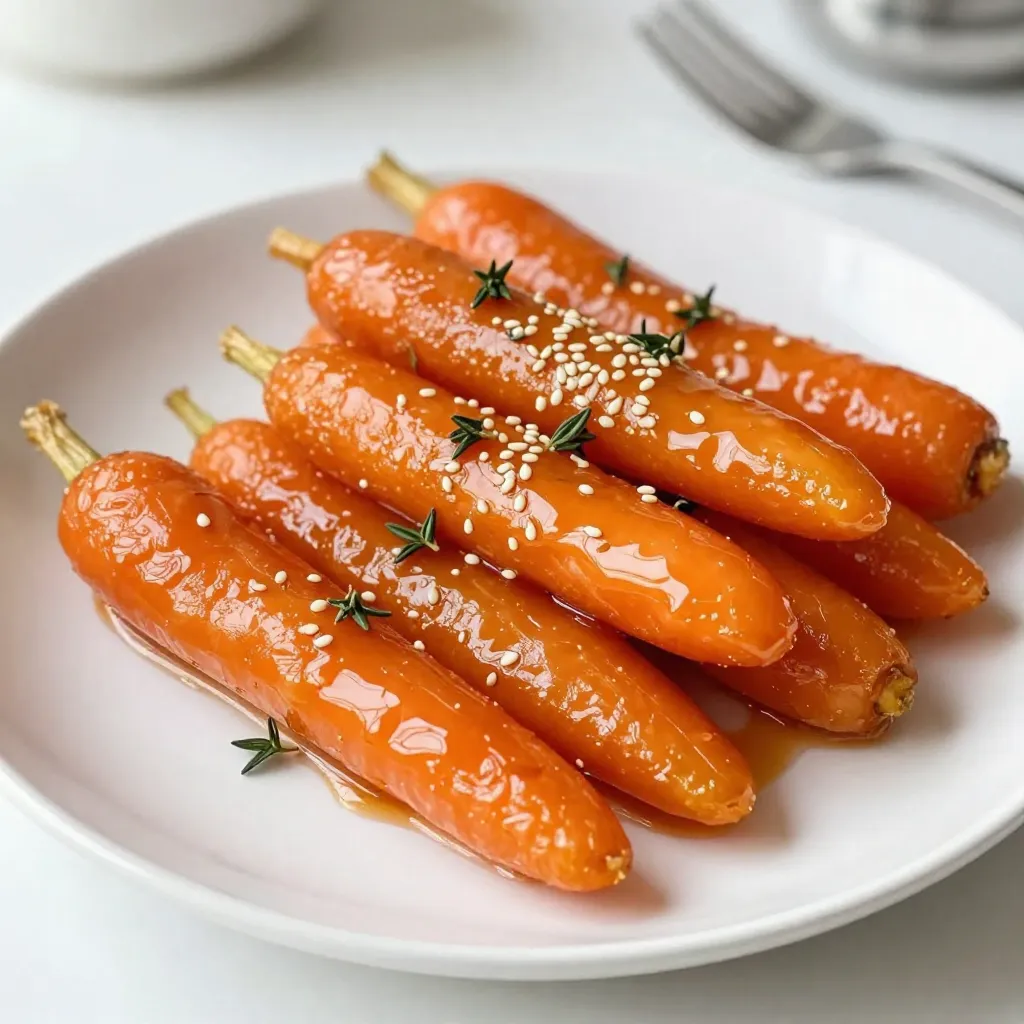
Looking for a simple yet flavorful side dish? Maple glazed carrots are a perfect choice! They combine sweetness and warmth,

If you’re looking for a family meal that’s quick, tasty, and fun, I have just the recipe for you! Easy
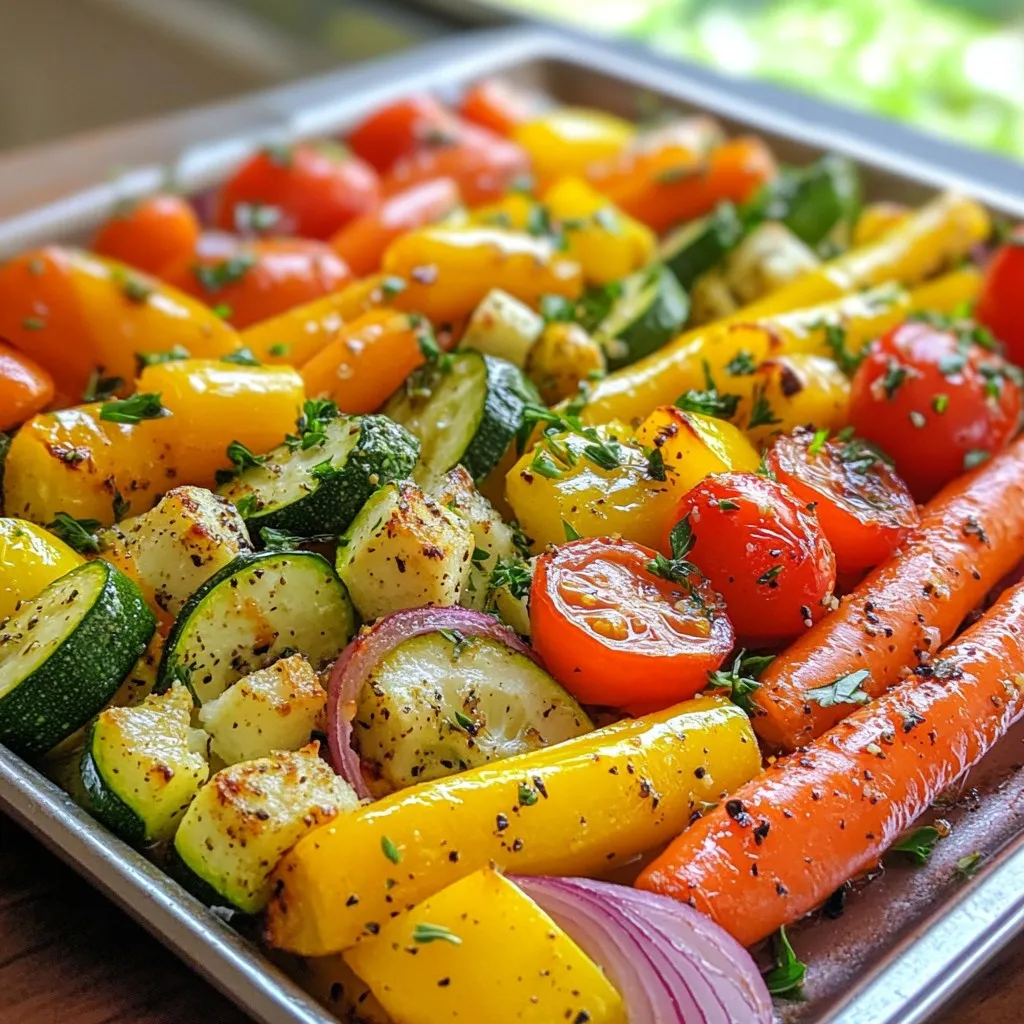
If you want a delicious side dish that’s easy to make, try Garlic Herb Roasted Vegetables. This vibrant mix of

Are you ready to add a burst of flavor to your meals? Mango Habanero Salsa is a zesty delight that
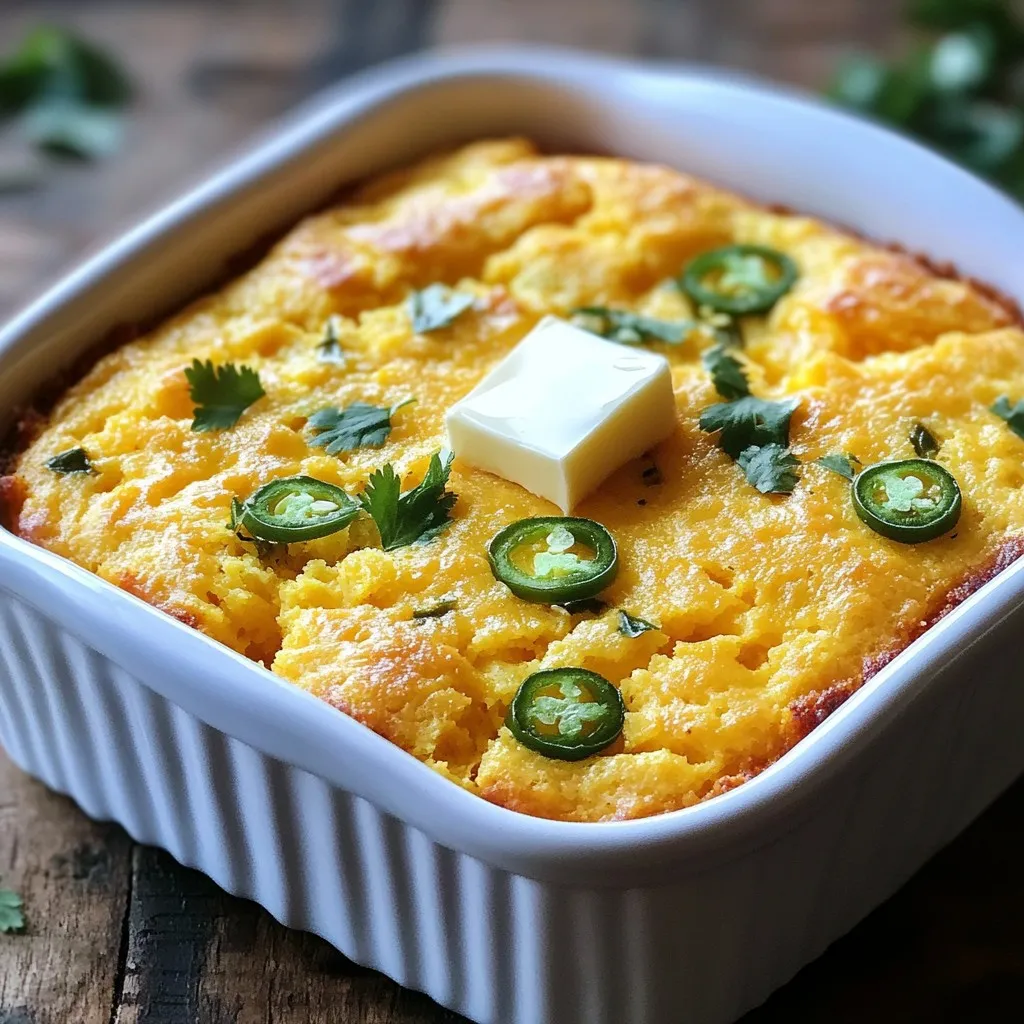
Are you ready to take your cornbread game to the next level? My Jalapeño Cheddar Cornbread recipe merges bold flavors

Looking for a tasty and healthy drink? The Pineapple Coconut Smoothie is both refreshing and nourishing! With just a few
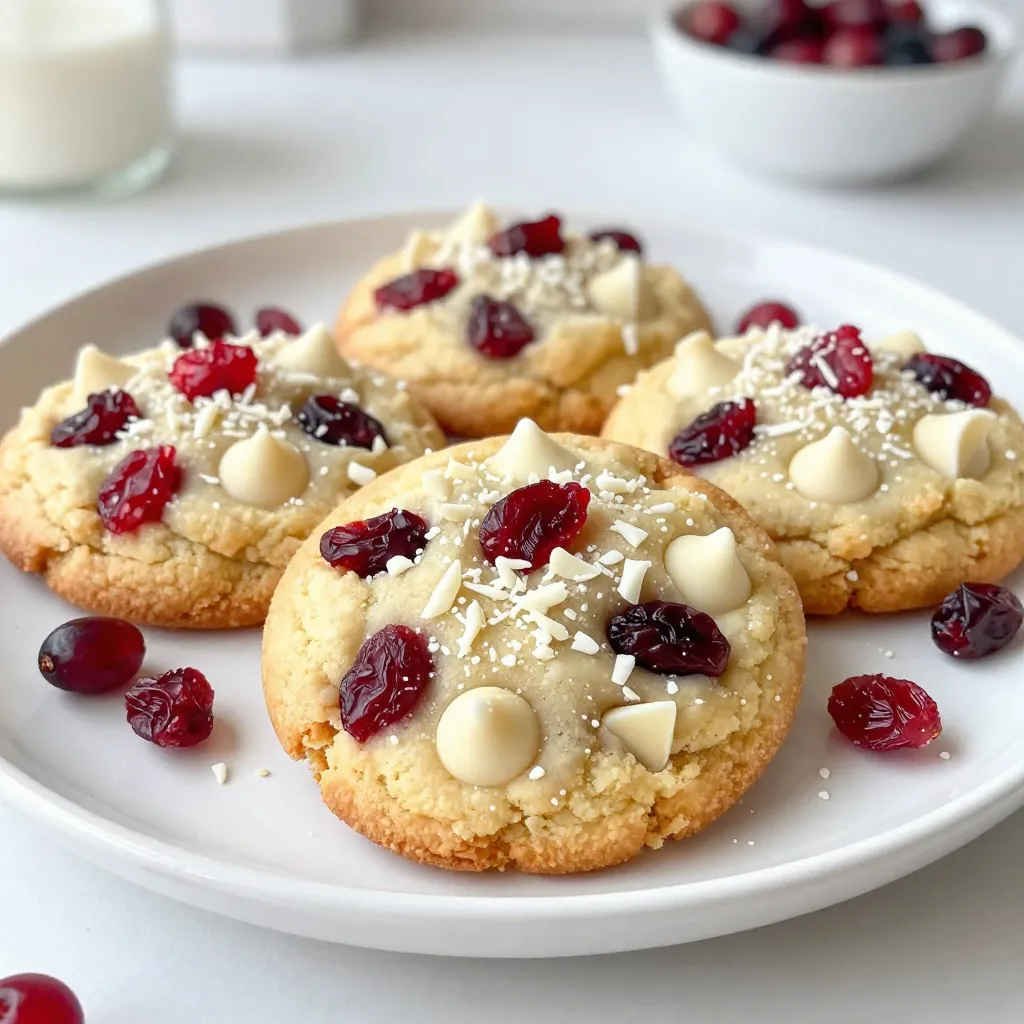
If you love cookies that blend sweet and tart, you’re in for a treat! My White Chocolate Cranberry Cookies are
