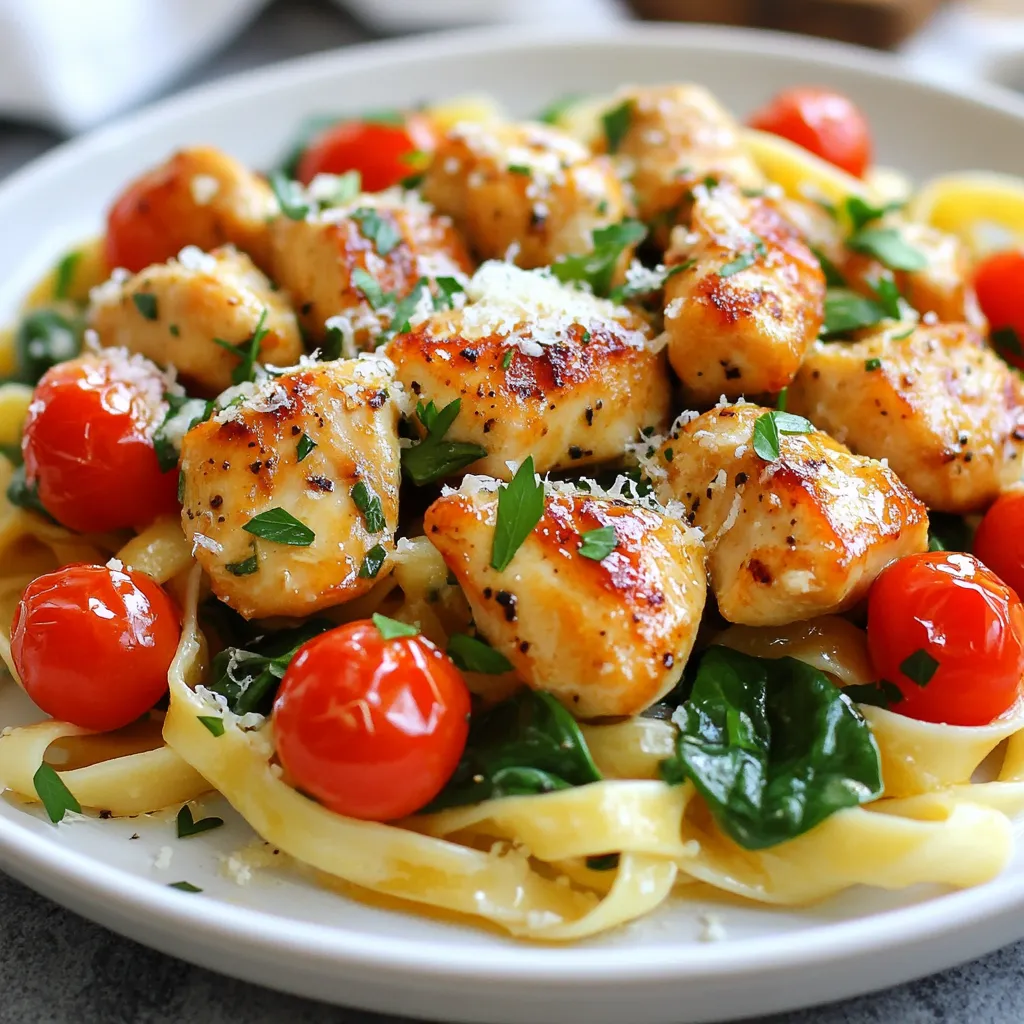
Garlic Butter Chicken Bites with Pasta Flavors Unleashed
Ready to indulge in a meal that bursts with flavor? In this blog post, I’ll share how to make Garlic
Ready to indulge in a meal that bursts with flavor? In this blog post, I’ll share how to make Garlic
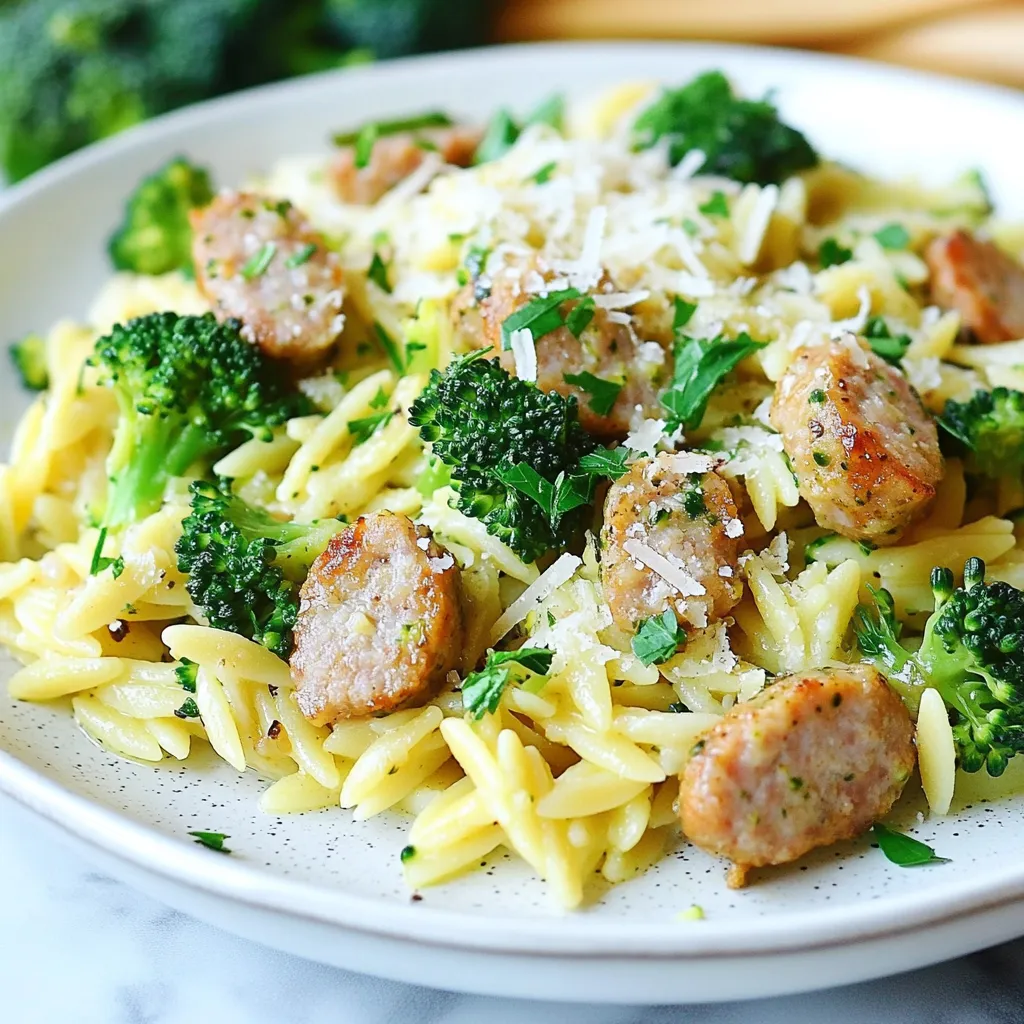
Looking for a meal that’s both quick and packed with flavor? Chicken Sausage Broccoli Orzo is your answer! It combines
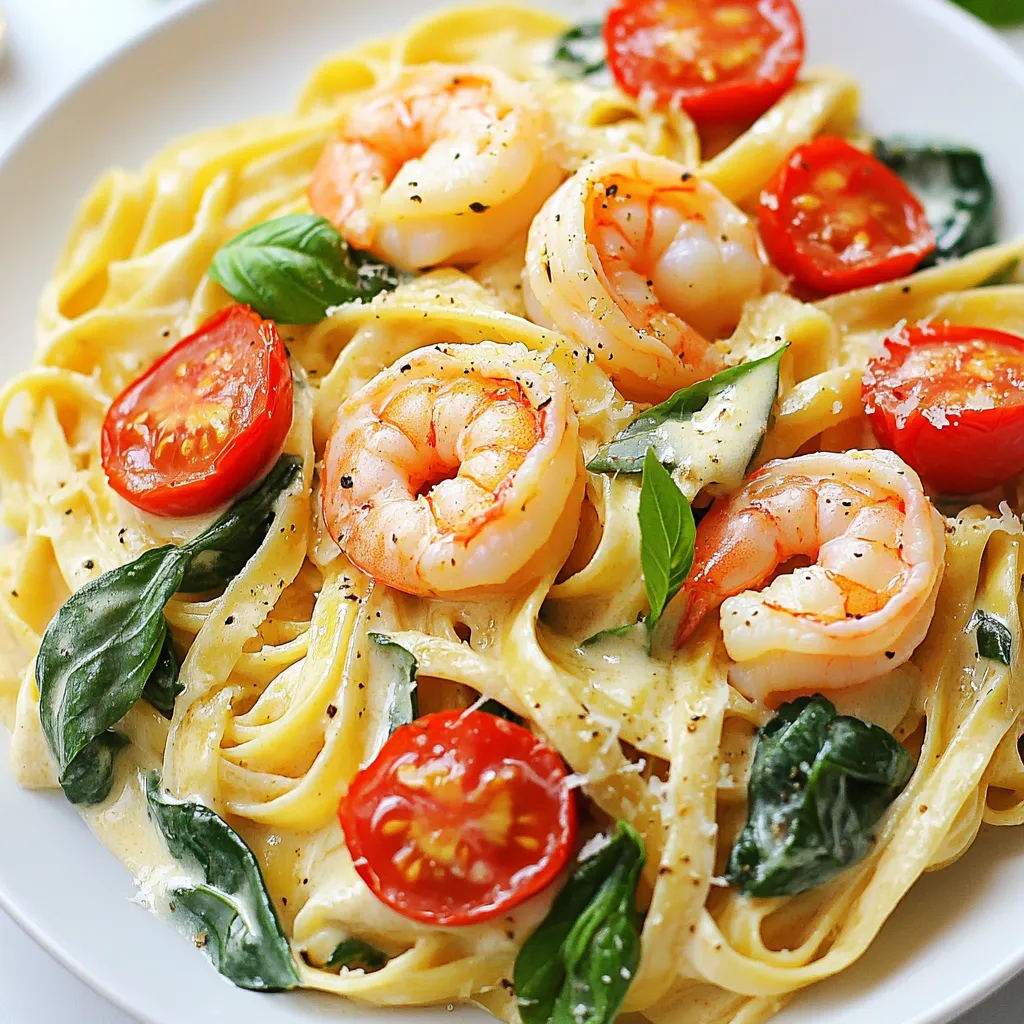
Are you ready to elevate your dinner game? This Creamy Tuscan Shrimp Pasta is a rich and flavorful delight that
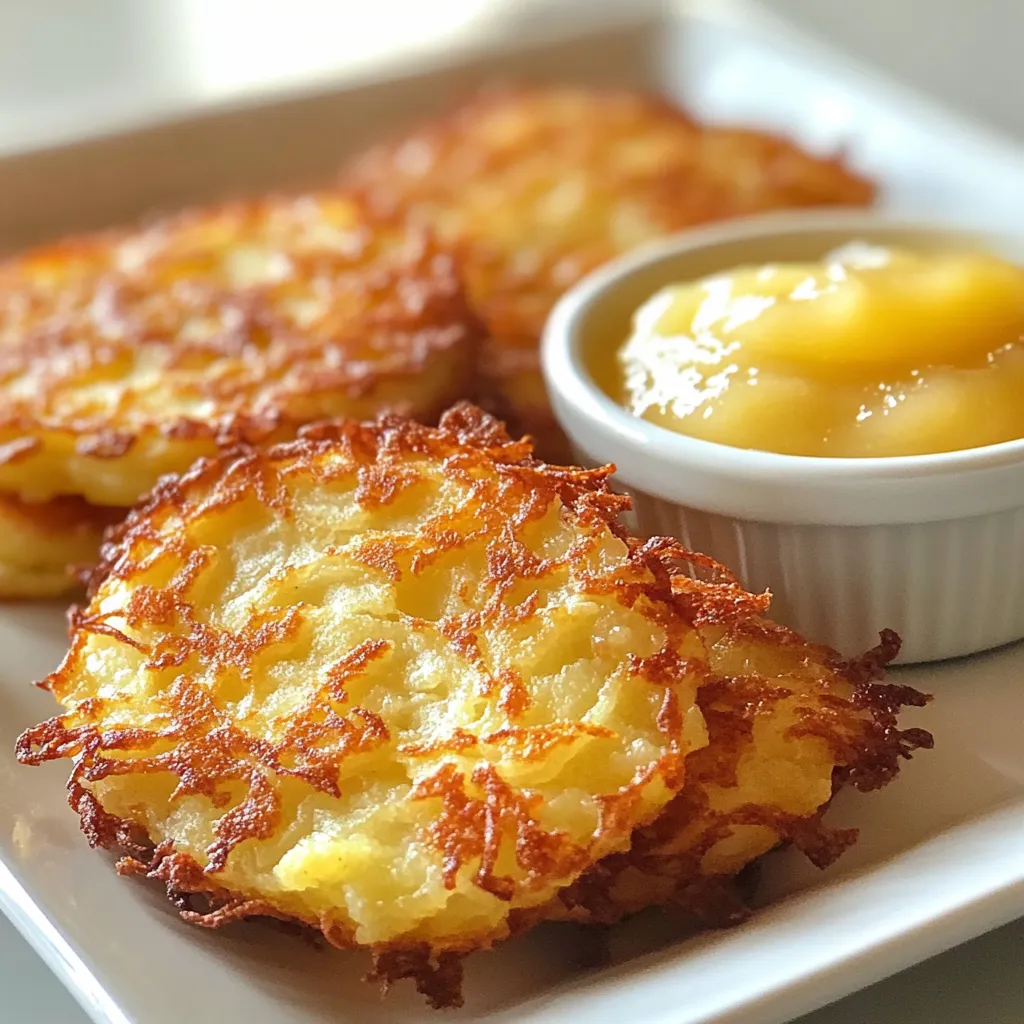
Are you ready to make the most delicious German potato pancakes? These crunchy delights are a hit at any meal.
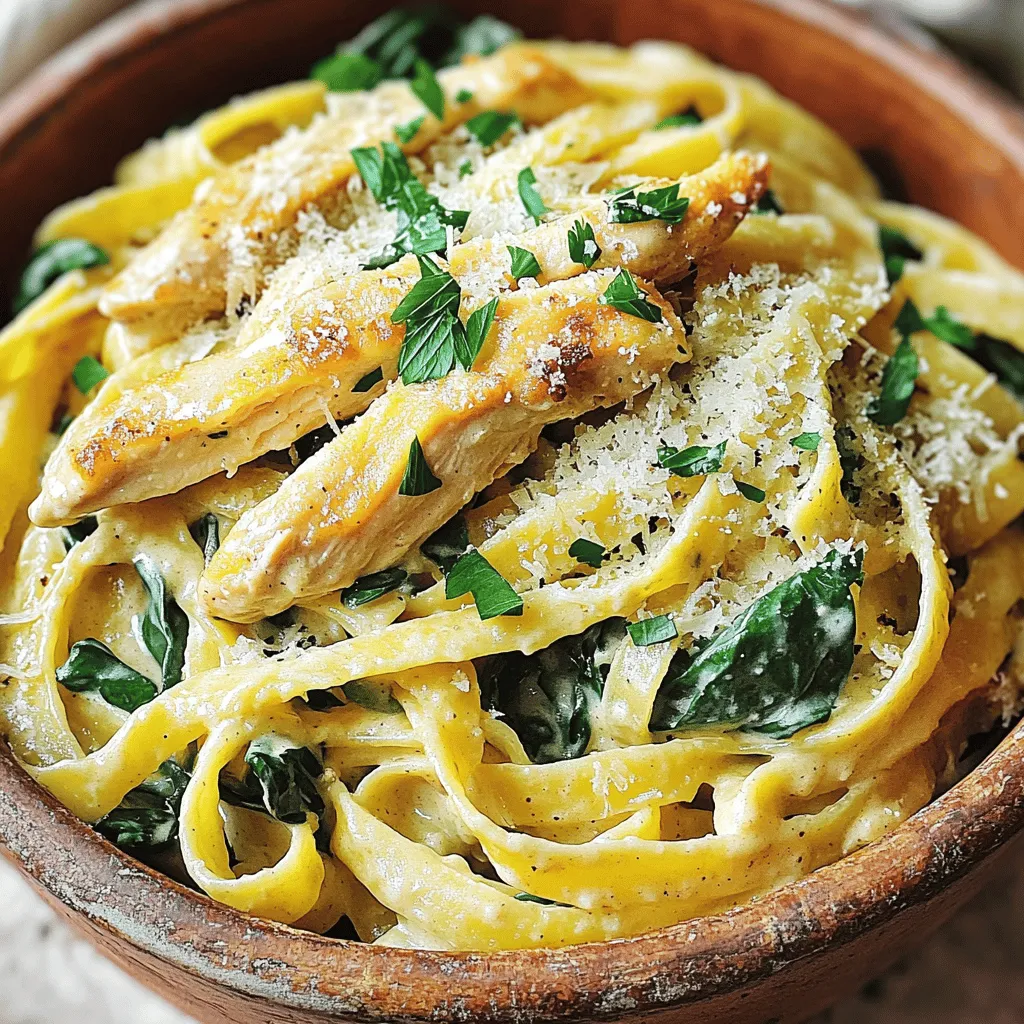
Are you ready for a meal that feels like a warm hug? Creamy Garlic Parmesan Chicken Pasta is not only
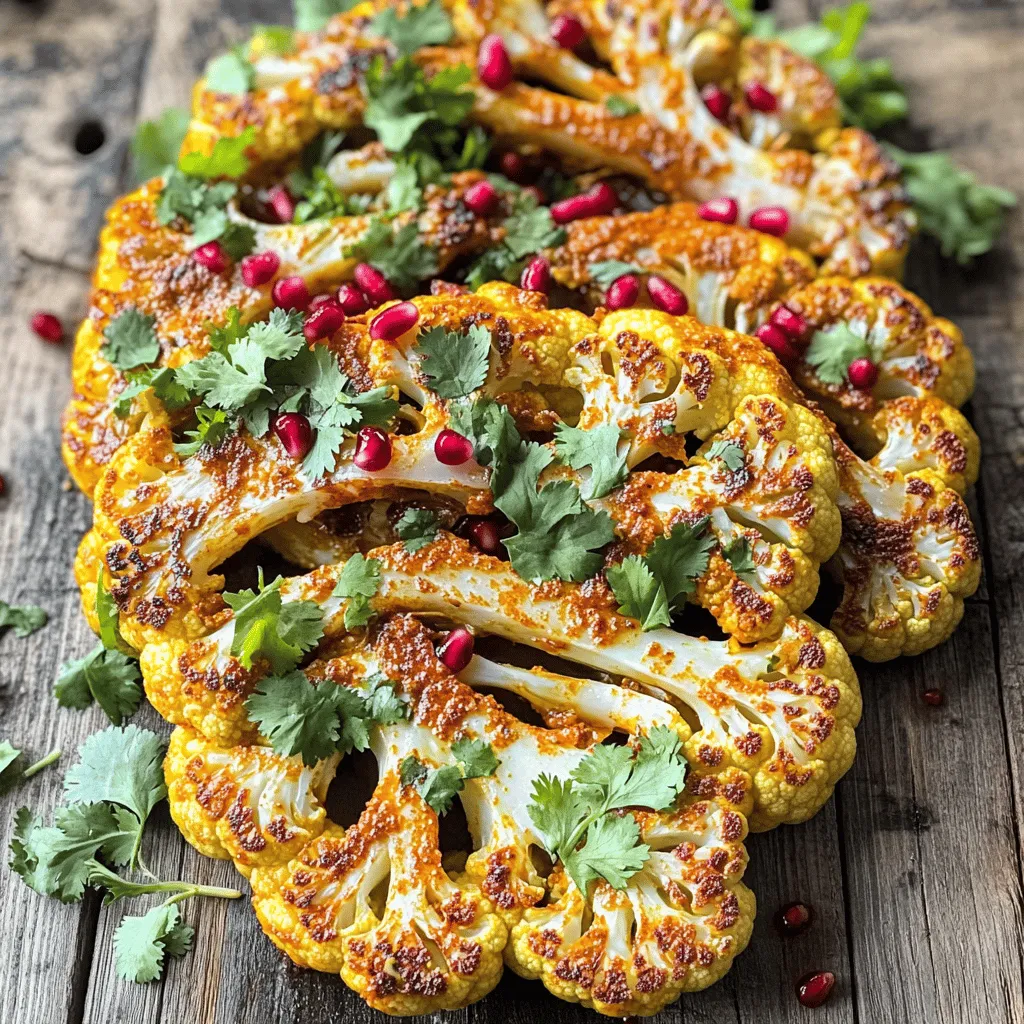
If you’re searching for a bold and tasty meal, look no further! Harissa Roasted Cauliflower Steaks are not only easy
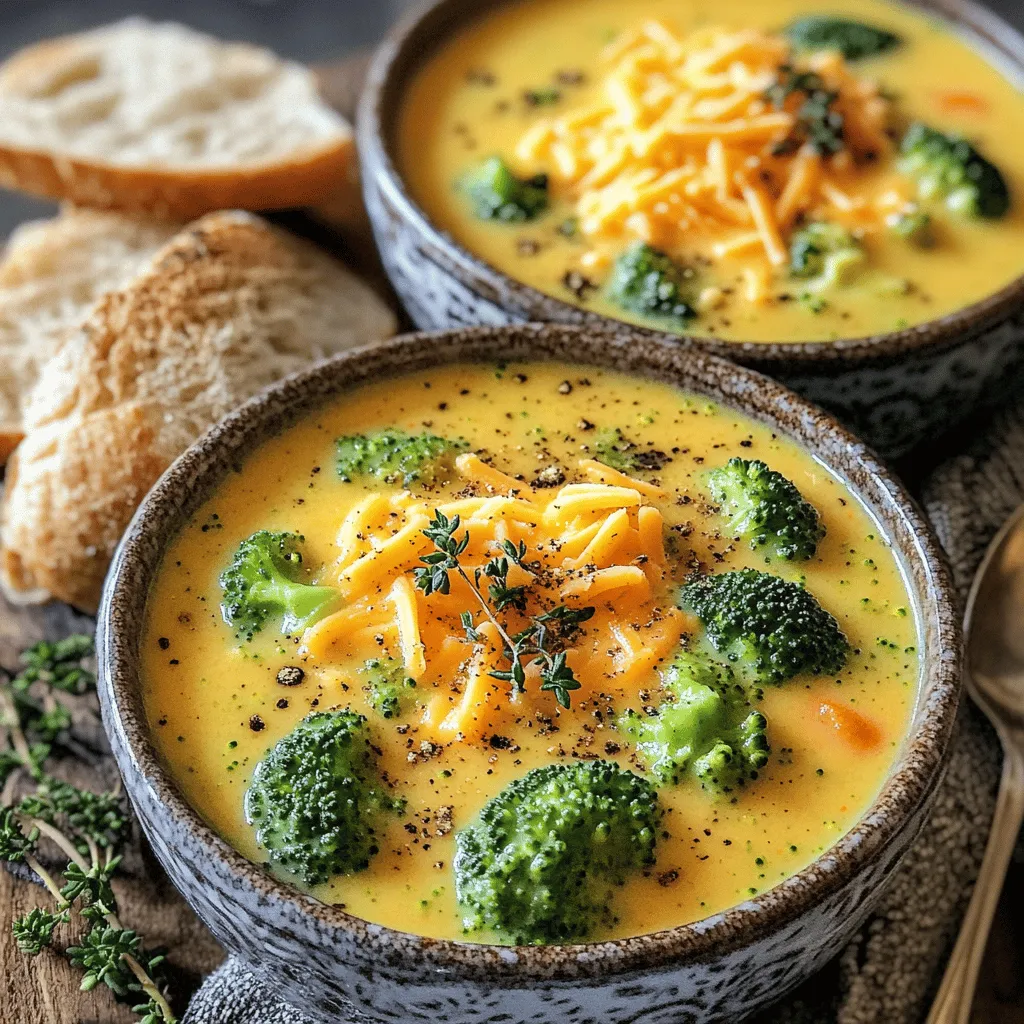
Are you ready to warm up your kitchen with a rich and creamy Slow Cooker Broccoli Cheddar Soup? This cozy
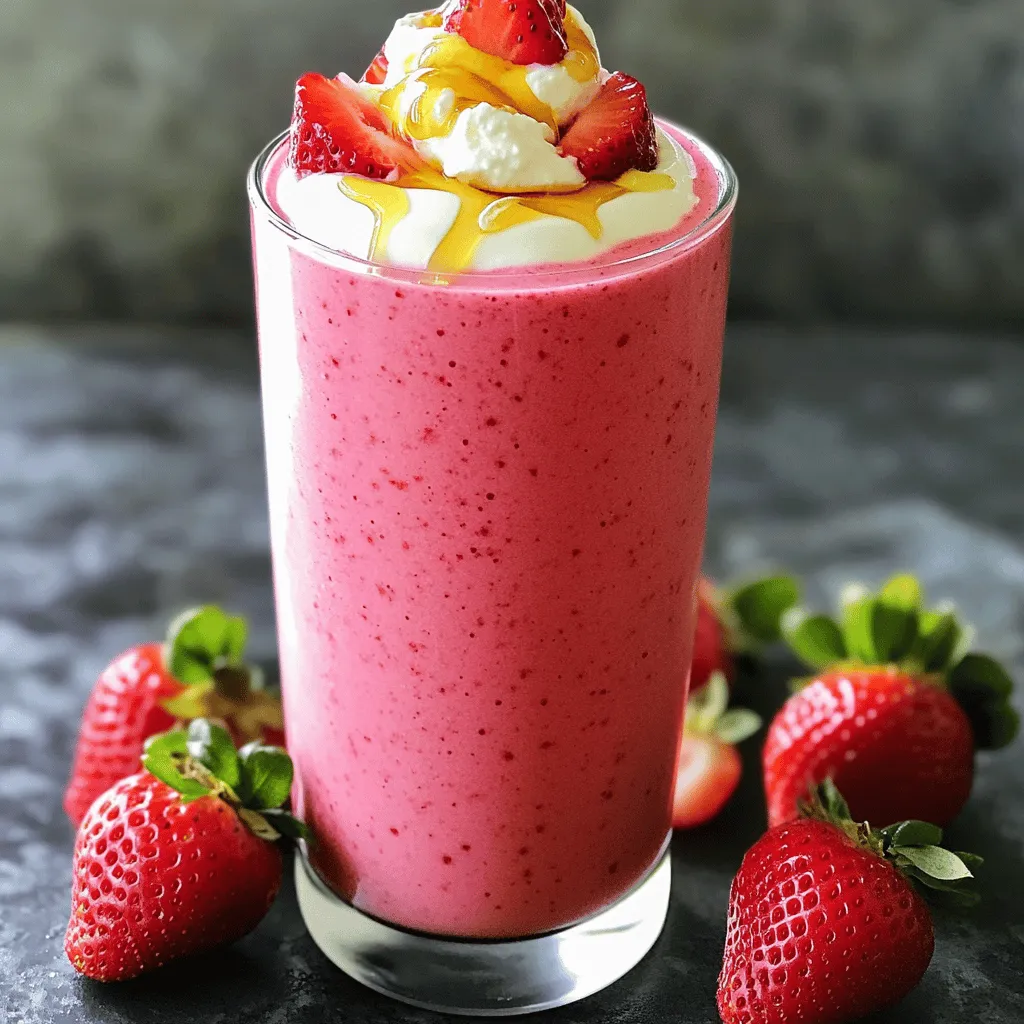
Looking for a delicious way to boost your protein intake? You’re in the right place! The Protein Strawberry Cheesecake Smoothie
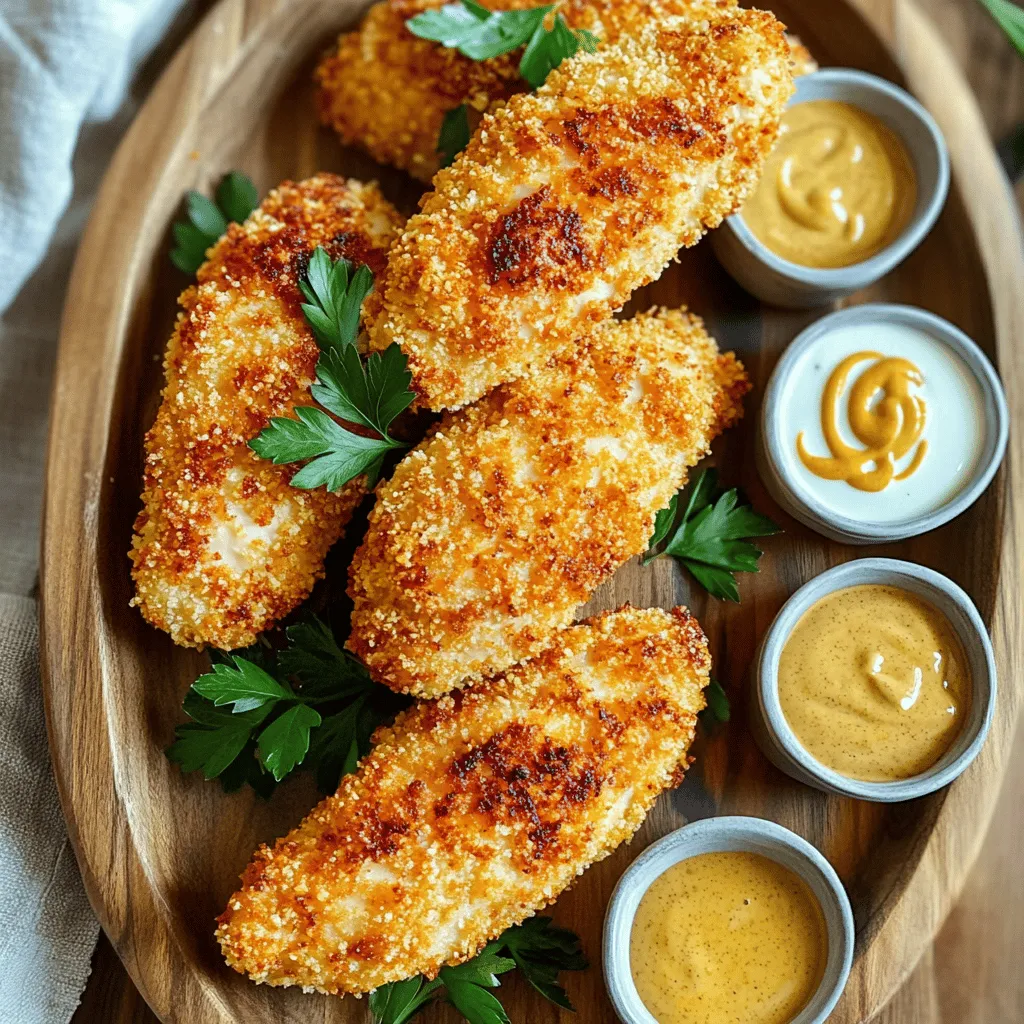
Ready for a tasty twist on chicken tenders? Air Fryer Ranch Chicken Tenders are crispy, flavorful, and easy to make.
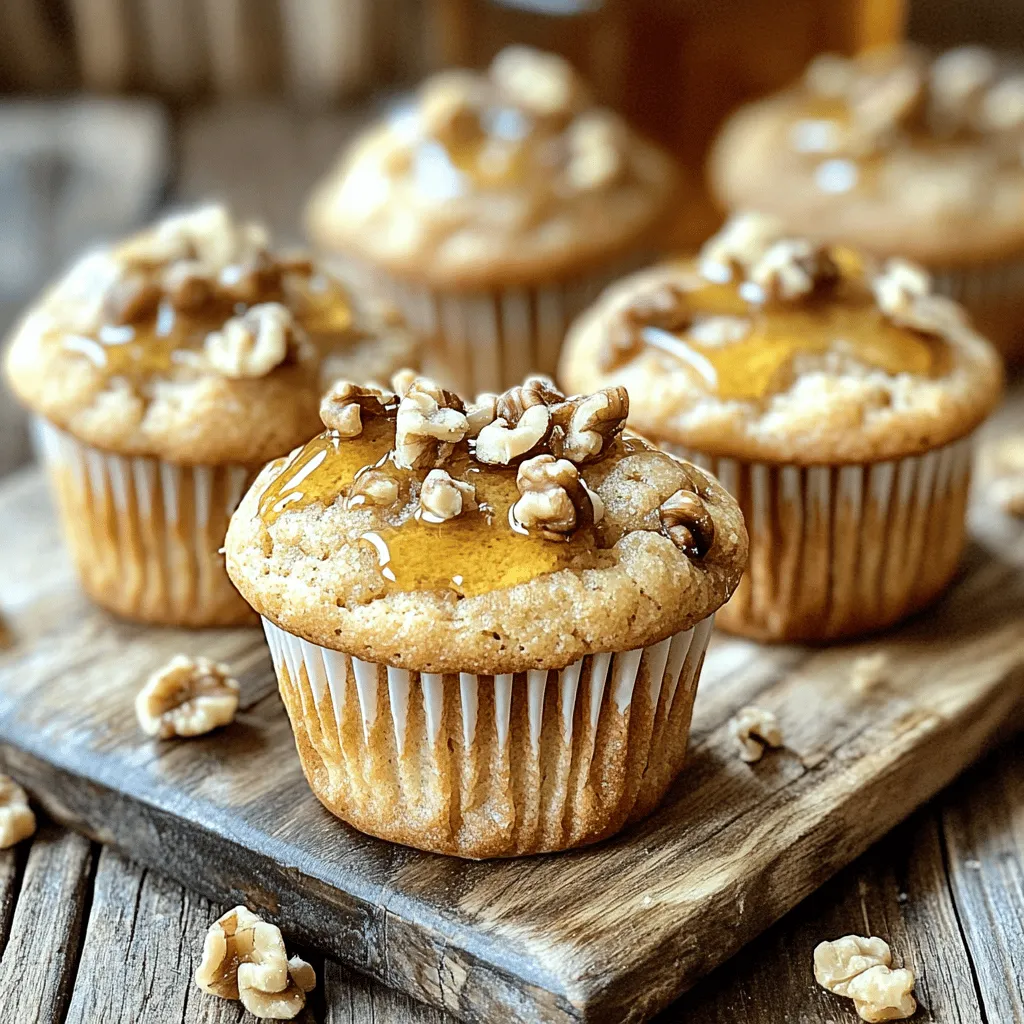
If you love warm, sweet treats, you’re in for a treat! These Maple Walnut Muffins are not only scrumptious, but
