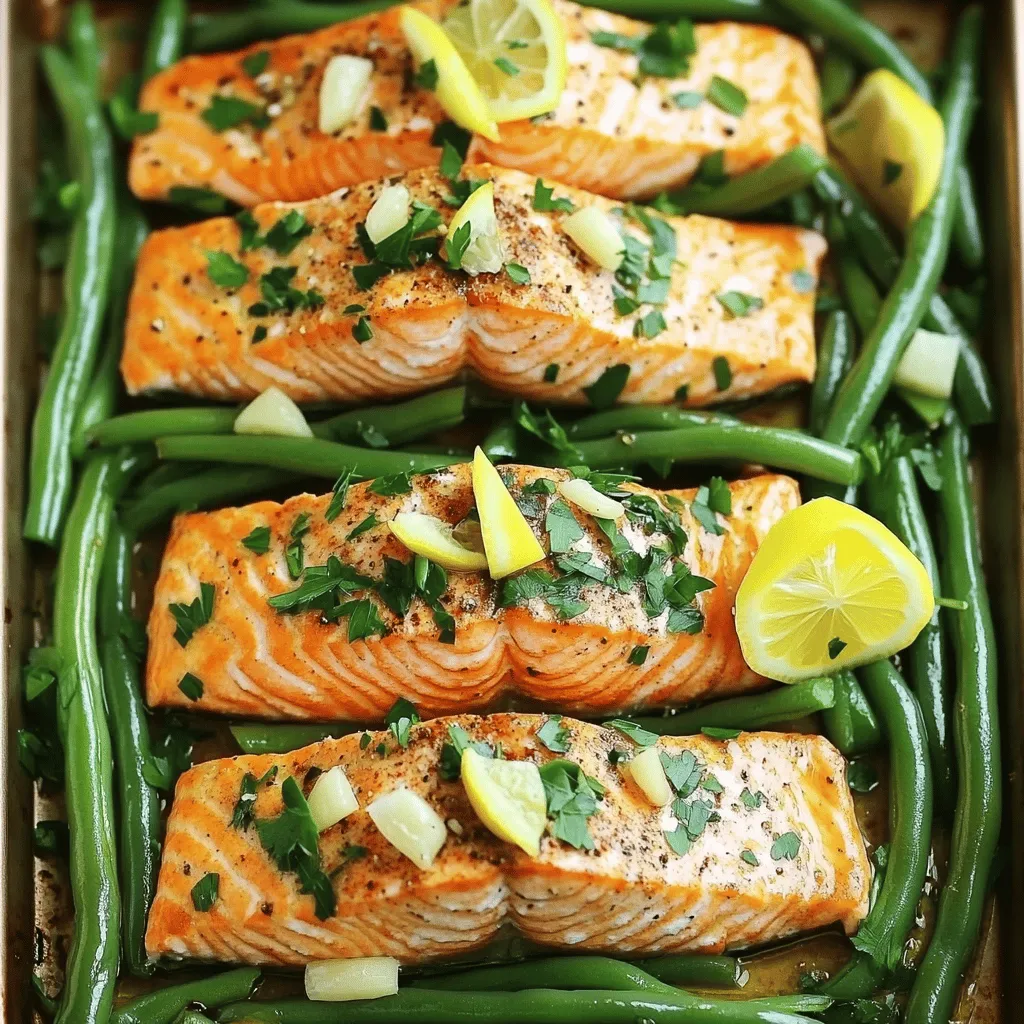
Sheet-Pan Garlic Lemon Salmon with Green Beans Delight
Get ready for a tasty and simple dinner with my Sheet-Pan Garlic Lemon Salmon with Green Beans! This dish combines
Get ready for a tasty and simple dinner with my Sheet-Pan Garlic Lemon Salmon with Green Beans! This dish combines
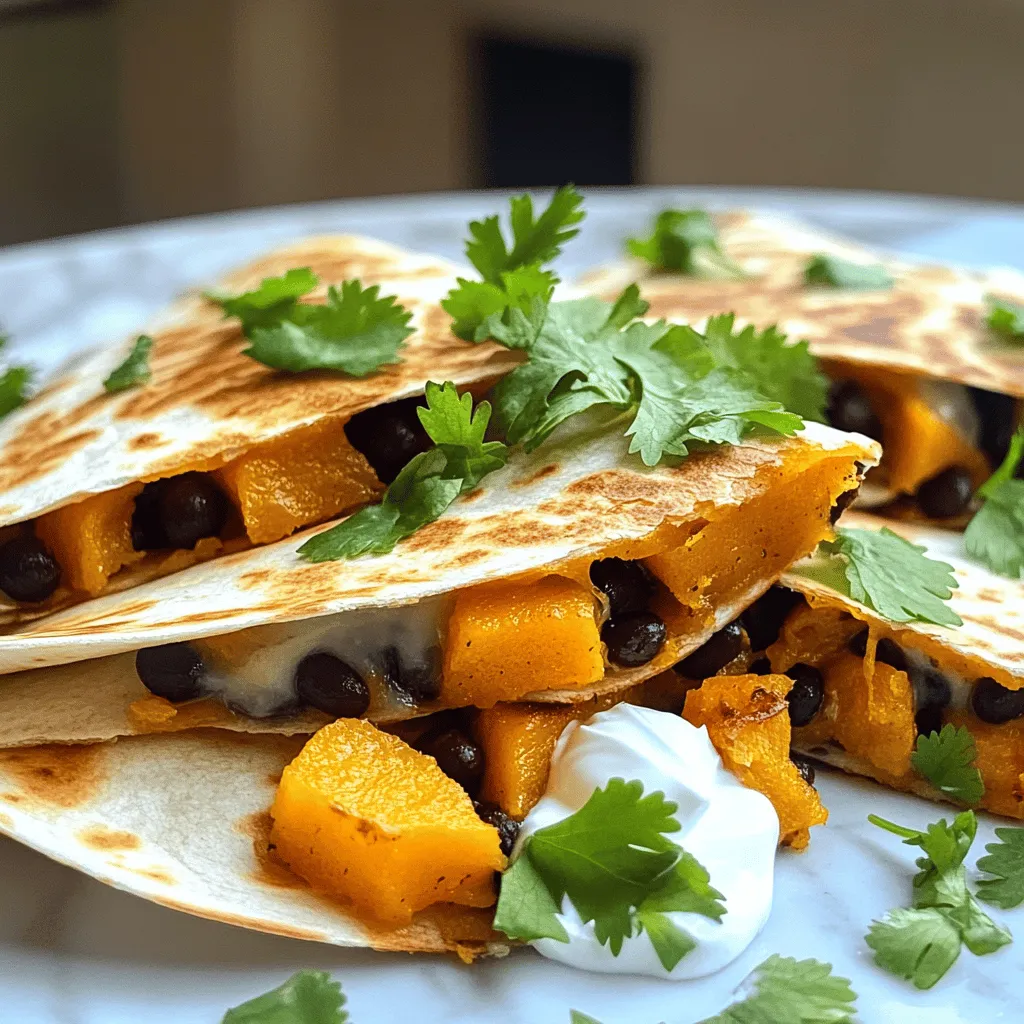
Craving a delicious meal that’s both filling and healthy? Look no further! My Butternut Squash Black Bean Quesadillas are a
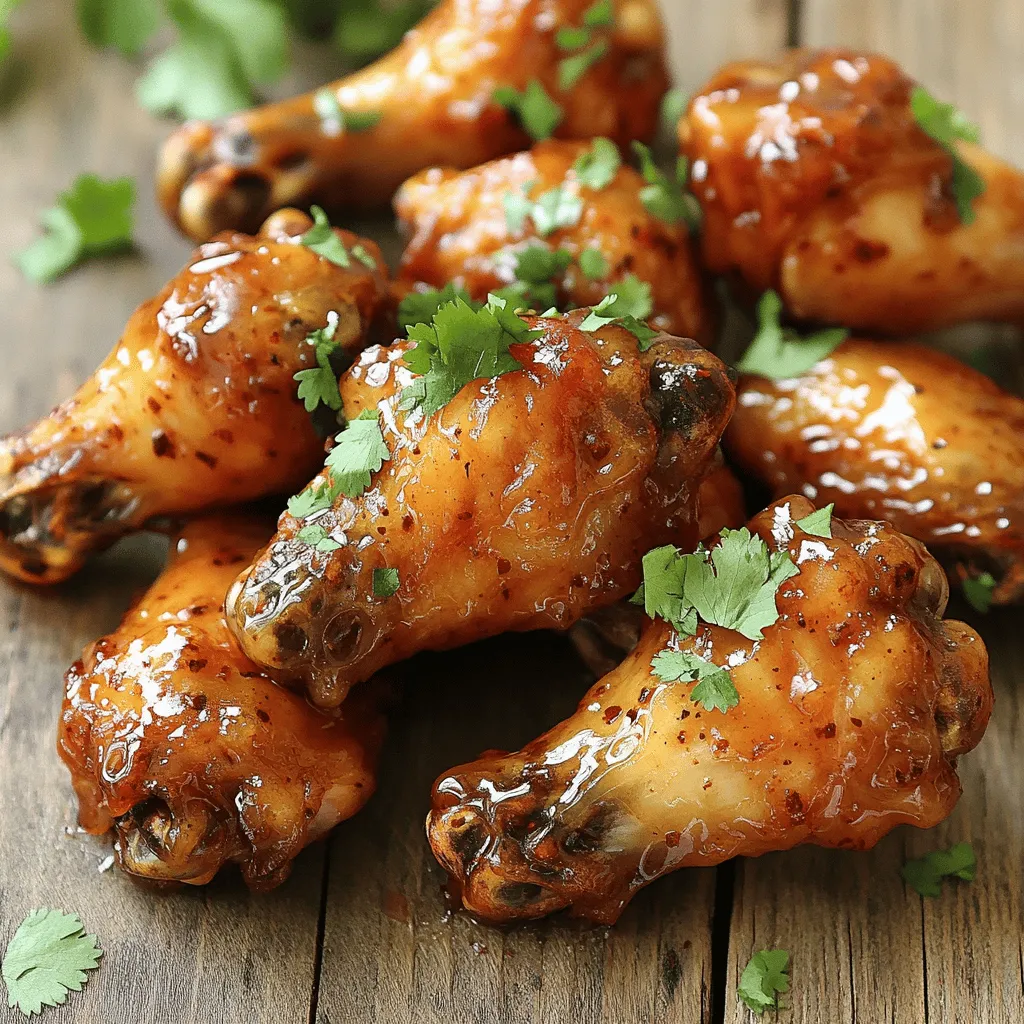
Get ready to transform your next meal with my Air Fryer Honey Chipotle Chicken Wings! These wings pack a sweet
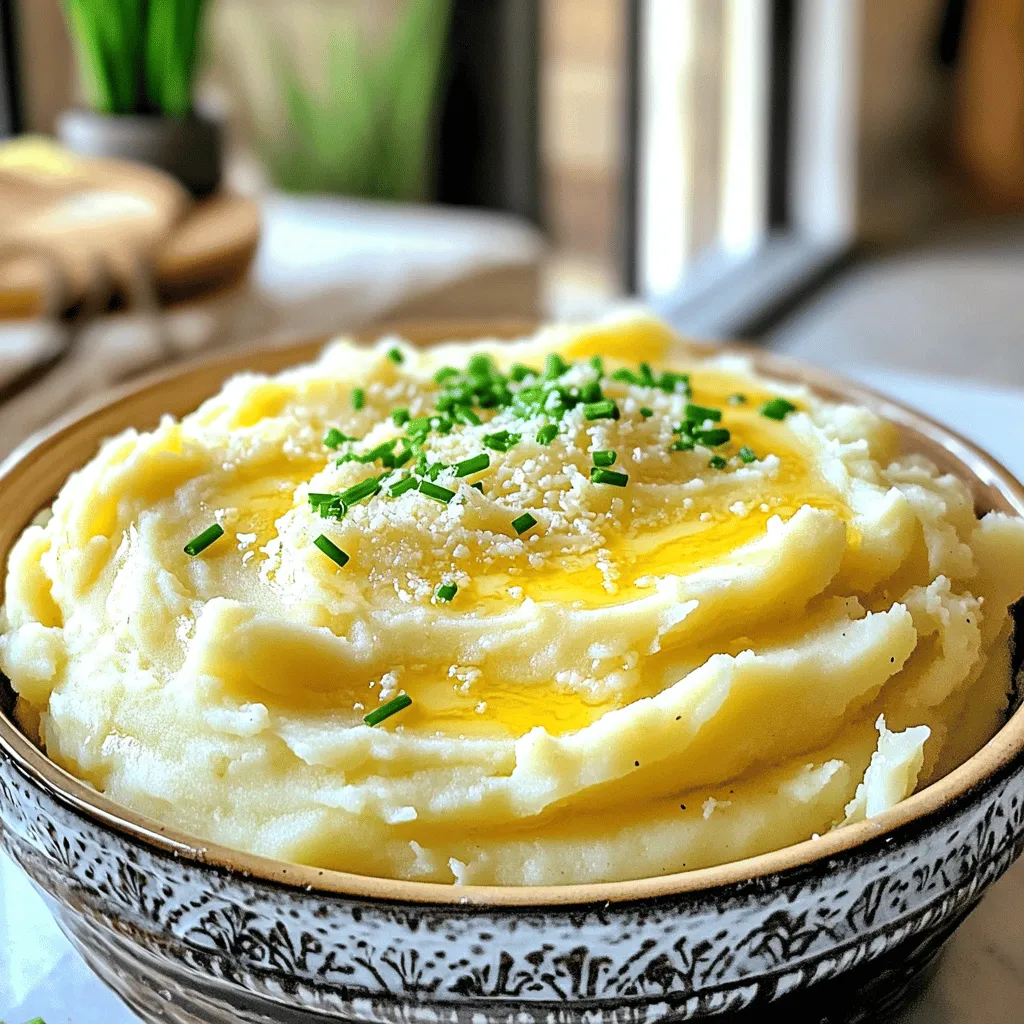
Are you ready to elevate your meals with a creamy, savory side dish? In this post, I’ll share my secret
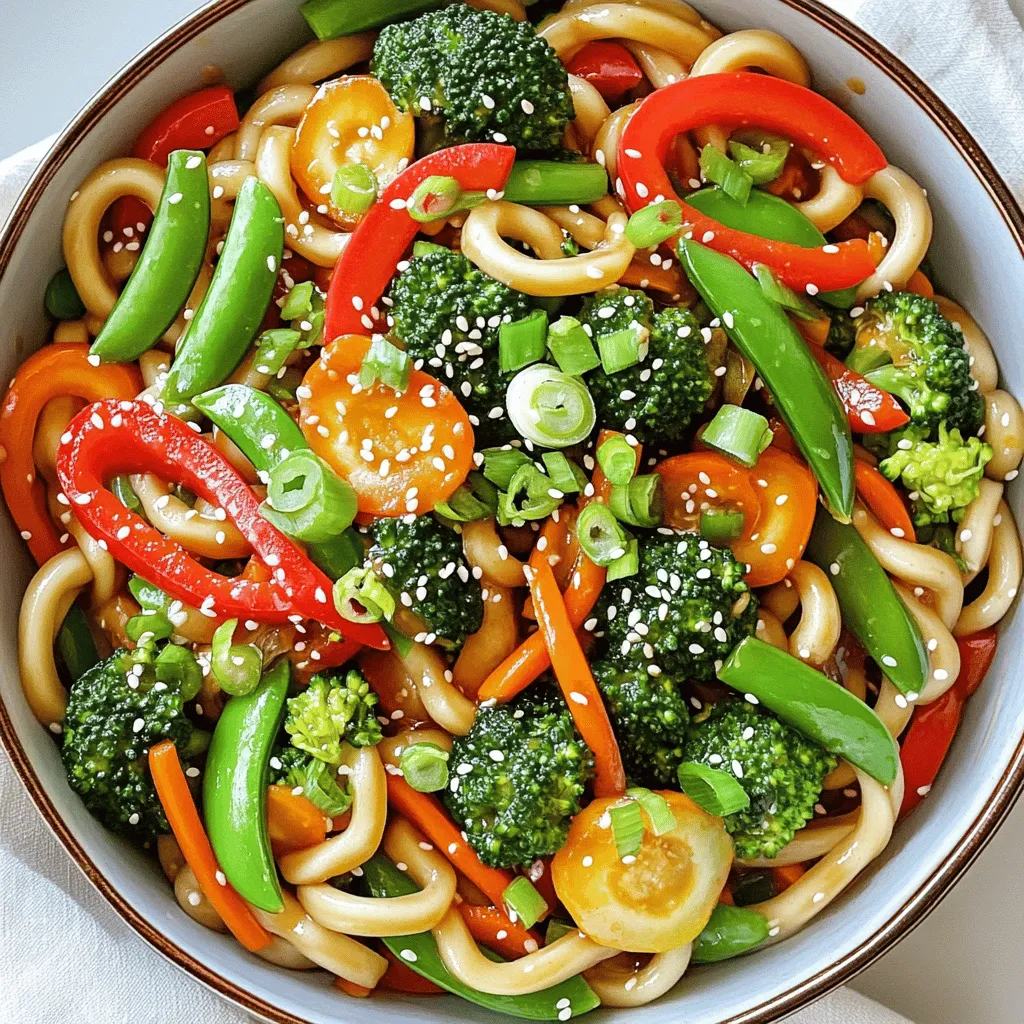
Are you ready for a quick and tasty meal? This Spicy Garlic Udon Stir-Fry takes only 15 minutes to whip
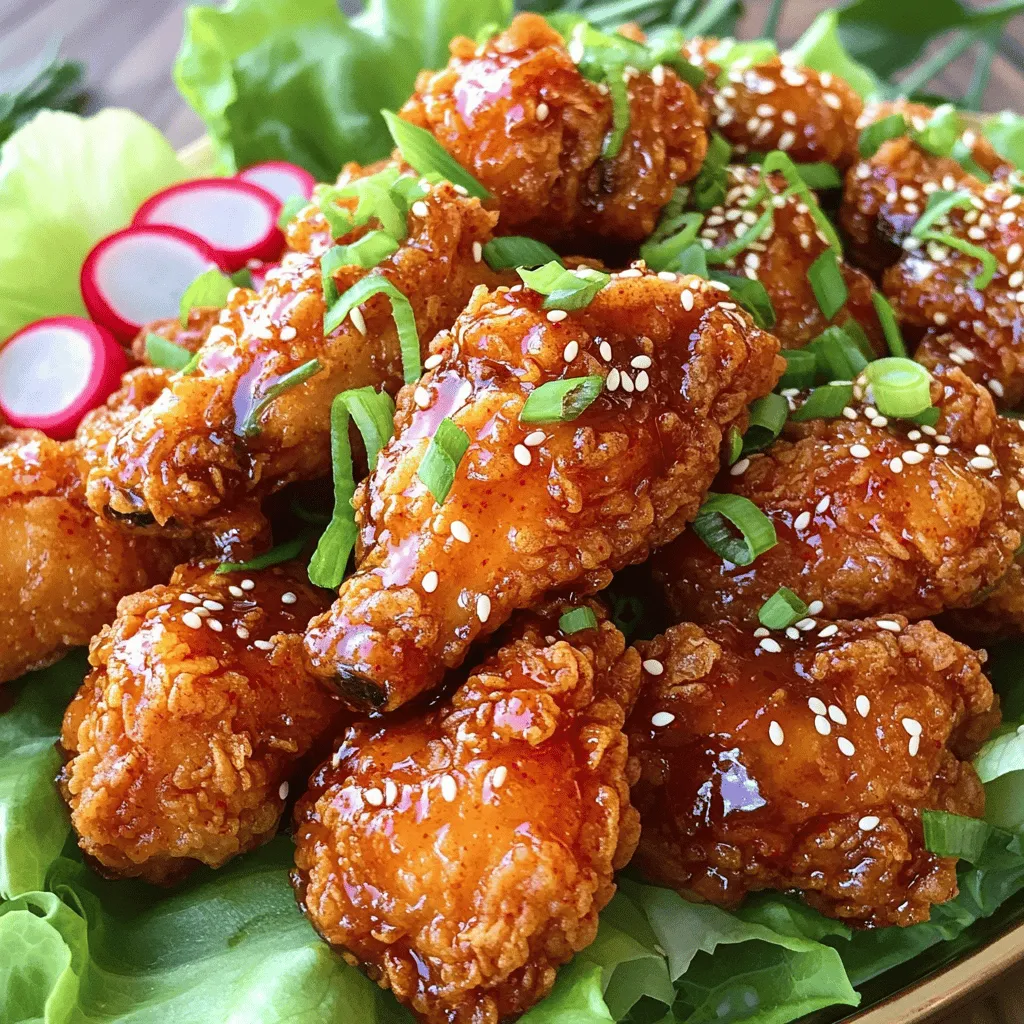
Are you ready to discover how to make Korean Fried Chicken Better Than Takeout Delight? I’ll guide you through simple

Welcome to your new favorite treat: Chocolate Zucchini Bread! This delightful recipe combines the rich taste of chocolate with the
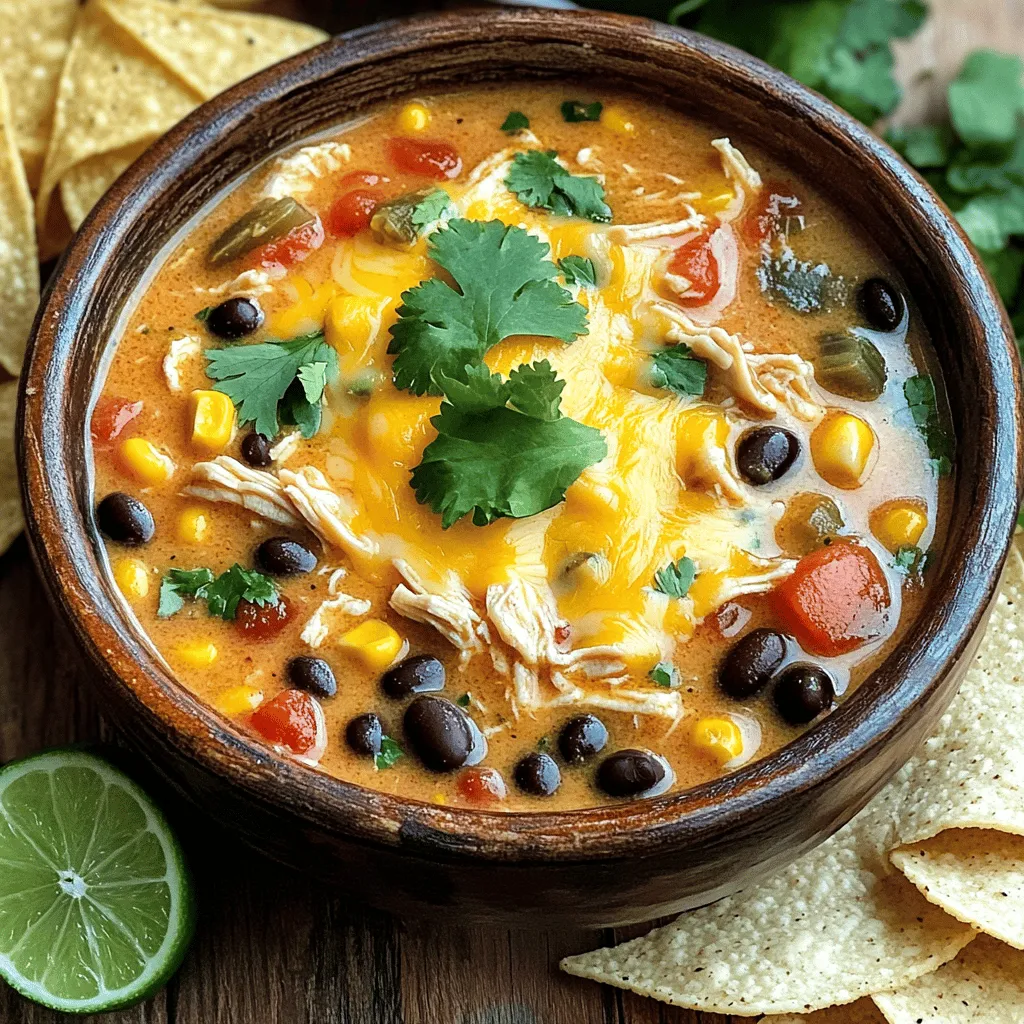
If you’re craving a warm, satisfying meal that practically cooks itself, you’re in the right place. My Savory Chicken Enchilada
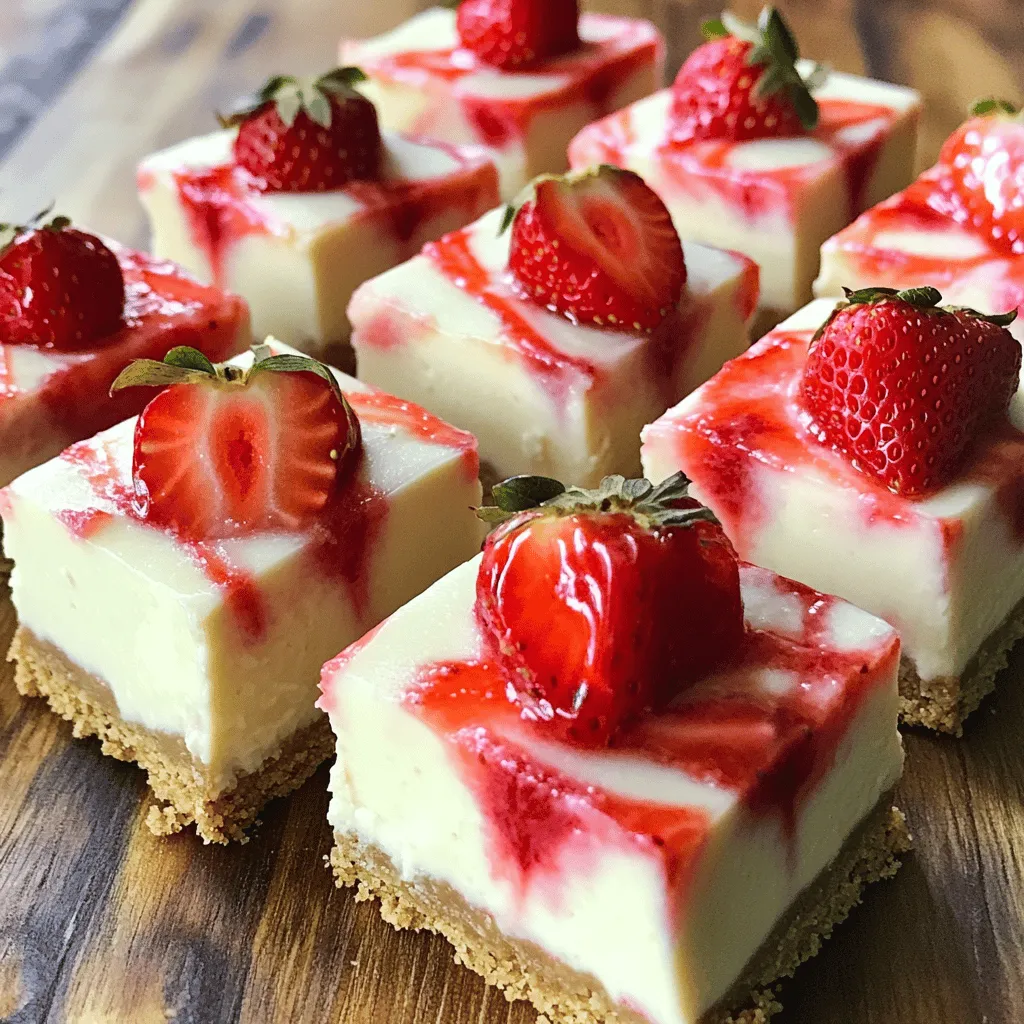
Looking for a delicious dessert that’s quick and easy? These No-Bake Strawberry Cheesecake Bars are the perfect treat! With a
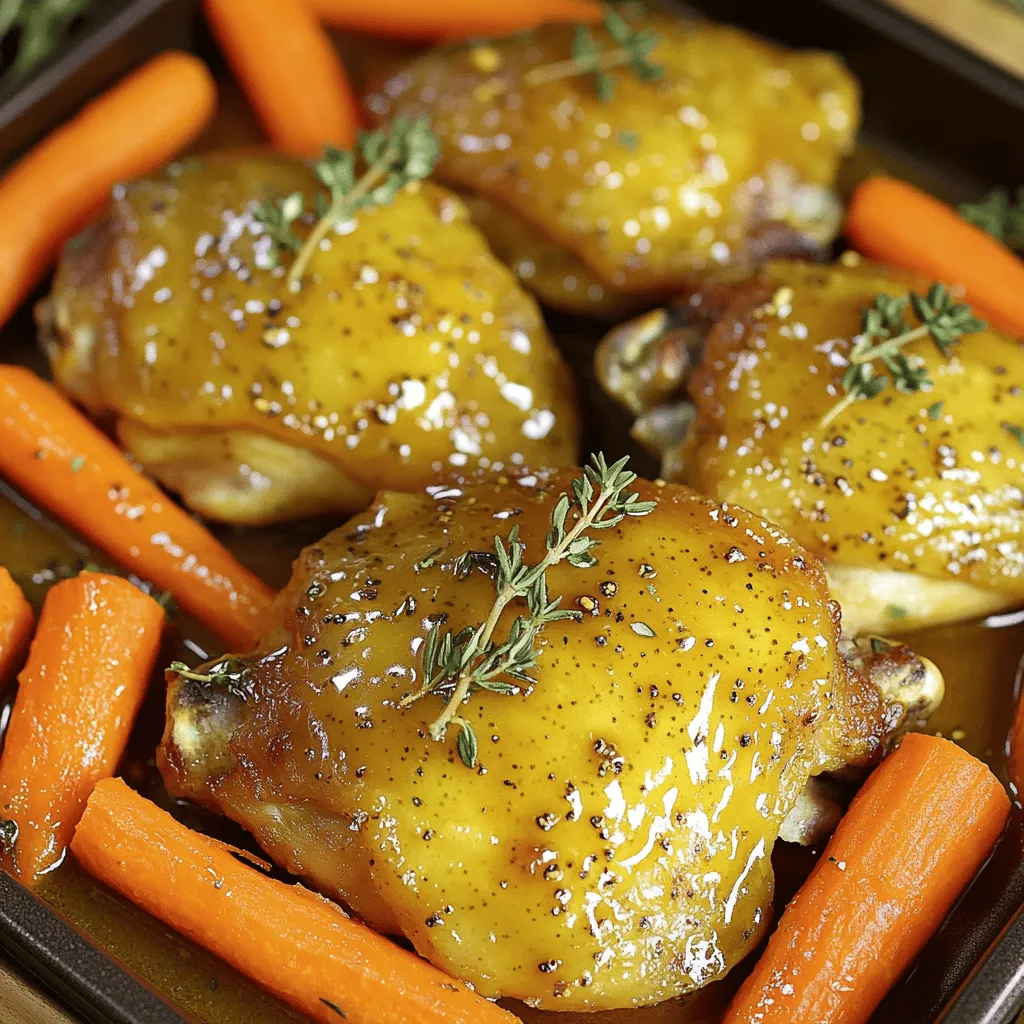
Are you ready for a meal that’s simple, tasty, and easy to clean up? My Maple Dijon Chicken & Carrots
