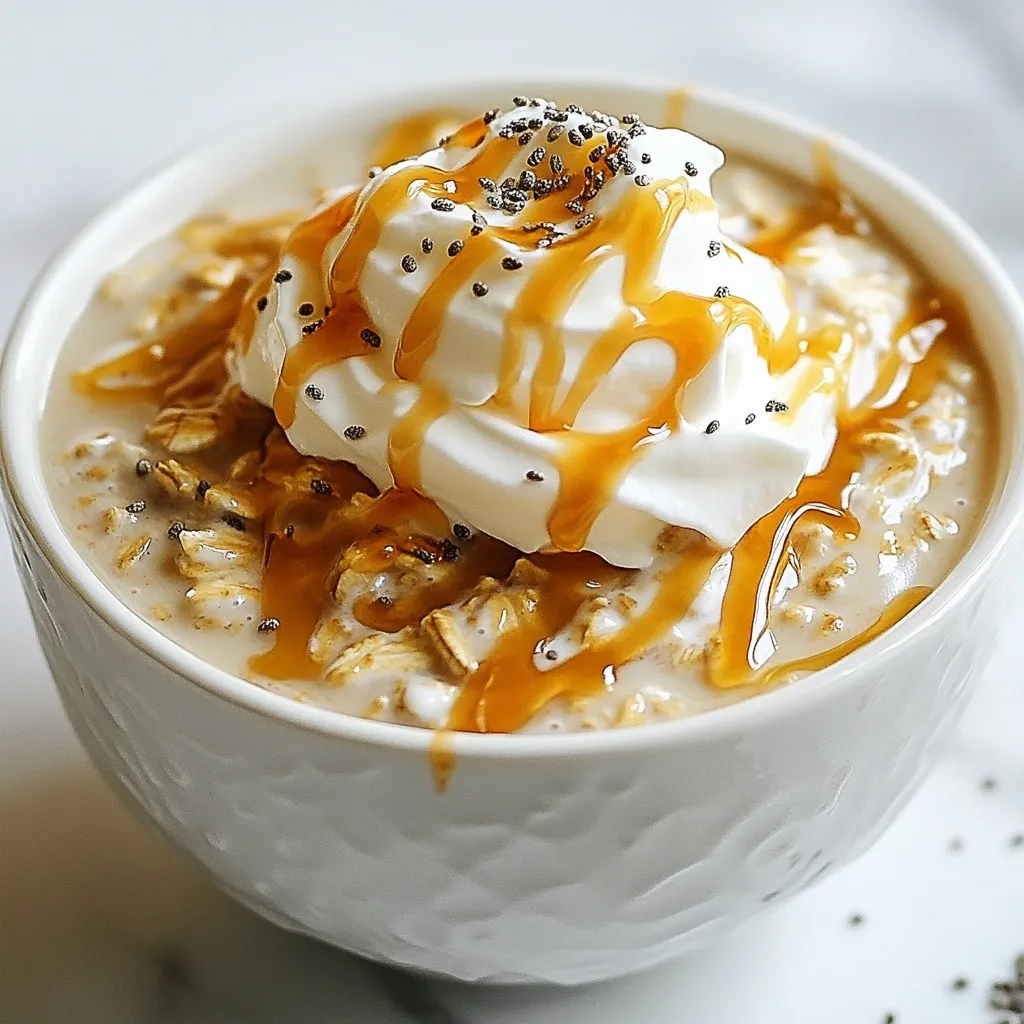
Caramel Macchiato Overnight Oats Easy and Delicious
If you love coffee and a quick breakfast, you’ll adore these Caramel Macchiato Overnight Oats! They’re easy to make and
If you love coffee and a quick breakfast, you’ll adore these Caramel Macchiato Overnight Oats! They’re easy to make and

Summer is here, and there’s no better way to cool off than with homemade Strawberry Lemonade Popsicles! These tasty treats
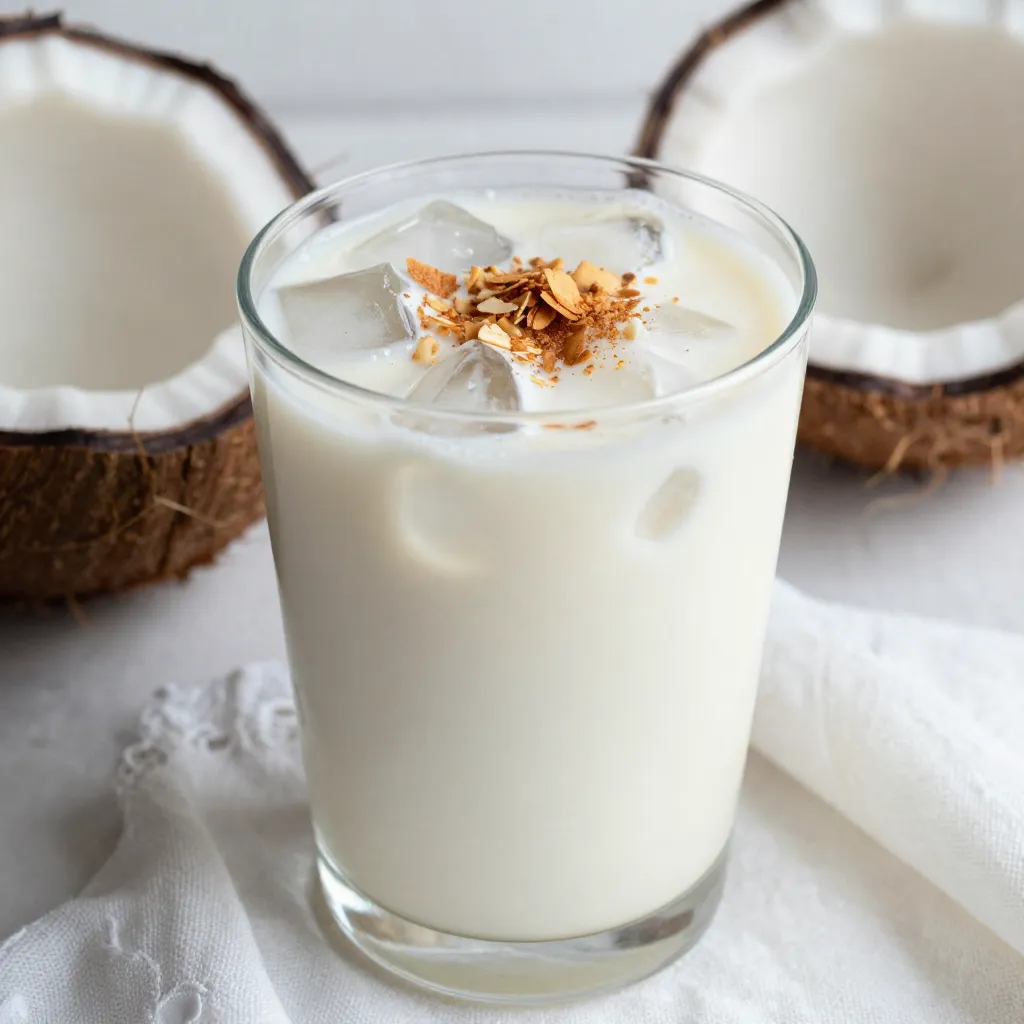
Hot summer days call for a refreshing drink, and creamy coconut horchata fits the bill! This tasty treat combines rich

Looking for a warm and filling meal? Let me introduce you to white bean soup! This simple and hearty delight

Craving something delicious and cool? The Strawberry Cheesecake Smoothie is your answer! It blends creamy cheesecake flavors with sweet strawberries

Looking for a side dish that’s both tasty and easy to make? Garlic Herb Roasted Sweet Potatoes are the answer!
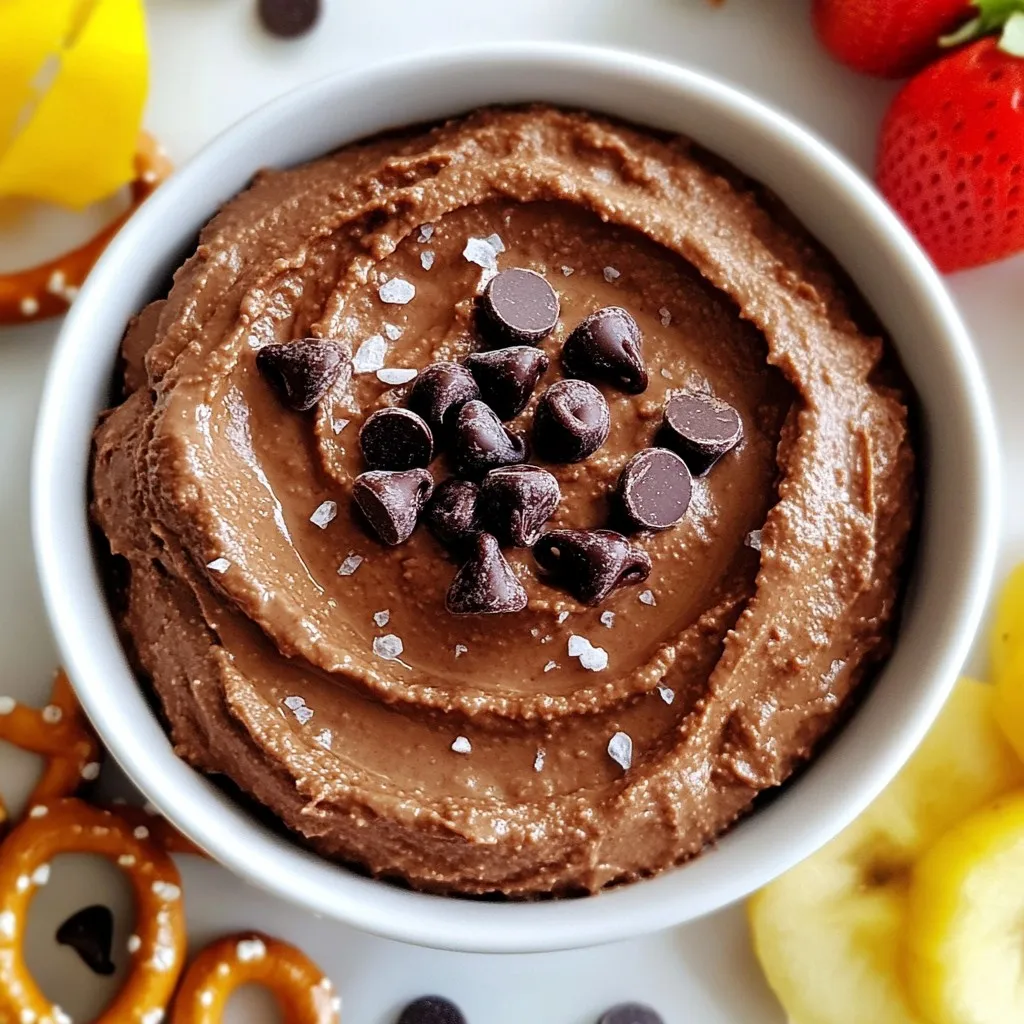
Are you ready to transform your snack game? This Brownie Batter Hummus recipe is both indulgent and easy to make.
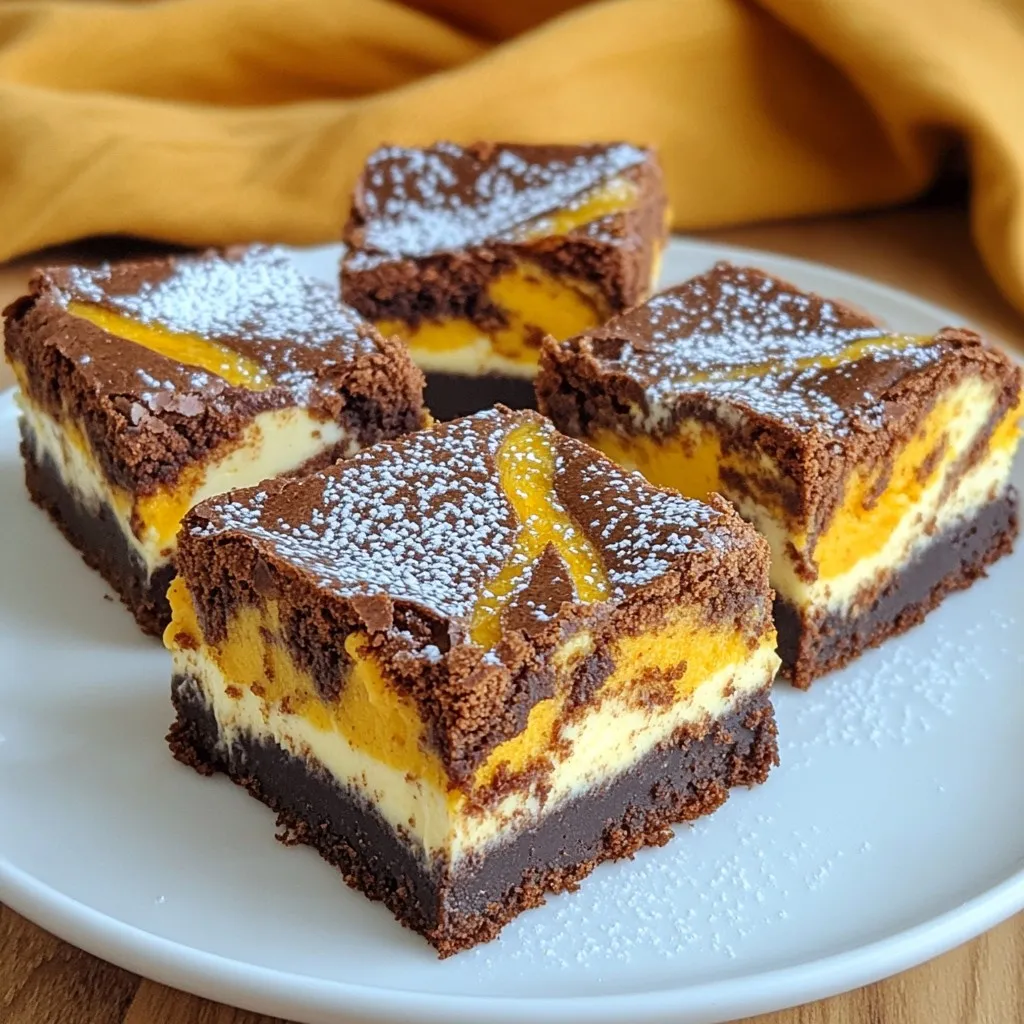
Are you ready to taste something amazing? Pumpkin Cheesecake Brownies are a fun twist on dessert. They blend rich chocolate

Looking for a quick and tasty meal? One Pot Beef Taco Pasta is the perfect dish! This recipe packs bold
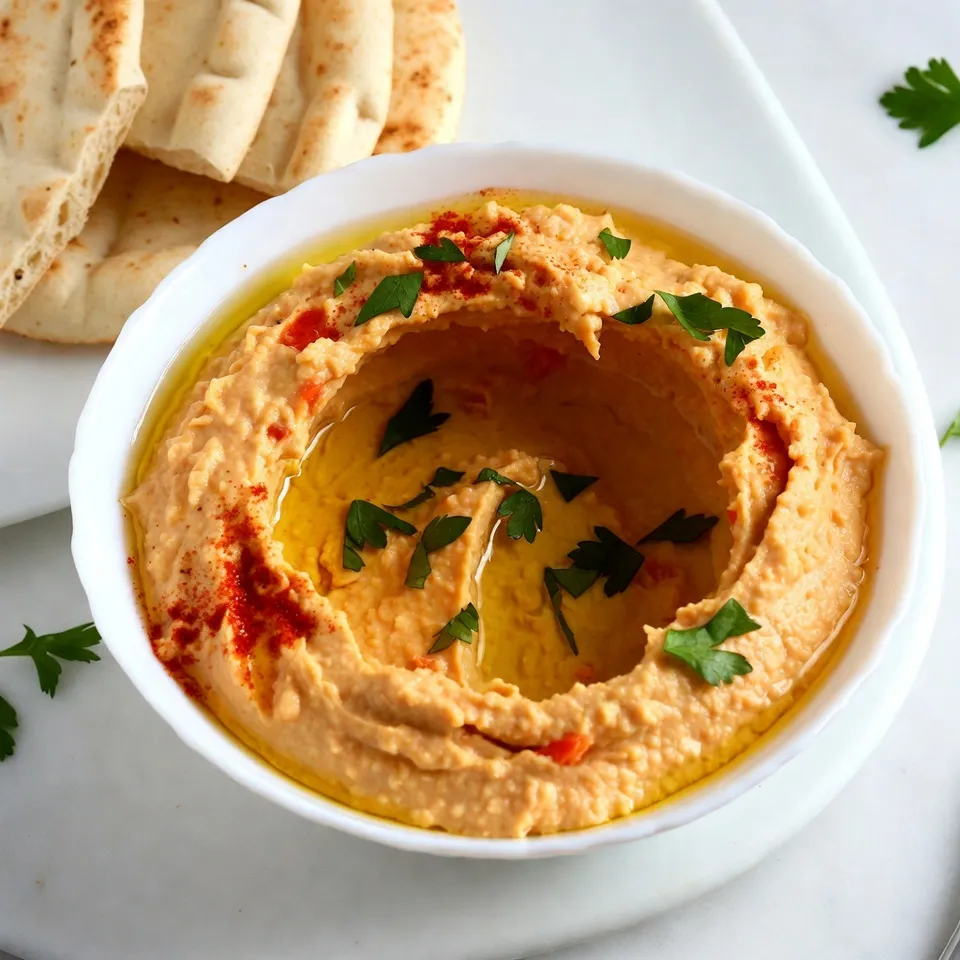
If you love smooth, flavorful dips, then roasted red pepper hummus is your new best friend. This easy-to-make recipe combines
