Maple Pecan Granola Crunchy and Nutritious Recipe
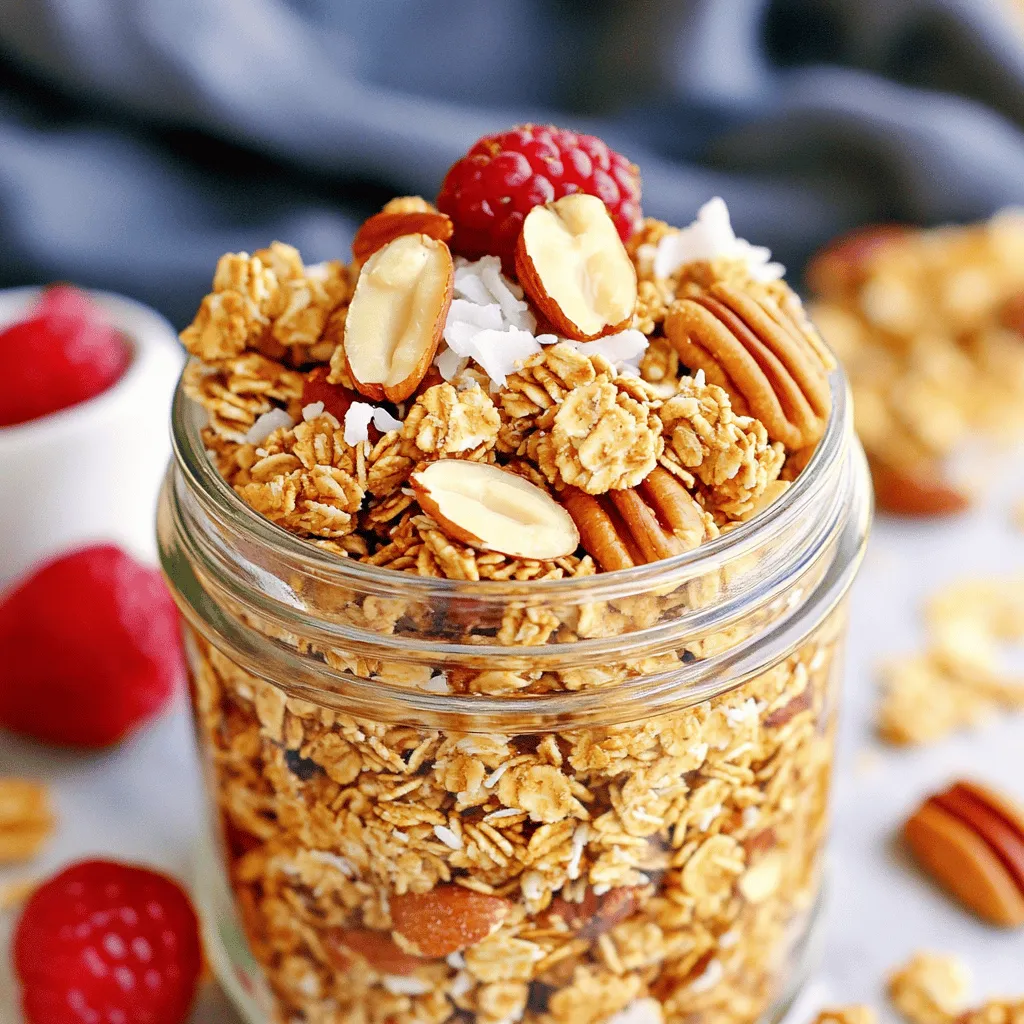
Looking for a delicious and healthy breakfast option? My Maple Pecan Granola recipe is your answer! Packed with crunchy nuts
Looking for a delicious and healthy breakfast option? My Maple Pecan Granola recipe is your answer! Packed with crunchy nuts
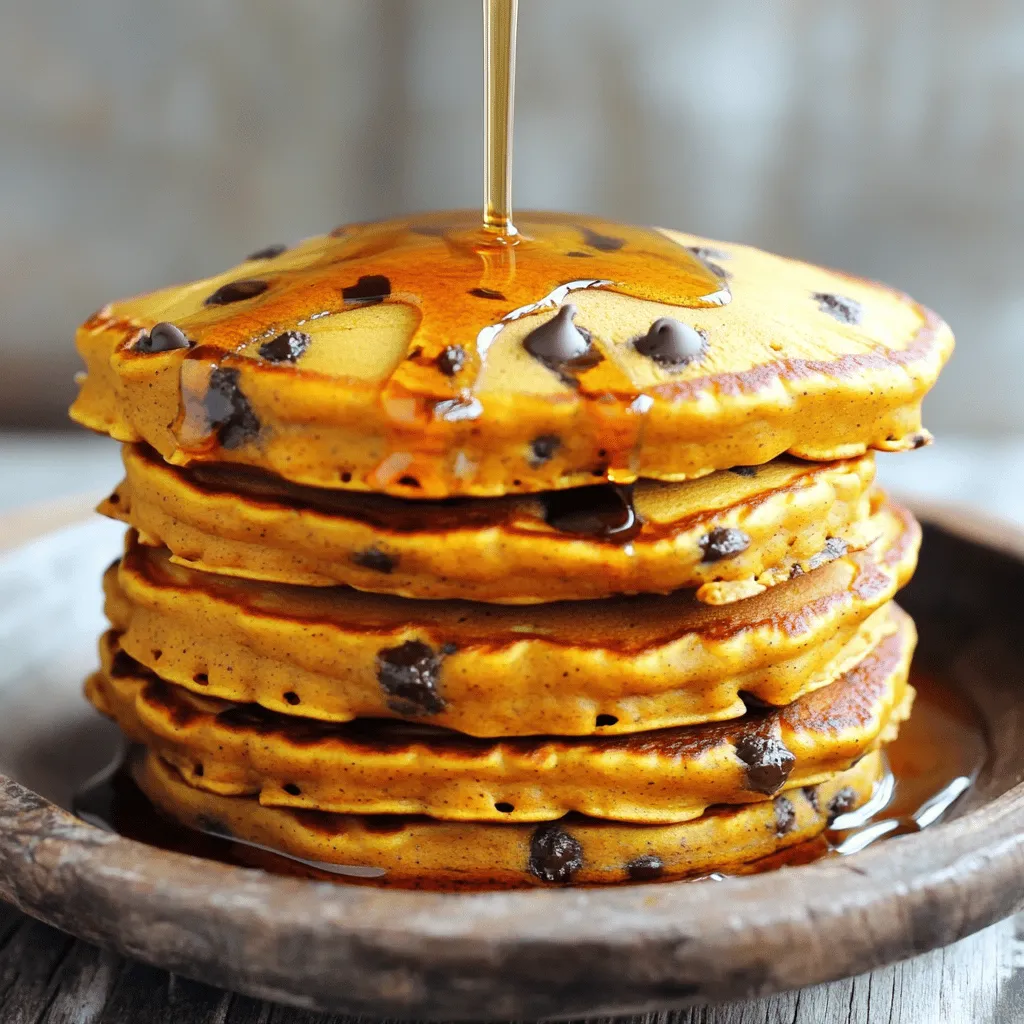
Who doesn’t love a warm stack of pancakes? In this blog post, I’ll share my favorite recipe for Chocolate Chip
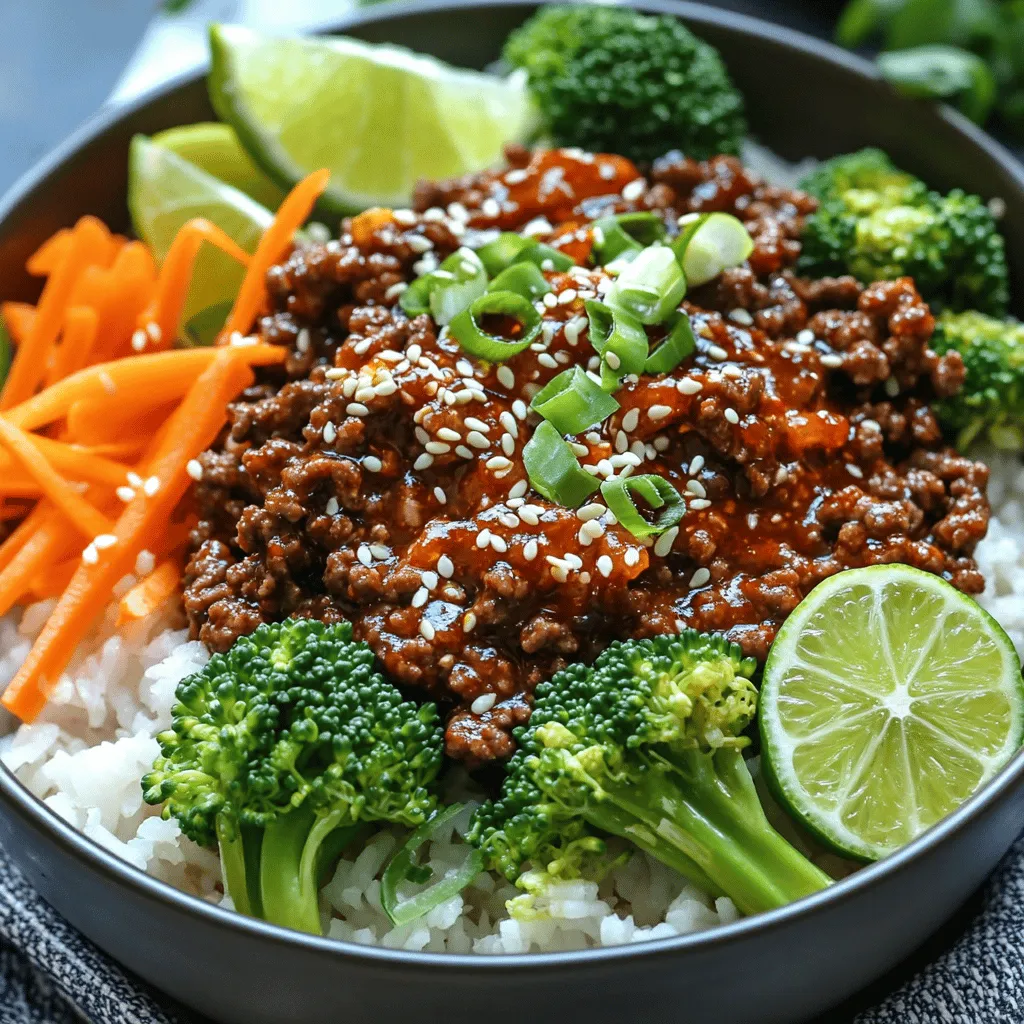
Are you ready to spice up your dinner routine? My Spicy Korean Beef Bowls recipe combines bold flavors with simple
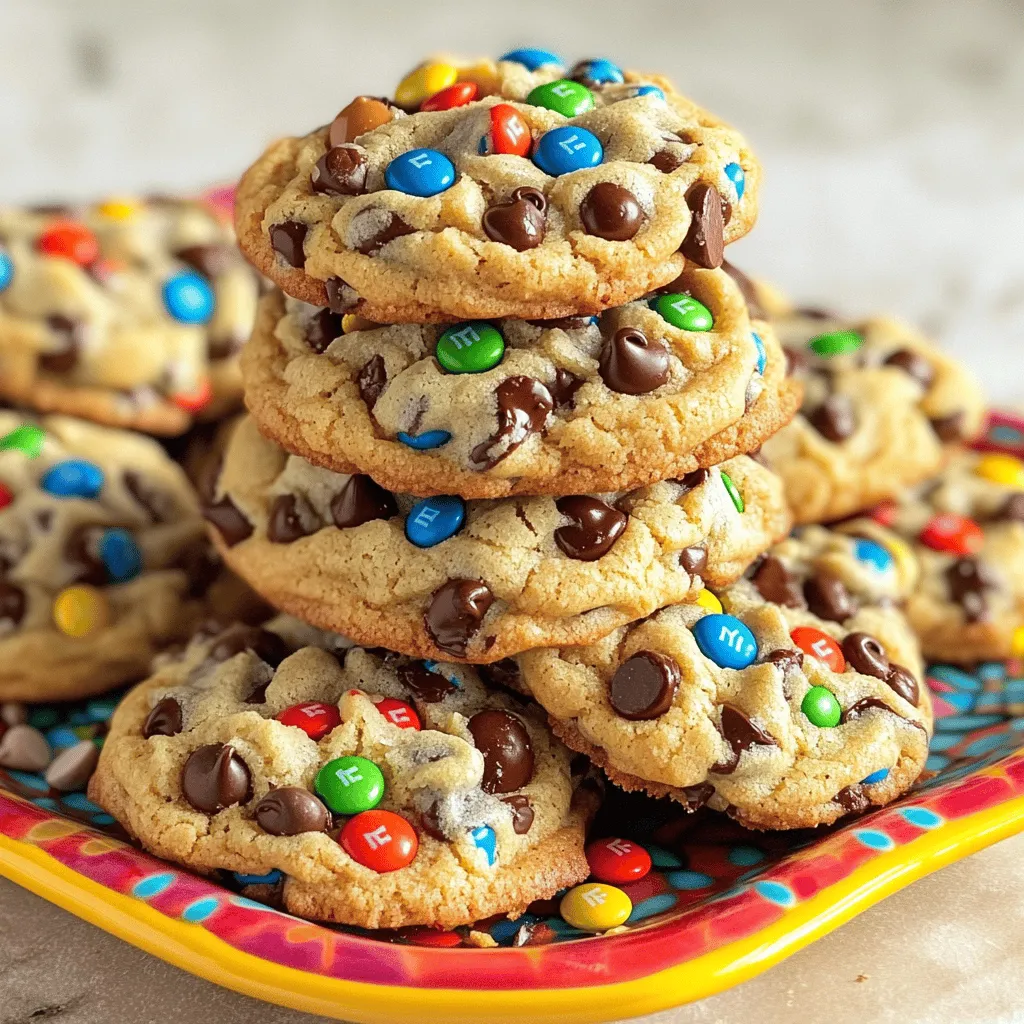
Welcome to your new favorite cookie adventure! Chewy Monster Cookies are the ultimate treat—soft, loaded with goodies, and easy to
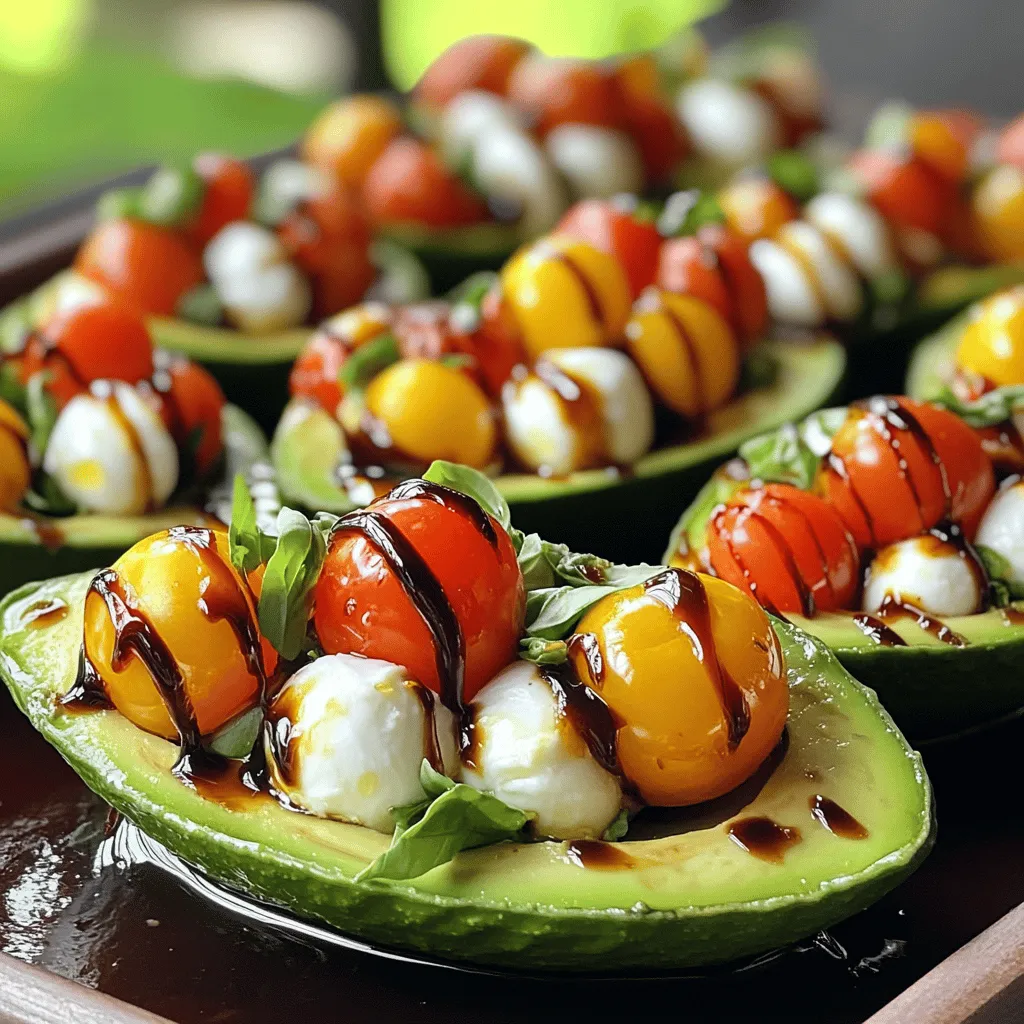
Imagine your favorite Caprese salad, but in a creamy avocado shell. That’s what you get with my Caprese Stuffed Avocados!
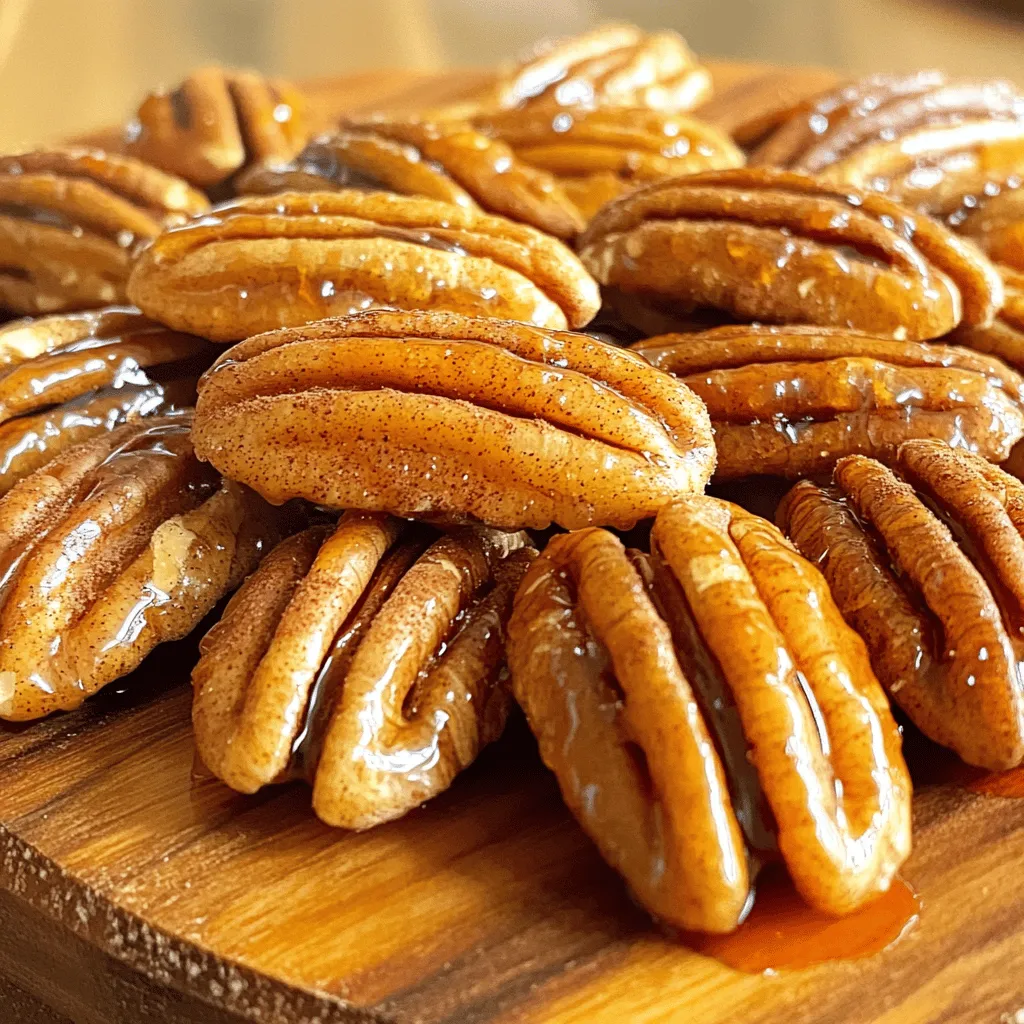
Looking for a tasty treat that combines crunchy sweetness and a hint of spice? You’re in the right place! My
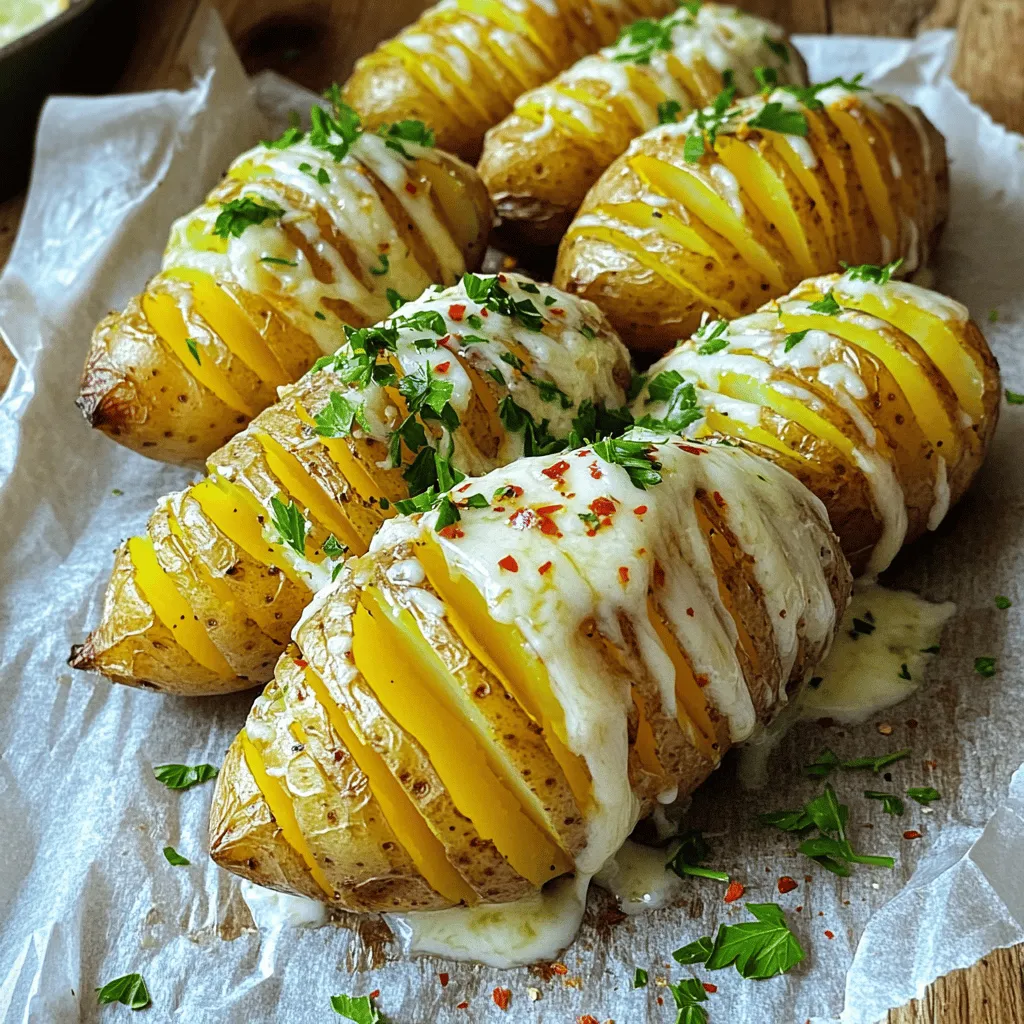
Are you ready to elevate your potato game? Garlic Parmesan Hasselback Potatoes are delicious, crispy, and surprisingly simple to make!
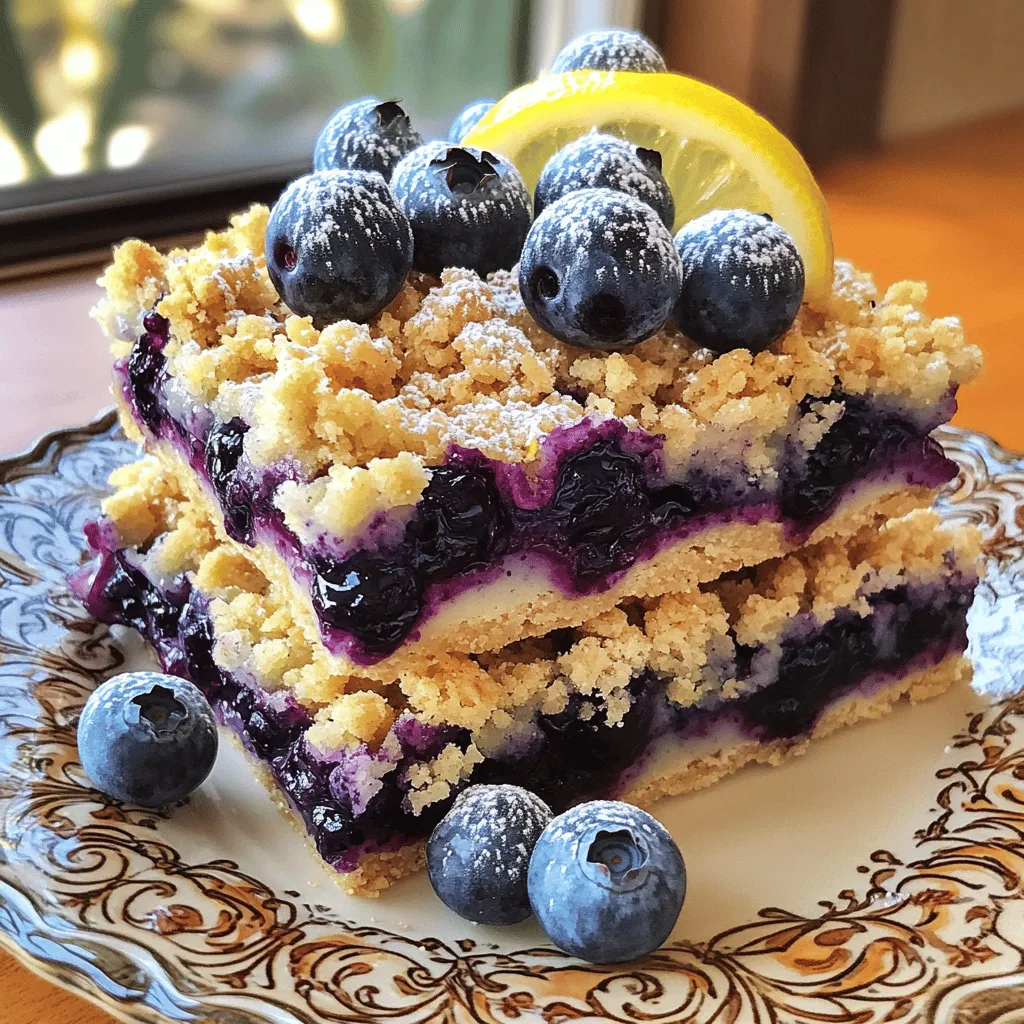
Looking for a sweet treat that is simple and bursting with flavor? These Blueberry Lemon Crumble Bars are your answer!

If you love the cozy flavors of fall, you’ll adore my Pumpkin Cream Cheese Swirl Muffins! These muffins combine the
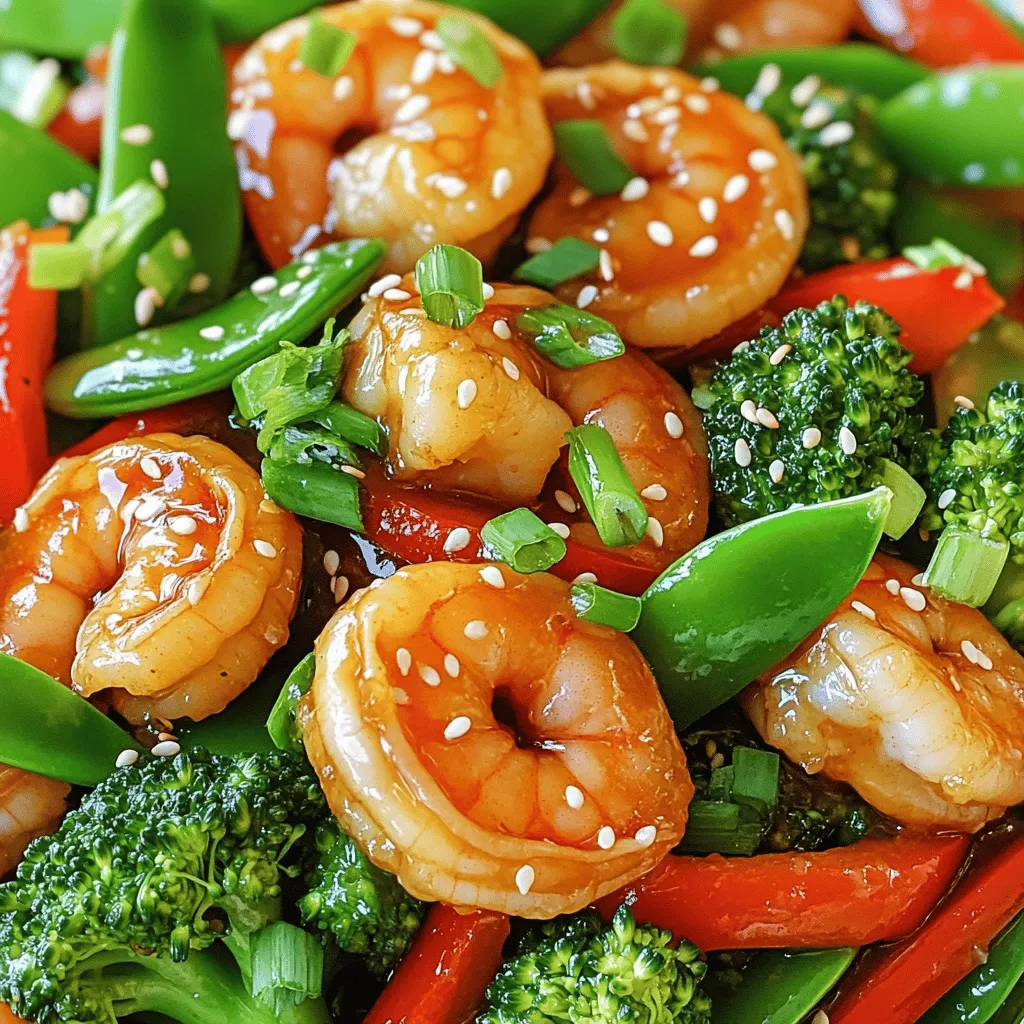
Looking for a quick and tasty dinner? You’ll love this Honey Garlic Shrimp Stir Fry! With just a few fresh
