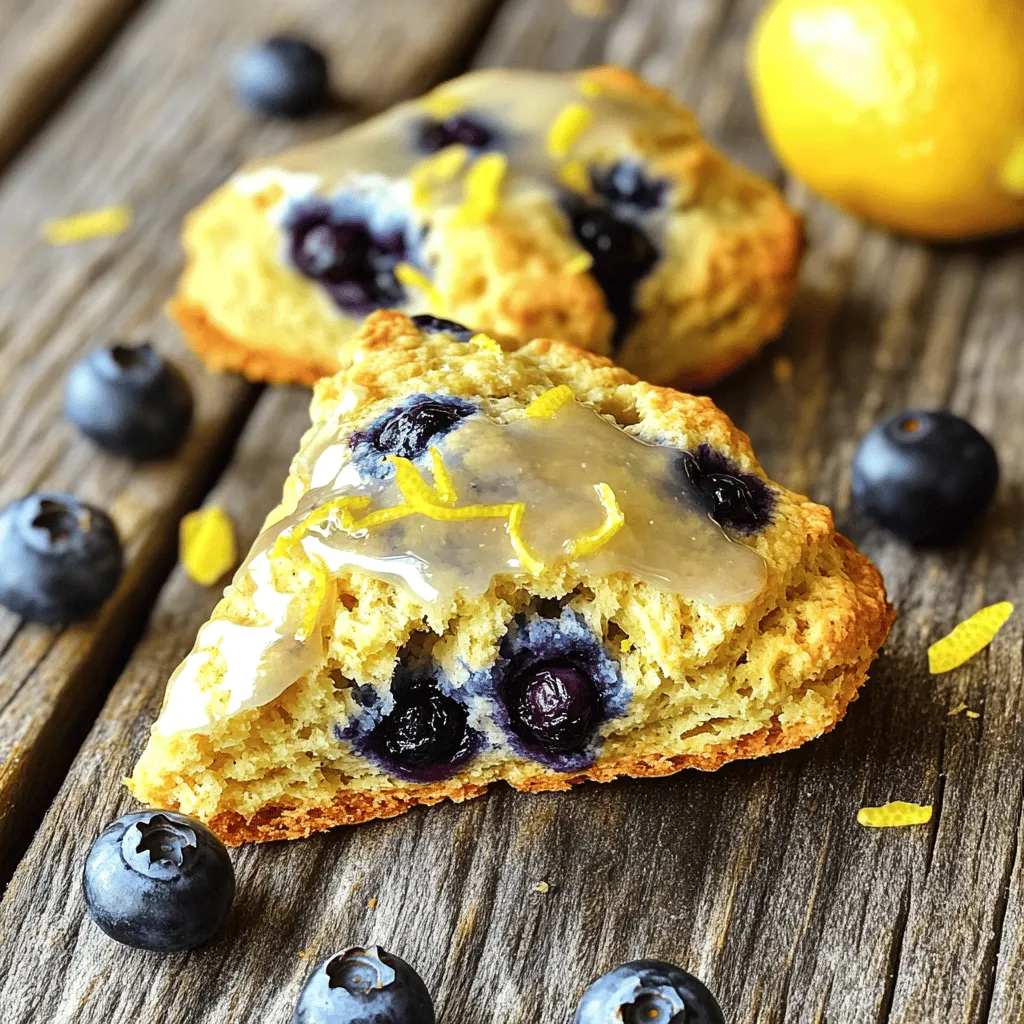
Blueberry Lemon Scones Fresh and Flavorful Delight
If you’re craving a fresh and tasty treat, look no further than my Blueberry Lemon Scones! These scones are bursting
If you’re craving a fresh and tasty treat, look no further than my Blueberry Lemon Scones! These scones are bursting
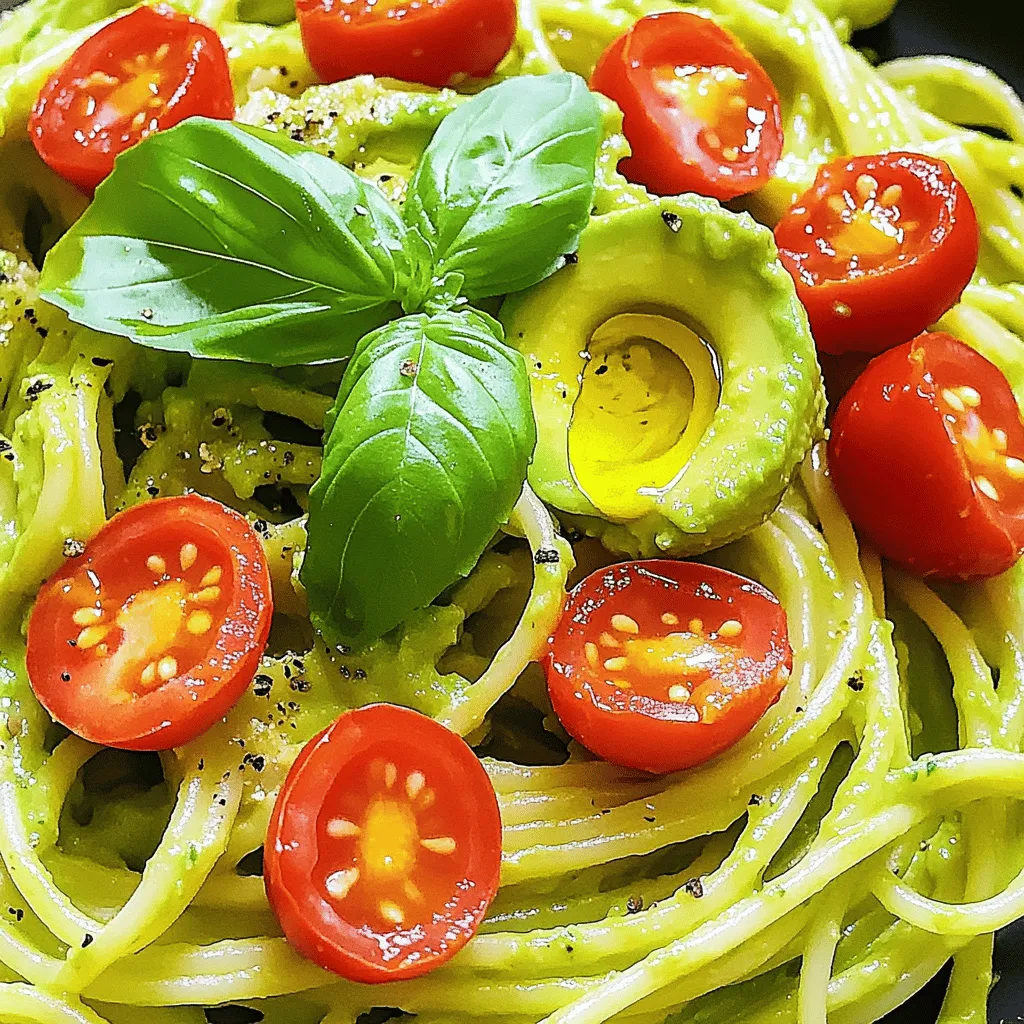
If you love easy and fresh meals, you’re in for a treat! This Creamy Avocado Pasta is quick, simple, and

Get ready to spice up your snack game with Cheddar Jalapeño Pretzel Bites! These bites combine warm, soft pretzels with

Ready for a delicious and quick meal? Teriyaki Salmon Rice Bowls are packed with flavor and nutrition. In this guide,
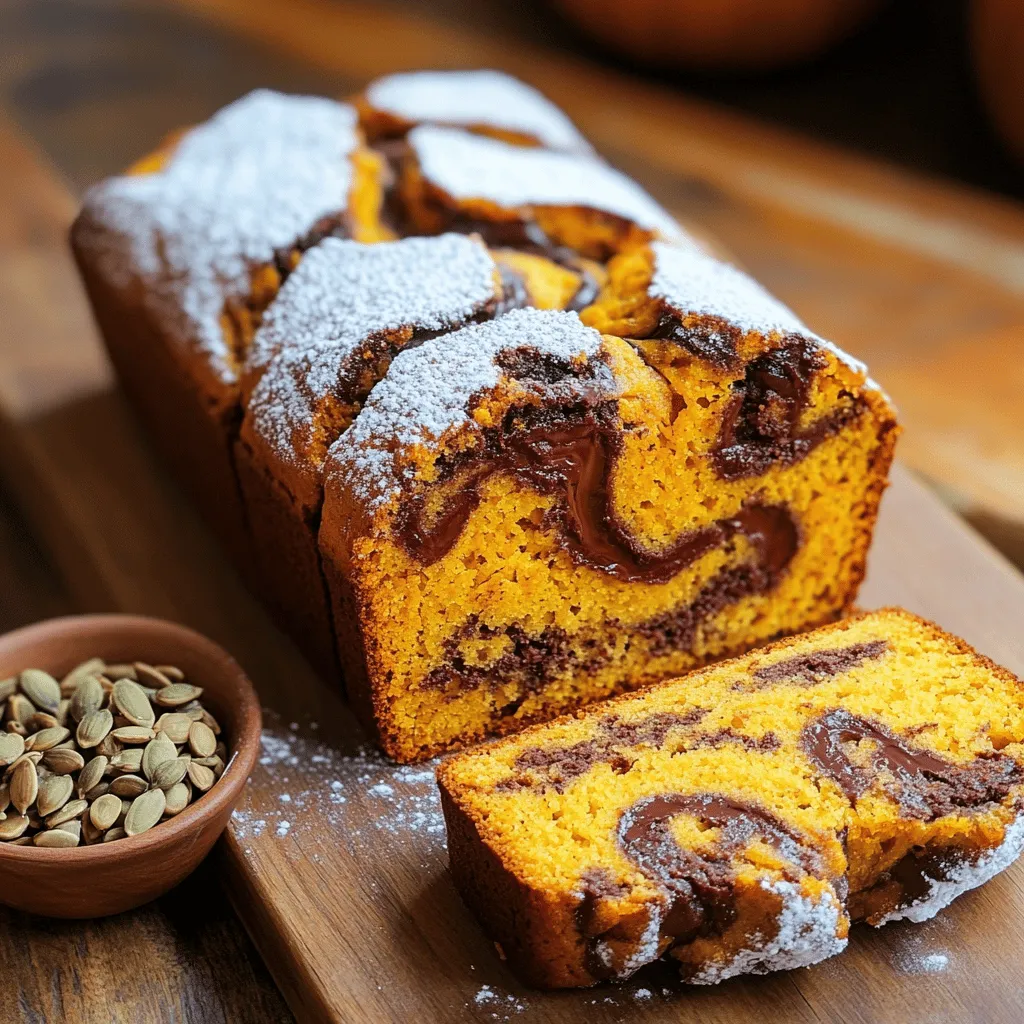
If you love sweet treats, then Nutella Swirl Pumpkin Bread is for you! This warm, moist bread combines the rich

Looking for a tasty and healthy snack? Look no further! Avocado Deviled Eggs are your perfect choice. They are creamy,

Are you ready to take your taste buds on a flavorful journey? In this post, I’ll share my favorite Chicken
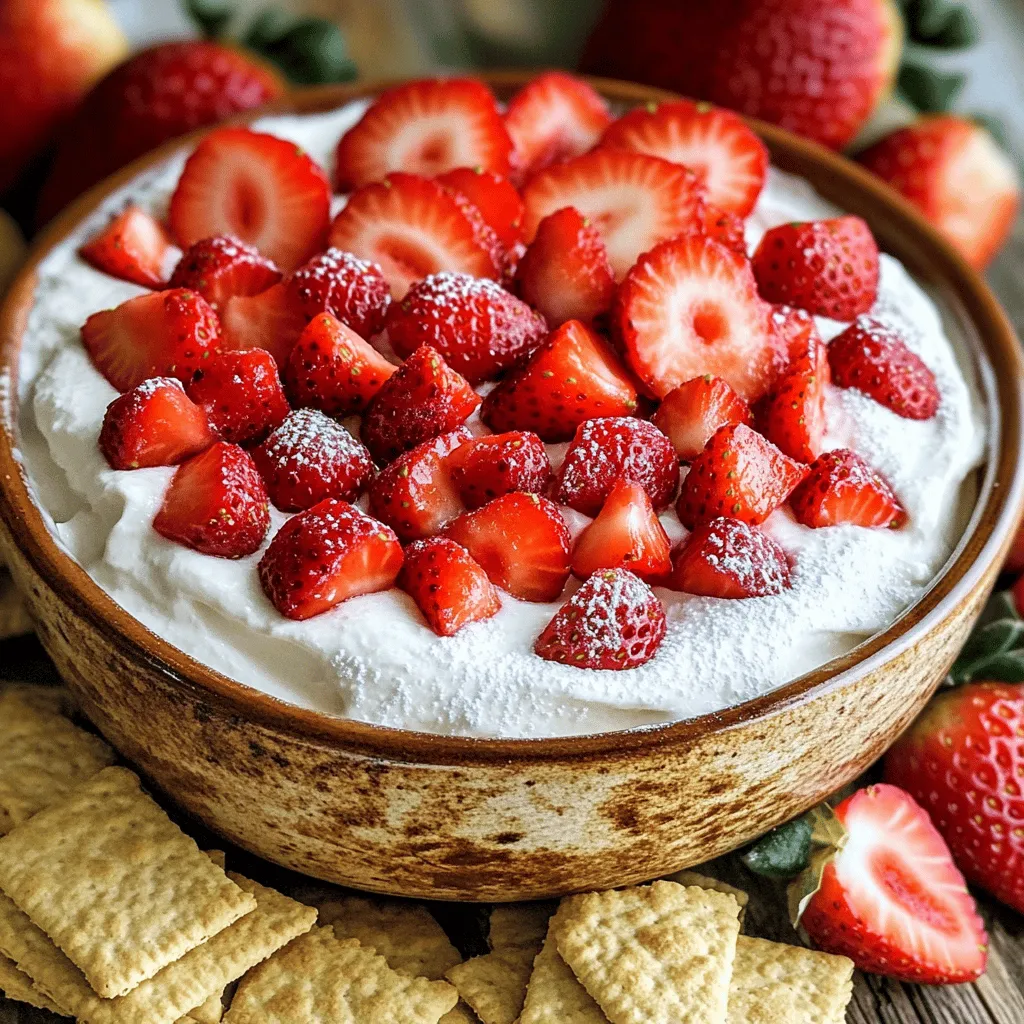
Craving a sweet and easy treat? Look no further! This Strawberry Cheesecake Dip is simple to make and packed with
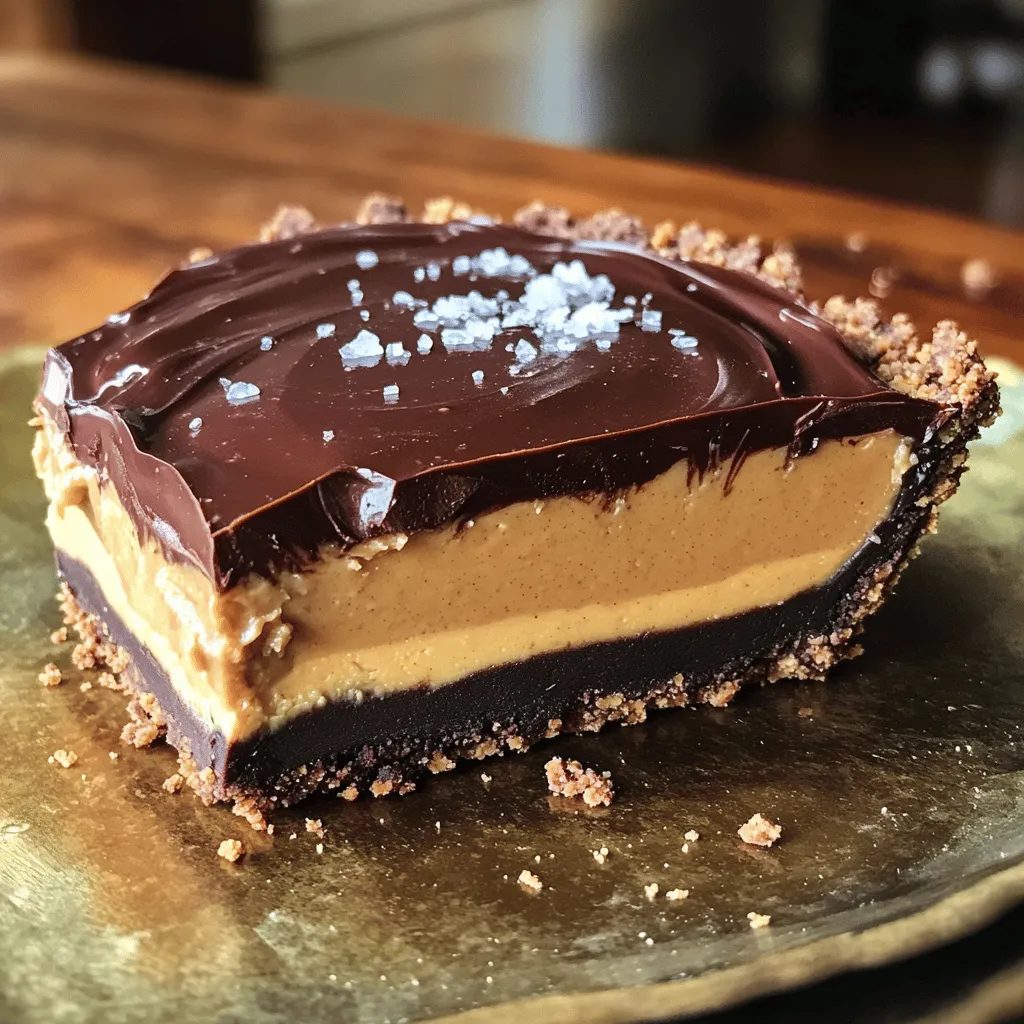
If you crave a dessert that’s rich, creamy, and oh-so-decadent, look no further than this Vegan Peanut Butter Cup Pie.
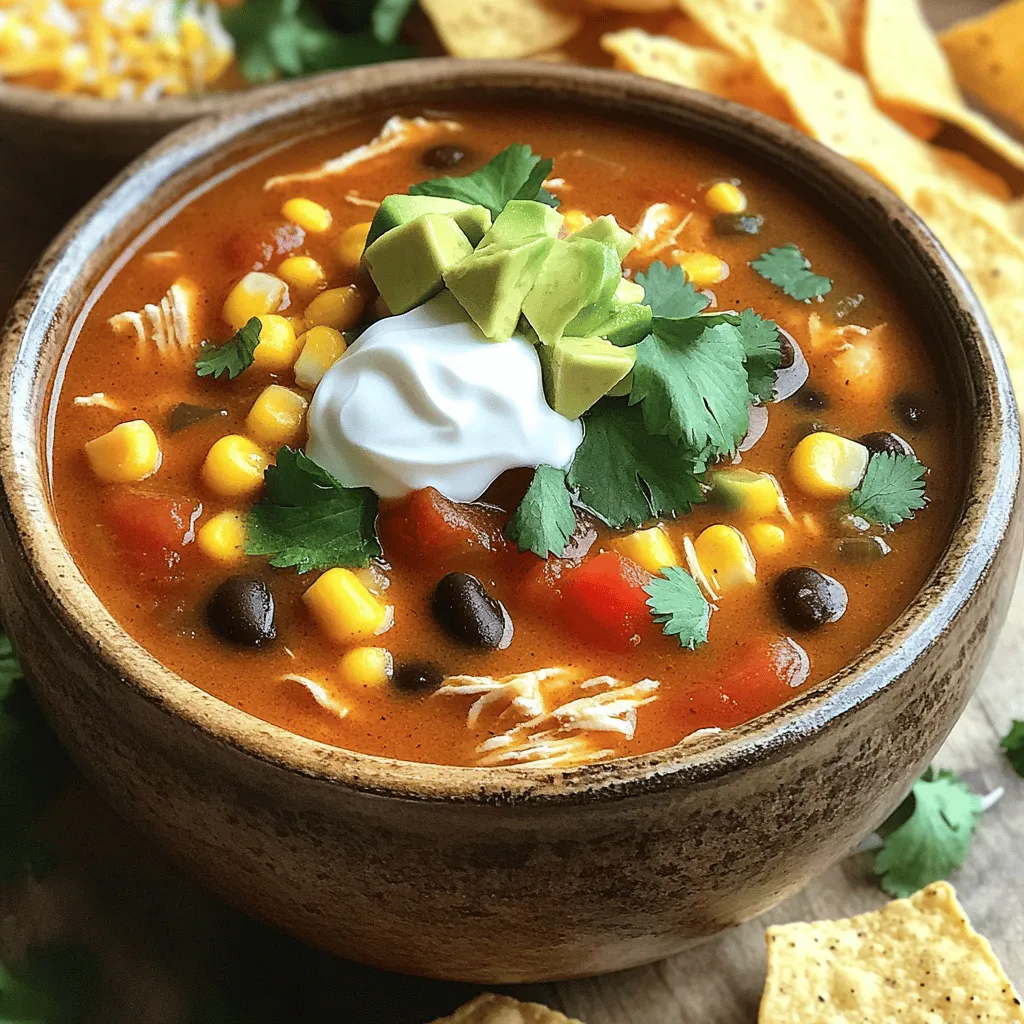
Looking for a tasty and easy meal? This Slow Cooker Chicken Enchilada Soup is perfect for you! It’s packed with
