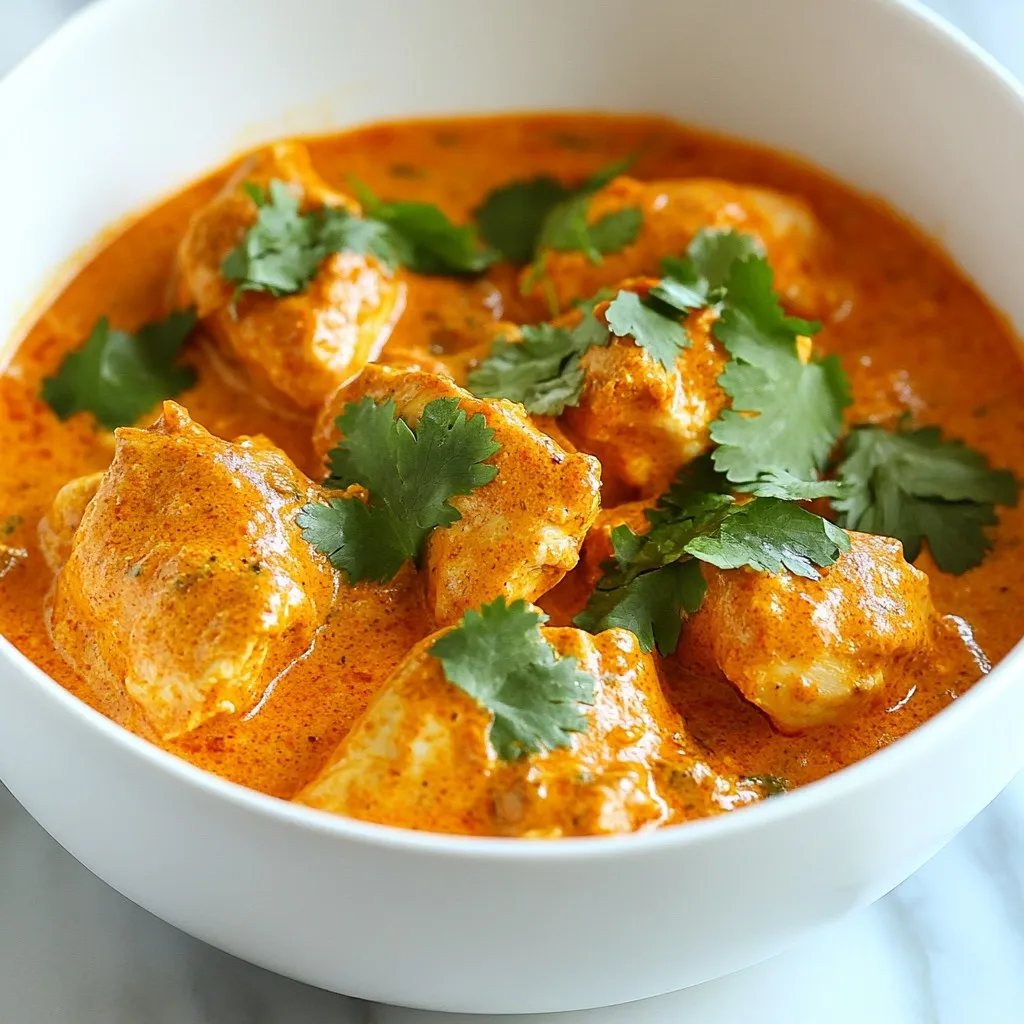
Instant Pot Chicken Tikka Masala Flavorful and Easy
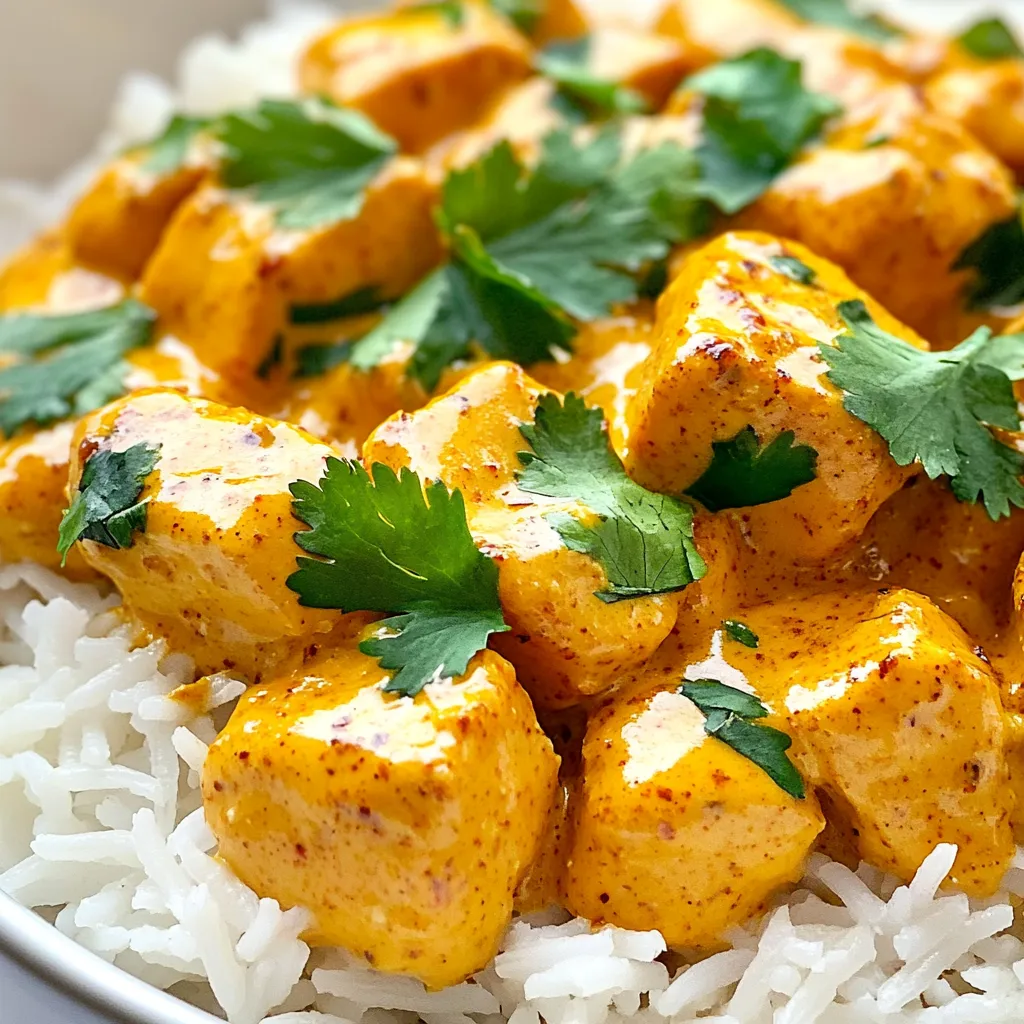
If you love rich, bold flavors but hate spending hours in the kitchen, then this Instant Pot Chicken Tikka Masala
If you love rich, bold flavors but hate spending hours in the kitchen, then this Instant Pot Chicken Tikka Masala
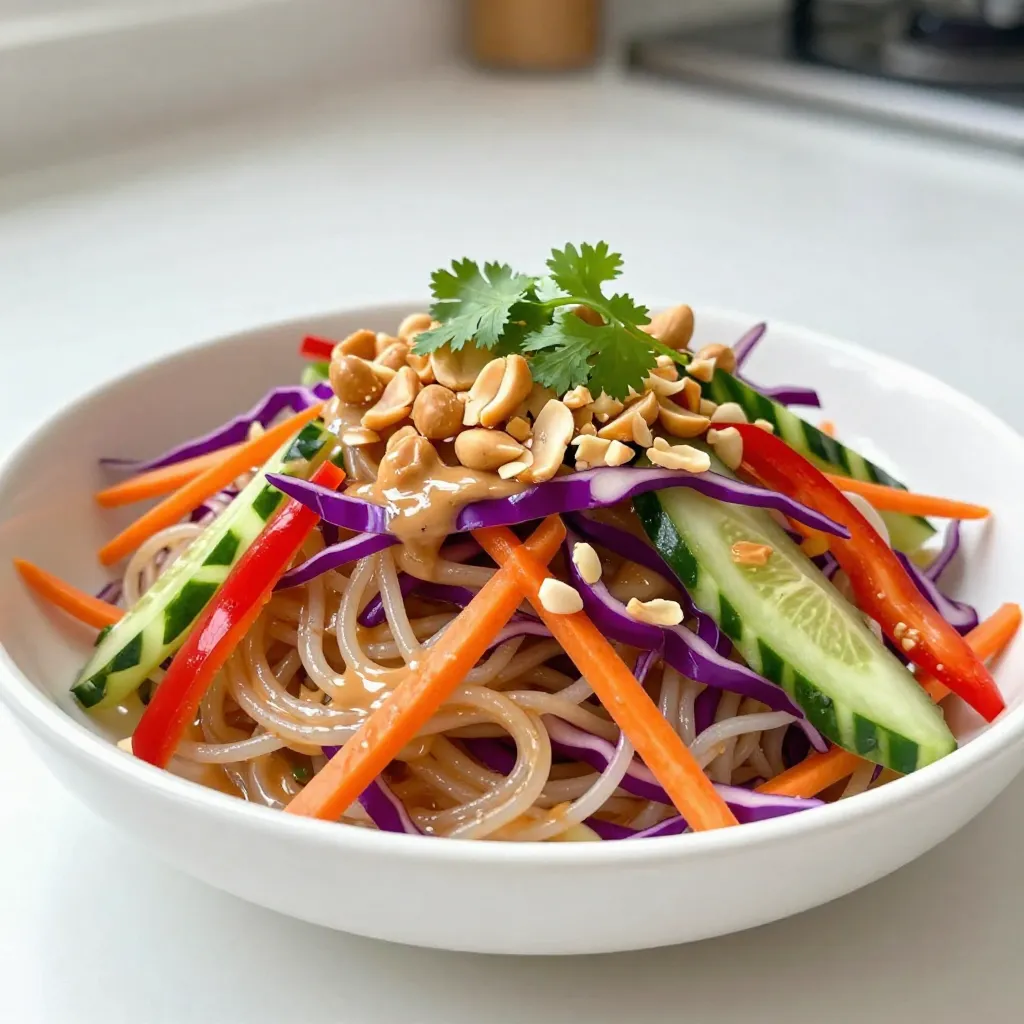
Welcome to flavor town! Today, I’m excited to share my recipe for Thai Peanut Noodle Salad, a dish that’s both
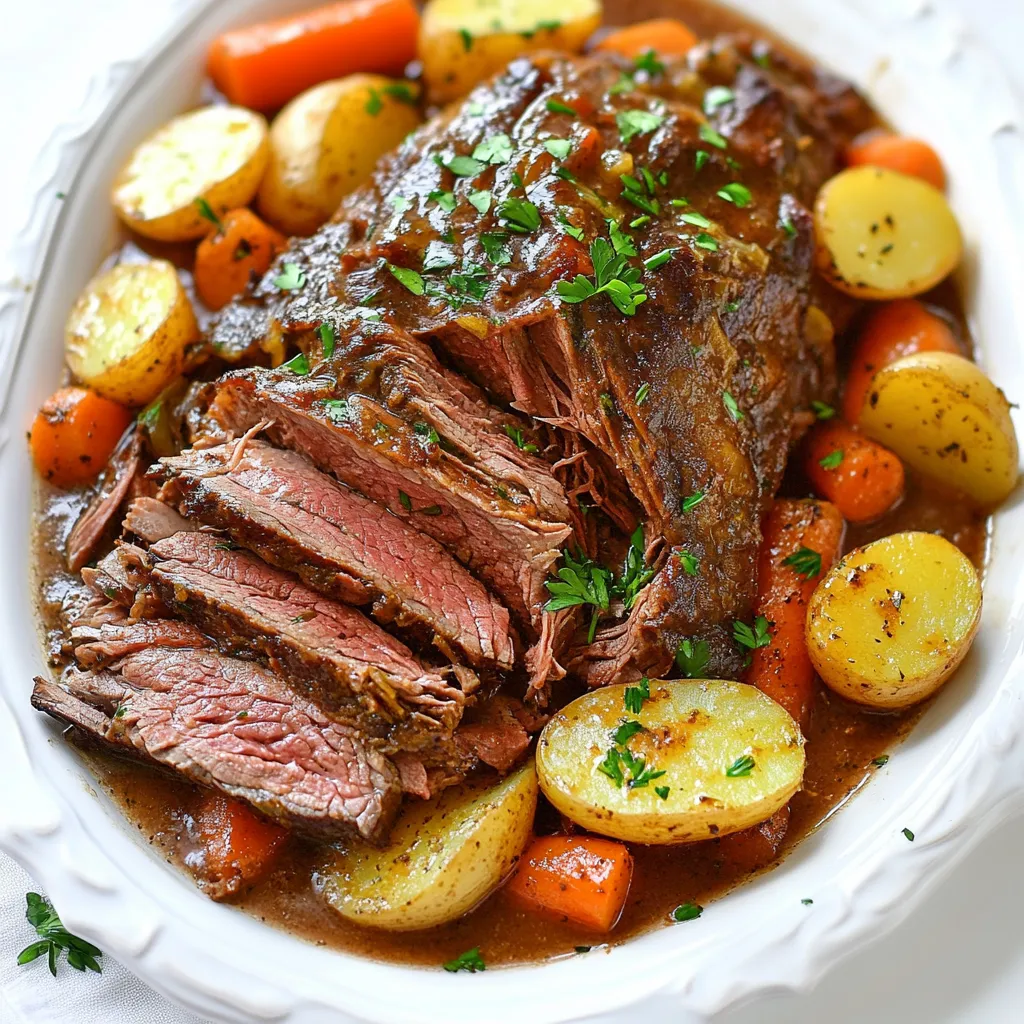
Are you ready to make the best ever slow cooker pot roast? This simplified recipe will transform your mealtime. With
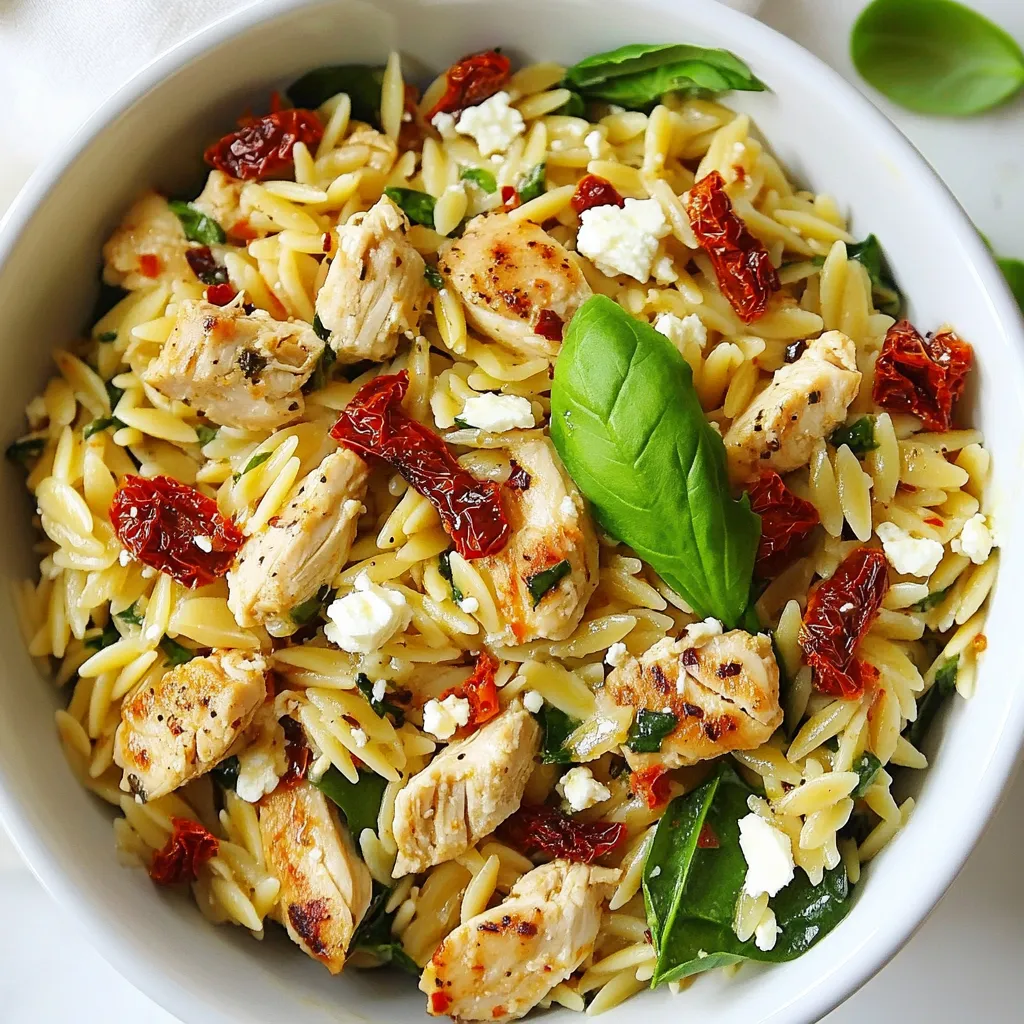
Are you ready to elevate your dinner routine? This Savory Sun Dried Tomato Chicken Orzo Delight combines tender chicken, rich

Are you craving a burger that’s bursting with flavor? Look no further! My Chipotle Chicken Burgers are easy to make
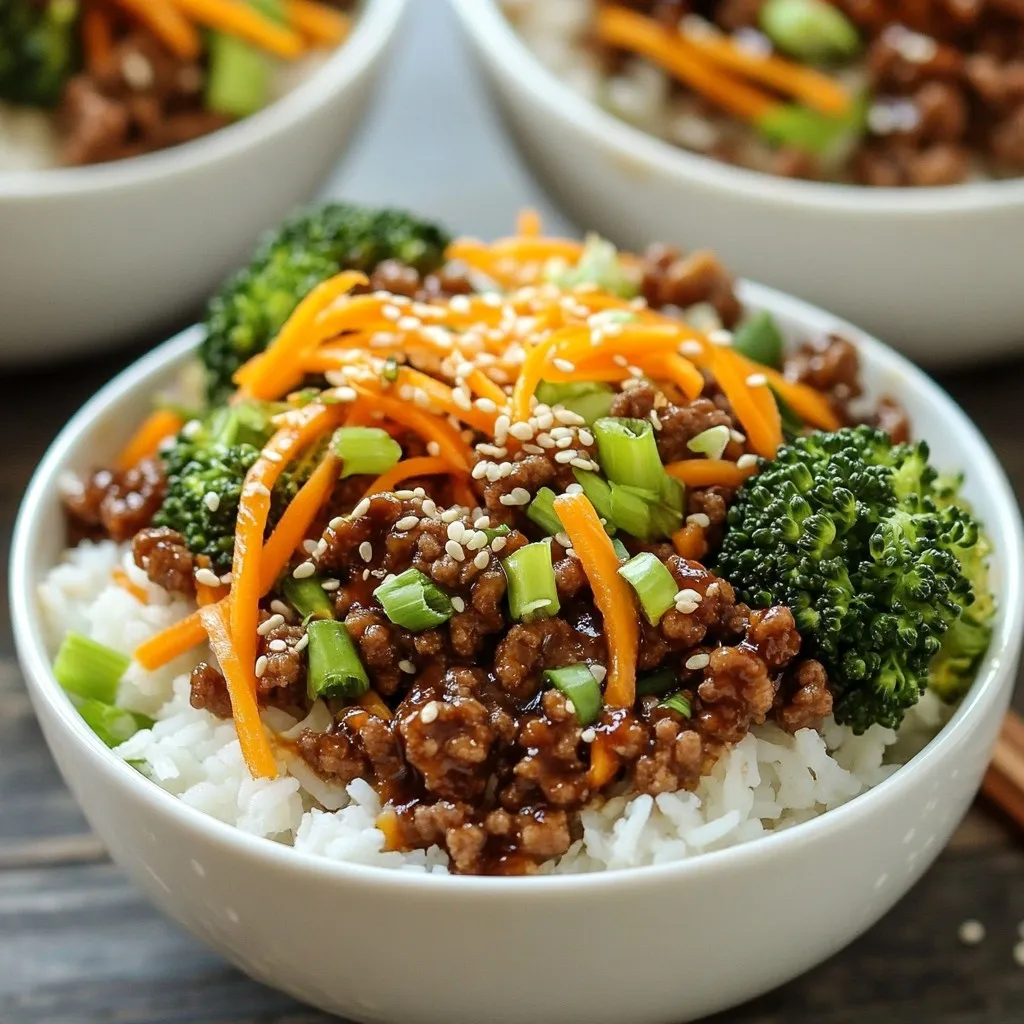
Dive into the world of Korean cuisine with my savory Korean Ground Beef Bowls! This dish packs a punch of
Get ready to tantalize your taste buds with the Tasty Texas Roadhouse Butter Chicken Skillet Recipe! This dish brings rich
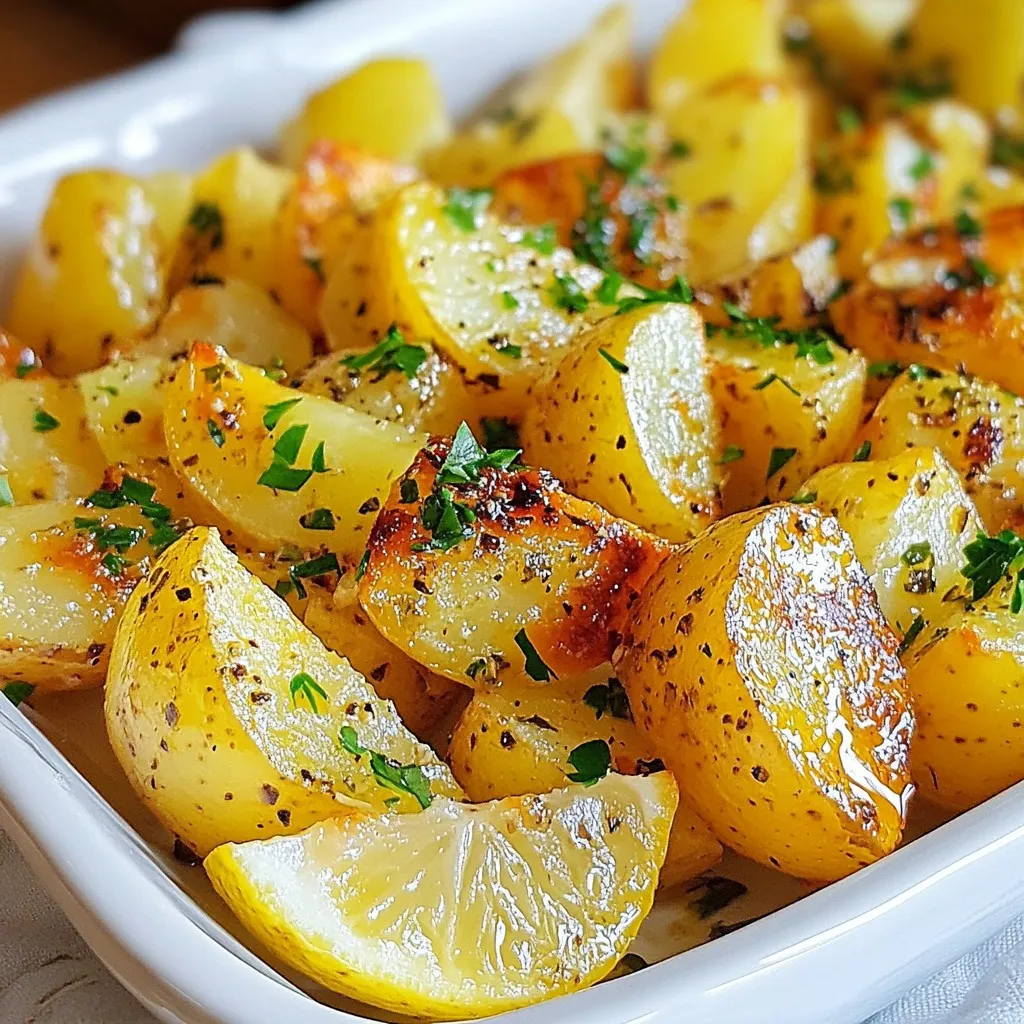
If you crave a dish that bursts with flavor, look no further! Greek lemon potatoes are simple to make and

Are you ready to impress your friends and family with a stunning dessert? The Summer Berry Pavlova is both delightful
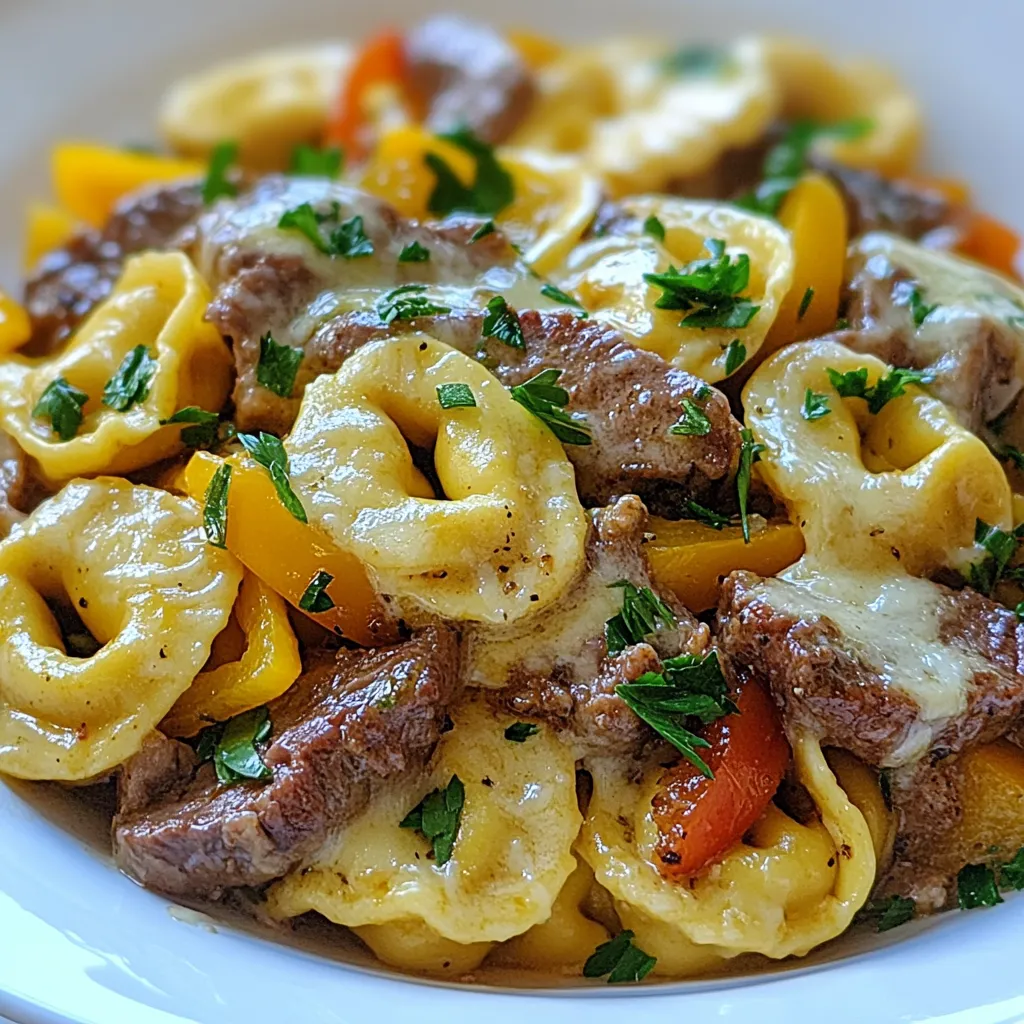
Get ready for a taste sensation! Cheesesteak Tortellini in Provolone Sauce combines comfort food favorites in one delicious dish. You’ll
