
One-Pot Lasagna Soup Hearty and Flavorful Meal
Craving a hearty meal that bursts with flavor? One-Pot Lasagna Soup is your answer! This dish combines all the comforting
Craving a hearty meal that bursts with flavor? One-Pot Lasagna Soup is your answer! This dish combines all the comforting

Are you ready to indulge in a dessert that’s both rich and healthy? My Avocado Chocolate Mousse is a creamy

Looking to beat the heat this summer? Honey Lavender Lemonade is your perfect refreshing drink. This simple recipe combines fresh

Who doesn’t love the warm, gooey goodness of pancakes? Now, imagine them on a stick! In this post, I’ll show

If you’re looking for a cozy treat that brings warmth and spice into your kitchen, you’ve found it! My Spiced

Craving a crispy snack that’s both healthy and delicious? Look no further! Roasted thin squash chips are the perfect answer.

Craving a comforting bowl of warmth? White Lasagna Soup is creamy, easy, and delicious. Imagine rich layers of cheese and
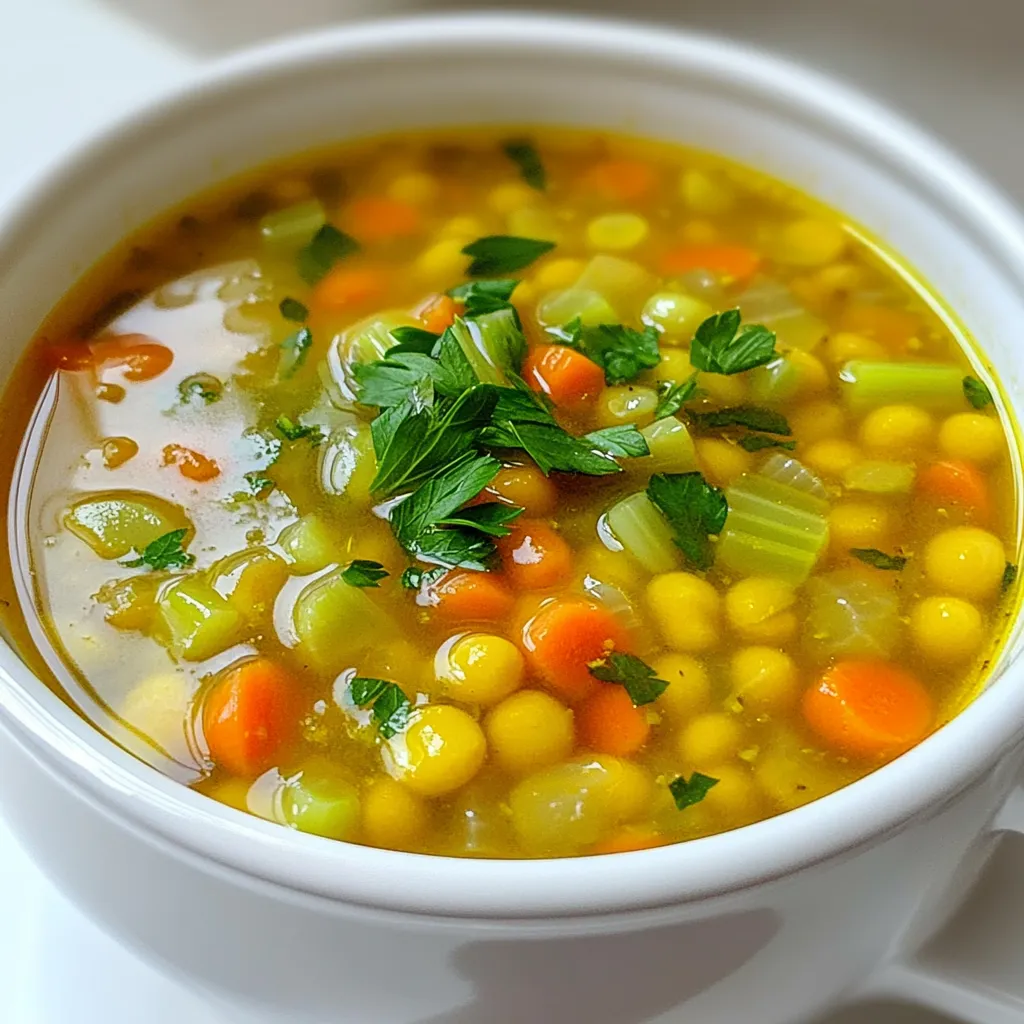
On a chilly day, nothing warms the heart like a bowl of Amish Snow Day Soup. This cozy dish blends

Looking for a quick and tasty dinner idea? I’ve got just the thing! This Three Ingredient Spinach Dip Chicken is

Get ready to indulge in a sweet treat like no other! Cotton Candy Cheesecake Bombs are a fun and unique
