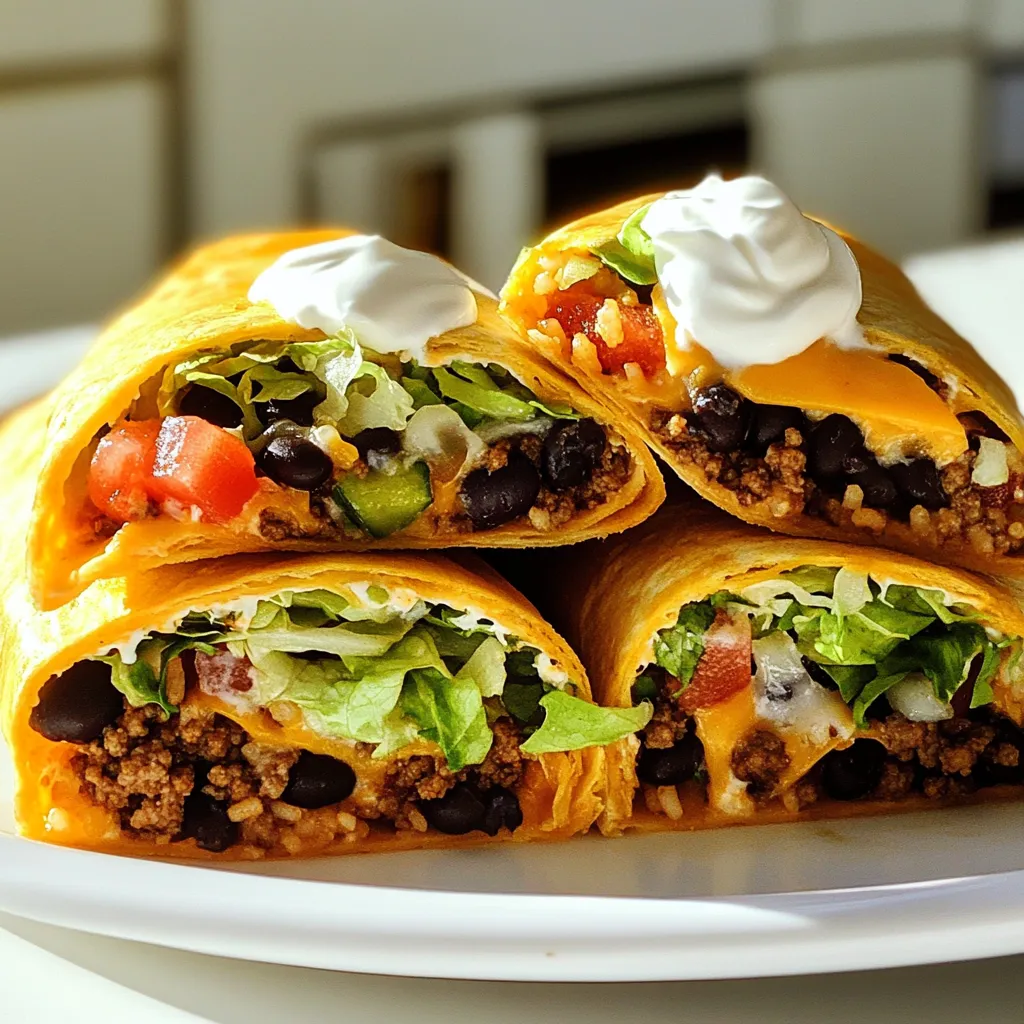
Copycat Crunchwrap Supreme Flavorful and Easy Recipe
Are you craving the delicious taste of Taco Bell’s Crunchwrap Supreme but don’t want to leave home? You’re in luck!
Are you craving the delicious taste of Taco Bell’s Crunchwrap Supreme but don’t want to leave home? You’re in luck!

Are you ready to impress your guests with a delightful drink? This Mocktail Pink Punch recipe is both refreshing and

Are you ready to elevate your grilled cheese game? The Honey Peach White Cheddar Grilled Cheese Delight combines sweet, juicy

Looking for a drink that’s both refreshing and fun? Say hello to Blue Lagoon Tropical Lemonade! This colorful beverage packs
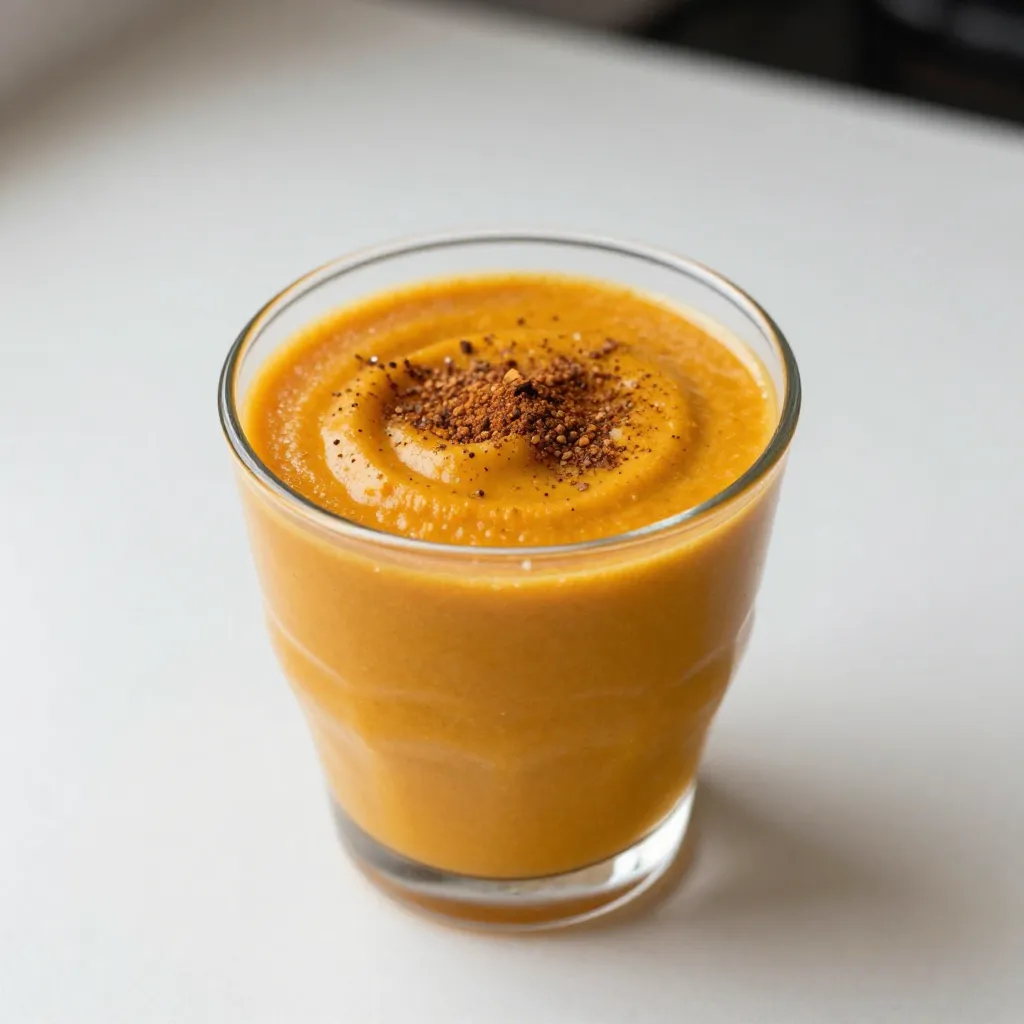
Are you craving a cozy fall treat that’s both healthy and easy to make? Look no further! This Pumpkin Pie
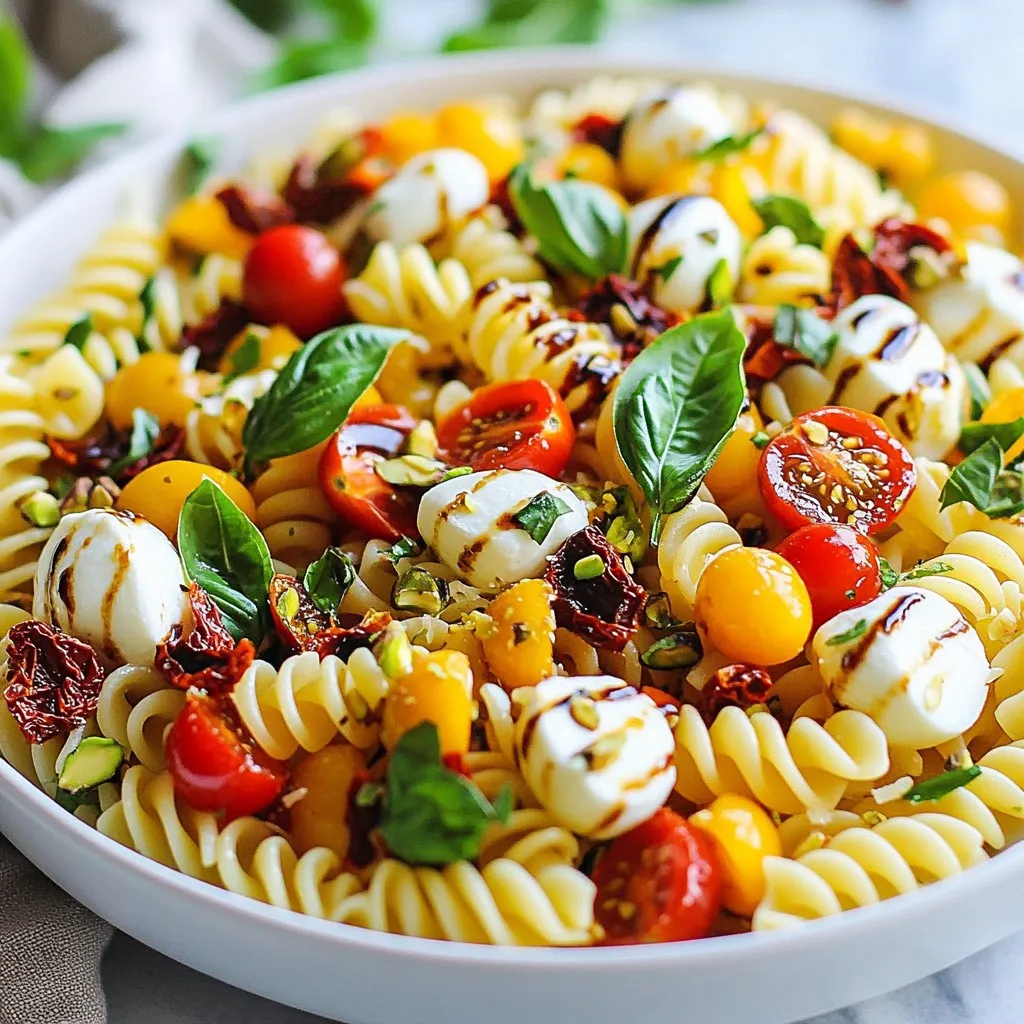
Are you ready to dive into a dish that bursts with fresh flavors? Caprese Pasta Salad is a simple yet
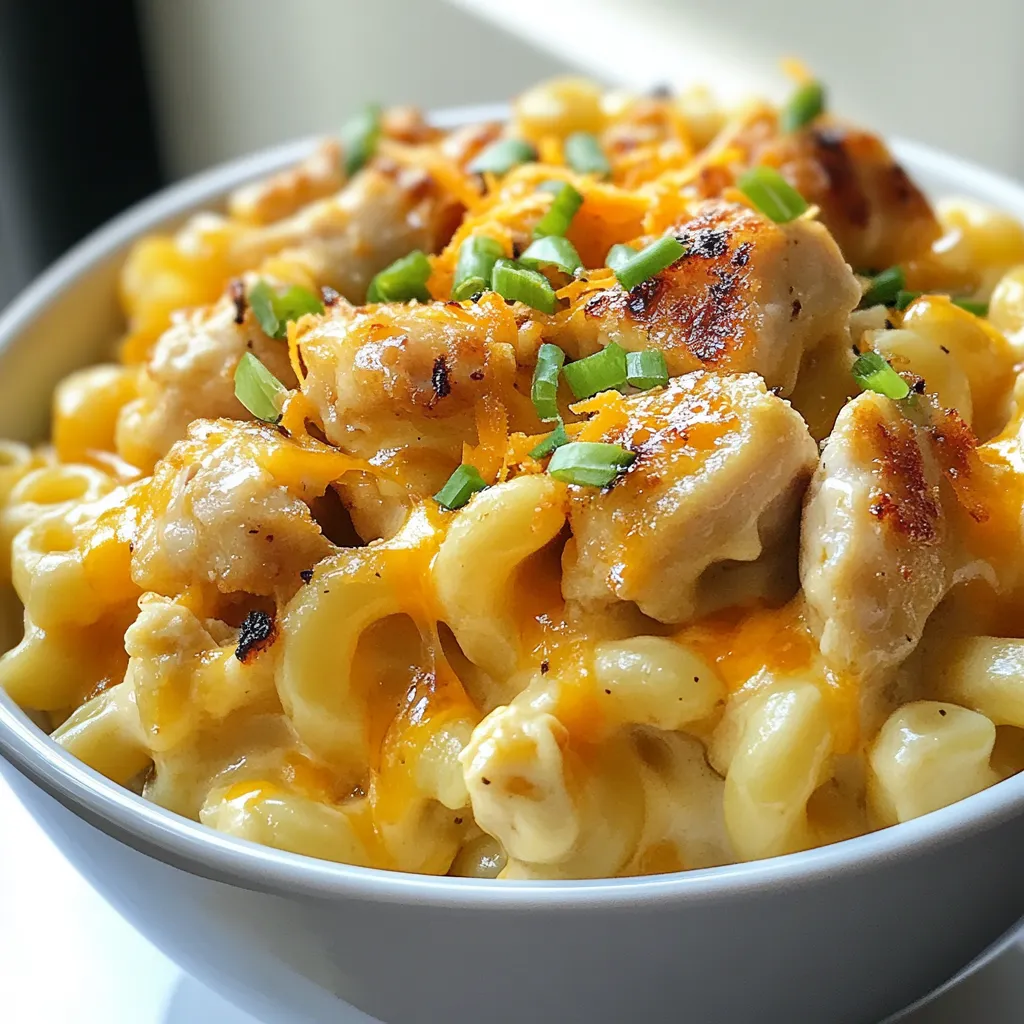
Looking for a dinner that’s packed with protein and flavor? You’ve found the right place! My Honey Garlic Chicken Mac

Looking for a fresh, simple meal? Teriyaki Chicken Lettuce Cups are your answer! This recipe is not just healthy; it’s
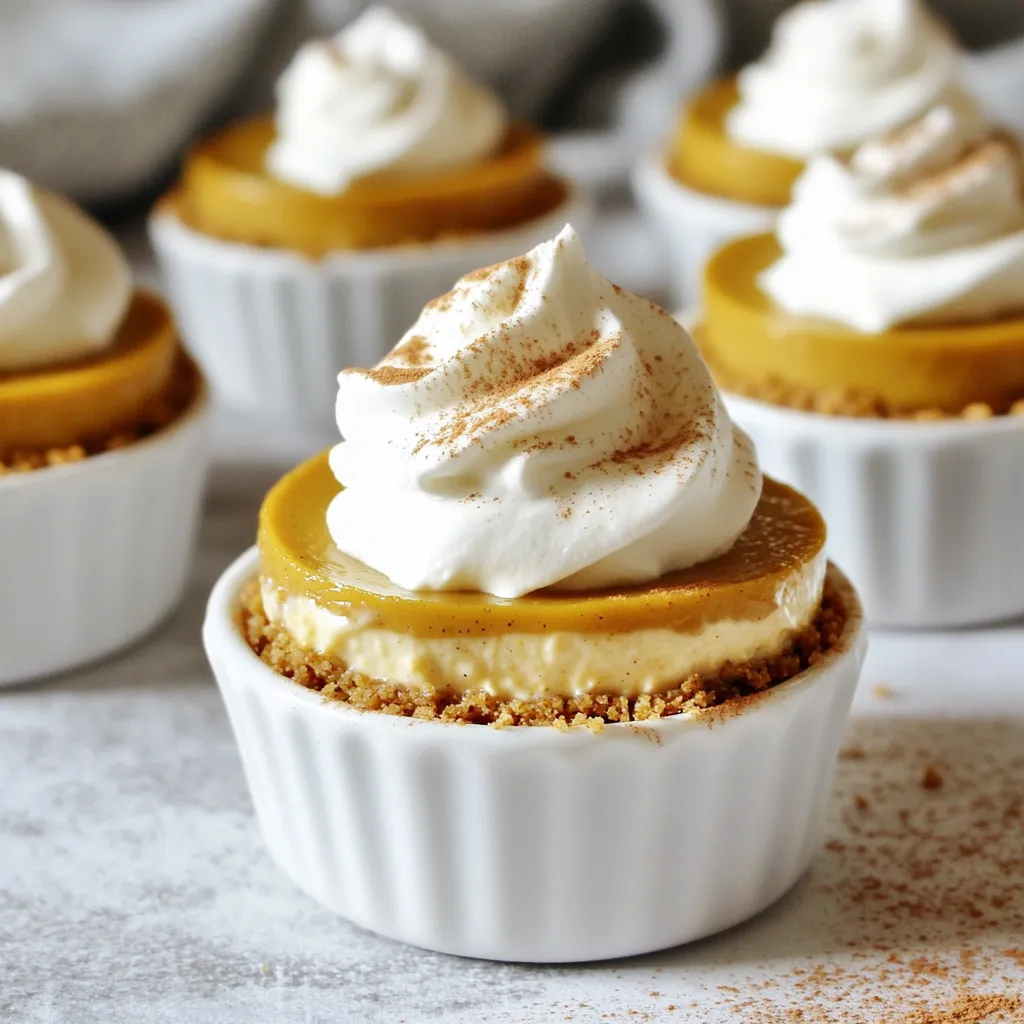
Craving a sweet treat that fits your healthy lifestyle? Look no further! These No Bake Pumpkin Protein Cheesecake Cups combine

If you’re craving a dessert that’s both simple and delicious, you’re in the right place! This Maple Apple Galette is
