Slow Cooker Chicken Tortellini Soup Flavorful Delight
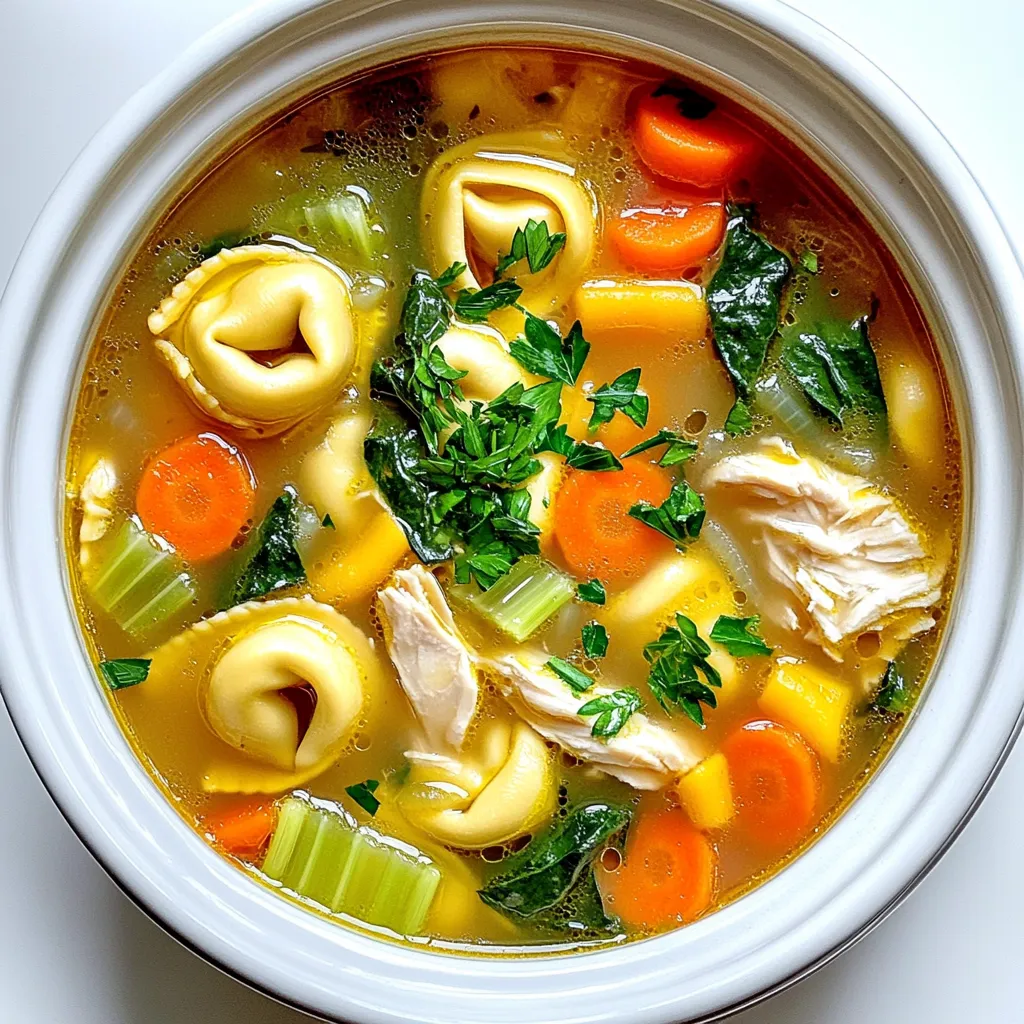
Are you ready to warm up with a bowl of comfort? My Slow Cooker Chicken Tortellini Soup is the ultimate
Are you ready to warm up with a bowl of comfort? My Slow Cooker Chicken Tortellini Soup is the ultimate
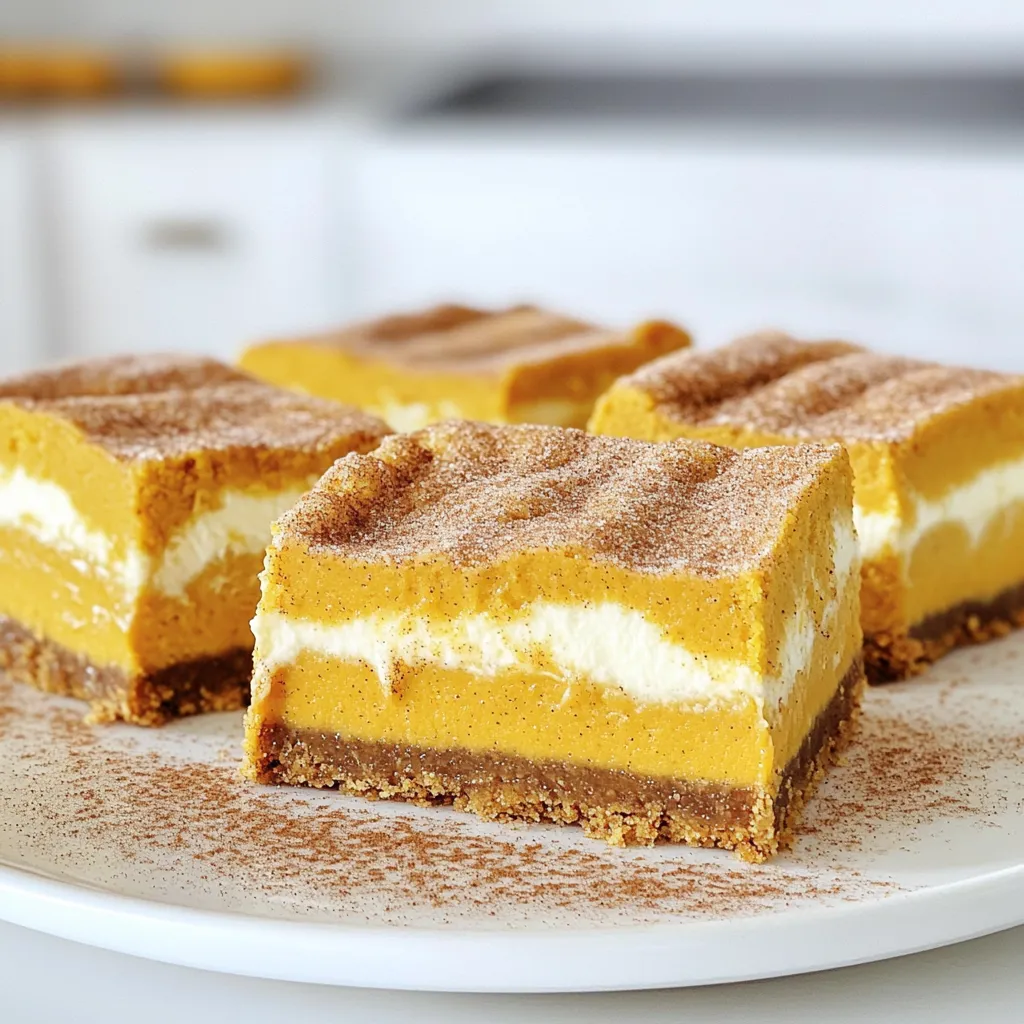
Get ready to satisfy your dessert cravings with my Pumpkin Churro Cheesecake Bars! This recipe combines two fall favorites: churros
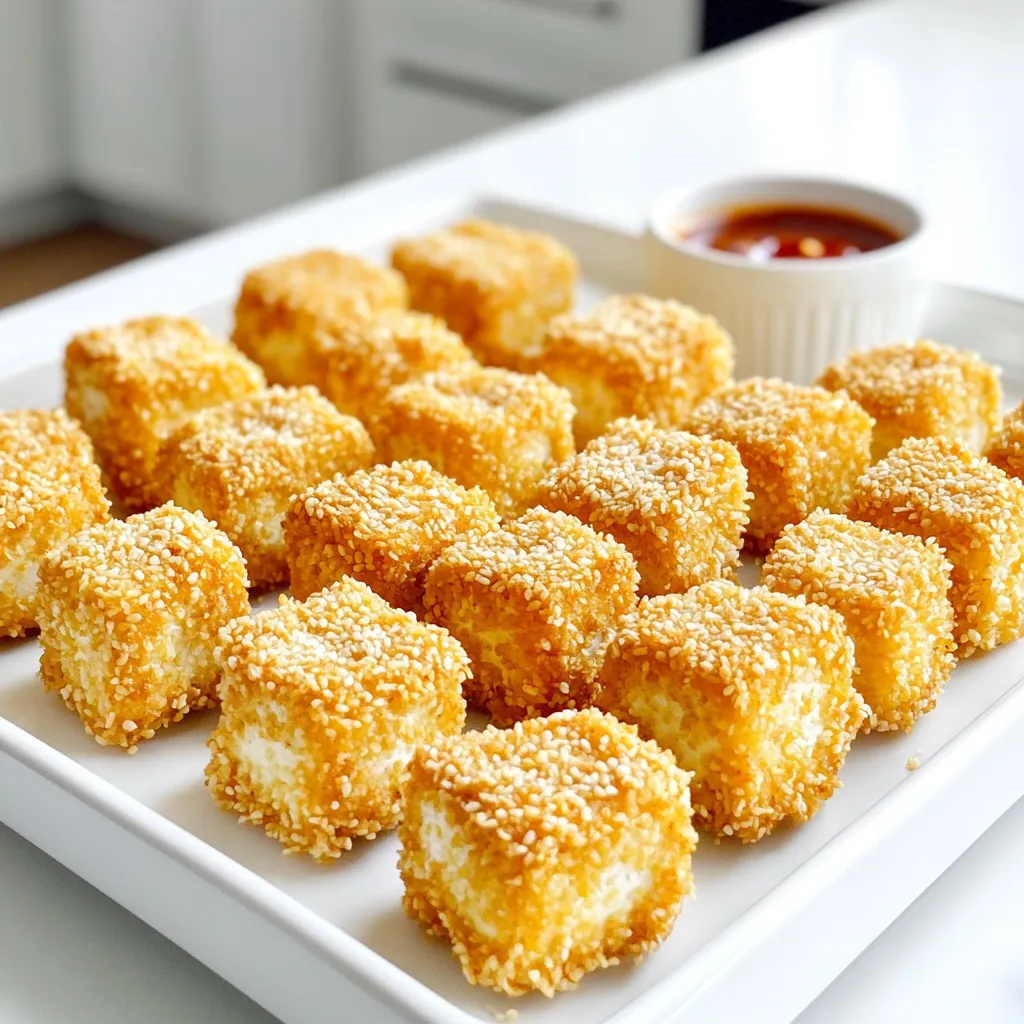
Looking for a tasty snack that’s quick and easy? You’ve found it! Air Fryer Tofu Nuggets are crispy, flavorful, and
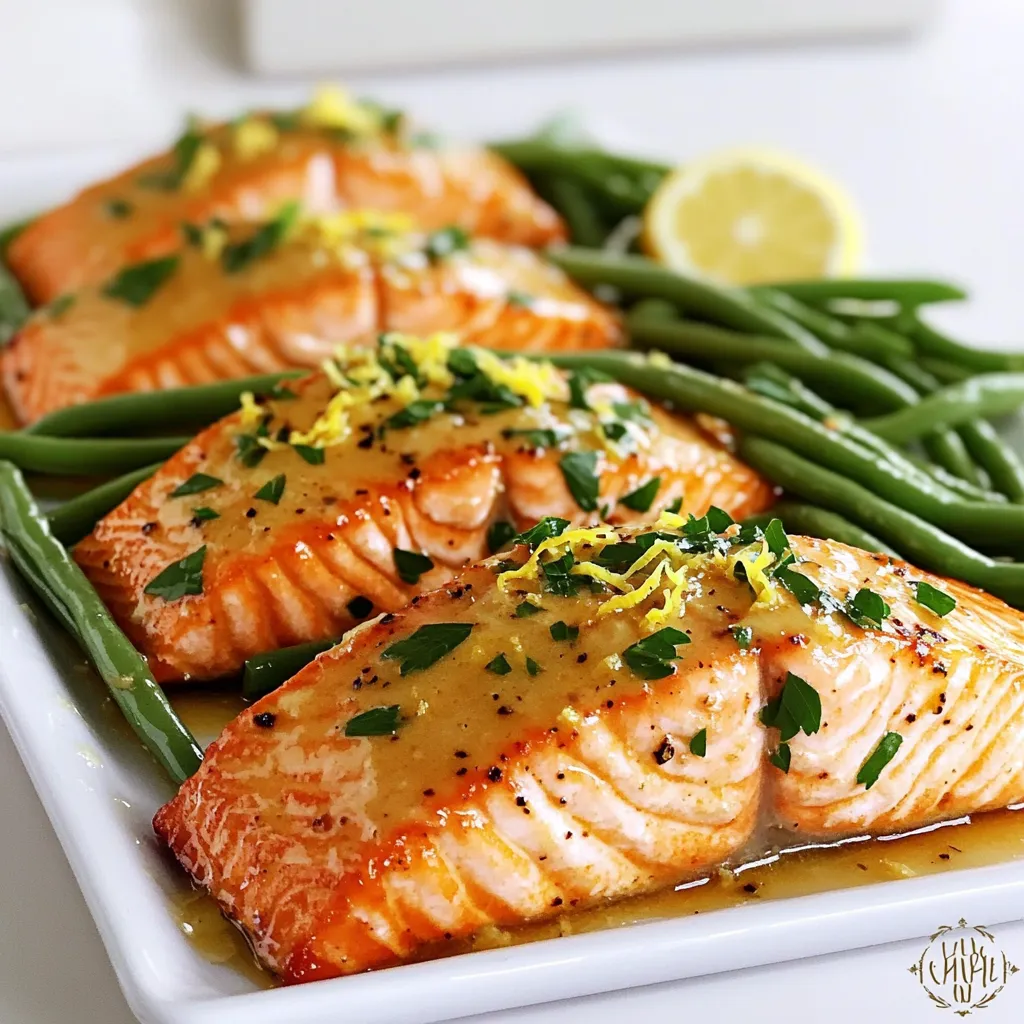
Get ready to savor a delightful dish that’s both easy and tasty! My Sheet Pan Garlic Butter Salmon & Beans
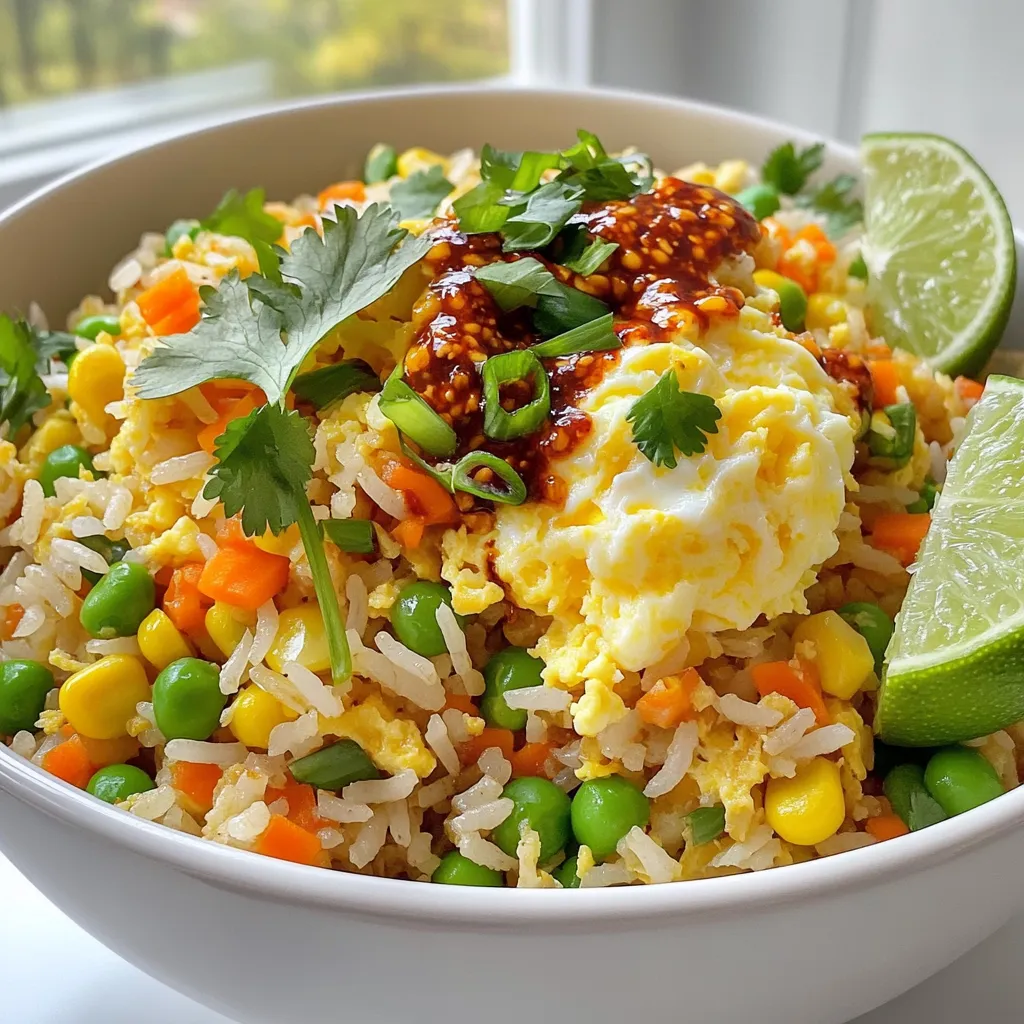
Looking for a quick and tasty meal? Minute Chili Crisp Fried Rice is your answer! With just a few simple
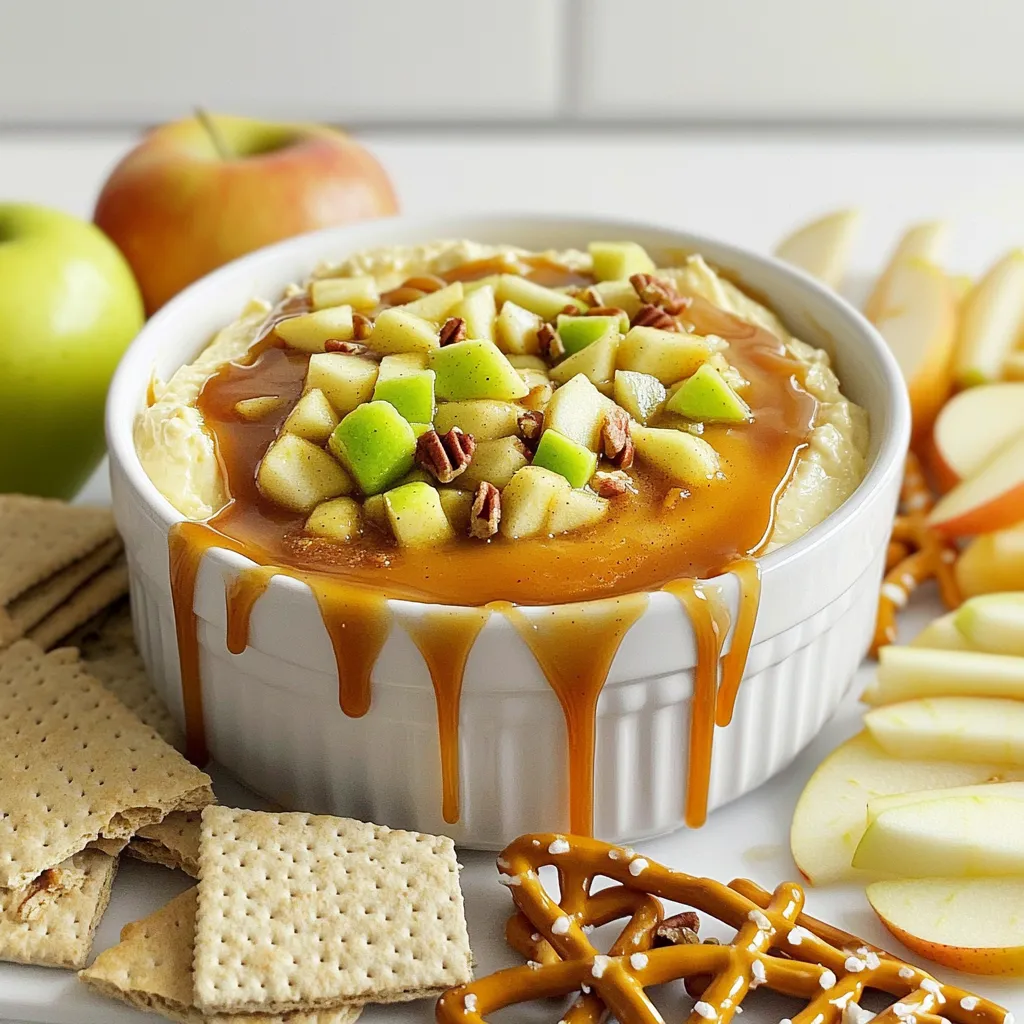
Get ready to indulge in a sweet delight with my Caramel Apple Cheesecake Dip! This simple and tasty treat is
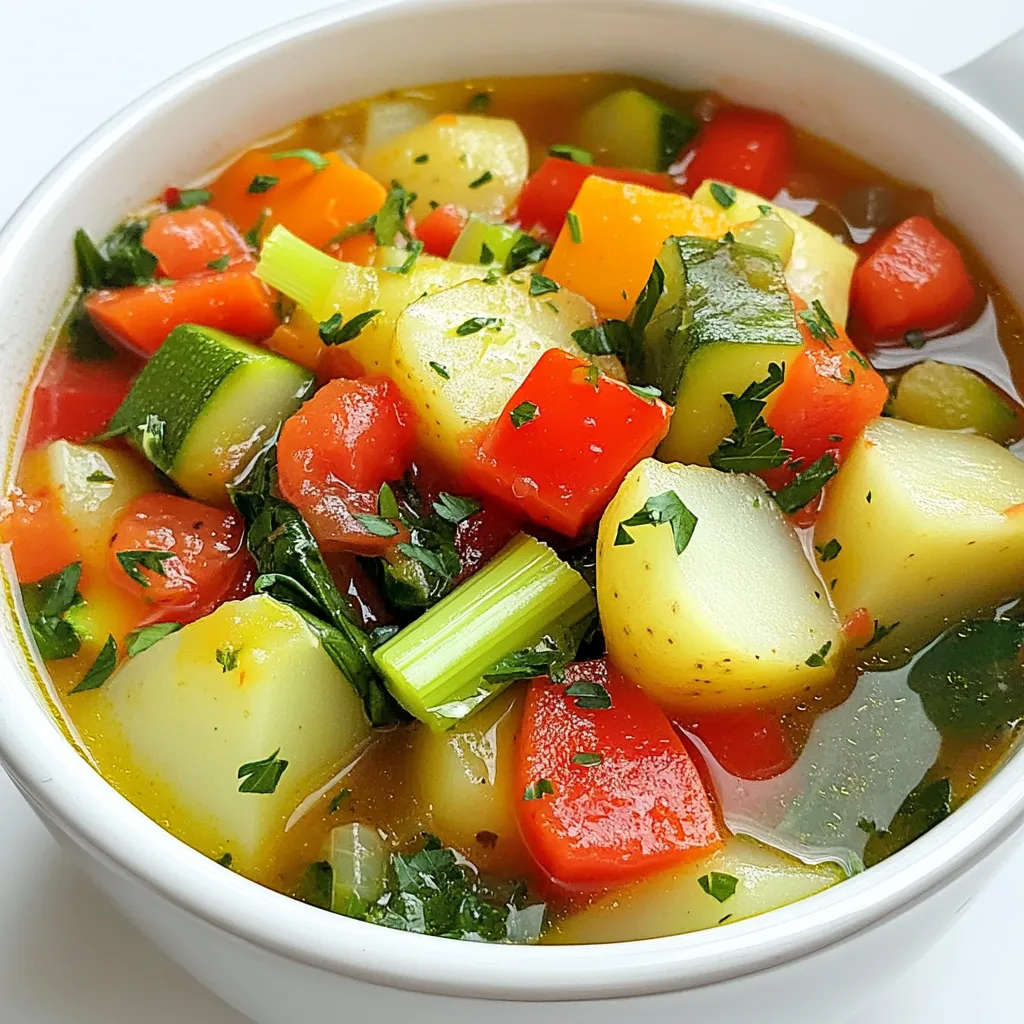
Looking for a warm, hearty meal that’s easy to make? This Slow Cooker Rustic Veggie Stew is packed with fresh
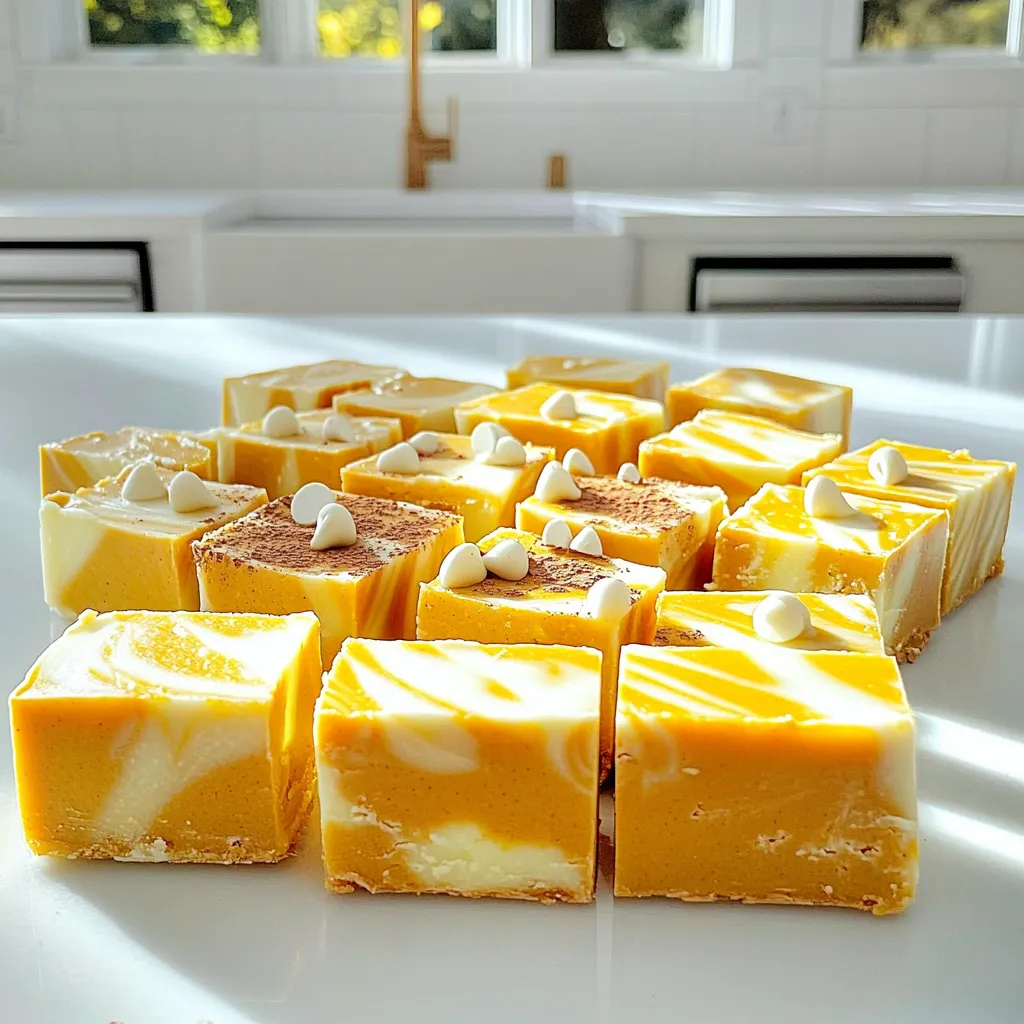
Are you ready to treat yourself to a rich and creamy delight? This No Bake White Chocolate Pumpkin Fudge is
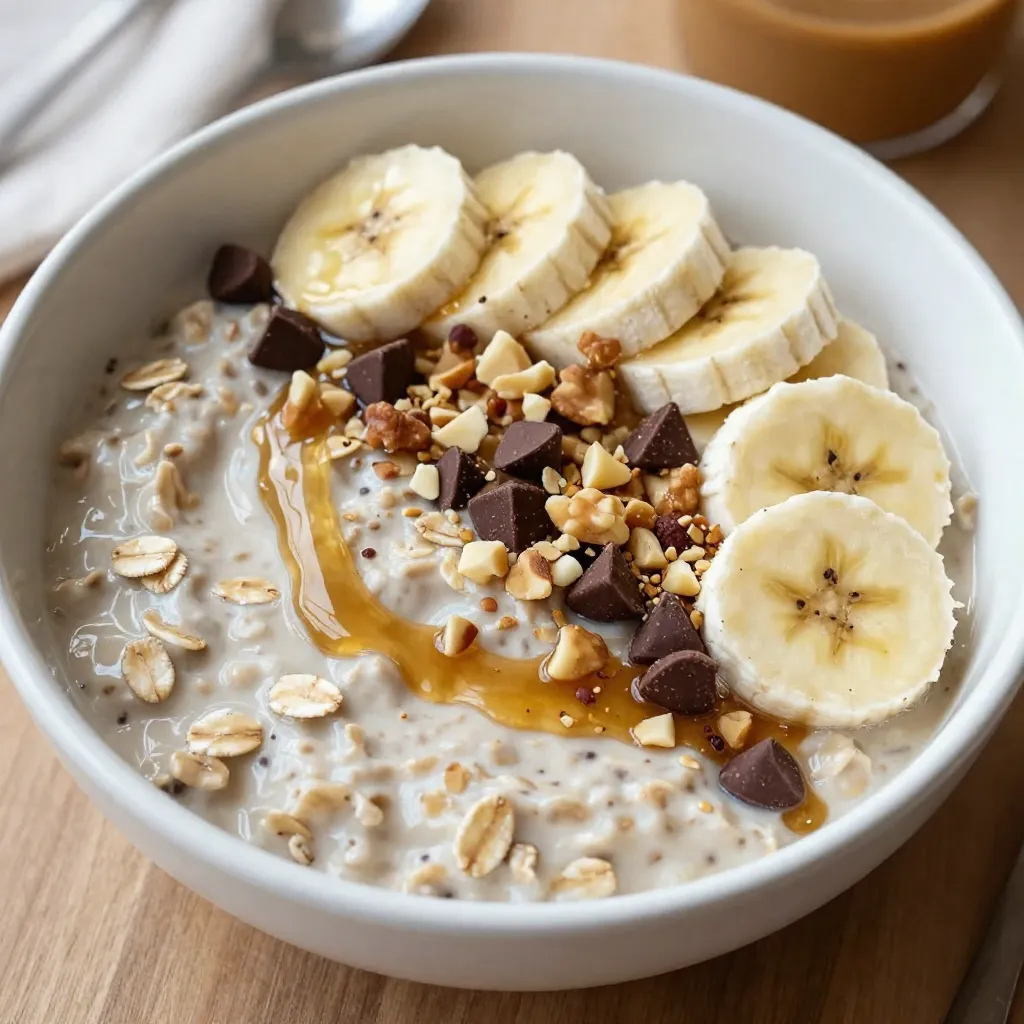
Looking for a quick and tasty breakfast? You’ll love these Peanut Butter Banana Overnight Oats! This easy recipe combines the
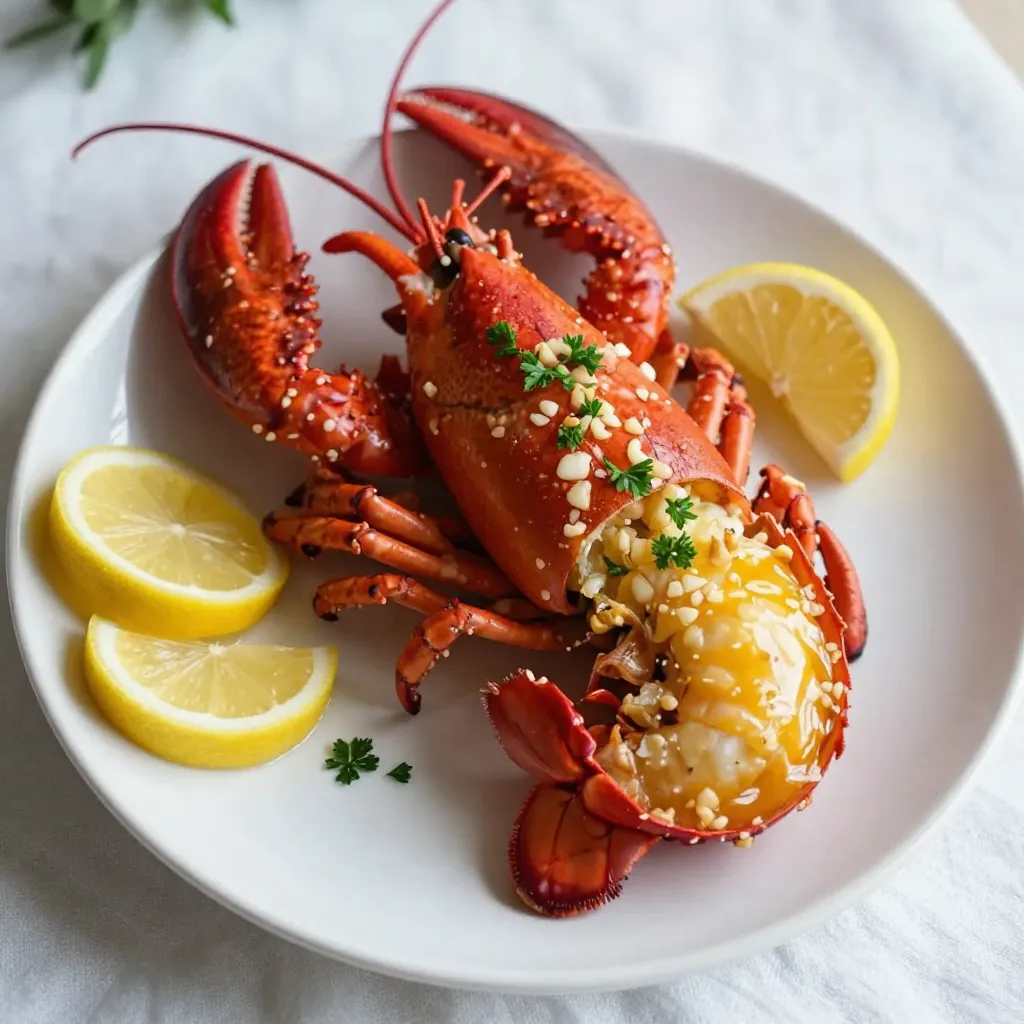
Are you ready to impress dinner guests with a dish that’s both simple and elegant? Garlic Butter Lobster Tails are
