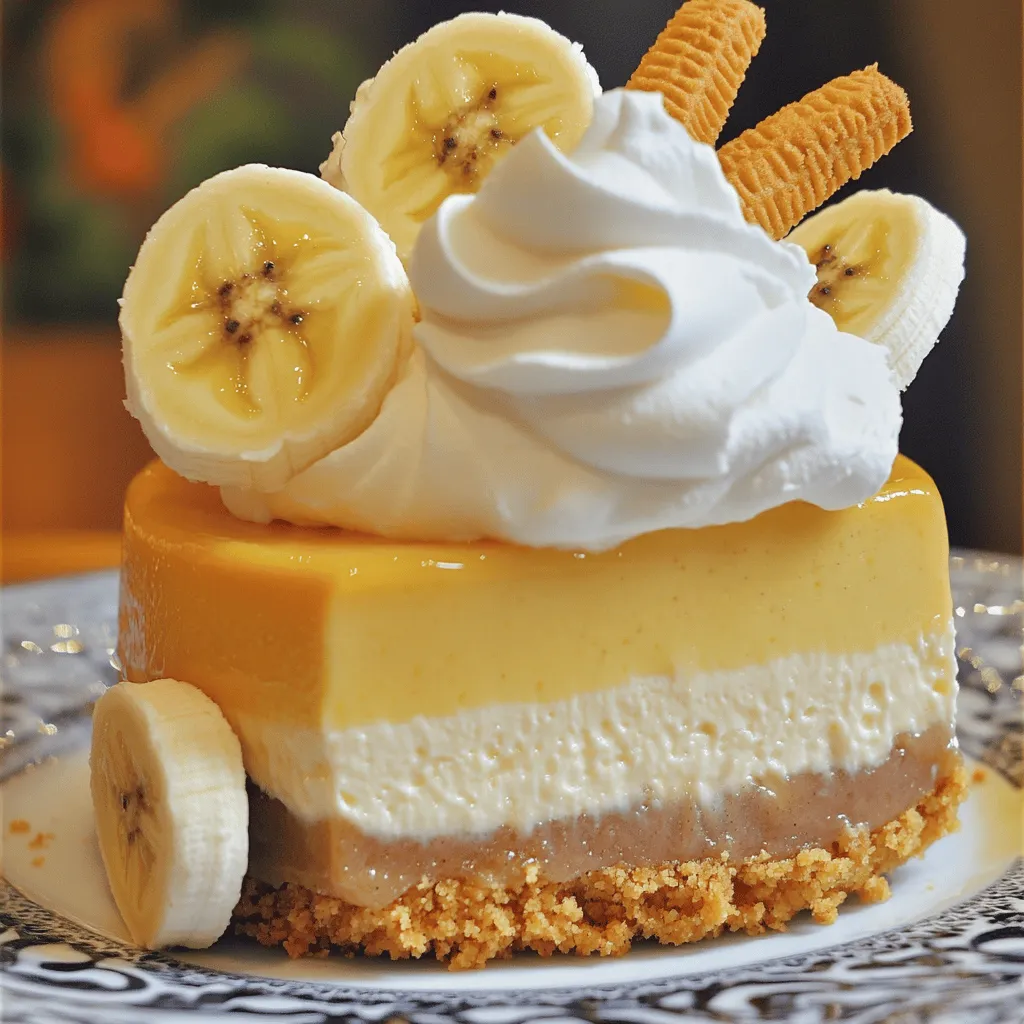
Are you ready to indulge in a dessert that combines the best of two worlds? This Banana Pudding Cheesecake is an irresistible treat you won’t forget! With creamy layers, a crunchy crust, and sweet banana flavor, it’s sure to impress everyone. In my recipe, I’ll guide you step by step, ensuring you achieve the perfect cheesecake every time. Let’s dive into this delicious journey together!
Ingredients
Key Ingredients for Banana Pudding Cheesecake
To make a fantastic banana pudding cheesecake, gather these key ingredients:
– 1 ½ cups graham cracker crumbs
– ½ cup unsalted butter, melted
– ¼ cup granulated sugar
– 3 (8 oz) packages cream cheese, softened
– 1 cup granulated sugar
– 1 teaspoon vanilla extract
– 3 large eggs
– 1 cup ripe bananas, mashed (about 2-3 bananas)
– 1 cup heavy cream
– ¼ cup powdered sugar
– 1 teaspoon vanilla extract (for whipped cream)
– Vanilla wafer cookies and banana slices for garnish
These ingredients work together to create rich and creamy layers. The cream cheese gives it a smooth texture, while the bananas add natural sweetness.
Optional Garnishes
Garnishes can make your cheesecake even more appealing. Here are some ideas:
– Sliced fresh bananas
– Crushed vanilla wafers
– Chocolate shavings
– Whipped cream dollops
These extras can enhance the look and taste of your dessert. Feel free to mix and match based on your own taste.
Ingredient Substitutions
If you need to swap any ingredients, here are some easy options:
– Use coconut cream instead of heavy cream for a dairy-free version.
– Swap granulated sugar with brown sugar for a deeper flavor.
– Use gluten-free graham crackers to make it gluten-free.
These substitutions can help you cater to different diets or flavor preferences. Enjoy experimenting with your banana pudding cheesecake!
Step-by-Step Instructions
Prepping the Oven and Pan
Start by preheating your oven to 325°F (160°C). While the oven warms up, grab a 9-inch springform pan. Grease the pan with non-stick spray or butter. This helps the cheesecake release easily later.
Creating the Graham Cracker Crust
In a mixing bowl, mix 1 ½ cups of graham cracker crumbs, ½ cup of melted unsalted butter, and ¼ cup of granulated sugar. Stir until everything blends well. Press this mixture into the bottom of your springform pan. Bake this crust for 10 minutes. After that, take it out and let it cool.
Mixing the Cheesecake Batter
In a large bowl, beat 3 packages of softened cream cheese with 1 cup of granulated sugar. Mix until it’s smooth and creamy, which should take about 2-3 minutes. Don’t forget to scrape down the bowl sides to mix everything well.
Baking the Cheesecake
Next, mix in 1 cup of mashed ripe bananas and 1 teaspoon of vanilla extract. Make sure it’s all combined. Then, add the eggs one at a time. Mix on low speed so you don’t overmix. Pour this batter over your cooled crust. Tap the pan gently to remove any air bubbles. Bake in your preheated oven for 55-60 minutes. The edges should be set, and the center will jiggle a bit.
Cooling and Chilling the Dessert
Once baked, turn off the oven and leave the cheesecake inside for 1 hour. This helps it cool down slowly. After an hour, take it out and let it cool to room temperature. Once cooled, place it in the fridge for at least 4 hours, or overnight if you can wait. This will improve the texture.
Preparing the Whipped Cream and Assembly
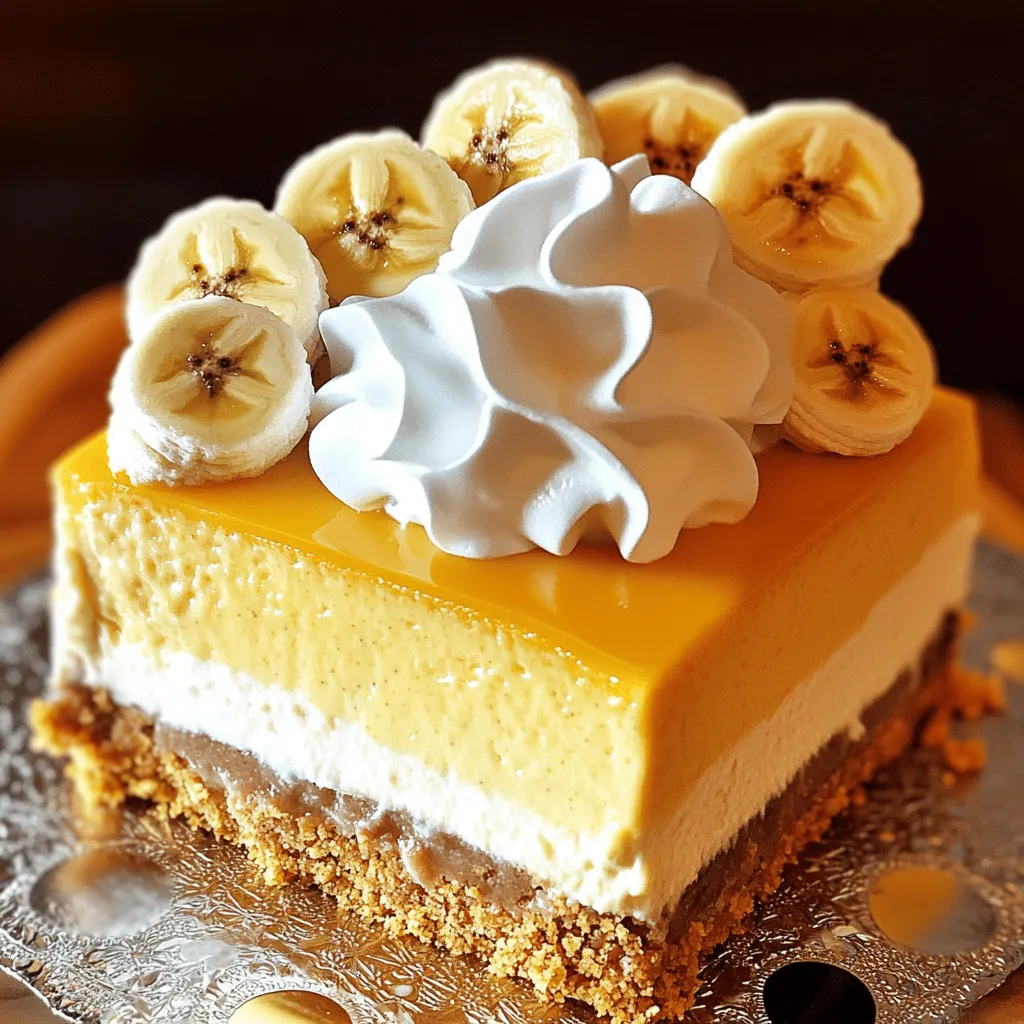
While the cheesecake chills, you can make the whipped cream. In a medium bowl, whip 1 cup of heavy cream with ¼ cup of powdered sugar and 1 teaspoon of vanilla extract. Whip until stiff peaks form. Once the cheesecake has chilled, spread the whipped cream over the top. Add banana slices and vanilla wafer cookies for a lovely look.
Tips & Tricks
Ensuring a Creamy Texture
To get a creamy texture, use soft cream cheese. Let it sit at room temp for 30 minutes. This helps it blend better. Beat the cheese well, so it’s smooth before adding anything else. Mix on low speed once you add eggs. This keeps air out, which can cause cracks.
Avoiding Cracks in the Cheesecake
Cracks can spoil the look of your cheesecake. To avoid this, don’t open the oven door while baking. Use a water bath. Place the springform pan in a larger pan with water. This keeps the temperature steady. After baking, let the cheesecake cool slowly in the oven. This helps it set without cracking.
Perfecting the Whipped Cream
For the best whipped cream, use cold heavy cream. Whip it on high speed until you see stiff peaks. Add powdered sugar and vanilla for flavor. Mix just until combined. Don’t overwhip, or it could turn into butter. Spread the whipped cream on the cheesecake right before serving for a fresh look.
Variations
Adding Chocolate or Peanut Butter
You can make your banana pudding cheesecake even better by adding chocolate or peanut butter. Just mix in melted chocolate or peanut butter with the cream cheese. This adds a rich flavor that pairs well with bananas. For a chocolate version, use dark or milk chocolate. For peanut butter, try using creamy or crunchy. Both options make your dessert unique and tasty.
Mixing in Other Fruits
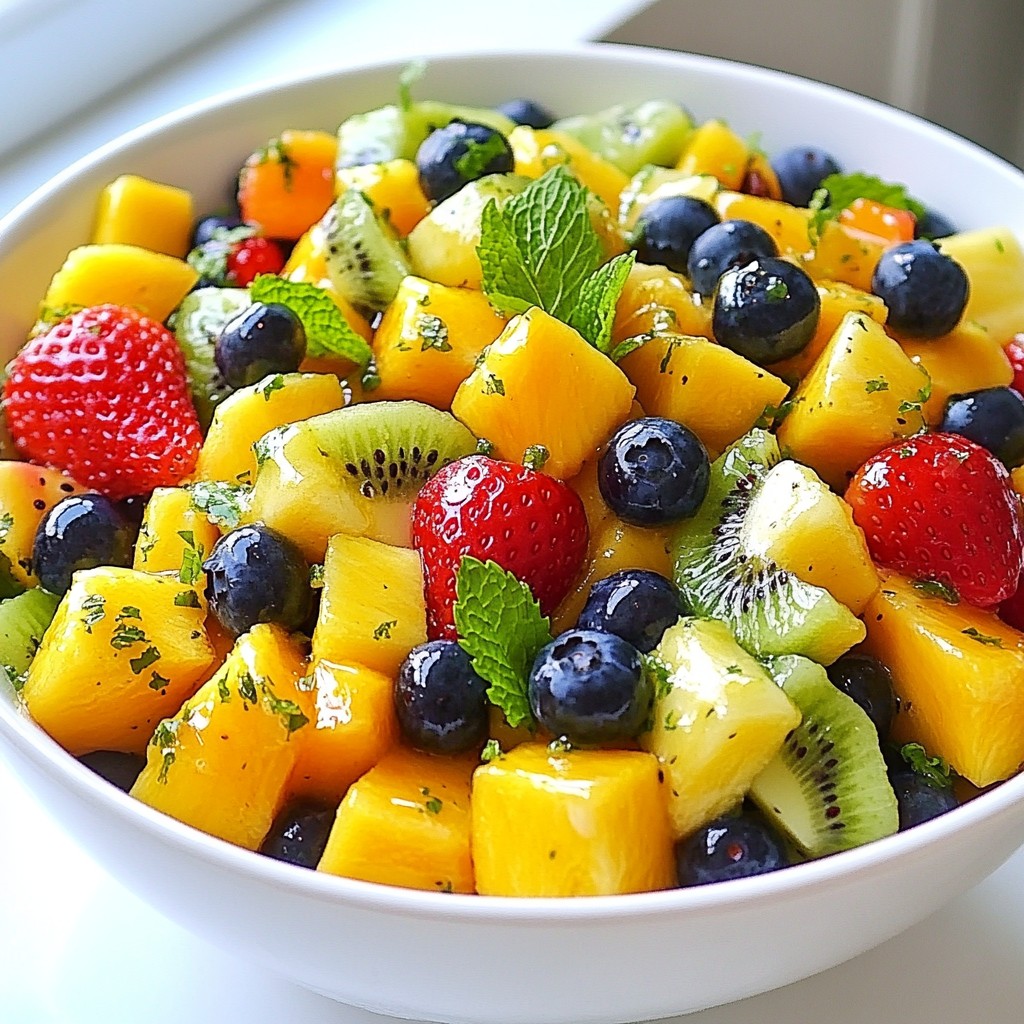
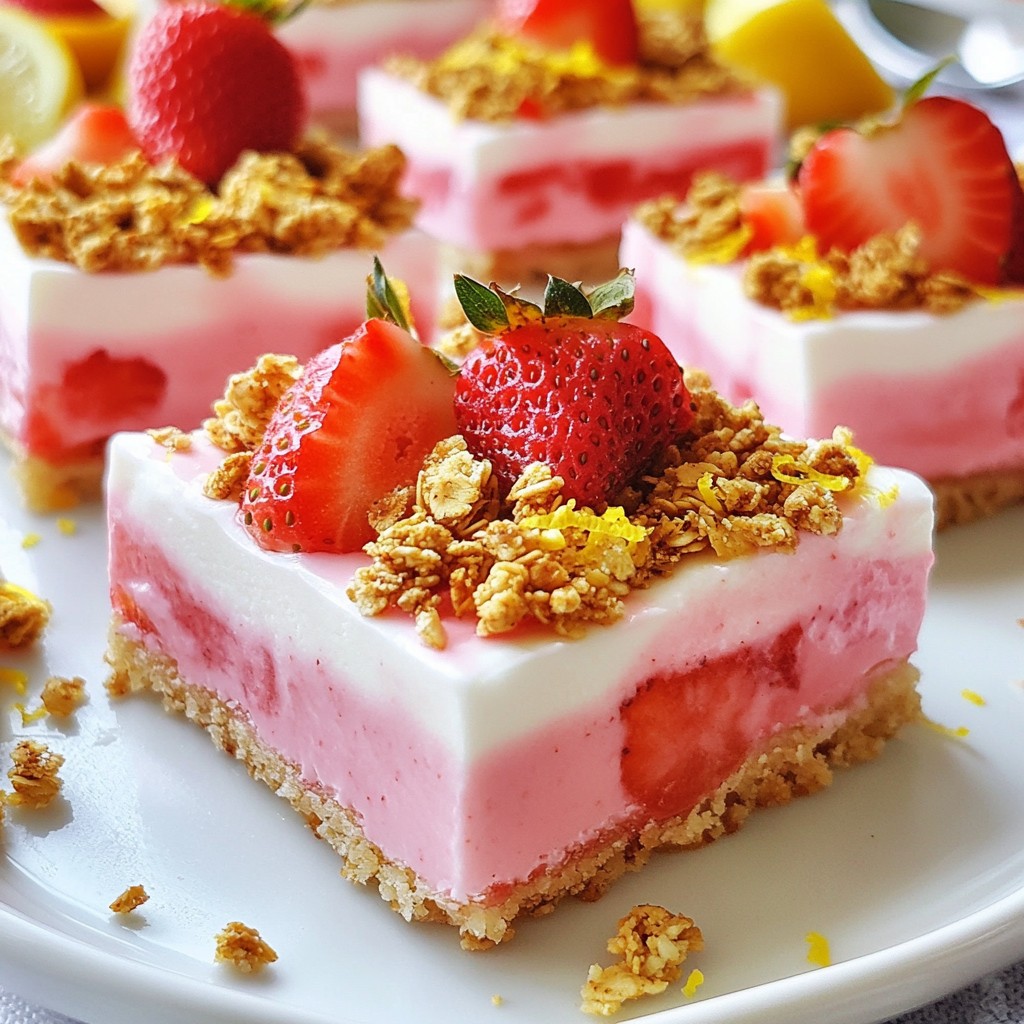
Another fun twist is to mix in other fruits. You can add chopped strawberries, blueberries, or even mango. Just make sure to keep the total fruit amount the same as the bananas. This way, you still have that creamy texture. The added fruits can bring freshness and new flavors to your cheesecake. Get creative and have fun with your choices!
Gluten-Free or Dairy-Free Options
If you need gluten-free options, use gluten-free graham crackers for the crust. You can also swap cream cheese with dairy-free cream cheese. For the whipped cream, try coconut cream as a great substitute. Both options allow everyone to enjoy this dessert without missing out. Just make sure to check labels to ensure all ingredients fit your diet.
Feel free to explore these variations and create your own special banana pudding cheesecake!
Storage Info
Best Practices for Storage
To keep your banana pudding cheesecake fresh, follow these steps:
– Allow the cheesecake to cool completely at room temperature.
– Cover it tightly with plastic wrap or aluminum foil.
– Store it in the fridge for best results.
– If you have a springform pan, it’s best to leave it in the pan until serving.
How Long Does it Last?
When stored properly, banana pudding cheesecake can last:
– In the fridge: about 4 to 5 days.
– It’s best to enjoy it within the first couple of days for the best flavor.
Freezing Banana Pudding Cheesecake
Yes, you can freeze banana pudding cheesecake! Here’s how:
– Allow the cheesecake to cool completely before freezing.
– Slice the cheesecake into wedges for easy serving later.
– Wrap each piece in plastic wrap, then place in a freezer-safe bag.
– It can last in the freezer for up to 3 months.
– Thaw it in the fridge overnight before serving.
FAQs
Can I make Banana Pudding Cheesecake ahead of time?
Yes, you can make Banana Pudding Cheesecake ahead of time. It actually tastes better after chilling. I suggest making it one day in advance. This gives the flavors time to blend and deepen. Just wrap it well and store it in the fridge.
What do I do if my cheesecake cracks?
If your cheesecake cracks, don’t worry! This happens to many cooks. To fix it, you can cover it with whipped cream or fruit. This hides the cracks and adds flavor. Next time, try baking it at a lower temperature. This can help prevent cracks.
How can I enhance the flavor of the cheesecake?
To enhance the flavor of your cheesecake, use ripe bananas. Ripe bananas add a richer taste. You can also add a pinch of cinnamon or nutmeg for warmth. Mixing in a bit of lemon juice can brighten the flavor too.
Is it necessary to chill the cheesecake overnight?
While it’s not strictly necessary, I highly recommend chilling the cheesecake overnight. This allows it to set properly. A well-chilled cheesecake slices better and tastes amazing. If you can, let it chill overnight for the best results.
In this post, you learned about making Banana Pudding Cheesecake. We covered key ingredients, optional garnishes, and substitutions. I walked you through each step, from the crust to chilling the dessert. You also found tips to ensure a creamy texture and avoid cracks. Variations like adding chocolate or fruits make it fun. Finally, I shared storage tips and answered common questions. This cheesecake is a treat you can customize and enjoy. With these ideas, you’re ready to make a delicious dessert that impresses everyone. Happy baking!