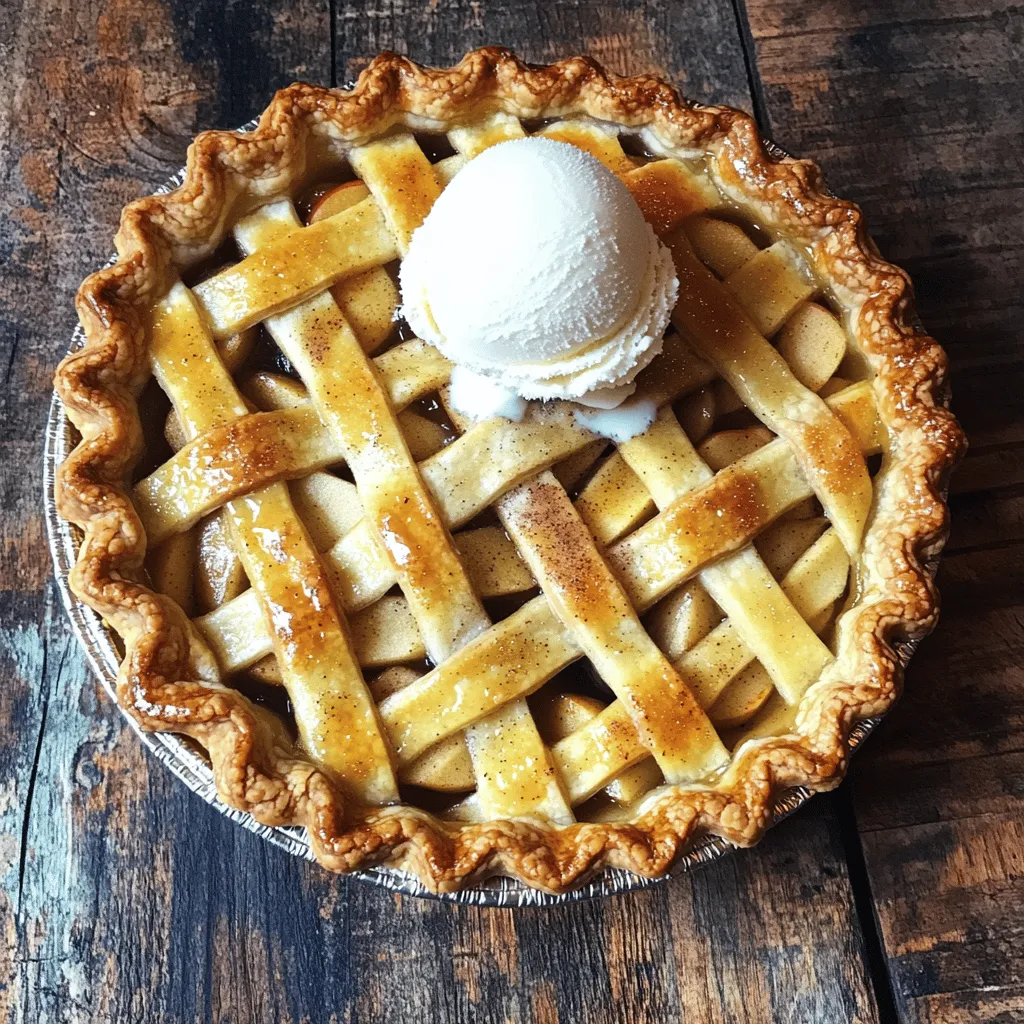
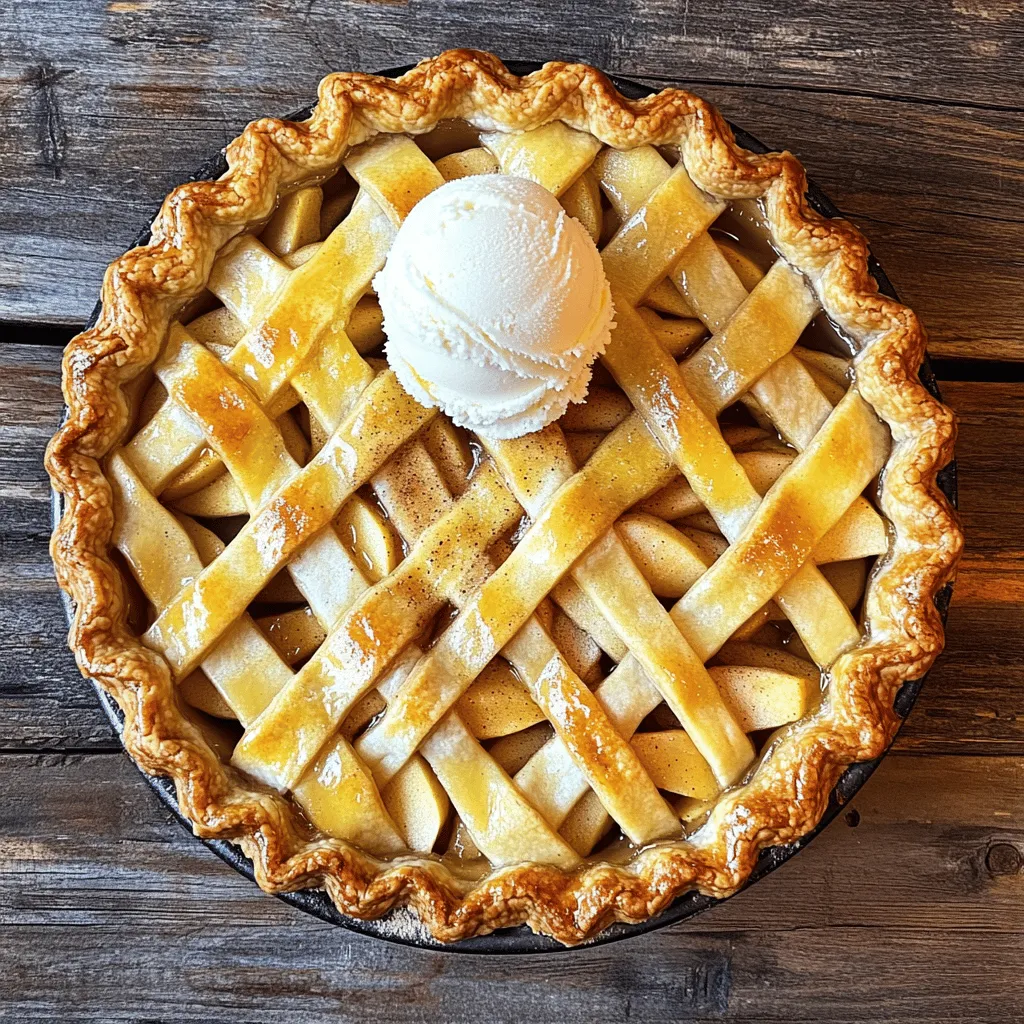
Are you ready to make the best apple pie? Classic Apple Pie: Irresistible Homemade Delight gives you every detail you need. I’ll show you how to use Granny Smith apples, simple spices, and tips for a perfect crust. From the first slice to the last crumb, this pie will impress your friends and family. Let’s get started on this delicious journey!
Ingredients
To make a classic apple pie, you need fresh and simple ingredients. Here’s what you will want to gather:
– 6 medium-sized Granny Smith apples, peeled, cored, and sliced
– ¾ cup granulated sugar
– ½ cup brown sugar, packed
– 2 tablespoons all-purpose flour
– 1 teaspoon ground cinnamon
– ¼ teaspoon ground nutmeg
– 1 tablespoon lemon juice
– 1 tablespoon unsalted butter, cut into small pieces
– 1 package (14 oz) pre-made pie crusts (2 crusts)
– 1 egg, beaten (for egg wash)
– Pinch of salt
Using Granny Smith apples gives a nice tart flavor that pairs perfectly with the sweet sugars. The mix of granulated and brown sugar enhances the pie’s taste and texture. Adding flour helps thicken the juices from the apples. Spice it up with cinnamon and nutmeg for a cozy feel.
Lemon juice brightens the flavors and keeps the apples fresh. The butter adds richness, making the pie even more delicious. A pinch of salt balances the sweetness. Finally, pre-made pie crusts save time while still giving you that homemade touch.
Step-by-Step Instructions
Preheating the Oven
– Preheat your oven to 425°F (220°C).
Preparing the Apple Filling
– Combine sliced apples with sugars, flour, spices, and lemon juice. Toss until coated.
This mixture gives your pie a sweet and tangy taste. I love using Granny Smith apples. They add a nice tartness. You can also mix in some sweeter apples. This balance enhances the flavor.
Assembling the Pie
– Fit one pie crust into the pie pan, fill with apple mixture, cover with second crust, and seal edges.
Press the bottom crust firmly. Pour in the apple filling, spreading it evenly. Dot small pieces of butter on top for richness. Place the second crust on top. Trim the edges and pinch them to seal. This step keeps the filling inside.
Baking Instructions
– Brush egg wash, make slits in the top crust, and bake for 45-50 minutes until golden.
The egg wash gives your crust a beautiful shine. The slits let steam escape, preventing sogginess. Watch for a golden crust. If the edges brown too fast, cover them with foil. Enjoy the sweet aroma filling your kitchen!
Tips & Tricks
Achieving the Perfect Crust
To get a flaky crust, use cold ingredients. Cold butter and water help keep the dough light. When you mix the dough, be gentle. Don’t overwork it. Overworking makes the crust tough. Instead, mix just until it comes together.
Perfecting the Apple Filling
Use a mix of tart and sweet apples. This gives the pie great flavor. Granny Smith apples are tart, while Honeycrisp adds sweetness. After mixing the apples with sugar and spices, let the filling rest. This allows the juices to mix. Pour the filling into the crust once it rests for a few minutes.
Baking and Cooling Tips
Watch the crust closely while baking. You want it golden brown before taking it out. This usually takes about 45 to 50 minutes. After baking, let the pie cool for at least 2 hours. This cooling time helps the filling set. If you cut it too soon, the filling may run out.
Variations
Alternative Ingredients
You can change the apples for your pie. Try Honeycrisp or Fuji apples. They add a sweet and tart taste. You can also mix types of apples for more depth. Another fun idea is to add cranberries or raisins. They bring a nice pop of flavor and a bit of color.
Flavor Enhancements
Think about adding a splash of vanilla or almond extract. These flavors make the pie smell amazing. You can also add a sprinkle of nutmeg or allspice. These spices give warmth and depth to your pie. Each small change can make your pie unique.
Crust Options
You have choices for your pie crust. A homemade crust is super tasty and flaky. It also allows you to control the ingredients. Store-bought crusts save time but can be just as good. You can also try a lattice top crust. It looks beautiful and lets steam escape while baking. Both options can make your classic apple pie shine.
Storage Info
Refrigeration Guidelines
After you bake your apple pie, let it cool down. Once it’s cool, cover it with plastic wrap or foil. Store leftovers in the fridge for up to 3-4 days. This keeps the pie fresh and tasty. I recommend enjoying it within this time for the best flavor.
Freezing Instructions
You can freeze your apple pie if you have extra. Here’s how:
– Unbaked Pie: Wrap it tightly in plastic wrap and then foil. This helps keep out air and prevents freezer burn. You can bake it straight from the freezer. Just add a few extra minutes to the cooking time.
– Baked Pie: Allow it to cool completely. Wrap it in plastic wrap and foil. This keeps the pie moist. It can last in the freezer for up to 3 months.
Reheating Tips
To enjoy your apple pie later, reheating is key:
– Oven Method: This is my favorite! Preheat your oven to 350°F (175°C). Place the pie on a baking sheet and heat for about 15-20 minutes. The crust will get nice and crisp again.
– Microwave Method: For a quick fix, use the microwave. Heat a slice for about 30-60 seconds. It won’t be as crispy, but it’s fast and easy.
Now you can savor your homemade apple pie whenever you want!
FAQs
How to prevent a soggy pie crust?
To avoid a soggy crust, try blind baking. This means pre-baking the crust before adding the filling. Place parchment paper in the crust, fill it with pie weights or dried beans, and bake for 10 minutes. Remove the weights and bake for another 5 minutes. Also, use a thicker filling. This helps absorb moisture. You will have a crispier bottom crust.
What apples are best for apple pie?
For a great apple pie, I recommend mixing apple types. Use Granny Smith for tartness and Honeycrisp for sweetness. Fuji apples are sweet and juicy, too. A mix gives you a nice flavor and good texture. You want apples that hold their shape when baked.
Can I make apple pie ahead of time?
Yes, you can make apple pie ahead of time! Store it in the fridge for up to two days before baking. You can also freeze the unbaked pie for up to three months. Wrap it well in plastic wrap and aluminum foil. When ready, bake it straight from the freezer, adding a few extra minutes to the bake time.
Is it necessary to peel the apples?
Peeling the apples is not a must, but it helps with texture. Peeling gives a smooth filling. Leaving the skin on adds color and nutrients. If you choose to keep the skin, wash it well. A mix of peeled and unpeeled apples can create a unique taste.
How do I know when the pie is done?
Your pie is done when the filling bubbles and the crust is golden brown. Check for a thick, shiny filling. You may also see some juices oozing through the slits in the top crust. Let it cool before slicing. This helps the filling set and makes serving easier.
You can make a great apple pie with just a few simple steps. Start with perfect Granny Smith apples for a mix of sweet and tart. Follow the guide to prepare your filling, assemble, and bake the pie. Remember to let it cool and rest for the best taste. You can even add your own twist with extra flavors or crust designs. With these tips, you can enjoy a delicious homemade pie that impresses everyone. Happy baking!