Are you ready to make delicious homemade fruit snacks that are both tasty and healthy? In this guide, I’ll share easy recipes and tips that everyone can follow. You’ll learn what ingredients to use, how to prepare them, and even ways to customize flavors. Say goodbye to store-bought snacks filled with sugar and additives. Let’s dive into crafting your own fruity delights that you and your kids will love!
Ingredients
List of Ingredients for Homemade Fruit Snacks
To make these tasty homemade fruit snacks, gather these simple ingredients:
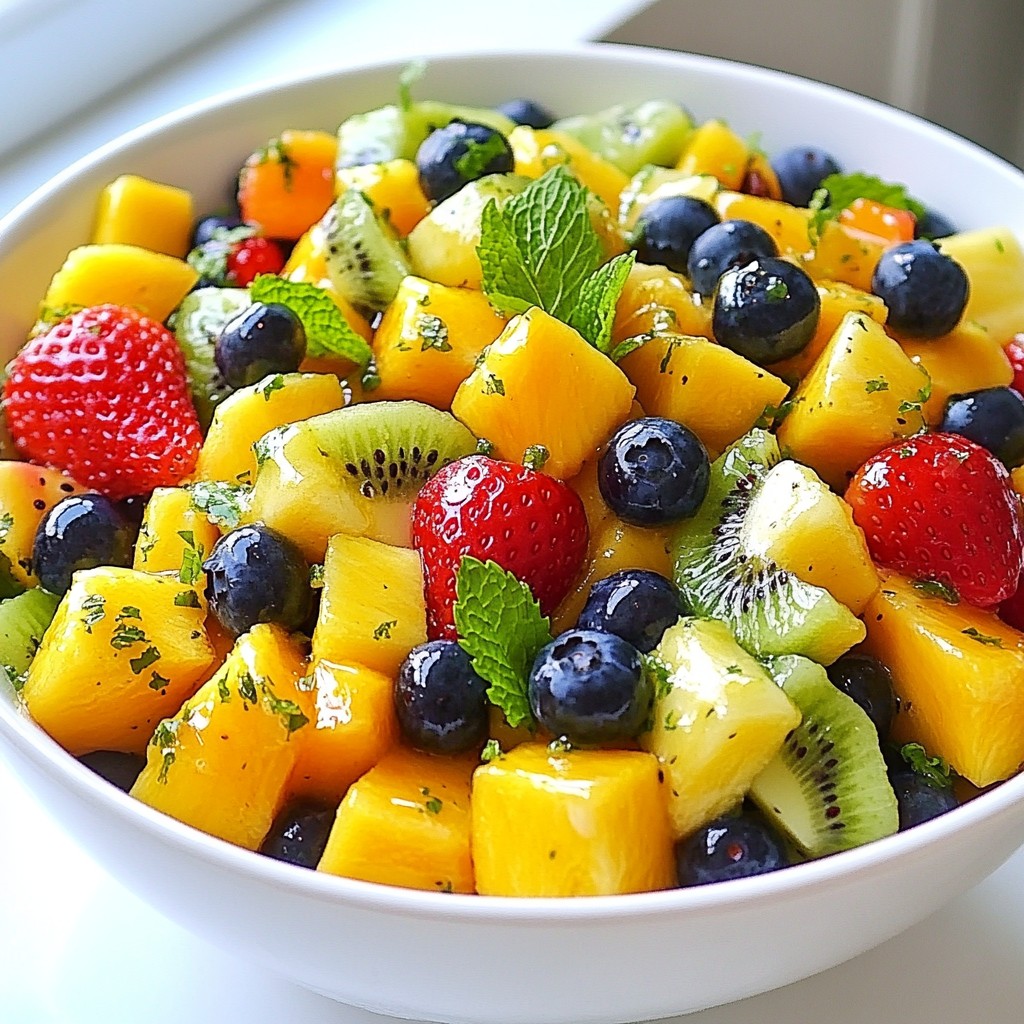
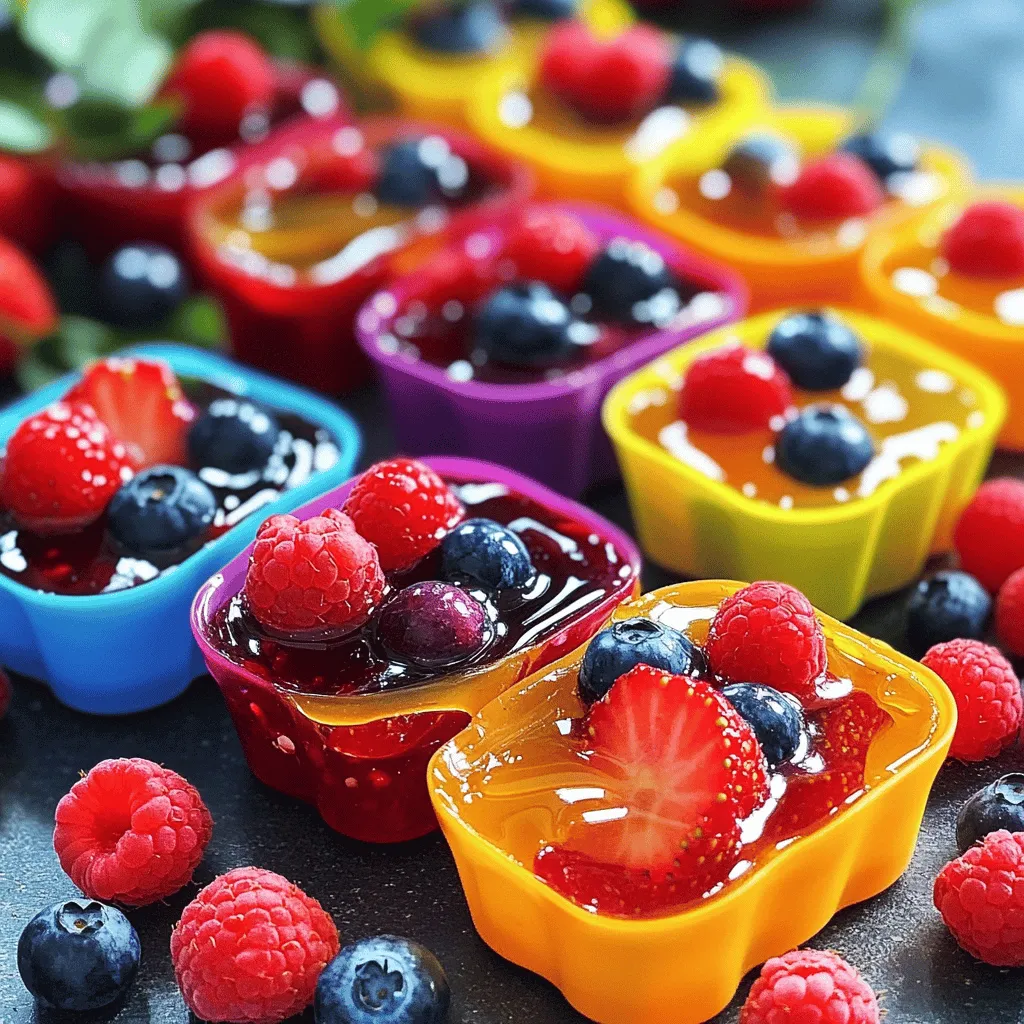
– 2 cups mixed berries (strawberries, blueberries, raspberries), fresh or frozen
– 1/4 cup honey or maple syrup (adjust based on sweetness preference)
– 1 tablespoon lemon juice
– 2 teaspoons gelatin or agar-agar for a vegan option
– 1/4 cup water
– A pinch of salt
Suggested Substitute Ingredients
You can easily swap out some items if needed:
– Use any other fruit you love, like mangoes or peaches.
– Agave syrup can replace honey or maple syrup for a vegan choice.
– Lime juice can replace lemon juice for a different flavor.
– Use pectin instead of gelatin if you want a fruitier texture.
Nutritional Information per Serving
Each serving of these fruit snacks offers a healthy treat:
– Calories: 45
– Total Fat: 0.5g
– Carbohydrates: 10g
– Sugars: 6g
– Protein: 1g
These numbers may vary based on ingredients and portion sizes. Enjoy these healthy snacks as a fun way to get your fruit!
Step-by-Step Instructions
Preparation Steps for Chewy Berry Bliss Fruit Snacks
Start by gathering your ingredients. You need mixed berries, honey, lemon juice, gelatin, water, and a pinch of salt. If you use fresh berries, wash them well. For frozen berries, let them thaw for about 10 minutes. This helps them blend smoothly.
Next, take a medium saucepan. Combine the mixed berries, honey or maple syrup, lemon juice, and a pinch of salt. This mix adds a sweet and tangy flavor. Cook over medium heat for about 5 to 7 minutes. Stir often until the berries soften and release their juices.
Cooking Instructions for Perfect Texture
Once the berries are soft, remove the saucepan from heat. Use an immersion blender to puree the mixture until it’s smooth. If you don’t have one, transfer the mix to a regular blender. After blending, return it to the saucepan.
Now, in a small bowl, mix the gelatin with 1/4 cup of cold water. Let it sit for a few minutes until it blooms. This step is key for the right texture. Add the bloomed gelatin to the berry puree. Stir until it dissolves completely. If you use agar-agar instead, simmer it for an extra 2 to 3 minutes while stirring.
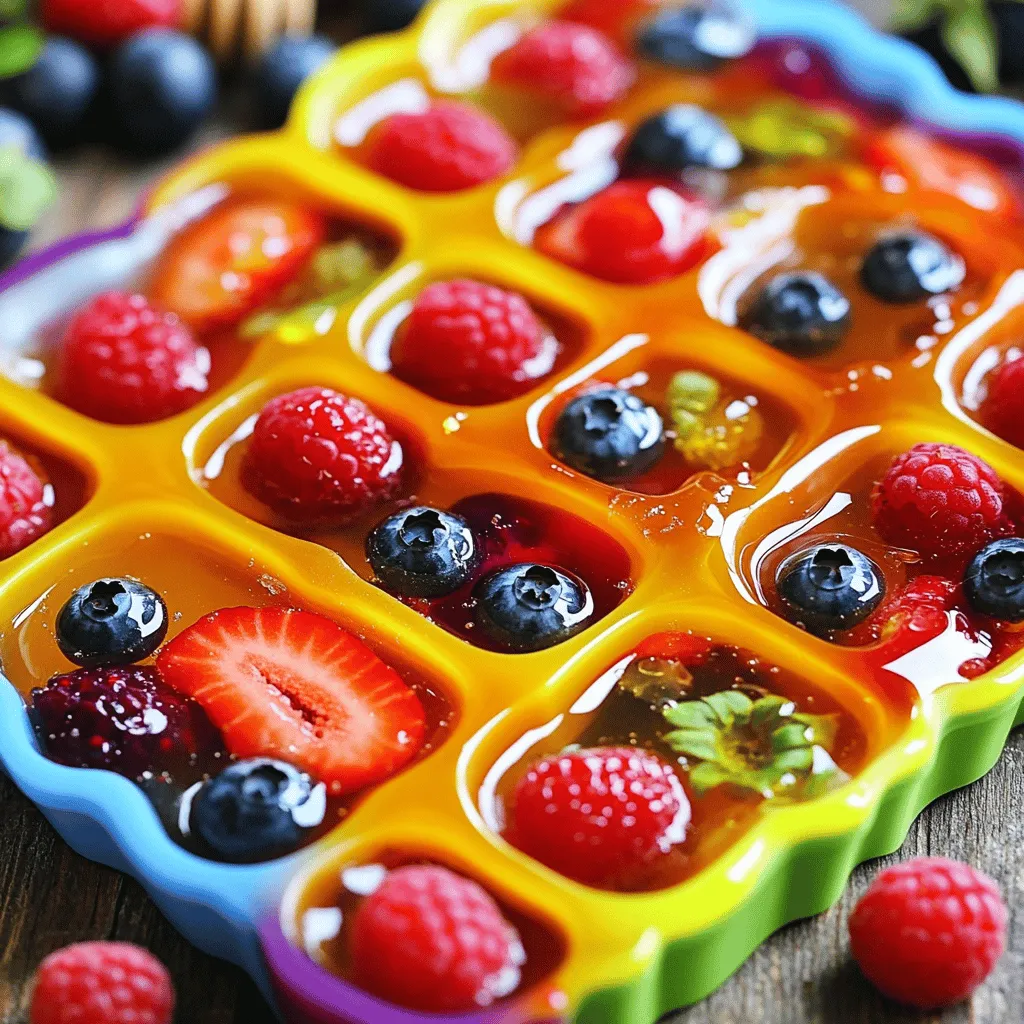
Pour your mixture into silicone molds or a parchment-lined baking dish. Spread it evenly so all snacks are the same size. Place the molds or dish in the refrigerator for at least 2 hours. This time helps the snacks set perfectly.
Tips for Blending and Gelling
To get the best puree, make sure to blend the berries until smooth. If there are lumps, the texture will not be nice. For gelling, the gelatin needs to dissolve fully. This ensures the fruit snacks hold their shape. If you see any bubbles, continue stirring.
Once the snacks are set, if you used a dish, cut them into squares. If you used molds, gently remove the fruit snacks. Enjoy them fresh or store them. You can keep them in an airtight container in the fridge for up to a week. For longer storage, freeze them. This way, you always have a tasty treat on hand!
Tips & Tricks
Expert Tips for Making the Best Fruit Snacks
To make the best fruit snacks, start with ripe, fresh fruits. They add flavor and sweetness. If you use frozen fruit, thaw it fully. This helps the fruit blend better. Always taste your mix before it sets. You can adjust sweetness or acidity. Use a good-quality blender for a smooth texture. Blend until you can’t see any chunks.
Sugar Alternatives for Healthier Options
If you want to cut sugar, try using banana puree or applesauce. These options add natural sweetness. You can also use agave syrup or stevia. Both are great for lowering sugar content. Remember to adjust the amount based on your taste. Each sweetener has a different level of sweetness.
How to Customize Flavor Profiles
Customizing flavors is easy. You can mix different berries or even add mango or peach. Try adding herbs like mint or basil for a fresh twist. Citrus zest, like lemon or lime, adds brightness. You could even add spices such as cinnamon or ginger for a warm flavor. Experimenting helps you find your favorite mix. Enjoy creating your own unique fruit snacks!
Variations
Fruit Combinations to Try
Mixing fruits can create fun flavors. Try these combos for your fruit snacks:
– Strawberries and bananas
– Pineapple and mango
– Blueberries and kiwi
– Apples and peaches
Each mix adds a unique taste. You can even blend different colors for a vibrant snack.
Vegan Options for Homemade Fruit Snacks
Want vegan fruit snacks? You can use agar-agar instead of gelatin. Agar-agar is a plant-based thickener. It works well without changing the taste. You can also use maple syrup for sweetness. This keeps your snacks vegan-friendly and delicious.
Add-ins for Extra Nutrition
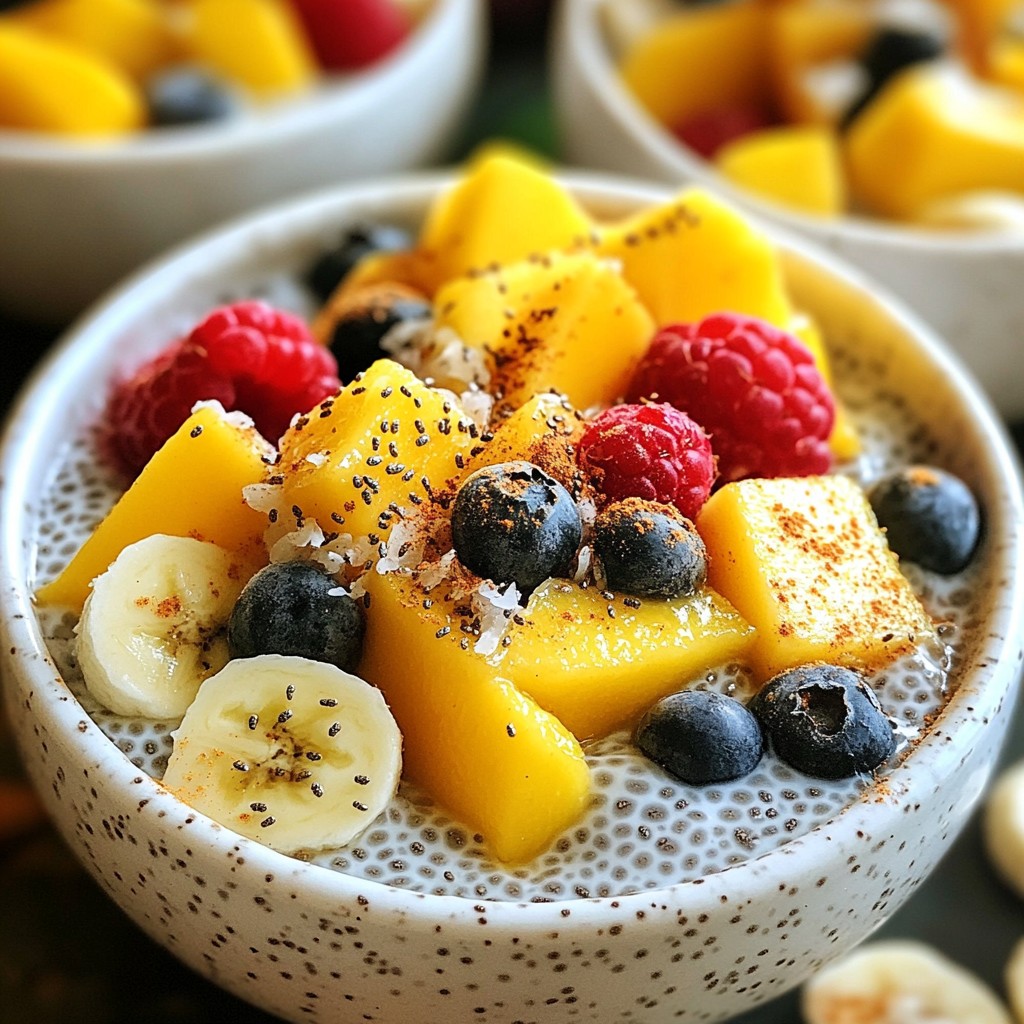
Boost your fruit snacks’ nutrition with some add-ins:
– Chia seeds: These tiny seeds add fiber and protein.
– Spinach: A handful of spinach gives green color and iron.
– Flaxseed: Ground flaxseed adds omega-3s and fiber.
These add-ins are easy to mix in. They make your snacks healthier without losing flavor.
Storage Info
Best Practices for Storing Fruit Snacks
To keep your fruit snacks fresh, store them in an airtight container. This helps keep out air and moisture. Placing wax paper between layers can prevent them from sticking together. You can also use silicone molds for easy storage. Just pop out the snacks and keep them in a container.
Freezing and Thawing Instructions
You can freeze your fruit snacks for longer storage. Place them in a freezer-safe bag or container. Make sure to remove as much air as possible. When you want a snack, take out only what you need. Let them thaw at room temperature for about 30 minutes. If you are in a hurry, you can eat them slightly frozen!
Shelf Life and Signs of Spoilage
Homemade fruit snacks last about one week in the fridge. If you freeze them, they can last up to three months. Always check for signs of spoilage. If you see mold or a strange smell, it’s best to throw them away. Fresh snacks should look vibrant and smell fruity. For the best taste, eat them while they are still fresh!
FAQs
Can I use different fruits in this recipe?
Yes, you can! Feel free to swap the mixed berries for other fruits. Bananas, mangoes, and apples work great. Just remember to adjust the sweetness if needed. You can mix and match fruits to create your own flavors. Each fruit brings unique taste and nutrients. Experimenting keeps things fun and tasty!
How to avoid using gelatin in my fruit snacks?
If you want to skip gelatin, use agar-agar instead. This plant-based option is a great substitute. It gives a similar texture in your snacks. Just make sure to follow the instructions for agar-agar carefully. You will need to simmer it a bit longer to activate it. This way, you can enjoy your fruit snacks without animal products!
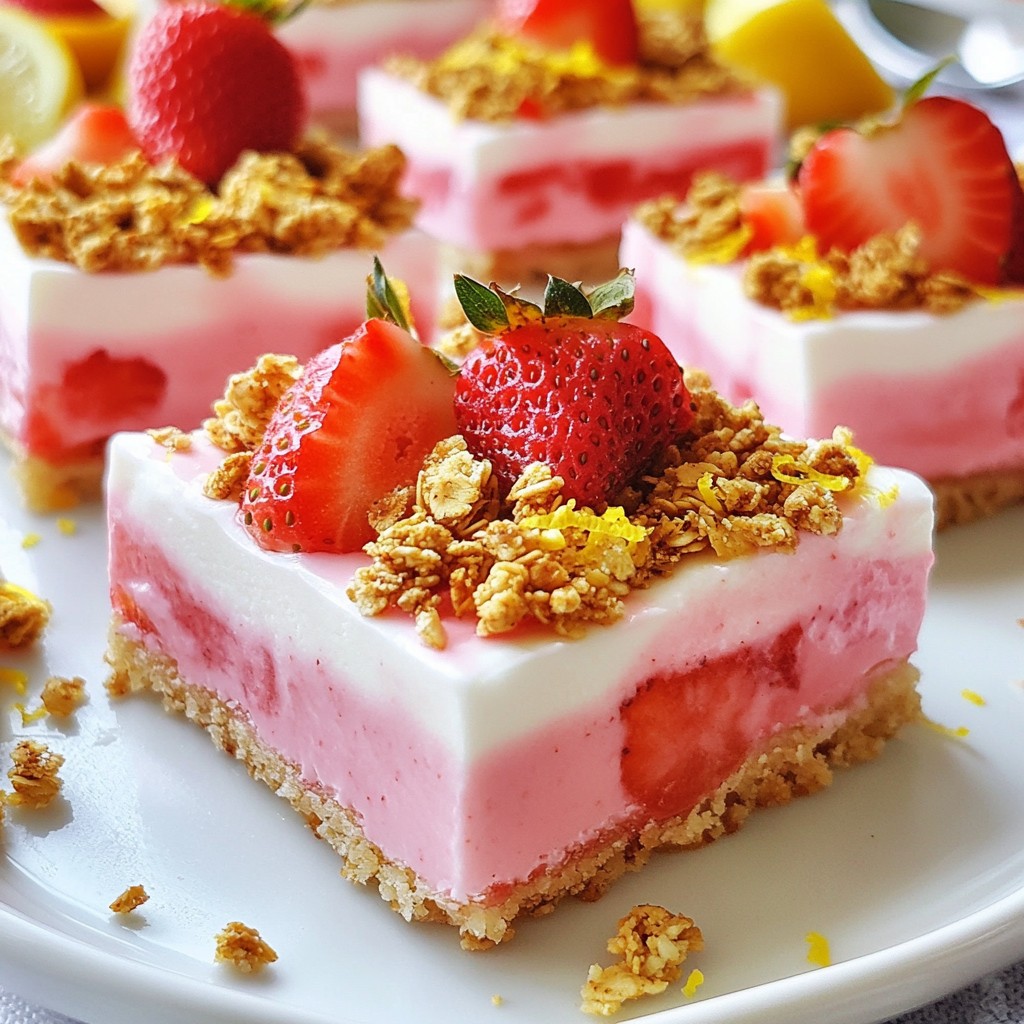
What is the best way to serve homemade fruit snacks?
Homemade fruit snacks are best served chilled. You can cut them into fun shapes or squares. They make a great snack for kids and adults. Serve them at parties or as a healthy treat for lunchboxes. You can also pair them with yogurt or nut butter for added flavor. Enjoy them fresh for a burst of fruity goodness!
You learned how to make homemade fruit snacks step by step. We covered ingredients, cooking tips, and storage info. By using simple fruits and substitutes, you can create tasty treats for everyone. Remember to customize flavors or add healthy extras. With these tips, you’ll make delightful, chewy snacks to enjoy anytime. I hope you feel inspired to try making your own today!