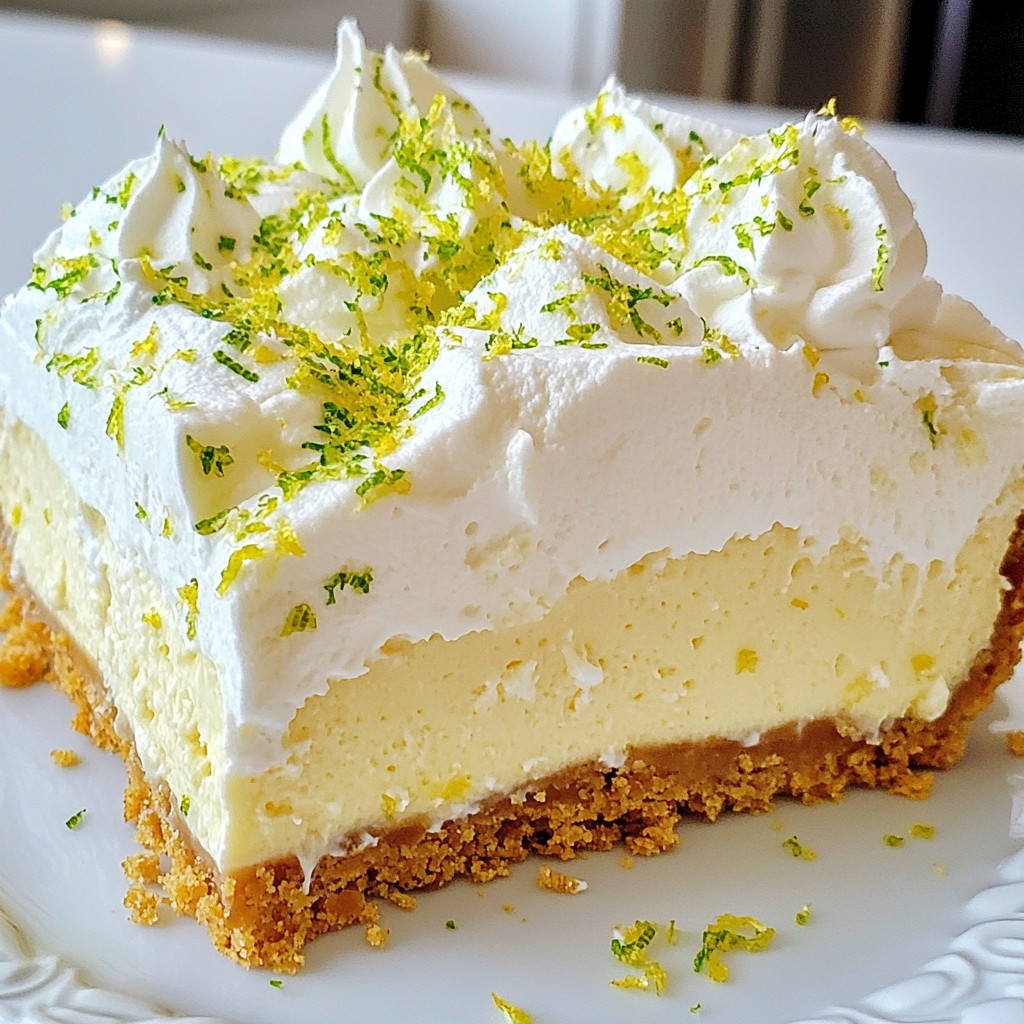
If you love the bright, tangy taste of key lime pie, you’re in for a treat! This Key Lime Pie Cheesecake combines the best of both worlds in a luscious, creamy dessert. I’ll share a simple, step-by-step recipe that makes it easy to impress family and friends. Get ready to dive into a delightful mix of flavors and textures that will make your taste buds dance! Let's get started!
Why I Love This Recipe
- Deliciously Tangy: The combination of key lime juice and zest brings a refreshing tartness that perfectly balances the creamy cheesecake, making every bite a delightful experience.
- Perfect for Any Occasion: This cheesecake is a showstopper, ideal for holidays, parties, or simply a treat at home, impressing guests with its elegant look and taste.
- Creamy Texture: The addition of sour cream ensures that the cheesecake filling is rich and smooth, providing a luxurious mouthfeel that melts in your mouth.
- Easy to Make: With straightforward steps and common ingredients, this recipe makes it accessible for bakers of all skill levels to create a stunning dessert.
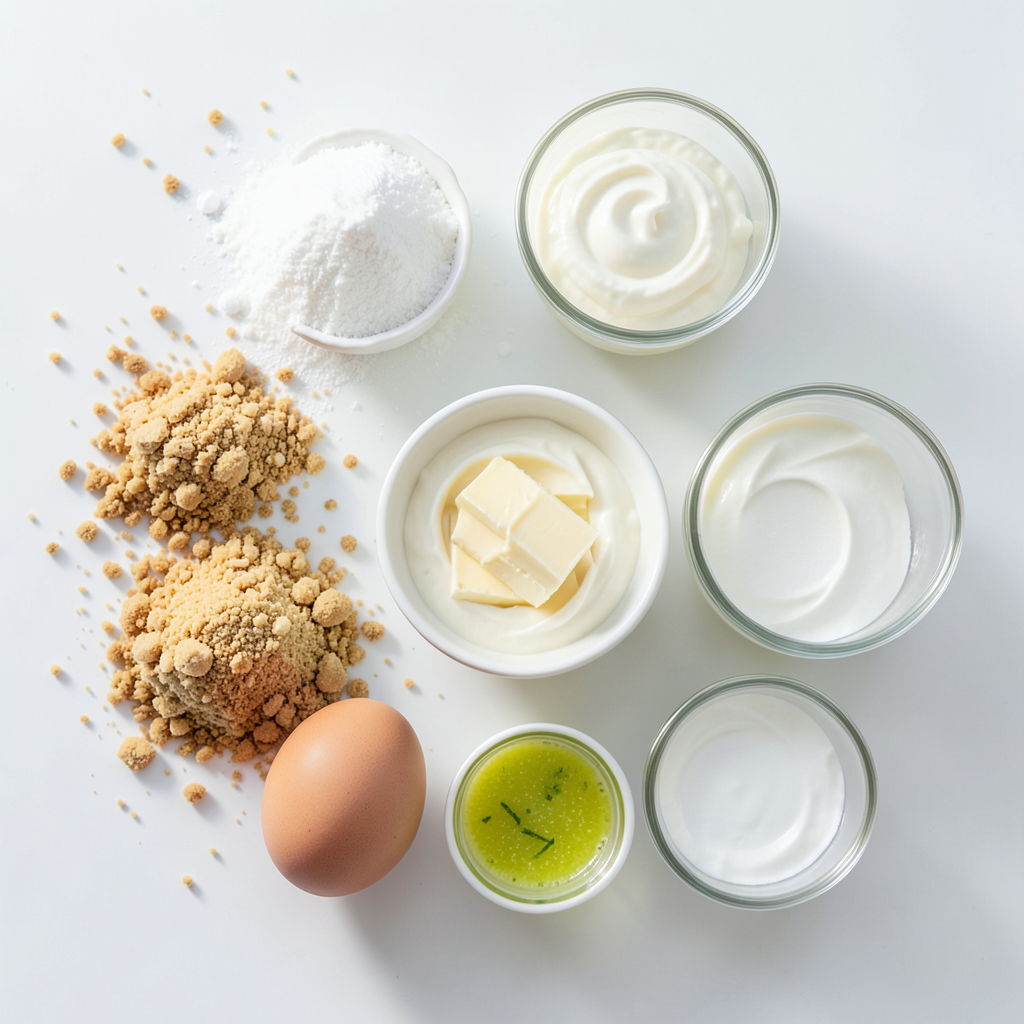
Ingredients
Crust Ingredients
- 1 cup graham cracker crumbs
- 1/4 cup granulated sugar
- 1/2 cup unsalted butter, melted
For the crust, I use graham cracker crumbs. They give a nice crunch. I mix these crumbs with granulated sugar and melted butter. This makes a sweet and buttery base.
Cheesecake Filling Ingredients
- 16 oz cream cheese, softened
- 1 cup granulated sugar
- 1/2 cup sour cream
- 1/4 cup key lime juice (freshly squeezed)
- Zest of 2 key limes
- 3 large eggs
For the filling, I start with cream cheese. It needs to be soft for easy mixing. I add granulated sugar for sweetness. Sour cream adds a nice tang. Fresh key lime juice gives it that zing. The lime zest adds extra flavor and aroma. I mix in eggs one by one to keep it smooth.
Topping Ingredients
- 1 cup heavy whipping cream
- 2 tablespoons powdered sugar
- Additional key lime zest for garnish
For the topping, I whip heavy cream with powdered sugar. This makes a light and fluffy layer. I garnish with extra lime zest for a bright look and taste.
Step-by-Step Instructions
Preparing the Crust
1. Preheating the oven: Start by preheating your oven to 325°F (160°C). This step is key for the crust and filling.
2. Combining crust ingredients: In a mixing bowl, add 1 cup of graham cracker crumbs, 1/4 cup of granulated sugar, and 1/2 cup of melted unsalted butter. Mix it well until all crumbs are coated.
3. Pressing into the springform pan: Take the crumb mixture and press it firmly into the bottom of a 9-inch springform pan. Create an even layer. Bake this for 10 minutes. Let it cool slightly while you make the filling.
Making the Cheesecake Filling
1. Beating cream cheese until smooth: In a large bowl, use an electric mixer to beat 16 oz of softened cream cheese. Mix until it is smooth and free of lumps.
2. Adding sugar, sour cream, and lime: Gradually add 1 cup of granulated sugar, 1/2 cup of sour cream, and 1/4 cup of freshly squeezed key lime juice. Also, add the zest from 2 key limes. Mix until everything is combined well.
3. Incorporating eggs properly: Add 3 large eggs one at a time. Mix on low speed just until each egg is blended in. Remember, do not overmix, or your cheesecake will not be as smooth.
Baking and Cooling the Cheesecake
1. Pouring filling over crust: Once your filling is ready, pour it over the cooled crust. Use a spatula to spread it evenly.
2. Baking time and temperature: Place the cheesecake in the oven and bake for 55-60 minutes. The center should be set but still slightly jiggly.
3. Cooling and refrigerating process: After baking, let the cheesecake cool at room temperature for 1 hour. Then, refrigerate it for at least 4 hours, but overnight is best for flavor.
Tips & Tricks
Ensuring Perfect Texture
To get the best texture in your cheesecake, avoid overmixing. Overmixing adds too much air, leading to cracks. Mix just until smooth. This keeps your cheesecake creamy and dense.
Using room temperature ingredients is key. Cold cream cheese and eggs can make it hard to mix. Let them sit out for about 30 minutes before you start. This simple step helps the filling blend evenly.
Best Practices for Baking
Checking for doneness is important. Look for a slight jiggle in the center. If it looks too set, it may be overbaked. The cheesecake will firm up as it cools.
Let the cheesecake cool down slowly. After baking, let it sit at room temperature for an hour. Then, refrigerate it for at least four hours. Overnight is best for flavor and texture.
Serving Suggestions
For garnishes, I love using extra key lime zest. It adds a burst of color and flavor. Whipped cream is also a great topping. It adds a light touch that balances the tartness.
When pairing beverages, try iced tea or sparkling water. These drinks refresh your palate. If you prefer something stronger, a light cocktail works too. Enjoy your cheesecake with friends and family for a fun treat!
Pro Tips
- Use Fresh Key Limes: For the best flavor, always opt for fresh key limes instead of bottled juice. The fresh zest and juice really enhance the cheesecake's taste.
- Prevent Cracking: To prevent cracks in your cheesecake, avoid overmixing the batter and ensure the oven temperature is correct. Baking in a water bath can also help keep it moist.
- Cool Gradually: After baking, let the cheesecake cool at room temperature before refrigerating. This gradual cooling helps prevent sudden temperature changes that can cause cracking.
- Chill Overnight: For the best texture and flavor, refrigerate the cheesecake overnight. This allows it to set properly and develop a richer taste.
Variations
Flavor Alterations
You can add fun flavors to your Key Lime Pie Cheesecake. Here are some ideas:
- Adding fruit toppings: Fresh berries, like strawberries or blueberries, add color and taste. You can also use mango or kiwi for a tropical twist. Just slice the fruit and place it on top of the whipped cream.
- Different crust options: Change the crust to an Oreo crust for a rich, chocolatey taste. Just crush the Oreos and mix them with melted butter, then press them into the pan like you do with graham crackers.
Dietary Modifications
You can make this cheesecake fit different diets:
- Gluten-free crust alternatives: Use gluten-free graham cracker crumbs or ground almonds. They work well and taste great.
- Vegan substitutes: Swap cream cheese for a vegan cream cheese. Use coconut cream instead of heavy cream. For eggs, you can use flaxseed meal mixed with water as a binder.
Mini Cheesecake Options
Making mini cheesecakes is easy and fun:
- Making individual servings: Use a muffin tin to create mini cheesecakes. Just line the cups with paper liners and follow the same steps. Bake for about 20-25 minutes.
- Adjusting baking time: Mini cheesecakes bake faster. Keep an eye on them. They should be set but still a bit wobbly in the center when done.
Storage Info
Refrigeration Guidelines
Store your Key Lime Pie Cheesecake in the fridge. Use a tight lid or plastic wrap. This keeps it fresh and tasty. The cheesecake lasts for about 5 to 7 days. Check for any changes in smell or texture before serving.
Freezing Instructions
You can freeze your cheesecake for later. Wrap it well in plastic wrap and then foil. This helps prevent freezer burn. It stays good in the freezer for about 2 to 3 months. To thaw, move it to the fridge for several hours or overnight.
Reheating Advice
If you want to enjoy your cheesecake warm, reheat it gently. Use the oven set at 250°F (120°C) for about 10 to 15 minutes. This warms it without cooking it more. You can also enjoy it cold straight from the fridge, which is just as delicious!
FAQs
What is Key Lime Cheesecake?
Key lime cheesecake combines creamy cheesecake with a zesty lime flavor. The key limes give it a bright, tart taste. You will enjoy the smooth texture and the sweet crust. The balance of sweet and tart makes it special. The fresh lime juice adds a refreshing twist. This dessert is perfect for warm days or special occasions.
Can I use regular limes instead of key limes?
Yes, you can use regular limes, but the flavor will change. Key limes are smaller and have a more intense taste. They also have a unique aroma that regular limes lack. If you use regular limes, the cheesecake may taste less tangy. The color may also be different. For the best results, stick with key limes if you can.
How do I know when the cheesecake is done?
Watch for a few signs to know if the cheesecake is ready. The center should be set but still slightly jiggly. This means it will firm up as it cools. The edges should look lightly browned. If you insert a toothpick, it should come out clean, but not dry. Let it cool at room temperature before chilling for the best texture.
Can I make this recipe ahead of time?
Yes, you can make this cheesecake ahead of time! It stores well in the fridge. You can bake it a day before your event for convenience. Just make sure to let it cool fully. Chill it for at least four hours, or overnight for best flavor. Top it with whipped cream just before serving for freshness.
This blog post covered how to make a delicious Key Lime Cheesecake. We explored the ingredients needed for the crust, filling, and topping. I shared step-by-step instructions, tips for the perfect texture, and variations to suit your taste.
In closing, making cheesecake can be fun and easy. With the right elements, you can create a treat everyone will love. Enjoy your baking journey and savor each bite of your cheesecake masterpiece!