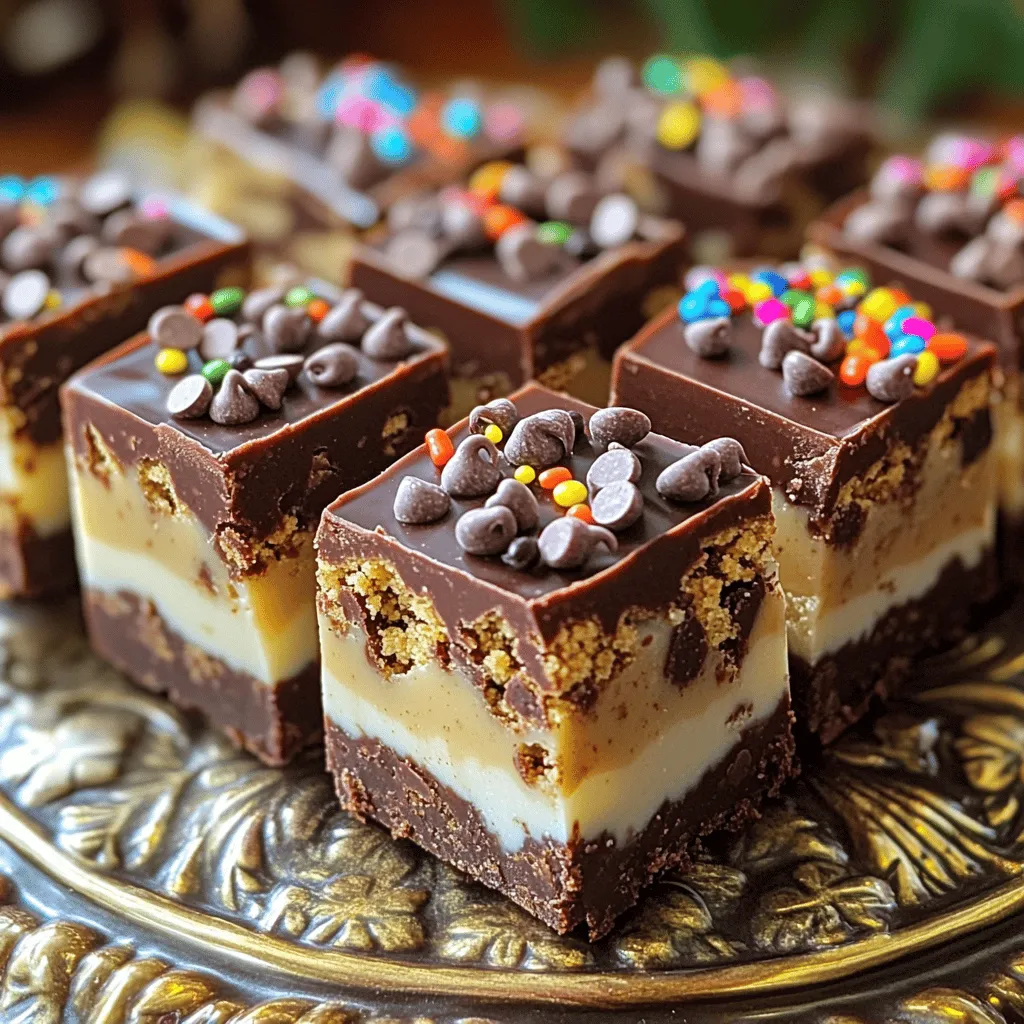
Get ready to satisfy your sweet tooth with my Milk and Cookies Fudge! This delightful recipe blends the classic flavors of milk and cookies into a smooth, creamy fudge. It’s simple to make and requires just a few ingredients you likely have at home. Perfect for parties or as a tasty treat, you won’t want to miss this easy step-by-step guide. Let’s dive into making this delicious dessert!
Ingredients
Required Ingredients
– 1 cup sweetened condensed milk
– 2 cups semi-sweet chocolate chips
– 1 cup crushed cookies (like Oreos or chocolate chip cookies)
– 1/2 cup milk chocolate chips for topping
– 1/2 teaspoon vanilla extract
– Pinch of salt
– Optional: Sprinkles or additional cookie pieces for garnish
In this recipe, you will need sweetened condensed milk as your base. It gives the fudge a rich and creamy texture. Next, grab semi-sweet chocolate chips. They melt well and add a deep chocolate flavor.
You also want to use crushed cookies for that fun milk and cookies taste. Oreos or chocolate chip cookies work best. For the topping, you can use milk chocolate chips to add a sweet finish.
Don’t forget vanilla extract! It enhances the flavor of the fudge. A pinch of salt balances the sweetness. Finally, if you like, add sprinkles or extra cookie pieces on top for a fun touch.
This mix of ingredients creates a tasty treat that’s easy to make.
Step-by-Step Instructions
Preparation of Pan
– Line the baking pan with parchment paper.
– Lightly spray with non-stick spray.
Start by taking an 8×8 inch baking pan. This size works well for our fudge. Using parchment paper helps with easy removal later. Leave some paper hanging over the edges. This makes lifting the fudge out simple. A quick spray of non-stick spray ensures the fudge won’t stick to the paper.
Melting the Chocolate
– Combine sweetened condensed milk and chocolate chips.
– Stir continuously until smooth.
In a medium saucepan, mix sweetened condensed milk and semi-sweet chocolate chips. Heat over low to medium heat. Stir the mixture often. This prevents the chocolate from burning. Keep stirring until the mixture is smooth and creamy. This process takes about 5 to 7 minutes.
Incorporating Flavors
– Add vanilla extract and crushed cookies.
– Mix until cookies are evenly distributed.
Once the chocolate is smooth, take it off the heat. Stir in a half teaspoon of vanilla extract. Then, add in the crushed cookies. Mix well until you see cookie bits spread throughout. This makes the fudge extra tasty and fun.
Transferring to the Pan
– Pour the fudge mixture into the prepared pan.
– Tap gently to remove air bubbles.
Pour the fudge mixture into your lined baking pan. Use a spatula to spread it evenly. After that, gently tap the pan on the counter. This step helps to get rid of any trapped air bubbles.
Adding Toppings
– Sprinkle milk chocolate chips on top.
– Optionally add crushed cookies or sprinkles.
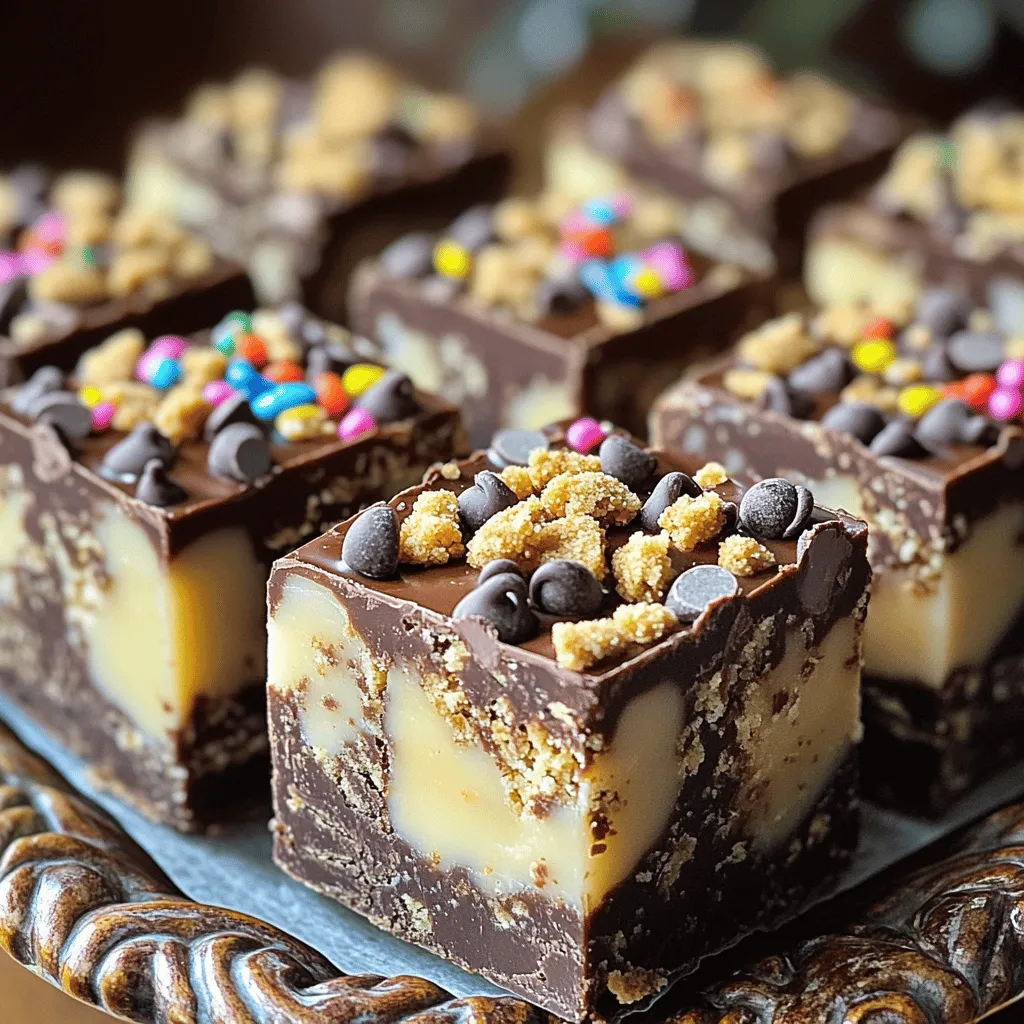
Now it’s time to make it even better! Sprinkle milk chocolate chips over the top. If you want, add more crushed cookies or colorful sprinkles. This adds a nice touch and makes it look great.
Chilling and Serving
– Chill fudge for at least 2 hours.
– Lift out of pan and slice into squares.
Place the fudge in the fridge for at least two hours. This helps it set properly. Once it’s firm, use the parchment paper to lift it out. Cut it into small squares. Each piece is a perfect treat!
Tips & Tricks
Perfecting the Texture
To get a smooth fudge, you must melt everything slowly. Use low heat when you melt the sweetened condensed milk and chocolate chips. Stir continuously. This keeps the chocolate from burning. If you rush, your fudge might turn grainy.
Enhancing Flavor
Mix-ins can make your fudge even better. Try adding mini marshmallows or crushed nuts. You can also use different kinds of cookies. Chocolate chip cookies and Oreos work great. Choose cookies you enjoy. The more you love them, the better your fudge will taste.
Presentation Tips
For serving, cut the fudge into neat squares. Place them on a colorful platter. You can also use small paper cups for individual servings. This looks cute and makes sharing easy. For gifts, package the fudge in clear bags tied with ribbons. It adds a nice touch and makes it special.
Variations
Flavor Variations
You can switch up your milk and cookies fudge easily. Try using different cookies like:
– Oreos
– Chocolate chip cookies
– Peanut butter cookies
Each cookie brings its own taste. You can also change the chocolate. Use dark chocolate for a rich flavor or white chocolate for a sweeter treat. Mixing different chocolates creates a fun twist!
Dietary Variations
For those with special diets, you can still enjoy this fudge. To make it gluten-free, use gluten-free cookies. Brands like gluten-free Oreos work well.
If you’re vegan, replace the sweetened condensed milk with coconut milk and use dairy-free chocolate chips. This way, everyone can enjoy it!
Seasonal Variations
You can adapt the fudge for different seasons! For winter, add festive spices like cinnamon or nutmeg. You can also mix in crushed peppermint for a holiday treat.
In the summer, try adding fresh fruits like chopped strawberries or raspberries. They add a fresh taste and fun color. You can explore these variations to make your fudge even more exciting!
Storage Info
Proper Storage Techniques
To keep your fudge fresh, store it in an airtight container. You can refrigerate or freeze it.
– Refrigerating: Wrap the fudge tightly in plastic wrap. Place it in a container. This keeps moisture out.
– Freezing: Cut the fudge into squares. Wrap each piece in plastic wrap, then place them in a freezer bag. This helps keep the fudge from sticking together.
These methods will help maintain the fudge’s creamy texture.
Shelf Life
When stored properly, fudge lasts for about two weeks in the fridge. In the freezer, it can last up to three months.
Watch for signs of spoilage. If the fudge starts to look dry or hard, it may not taste good. If you see mold, throw it away. Always trust your senses. If it smells off, it’s best to discard it.
For the best taste, enjoy your Milk and Cookies Fudge within two weeks.
FAQs
How do I know when the fudge is set?
You can tell when the fudge is set by looking at its surface. A good sign is when it appears firm and does not stick to your fingers. You can also gently press the fudge. If it feels solid with a slight give, it is ready. The edges should look slightly pulled away from the pan. This usually takes about two hours in the fridge.
Can I use different types of milk?
Yes, you can use different types of milk for this recipe. Almond milk or oat milk works well as substitutes. Just make sure they are unsweetened to keep the fudge from being too sweet. Whole milk can also be used if you prefer a creamier fudge. Each type will give a unique taste.
What are some common mistakes to avoid?
Some common mistakes to avoid include:
– Not stirring enough while melting the chocolate. This can cause it to burn.
– Adding cookies too early; they should go in after the chocolate melts.
– Not letting the fudge chill long enough, which leads to a soft texture.
– Skipping the parchment paper. This makes it hard to remove the fudge later.
Can I double the recipe?
Yes, you can double the recipe! Just use a larger baking pan, like a 9×13 inch pan. Increase the cooking time slightly, as a thicker layer of fudge may take longer to set. Keep an eye on it while it chills to ensure it sets properly.
Is Milk and Cookies Fudge safe for kids?
Milk and Cookies Fudge is generally safe for kids. However, check for common allergens. Some cookies contain nuts or gluten. Ensure any milk substitutes used are safe for your child. Always supervise young kids while they enjoy sweets to avoid choking hazards.
Making Milk and Cookies Fudge is fun and easy. You learned about the key ingredients and step-by-step instructions. I shared tips for perfecting texture and enhancing flavor. Variations let you try new tastes and adapt for diets. Proper storage helps keep your fudge fresh.
Now, you’re ready to create a tasty treat! Enjoy sharing your fudge with friends and family. Feel free to experiment and make it your own. Dive into your fudge-making adventure!