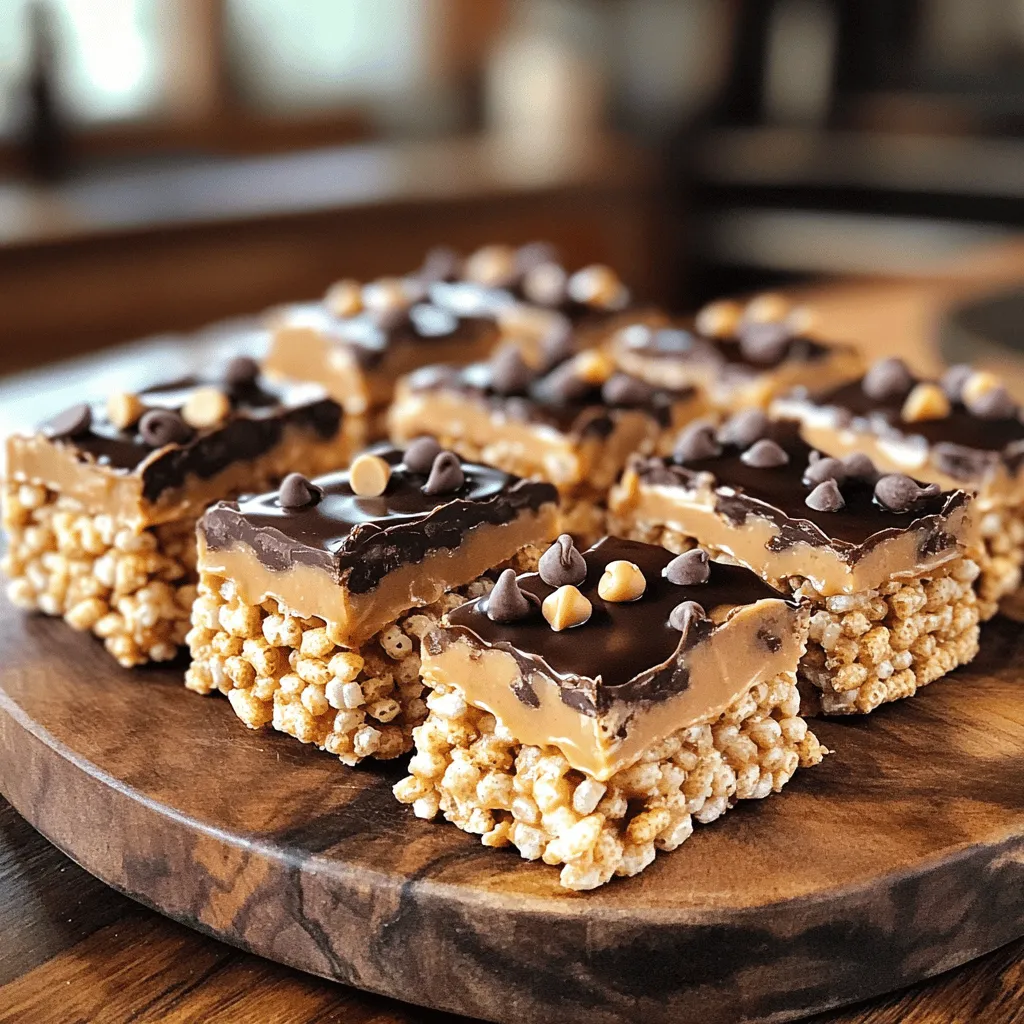
If you love tasty treats and easy recipes, you’re in for a delight! No Bake Chex Peanut Butter Bars are fun to make and enjoy. With simple ingredients and no oven needed, you can whip these up in no time. Plus, I’ll share tips and tricks to make them just right. Let’s dive into this sweet adventure that everyone will love! Your new favorite snack is just a recipe away!
Ingredients
List of Ingredients
To make these tasty No Bake Chex Peanut Butter Bars, you need:
– 3 cups rice Chex cereal
– 1 cup creamy peanut butter
– 1/2 cup honey or maple syrup
– 1/2 cup powdered sugar
– 1/2 cup mini chocolate chips (plus extra for topping)
– 1 teaspoon vanilla extract
– A pinch of salt
Alternative Sweeteners
If you want to change the sweetness, try these options:
– Agave syrup for a lower glycemic index.
– Coconut sugar for a more natural taste.
– Brown rice syrup for a unique flavor.
All these sweeteners work well. Just keep the same amount as honey.
Suggested Toppings
Toppings can take your bars to the next level. Here are some fun ideas:
– Drizzle melted chocolate for a rich finish.
– Sprinkle crushed nuts for crunch.
– Add dried fruit for a fruity twist.
Mix and match to find your favorite topping! Explore these options to make your bars unique and delicious.
Step-by-Step Instructions
Preparation Overview
To make No Bake Chex Peanut Butter Bars, gather your ingredients first. You will need rice Chex cereal, creamy peanut butter, honey or maple syrup, powdered sugar, mini chocolate chips, vanilla extract, and a pinch of salt. This mix gives the bars their sweet and crunchy texture.
Melting the Peanut Butter Mixture
Next, melt the peanut butter and honey. Use a medium saucepan on low heat. Stir them constantly until they blend together smoothly. This step is crucial. If you let it get too hot, it can burn. Once melted, add the vanilla extract and powdered sugar. Stir until the mixture is smooth and creamy.
Combining with Chex Cereal
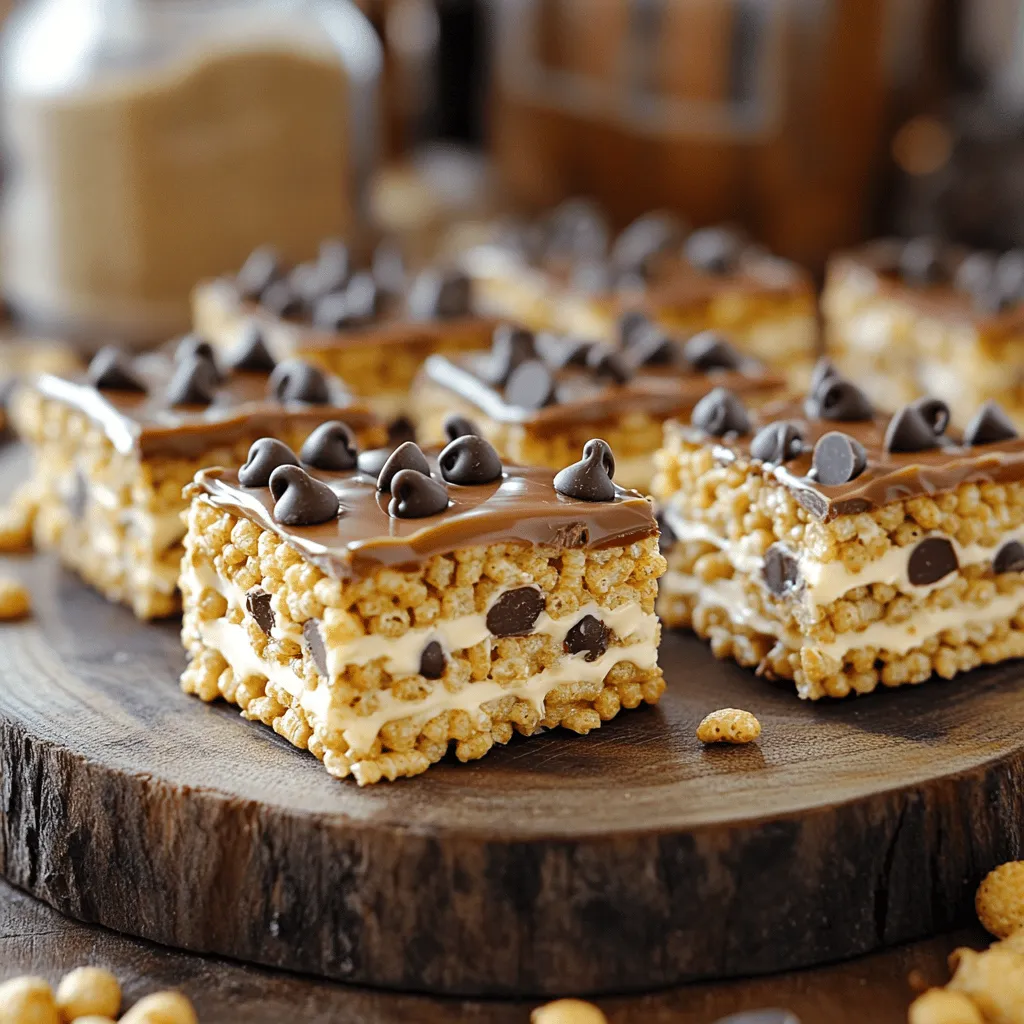
Now, it’s time to mix the melted peanut butter with the cereal. Pour the peanut butter mixture over the rice Chex cereal in a large bowl. Use a spatula to gently fold the cereal until it is well coated. This is where the magic happens! Stir in the mini chocolate chips, spreading them evenly through the mix. After that, line an 8×8 inch baking dish with parchment paper. This helps with easy removal later. Transfer the mixture into the dish and press it down firmly. Make sure it is tightly packed. Top with some extra mini chocolate chips and press them in lightly. Refrigerate for at least an hour before slicing.
Tips & Tricks
Achieving the Perfect Texture
To get the best texture in your Chex peanut butter bars, make sure to pack the mixture tightly. After pouring the mixture into your baking dish, use the back of a spatula or your hands. Press down firmly to create a solid layer. This step helps the bars hold together well when you cut them. If they are too loose, they may fall apart.
Common Mistakes to Avoid
One common mistake is to skip the refrigeration step. Chill the bars for at least one hour. This allows them to set properly. Another mistake is not mixing the ingredients well. Ensure the peanut butter mixture coats every piece of cereal. If you don’t mix it enough, some bites may be dry or bland.
Serving Suggestions
These bars are great for any occasion. You can cut them into squares or rectangles. Serve them on a nice platter for a party. Drizzle melted chocolate on top for an extra touch. Pair them with a glass of milk for a tasty treat. For a fun twist, add some nuts or dried fruit on the side. Enjoy these easy no-bake bars anytime!
Variations
Adding Different Mix-ins
You can make these bars even better by adding mix-ins. Try nuts, dried fruit, or seeds. Chopped walnuts or almonds add crunch and flavor. Dried cranberries or raisins give a sweet bite. You can even add coconut flakes for a tropical twist. Just remember to keep the total amount about one cup so the bars hold together well.
Peanut Butter Substitutes
If you want to switch up the base flavor, you can use other nut butters. Almond butter or cashew butter works great. Sunflower seed butter is a good choice for nut-free diets. Each option will change the taste a bit, but it remains delicious. Just ensure the texture is similar, so the bars stay firm.
Flavor Enhancements
To boost flavor, you can add spices or extracts. A dash of cinnamon adds warmth. A bit of cocoa powder gives a rich chocolate flavor without extra chocolate chips. For a minty twist, add a few drops of peppermint extract. These small changes can make your bars unique and fun to eat.
Storage Info
Best Practices for Storage
To keep your No Bake Chex Peanut Butter Bars fresh, store them in an airtight container. I recommend placing parchment paper between layers to avoid sticking. This helps keep them nice and neat. Store them in the fridge if you want them to stay firm and cool.
Freezing Instructions
You can freeze these bars for later. Cut them into squares before freezing. Wrap each piece in plastic wrap, then place them in a freezer-safe bag. They can last for up to three months in the freezer. When you’re ready to enjoy, just thaw them in the fridge for a few hours.
Shelf Life
These bars can last up to one week in the fridge. If you keep them well-sealed, they stay tasty and fresh. After a week, you might notice a change in texture, but they will still be safe to eat. For the best taste, enjoy them within this time frame.
FAQs
Can I use a different cereal?
Yes, you can use other cereals. Corn Chex or honey nut Chex work well. They add a nice crunch and flavor. Just keep the same amount, three cups. This change can create a fun twist in taste. Feel free to experiment with your favorite cereals.
How do I make these bars vegan?
To make these bars vegan, swap honey for maple syrup. Use dairy-free chocolate chips instead of regular ones. Also, ensure your peanut butter has no added ingredients that are not vegan. These swaps keep the taste and texture great while being plant-based. Enjoy the same yummy treat!
What if I don’t have powdered sugar?
If you don’t have powdered sugar, you can make your own. Take granulated sugar and blend it until fine. You can use a food processor or a blender for this. You can also use coconut sugar for a healthier option. Just remember, it may change the flavor slightly.
This blog post covers key steps to make tasty peanut butter bars. We discussed ingredients, tips, and variations for flavor. You learned how to combine your cereal, avoid mistakes, and store leftovers well. Remember, you can swap ingredients or make these bars vegan. Choose toppings and mix-ins based on your taste. With these insights, you can enjoy personalized snacks at home. The fun is in trying different flavors and sharing them with friends. Happy cooking!