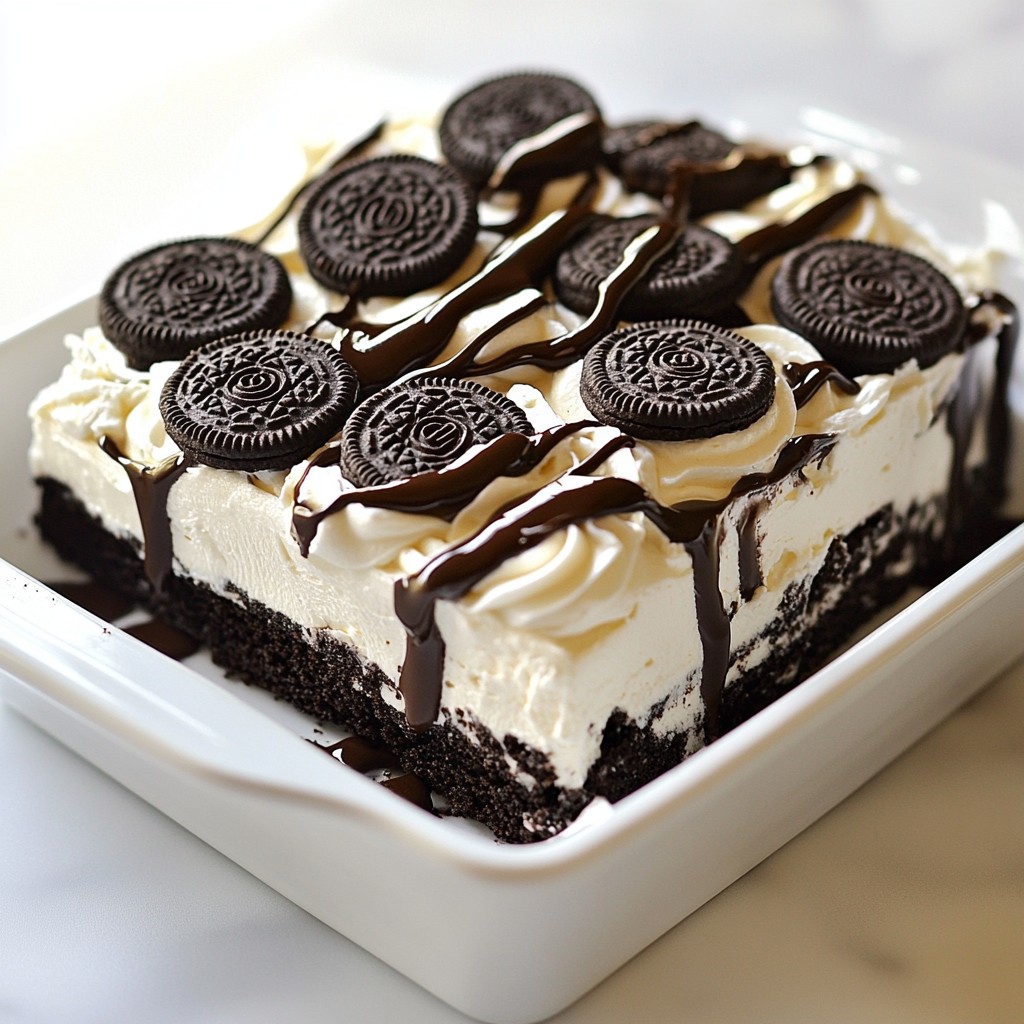
If you love easy desserts, you're in for a treat! The Oreo Icebox Cake is a no-bake delight that combines creamy cheesecake and crunchy cookies. It takes just a few simple steps to create this mouth-watering dessert. Whether you're hosting a gathering or craving something sweet, this cake is sure to impress. Stay with me as I guide you through the simple ingredients and steps needed to make this delicious treat!
Why I Love This Recipe
- Deliciously Decadent: This cake is a chocolate lover's dream, with layers of creamy filling and crunchy Oreos that provide the perfect balance of flavors and textures.
- No-Bake Convenience: Being an icebox cake, it requires no baking, making it super easy and quick to prepare for any occasion.
- Make Ahead Friendly: This cake can be made a day in advance, allowing the flavors to meld beautifully while you focus on other meal preparations.
- Visually Impressive: The layered presentation is not only appealing but also allows for creative garnishing, making it a showstopper at any gathering.
Ingredients
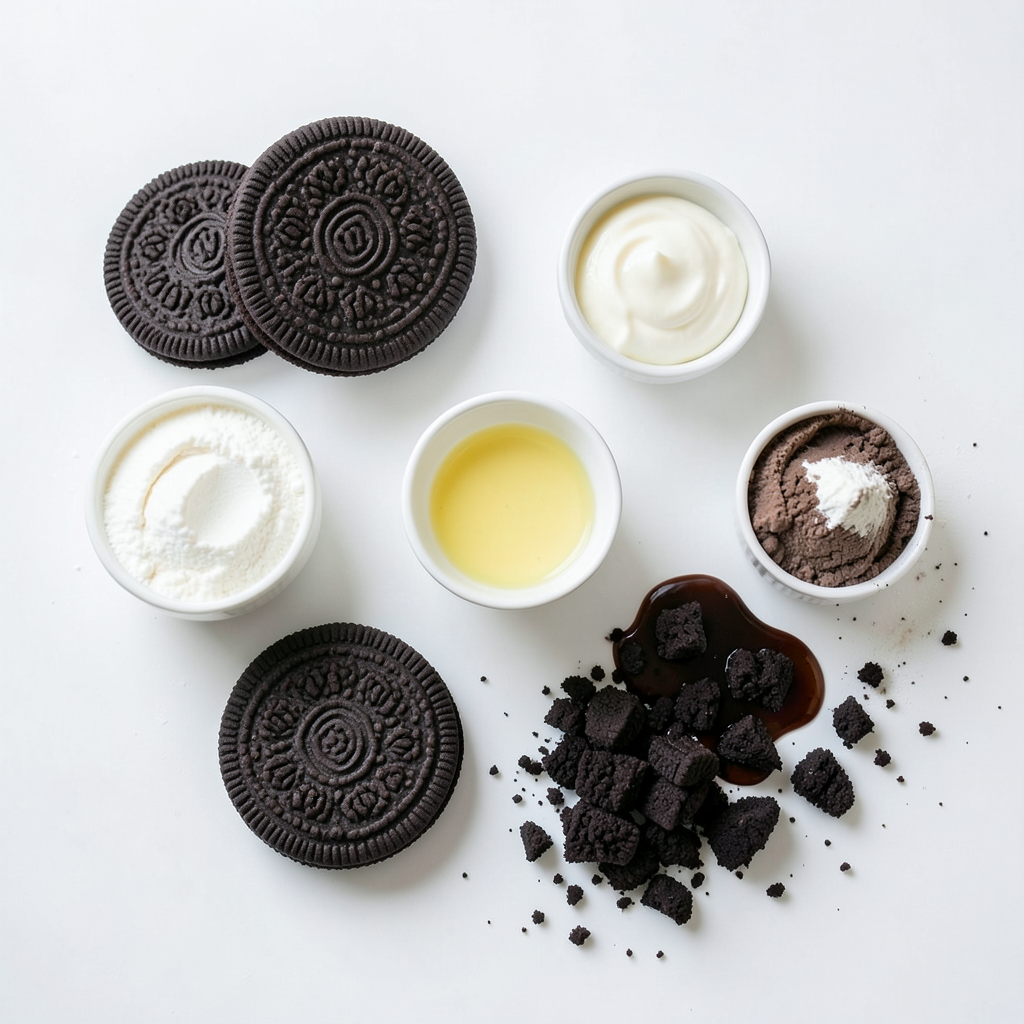
Complete ingredient list for Oreo Icebox Cake
To make this Oreo Icebox Cake, you will need these ingredients:
- 2 packages of Oreo cookies (about 36 cookies)
- 2 cups heavy cream
- 1 cup powdered sugar
- 1 teaspoon vanilla extract
- 1 cup cream cheese, softened
- 1/2 cup chocolate syrup
- 1/4 cup crushed Oreo cookies, for garnish
These simple items make a rich and creamy dessert that everyone loves.
Substitutions and alternative ingredients
You can swap some ingredients if needed. Here are a few ideas:
- Instead of heavy cream, use whipped topping for a lighter option.
- Use granulated sugar if you don't have powdered sugar.
- For a twist, use flavored cream cheese like chocolate or vanilla.
- You can replace the chocolate syrup with caramel or strawberry sauce for fun flavors.
These changes keep the dessert tasty while giving it a unique spin.
Recommended brands for quality flavors
Using the right brands can enhance the taste of your Oreo Icebox Cake:
- Choose Oreo cookies for the best flavor and texture.
- For heavy cream, I recommend brands like Horizon Organic or Land O'Lakes.
- Philadelphia cream cheese is my go-to choice for a smooth filling.
- For chocolate syrup, Hershey's is a classic choice that works great.
These brands help you create a delicious cake that everyone will enjoy!
Step-by-Step Instructions
Detailed preparation steps
First, gather all your ingredients. You need Oreo cookies, heavy cream, powdered sugar, vanilla, cream cheese, and chocolate syrup. Start by taking a medium bowl. Beat the heavy cream with the powdered sugar and vanilla extract. Keep mixing until you see soft peaks form. This step makes your whipped cream fluffy and light. Set this bowl aside for now.
Next, take another bowl. Beat the softened cream cheese until it is smooth. Gradually fold in the whipped cream you made earlier. This creates a creamy filling that is not too heavy. Make sure the mixture is well combined.
Mixing techniques for optimal texture
When mixing the cream cheese and whipped cream, use a gentle folding method. This keeps the air in the whipped cream. If you stir too hard, the mix will become flat. Use a spatula and scoop from the bottom up. This way, you keep the fluffiness. The goal is a light and airy filling.
Assembly guide for layers
Now, it’s time to build your cake. Take a 9x13 inch baking dish. Line the bottom with whole Oreo cookies. Place them side by side until the bottom is fully covered. Next, spread half of your creamy mixture over the cookies. Use a spatula to make it even.
Drizzle half of the chocolate syrup on top of the cream layer. Repeat this process. Add another layer of Oreo cookies, followed by the remaining creamy mixture, and finish with the rest of the chocolate syrup.
Finally, sprinkle crushed Oreo cookies on top. This gives a nice crunch and looks great. Cover your dish with plastic wrap. Refrigerate it for at least 4 hours, or overnight for a firmer texture. Enjoy your delicious treat!
Tips & Tricks
Tricks for achieving perfect whipped cream
To make perfect whipped cream, start with cold tools. Chill the mixing bowl and beaters for about 10 minutes. Use heavy cream for the best texture. Beat the cream slowly at first, then increase the speed. Watch for soft peaks. This means the cream is ready. Stop mixing right away to avoid overwhipping. Overwhipped cream can turn into butter. Add a touch of powdered sugar for sweetness and stability.
Tips for softening cream cheese effectively
Softening cream cheese is easy. Take it out of the fridge and cut it into small cubes. Let it sit at room temperature for about 15 minutes. This speeds up the process. If you’re in a hurry, microwave it. Place the cream cheese in a microwave-safe bowl. Heat it in short bursts of 10 seconds. Check after each burst to avoid melting. You want it soft, not runny. Soft cream cheese mixes better and creates a smooth filling.
Best practices for layering and presentation
For great layers, use whole Oreo cookies. Lay them flat in the dish to cover the bottom. Spread the cream cheese mixture evenly to avoid gaps. Drizzle chocolate syrup carefully to get an even coating. When adding the top layer of cookies, press down gently. This helps the layers stick together. For a beautiful finish, top with crushed Oreos. Serve chilled and drizzle extra chocolate syrup on top. This adds flavor and makes it look amazing. Enjoy your stunning Oreo Icebox Cake!
Pro Tips
- Chill the Bowls: For even fluffier whipped cream, chill your mixing bowl and beaters in the freezer for about 10-15 minutes before whipping the cream.
- Use Room Temperature Cream Cheese: Ensure your cream cheese is at room temperature for a smooth and creamy filling without lumps.
- Layering Technique: When layering the Oreos and cream mixture, be gentle to avoid crushing the cookies. A spatula can help spread the cream evenly.
- Overnight Chilling: For the best texture and flavor, allow the cake to chill overnight. This helps the layers meld together beautifully.
Variations
Flavor variations
You can easily change the flavor of your Oreo icebox cake. For a twist, try adding peanut butter. Just mix in half a cup of smooth peanut butter into the cream cheese mixture. This makes a rich, nutty flavor that works well with the chocolate. Another fun option is mint. Add a few drops of mint extract to the whipped cream. Mint and chocolate make a classic combo that many love.
Alternative cookie options
If you want to switch things up, use different cookies. Chocolate graham crackers work great. They add a nice chocolatey touch and create a different texture. You can even try vanilla wafers for a lighter flavor. Each cookie option gives you a new taste experience. Feel free to experiment with your favorite cookies.
Seasonal adaptations
You can adapt this dessert for the seasons. In fall, add pumpkin puree to the cream cheese mixture. Use about one cup of pumpkin for a fall flavor. Mix in pumpkin spice to give it that warm taste. In summer, consider adding fresh berries like strawberries or raspberries. Their tartness balances the sweetness of the cake. Each season brings its own fun flavors to try!
Storage Info
How to store Oreo Icebox Cake properly
To keep your Oreo Icebox Cake fresh, cover it well. Use plastic wrap or foil. This helps prevent any odors from the fridge. You can also transfer it to an airtight container. Make sure it is sealed tight to lock in moisture.
Recommended storage duration in the refrigerator
You can store your Oreo Icebox Cake in the fridge for up to 5 days. The flavors will meld together nicely over time. Just remember to keep it covered. This will help maintain its creamy texture and taste.
Freezing instructions for longer preservation
If you want to save it longer, freezing is a great option. Slice the cake into squares for easy serving later. Wrap each piece in plastic wrap, then place them in a freezer bag. This helps prevent freezer burn. Your cake can stay good for up to 2 months in the freezer. To enjoy it, simply thaw in the fridge overnight before serving.
FAQs
Can I use low-fat cream cheese in the recipe?
Yes, you can use low-fat cream cheese. It will change the taste a bit. The cake may be less rich. You can still enjoy a tasty dessert. Just make sure to mix it well. This helps keep the filling smooth and creamy.
How long can I keep the Oreo Icebox Cake in the fridge?
You can keep the Oreo Icebox Cake in the fridge for about 4 to 5 days. This dessert stays fresh and yummy. The flavors may blend together as it sits. It tastes even better after chilling overnight. Just cover it tightly with plastic wrap.
What can I serve with Oreo Icebox Cake?
You can serve the Oreo Icebox Cake with a drizzle of chocolate syrup. A scoop of vanilla ice cream is also great. Fresh berries add a nice touch, too. Whipped cream on top makes it extra special. Enjoy mixing flavors to find your favorite!
In this blog post, we explored how to make the perfect Oreo Icebox Cake. We covered ingredients, substitutions, and brands for great flavors. The step-by-step instructions helped ensure a smooth process, while tips for whipped cream and cream cheese made it easy to assemble. We also looked at fun flavor variations and proper storage methods to keep your cake fresh.
Remember, with a few tweaks, you can make this dessert just right. Enjoy creating your sweet treat!