

Latest & Greatest

Warm Maple Cinnamon Hot Chocolate Simple Indulgence
Craving a cozy drink that warms your heart and soul? Let me introduce you to my Warm Maple Cinnamon Hot
Read more…
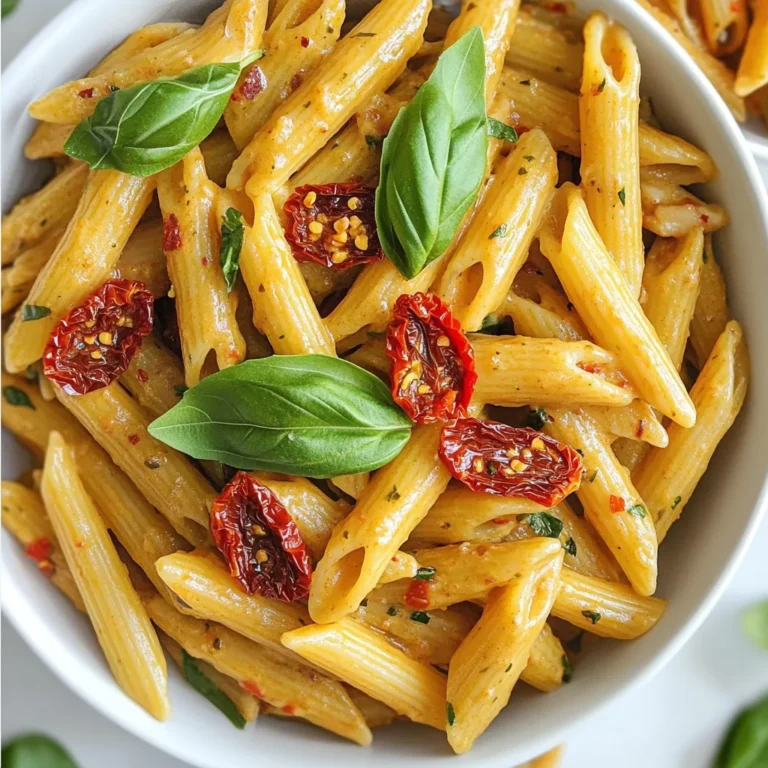
Minute Creamy Lemon Garlic Chicken Pasta Delight
Looking for a quick meal that’s packed with flavor? You’re in the right place! My Minute Creamy Lemon Garlic Chicken
Read more…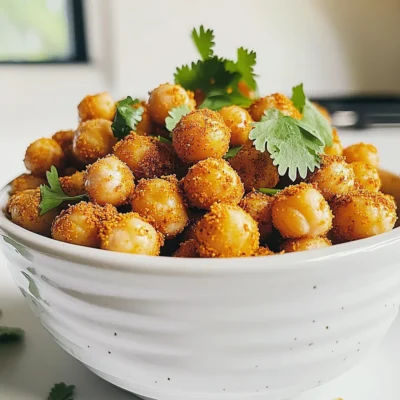
Air Fryer Crispy Spicy Chickpeas Easy Flavorful Snack
Are you ready to transform a simple can of chickpeas into a crunchy, spicy delight? In this guide, I’ll show
Read more…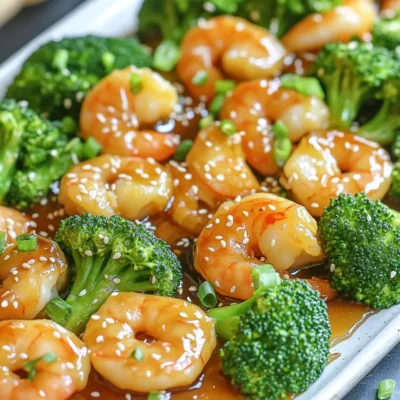
Sheet-Pan Honey Garlic Shrimp and Broccoli Delight
Are you ready for a meal that’s both quick and tasty? This Sheet-Pan Honey Garlic Shrimp and Broccoli Delight is
Read more…
Brown Butter Maple Glazed Shortbread Cookies Delight
If you love cookies that melt in your mouth and burst with flavor, you’re in for a treat! My Brown
Read more…
Crispy Chicken Parmesan Air Fryer Easy Dinner Recipe
Craving a quick and tasty dinner? This Crispy Chicken Parmesan Air Fryer recipe is your answer! In just a few
Read more…
Creamy Tortellini Soup Slow Cooker Easy Meal Recipe
If you’re craving a warm bowl of deliciousness, you’re in the right place! My creamy tortellini soup is the ultimate
Read more…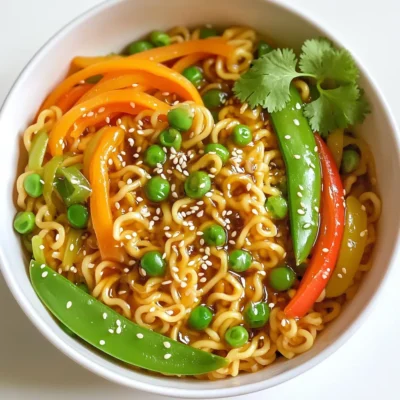
Teriyaki Noodles Better Than Takeout Delight
Are you tired of takeout that never quite hits the spot? Let’s change that! In this guide, I’ll show you
Read more…browse recipes


Vegan Cauliflower Buffalo Wings Flavorful and Easy Recipe
Are you ready to spice up your snack game with a healthy twist? These Vegan Cauliflower Buffalo Wings are not only bursting with flavor…
My Latest Drinks

Strawberry Cheesecake Smoothie Creamy Refreshing Treat
Craving something delicious and cool? The Strawberry Cheesecake Smoothie is your answer! It blends creamy cheesecake flavors with sweet strawberries Read Full Recipe-
Mocktail Pink Punch Refreshing and Easy Recipe
Are you ready to impress your guests with a delightful drink? This Mocktail Pink Punch recipe is both refreshing and Read Full Recipe -
Blue Lagoon Tropical Lemonade Refreshing and Zesty Drink
Looking for a drink that’s both refreshing and fun? Say hello to Blue Lagoon Tropical Lemonade! This colorful beverage packs Read Full Recipe -
Pumpkin Spice Coffee Creamer Flavorful Fall Treat
Are you ready to embrace the cozy vibes of autumn? In this blog post, I’ll guide you through making your Read Full Recipe -
Apple Cider Margarita Mocktail Refreshing Fall Drink
Fall is here, and that means it’s the perfect time for a cozy drink! The Apple Cider Margarita Mocktail offers Read Full Recipe -
Pumpkin Spice Latte Copycat Cozy and Comforting Recipe
Craving that warm, cozy feeling of fall? You can enjoy a delicious Pumpkin Spice Latte at home! In this article, Read Full Recipe


My Latest Dinners
-
White Bean Soup Simple and Hearty Delight
Looking for a warm and filling meal? Let me introduce you to white bean soup! This simple and hearty delight Read Full Recipe -
Garlic Herb Roasted Sweet Potatoes Flavorful Side Dish
Looking for a side dish that’s both tasty and easy to make? Garlic Herb Roasted Sweet Potatoes are the answer! Read Full Recipe -
One Pot Beef Taco Pasta Easy and Flavorful Meal
Looking for a quick and tasty meal? One Pot Beef Taco Pasta is the perfect dish! This recipe packs bold Read Full Recipe -
Garlic Chicken Zucchini Noodles Stir Fry Delight
Are you ready for a tasty twist on dinner? My Garlic Chicken Zucchini Noodles Stir Fry is a quick and Read Full Recipe -
Stuffed Italian Meatloaf Easy and Tasty Recipe
Are you ready to elevate your dinner game? This Stuffed Italian Meatloaf is both easy and tasty! In this article, Read Full Recipe -
One Pot French Onion Pasta Flavorful Comfort Dish
Looking for a cozy dinner that warms your soul? Try my One Pot French Onion Pasta! This creamy, rich dish Read Full Recipe


hey,
i’m !
I’m so happy you’re here!
Every dish I share is made with love and care. I hope they bring you the same comfort and joy they bring me. Let’s make memories, one recipe at a time.


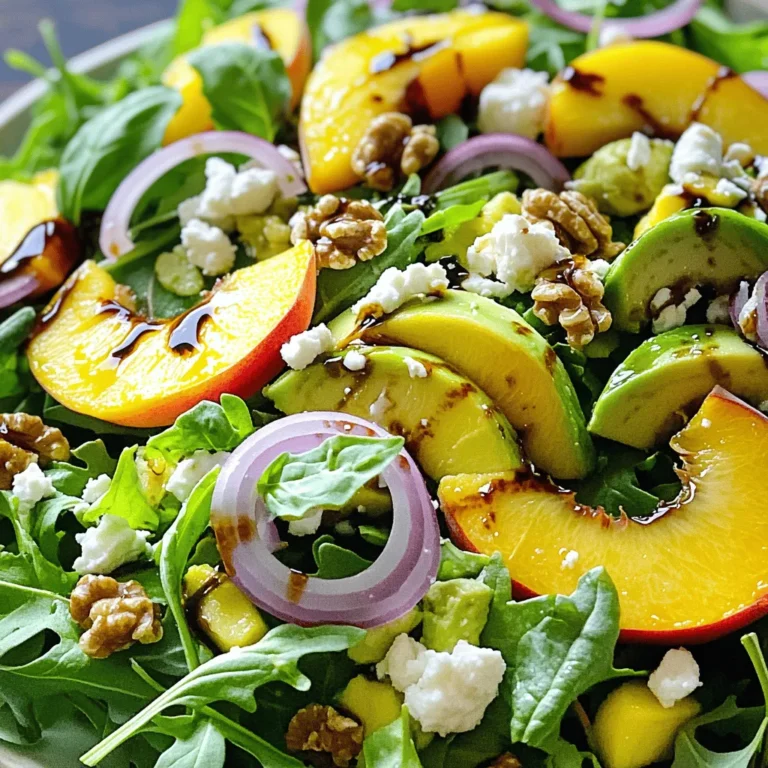
. Start by gathering your ingredients. In a large bowl, combine: - 4 cups fresh baby spinach - 2 cups strawberries, hulled and sliced - 1/2 cup sliced almonds, toasted - 1/4 cup feta cheese, crumbled - 1/4 red onion, thinly sliced Mix these well. This blend gives the salad a bright look and a fresh taste. In a small mixing bowl, prepare the dressing. Whisk together: - 1/4 cup olive oil - 2 tablespoons apple cider vinegar - 1 tablespoon honey - 1/4 cup poppy seeds Make sure it blends smoothly. This dressing ties the salad together with a sweet and tangy flavor. Pour the dressing over your salad. Toss gently to coat all the ingredients. Add salt and pepper to taste. Adjust these as you like. Serve right away for the best flavor. If you want, let it chill for about 10 minutes. This lets the flavors meld nicely. Enjoy this fresh dish from the Full Recipe! For this salad, use fresh, organic produce for the best flavor. Fresh baby spinach adds a nice crunch. Strawberries should be bright red and ripe. When you choose quality ingredients, your salad will taste amazing. Organic products often have better taste and nutrition. You can experiment with different vinegars or sweeteners in the dressing. While apple cider vinegar works great, try balsamic or red wine vinegar for a different twist. Honey adds sweetness, but you can use maple syrup if you want a vegan option. Adjust the amounts of each ingredient to fit your taste. This salad is best served immediately. If you need to prepare it ahead of time, chill it in the refrigerator for about 10 minutes before serving. This allows the flavors to blend nicely. Serve it in a large bowl or on individual plates. Garnish with extra strawberries and a sprinkle of poppy seeds for a lovely look. You can find the full recipe at the end of this article. {{image_2}} You can boost your salad with protein. Consider adding grilled chicken or shrimp. Both options add great flavor and make the dish more filling. Grilled chicken offers a mild taste, while shrimp brings a sweet, ocean flavor. Just slice the protein and mix it in before serving. This makes the salad perfect for lunch or dinner. Fruits change with the seasons. You can swap strawberries for other fruits. In summer, peaches add a juicy sweetness. Blueberries are great in late spring or summer, too. Each fruit gives a unique twist to the salad. Try different combinations to discover your favorite. For those with nut allergies, you can make simple changes. Replace almonds with seeds like pumpkin or sunflower seeds. These seeds add crunch and a nutty flavor without allergens. You can also leave out cheese for a dairy-free version. These small tweaks let everyone enjoy this salad. If you want to try this salad, check out the Full Recipe for detailed instructions and tips. Store leftovers in an airtight container in the refrigerator. This keeps the salad fresh and crisp. Best consumed within 1-2 days for optimal freshness. After this, the spinach may wilt, and the strawberries could spoil. Note that this salad does not freeze well due to the fresh ingredients. Freezing changes the texture of spinach and strawberries, making them mushy. Enjoy it fresh for the best taste and quality! For the full recipe, check the recipe section above. Yes, but it's best to dress the salad just before serving to maintain freshness. This helps keep the spinach crisp and the strawberries juicy. If you want to prepare it earlier, you can mix all the dry ingredients and store them separately. Dress the salad right before serving for a vibrant and fresh taste. Try goat cheese or omit it entirely for a dairy-free version. Goat cheese adds a nice tang, while skipping cheese makes it lighter. If you want to keep it creamy without cheese, you could use avocado instead. This gives a rich texture and flavor. Use maple syrup instead of honey and omit the cheese. This way, you keep all the flavors while making it plant-based. You can also add other toppings like roasted chickpeas for extra protein. This salad remains delicious and satisfying without any animal products. This post shared a fresh salad recipe packed with flavor. You learned about key ingredients like spinach and strawberries. I gave you clear steps for assembly and dressing preparation. Remember to choose quality produce for the best results. Feel free to try variations with different proteins or seasonal fruits. This salad provides a simple, quick, and healthy meal. Enjoy making it your own and share it with friends!](https://easycookingbite.com/wp-content/uploads/2025/07/c933e7bd-ff40-461c-bb91-3d501fdaa67b-300x300.webp)

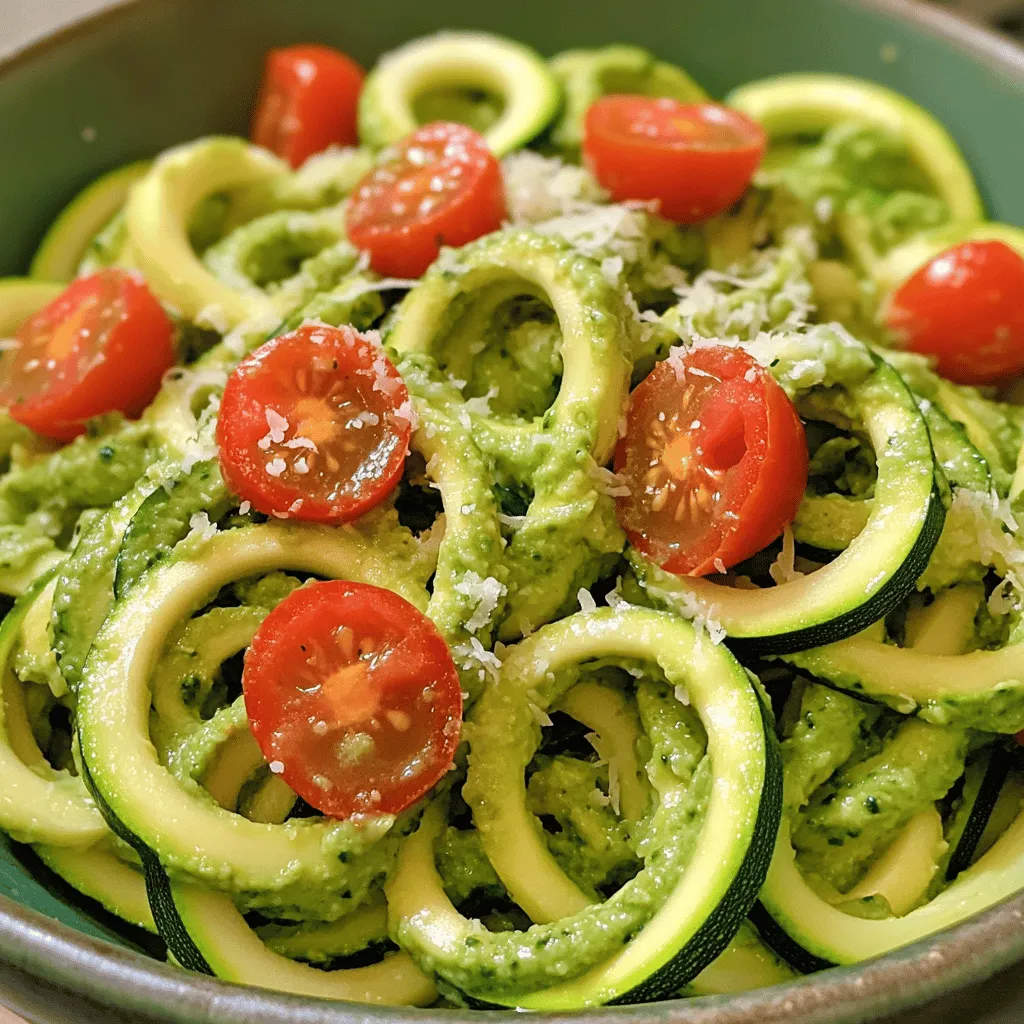
Zucchini Noodles with Pesto Fresh and Flavorful Dish
Are you looking for a fresh and flavorful dish that impresses? Zucchini noodles with pesto might be your answer! This simple meal combines tender…