Latest & Greatest
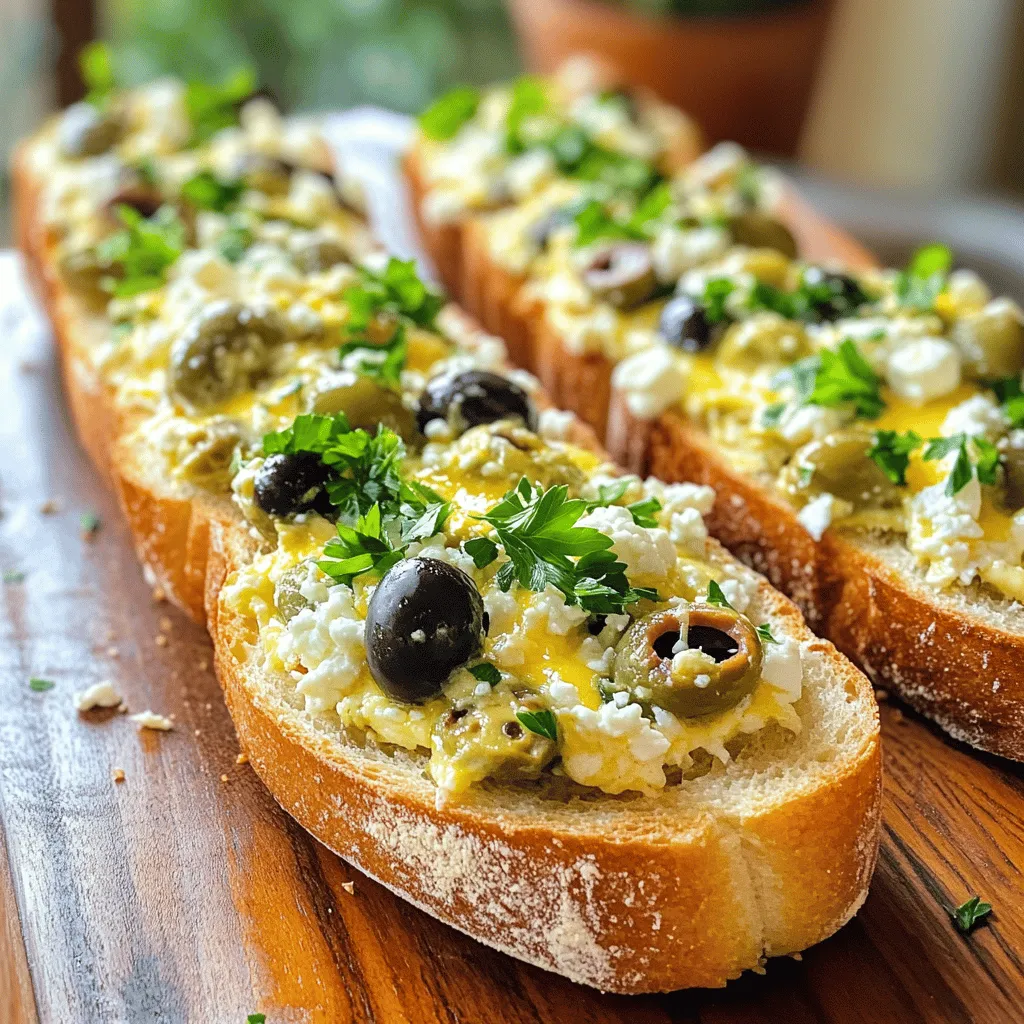
Olive Cheese Bread Appetizer Tasty and Simple Dish
Looking for a quick, tasty snack that’s sure to impress? You’re in the right place! This Olive Cheese Bread Appetizer
Read more…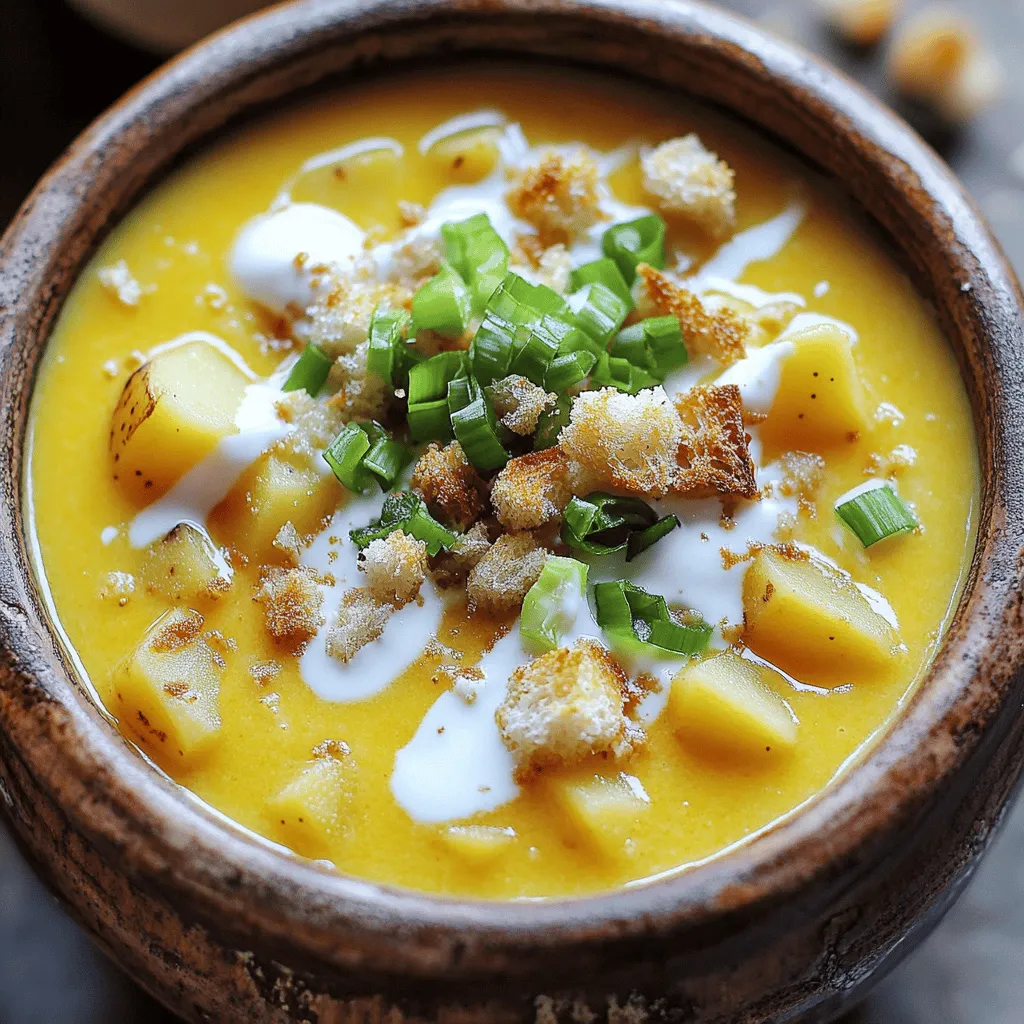
Slow Cooker Cheesy Potato Soup Cozy Comforting Meal
Warm up your kitchen with my Slow Cooker Cheesy Potato Soup! This creamy, cheesy delight is perfect for chilly nights
Read more…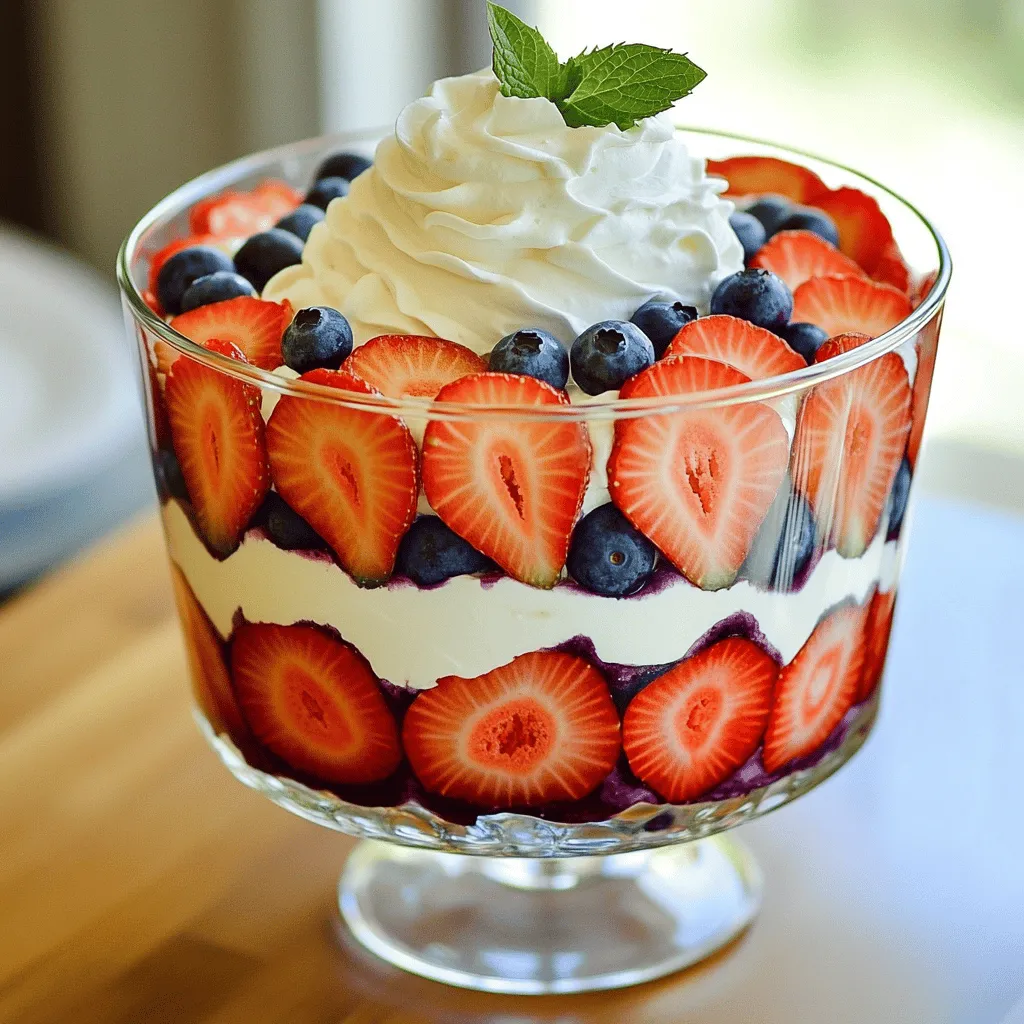
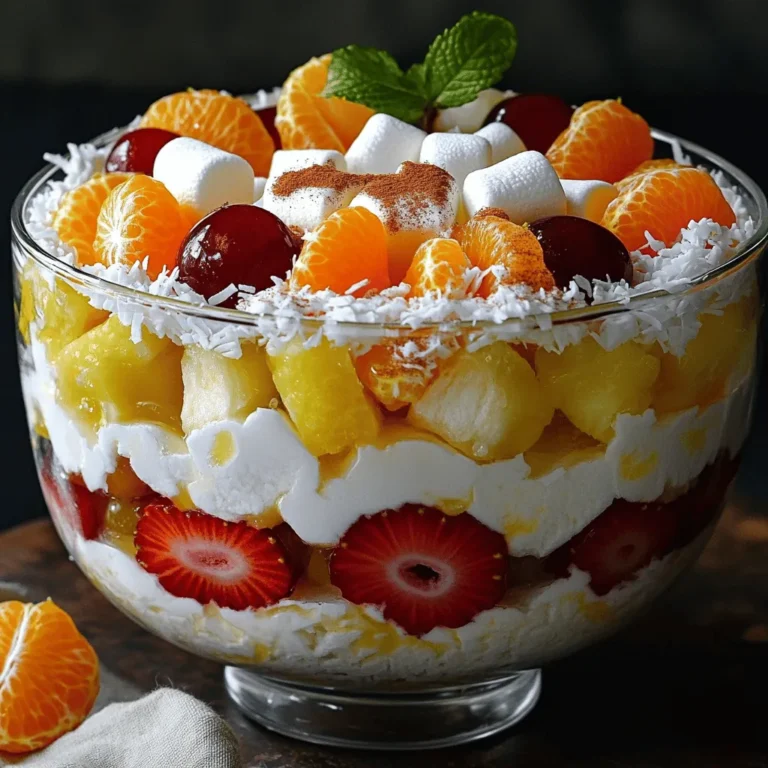
Red, White and Blueberry Trifle Simple Summer Dessert
Looking for a refreshing summer treat? Try my Red, White and Blueberry Trifle! This simple dessert combines fresh strawberries, blueberries,
Read more…
Red Velvet Cake Delicious and Easy Baking Recipe
Craving a sweet treat that’s as impressive as it is simple? Let me guide you through my delicious and easy
Read more…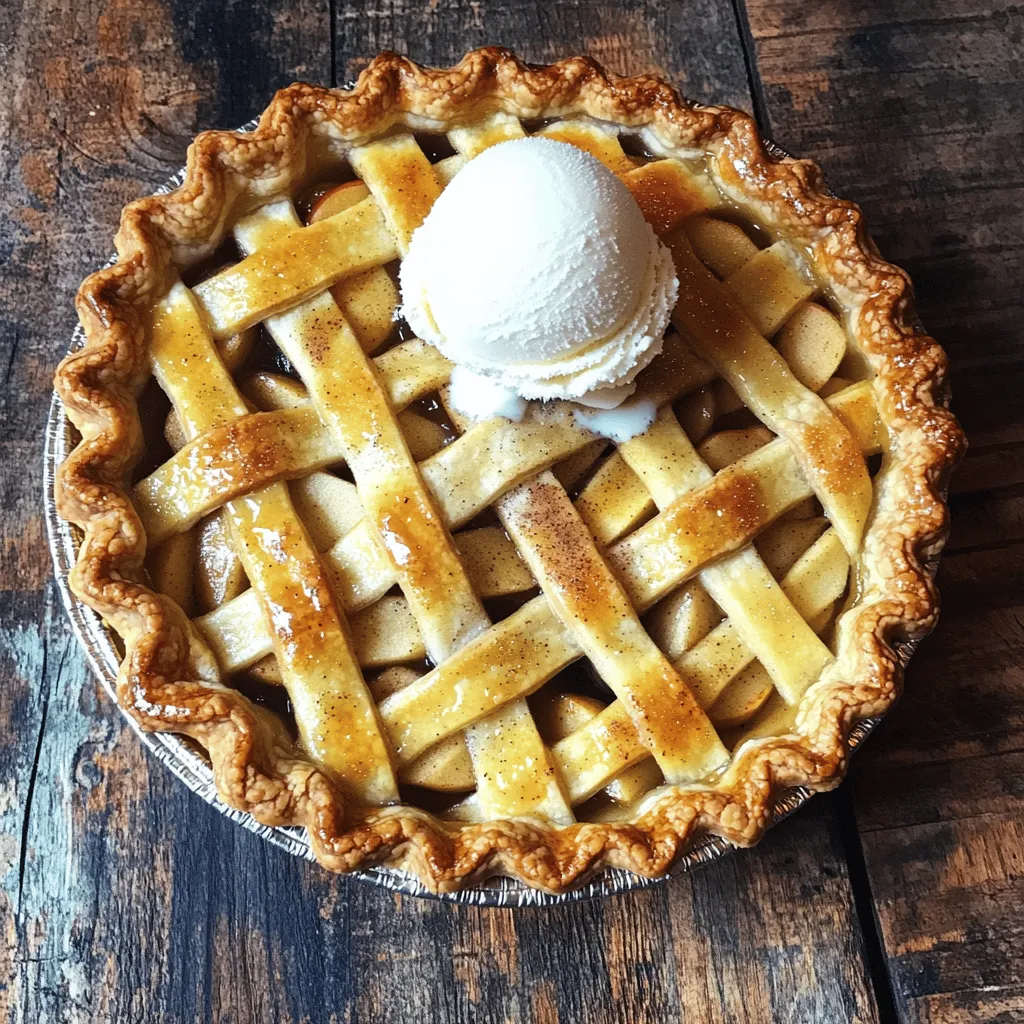
Classic Apple Pie Irresistible Homemade Delight
Are you ready to make the best apple pie? Classic Apple Pie: Irresistible Homemade Delight gives you every detail you
Read more…
Glazed Lemon Sugar Cookies Tasty and Simple Recipe
Craving something sweet, bright, and delicious? You’ll love these Glazed Lemon Sugar Cookies! This simple recipe combines fresh lemon zest
Read more…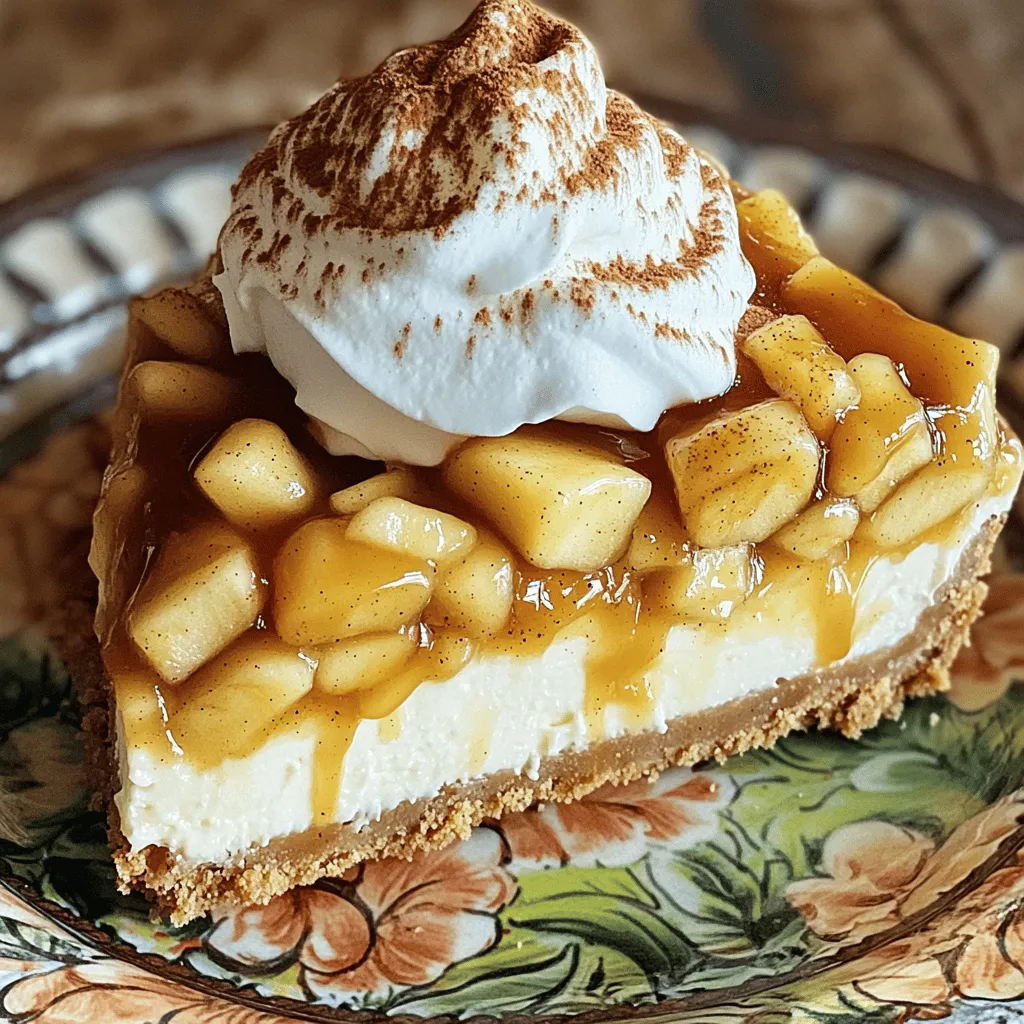
Irresistible Apple Pie Stuffed Cheesecake Delight
Welcome to a dessert lover’s dream! Today, I’m sharing my recipe for Irresistible Apple Pie Stuffed Cheesecake Delight. Imagine creamy
Read more…
Best Homemade Cinnamon Rolls Soft and Fluffy Delight
Welcome to the world of homemade cinnamon rolls, where each bite is like a warm hug! In this post, I’ll
Read more…browse recipes


Sheet Pan Nachos Cheesy and Satisfying Dish
Craving a quick and tasty meal? I’ve got you covered with Sheet Pan Nachos! This cheesy and satisfying dish is perfect for any gathering…
My Latest Drinks

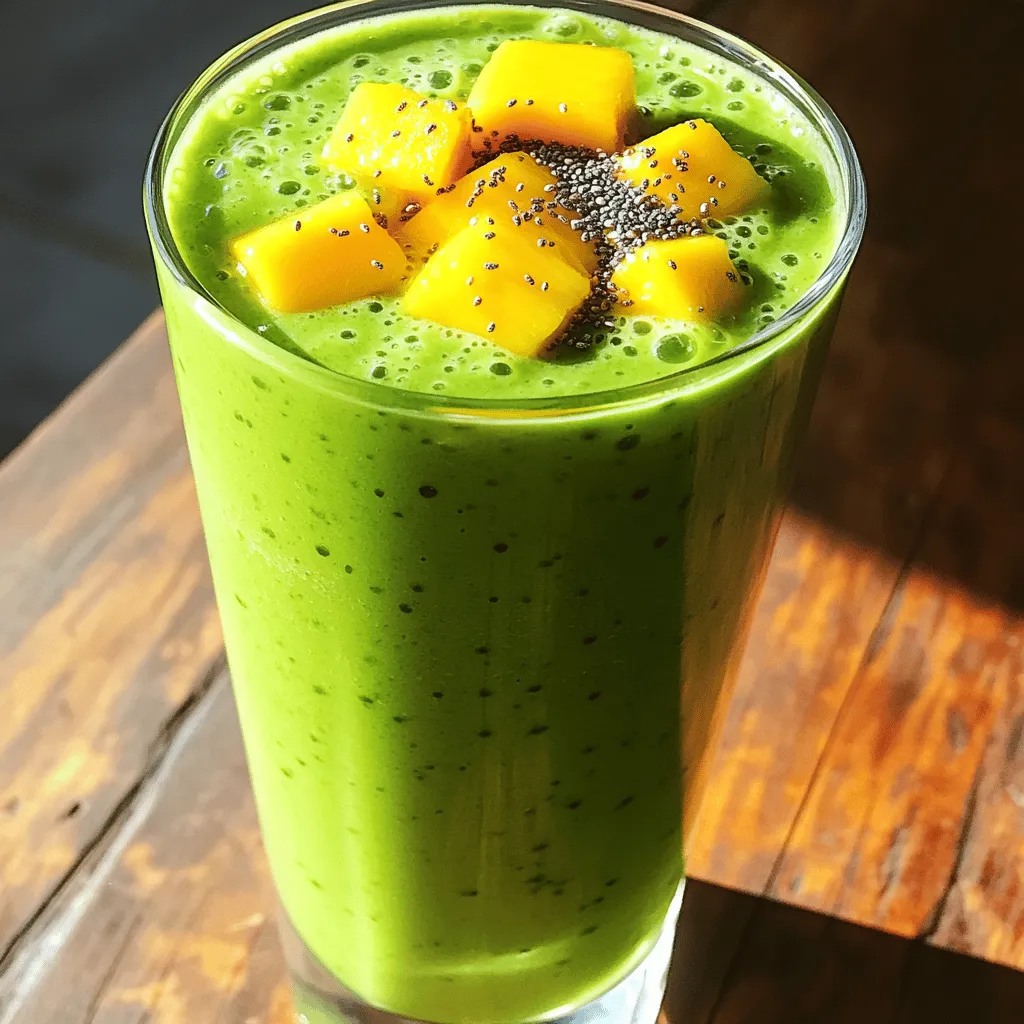
Tropical Green Smoothie Refreshing Health Boost Recipe
Looking for a refreshing drink that packs a health punch? My Tropical Green Smoothie is the perfect blend of fruits Read Full Recipe-
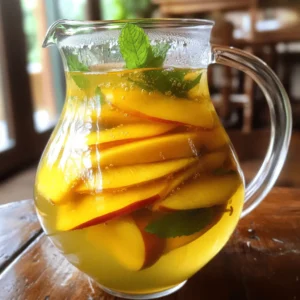
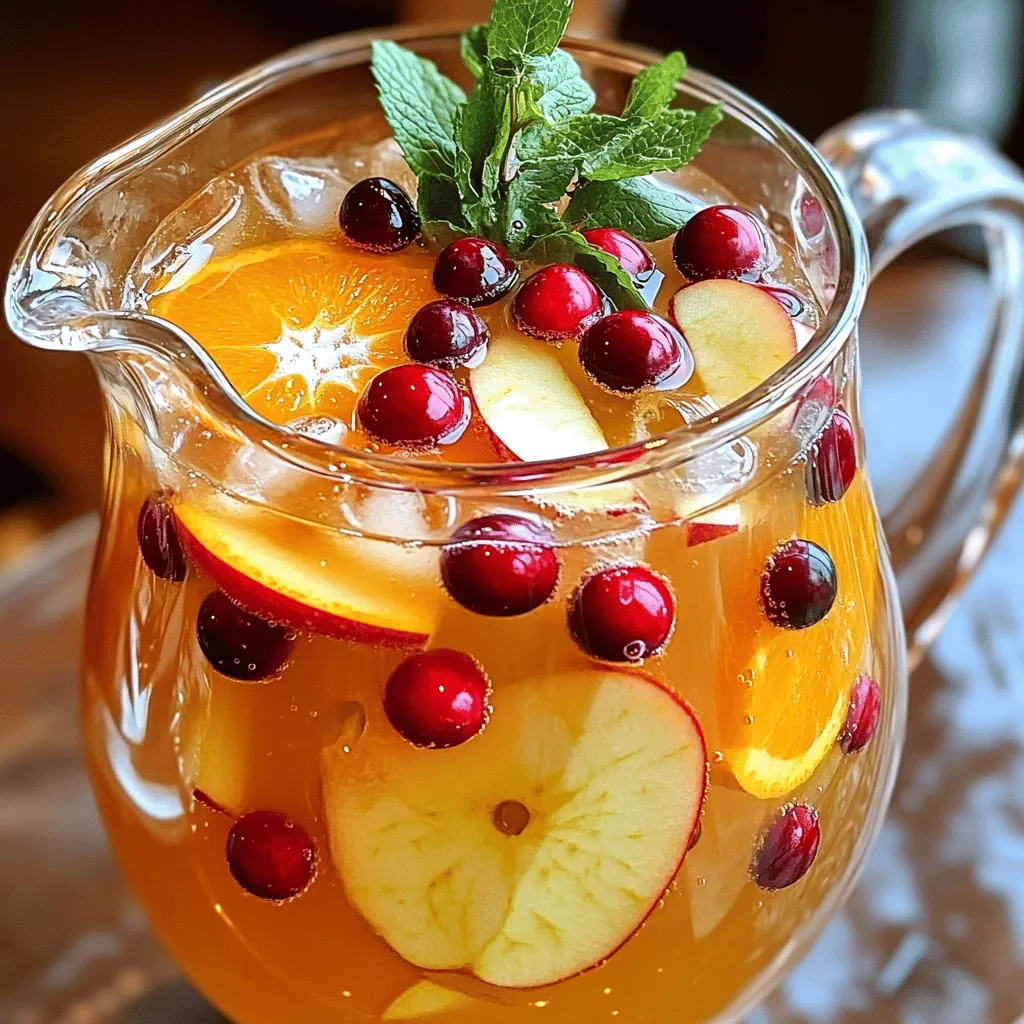
Apple Cider Harvest Punch Refreshing Fall Delight
Get ready for fall with my delicious Apple Cider Harvest Punch! This easy recipe blends fresh flavors that celebrate the Read Full Recipe -
Pineapple Coconut Smoothie Creamy and Refreshing Drink
Are you craving a drink that’s both creamy and refreshing? Look no further than my Pineapple Coconut Smoothie! This easy-to-make Read Full Recipe -
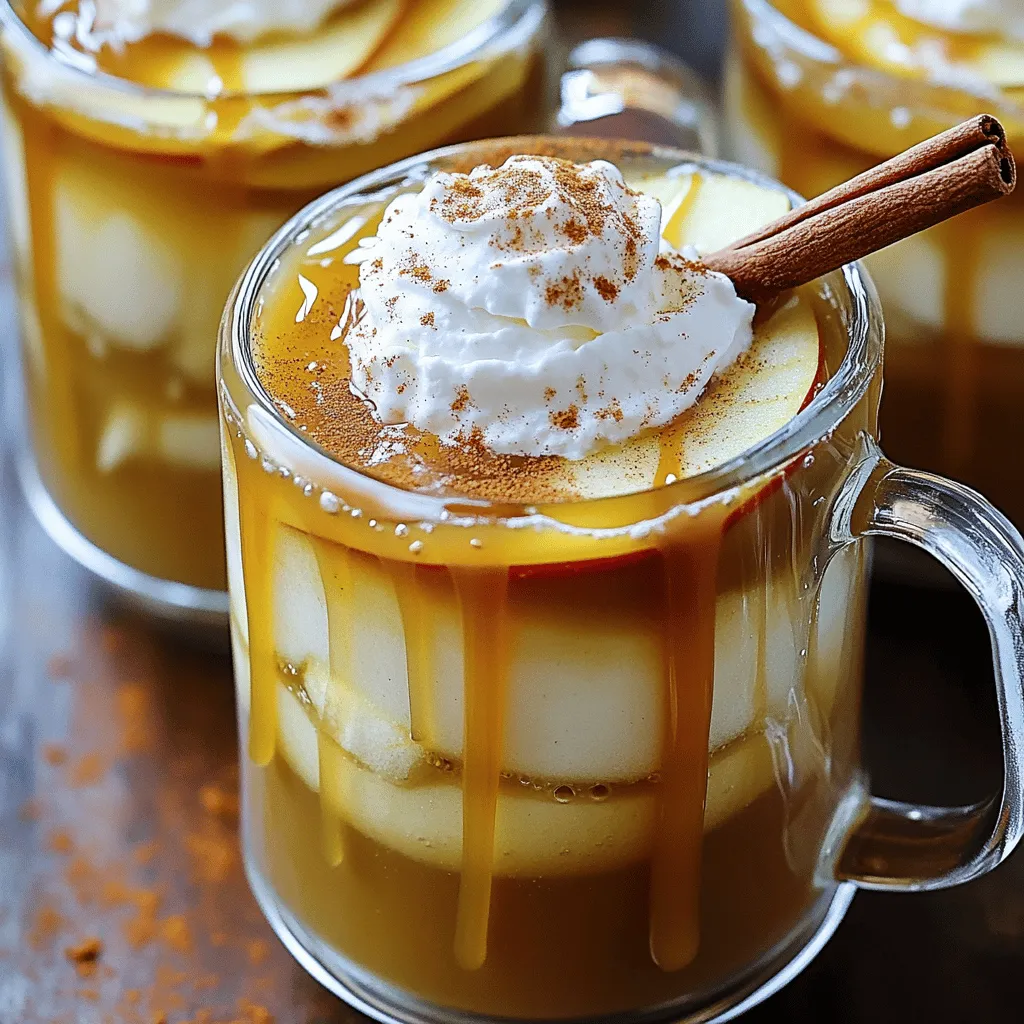
Delicious Caramel Apple Cider Cozy Fall Drink Recipe
Fall is here, and nothing says cozy like a warm cup of Caramel Apple Cider. This drink combines the sweet Read Full Recipe -
Instant Pot Apple Cider Quick and Flavorful Recipe
Looking for a quick and delicious way to make apple cider? The Instant Pot is your best friend! I’ll share Read Full Recipe -
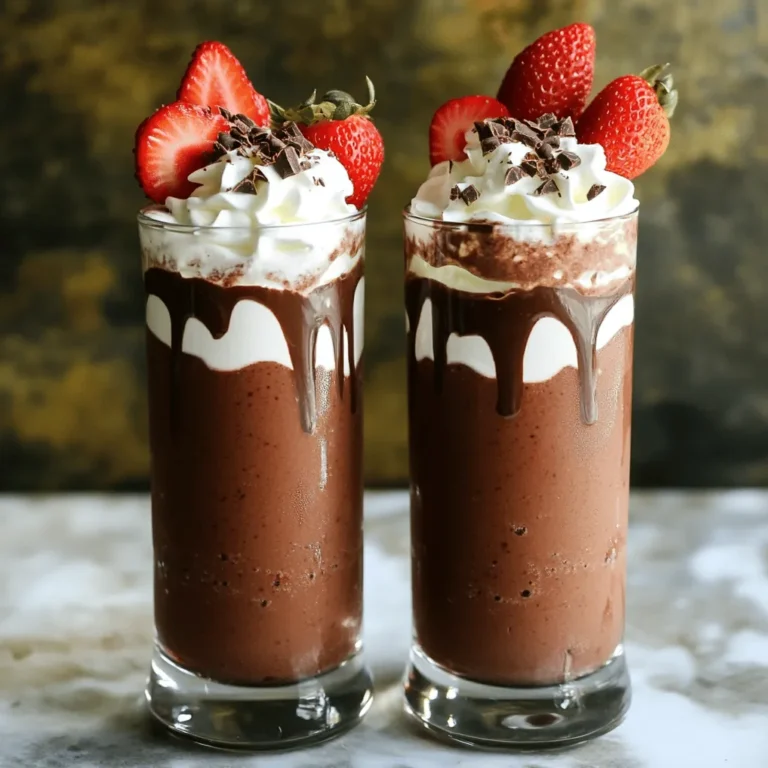
Chocolate Covered Strawberry Smoothie Delicious Treat
Craving something delicious and healthy? The Chocolate Covered Strawberry Smoothie is the perfect treat! With fresh strawberries, cocoa powder, and Read Full Recipe


My Latest Dinners
-
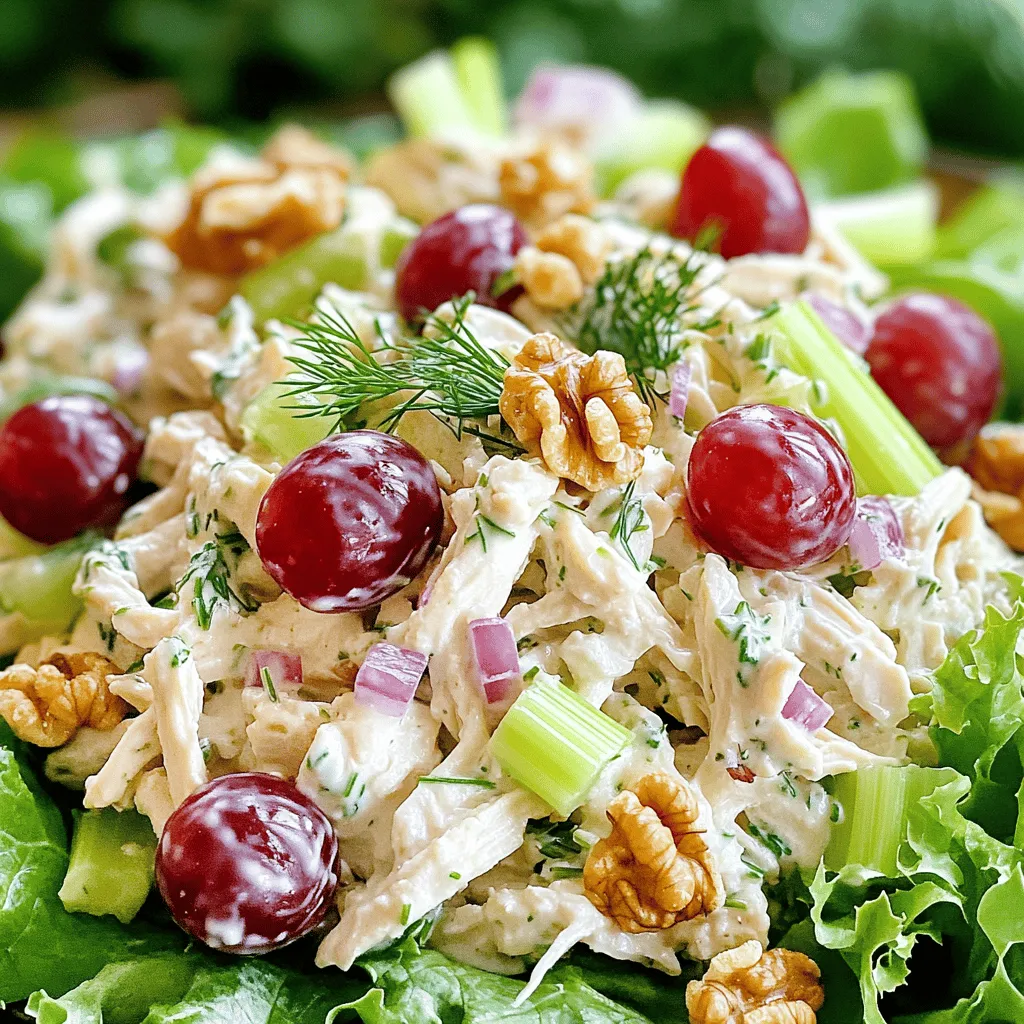
Greek Yogurt Chicken Salad Fresh and Flavorful Recipe
Looking for a fresh twist on a classic chicken salad? My Greek Yogurt Chicken Salad recipe is here to save Read Full Recipe -
Slow Cooker White Chicken Chili Easy and Flavorful Recipe
Looking for a warm, comforting meal that’s easy to make? My Slow Cooker White Chicken Chili is just what you Read Full Recipe -
Taco Stuffed Zucchini Boats Flavorful and Simple Dish
Looking for a fun, flavorful dish that packs a punch? Taco Stuffed Zucchini Boats are the answer! This easy recipe Read Full Recipe -
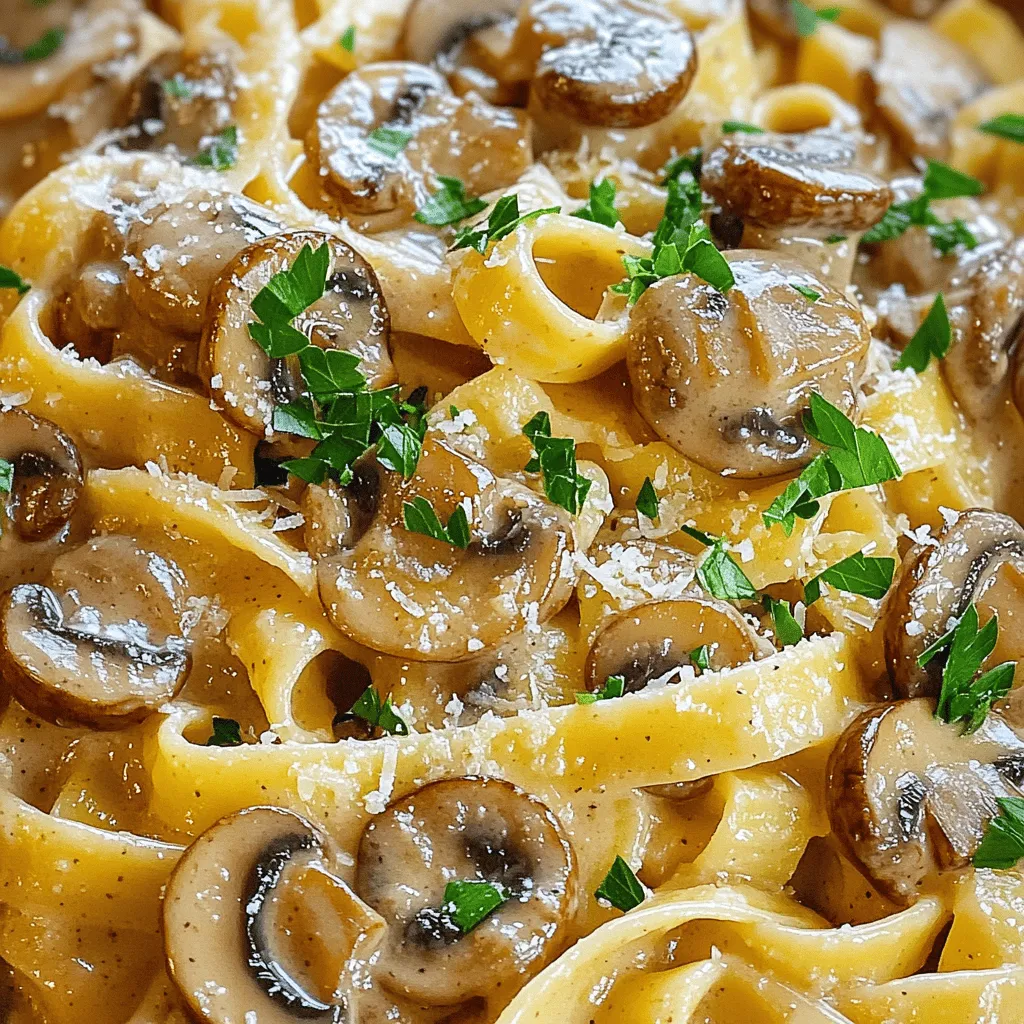
Creamy Mushroom Marsala Flavorful Dinner Delight
Are you ready to impress at dinner tonight? My Creamy Mushroom Marsala is a flavorful delight that will wow your Read Full Recipe -
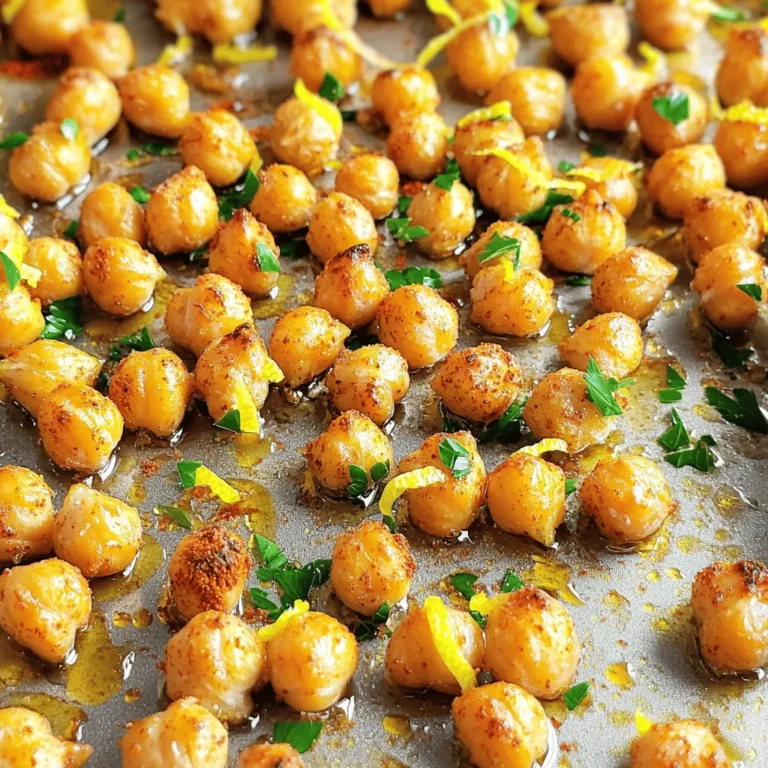
Coconut Curry Chickpeas Flavorful and Easy Recipe
If you’re seeking a simple, tasty meal, look no further! My Coconut Curry Chickpeas recipe is a delightful blend of Read Full Recipe -
One-Pot Taco Rice Flavorful and Simple Dinner Delight
Looking for an easy and tasty dinner? Try my One-Pot Taco Rice! This simple dish combines savory flavors and requires Read Full Recipe


hey,
i’m !
I’m so happy you’re here!
Every dish I share is made with love and care. I hope they bring you the same comfort and joy they bring me. Let’s make memories, one recipe at a time.


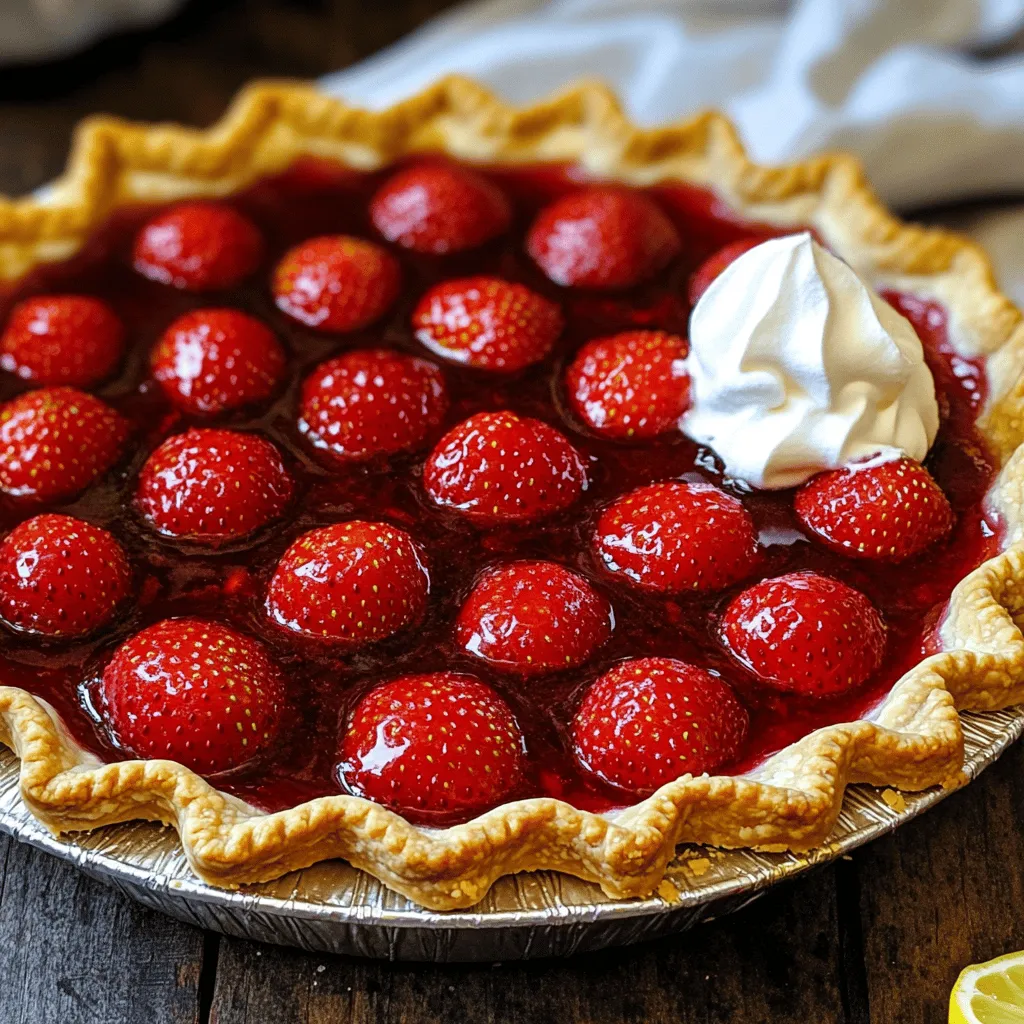
Best Strawberry Pie Flavorful and Easy Recipe Guide
Looking for the best strawberry pie recipe? You’re in the right place! This easy guide covers everything, from fresh ingredients to simple steps. You’ll…