

Latest & Greatest
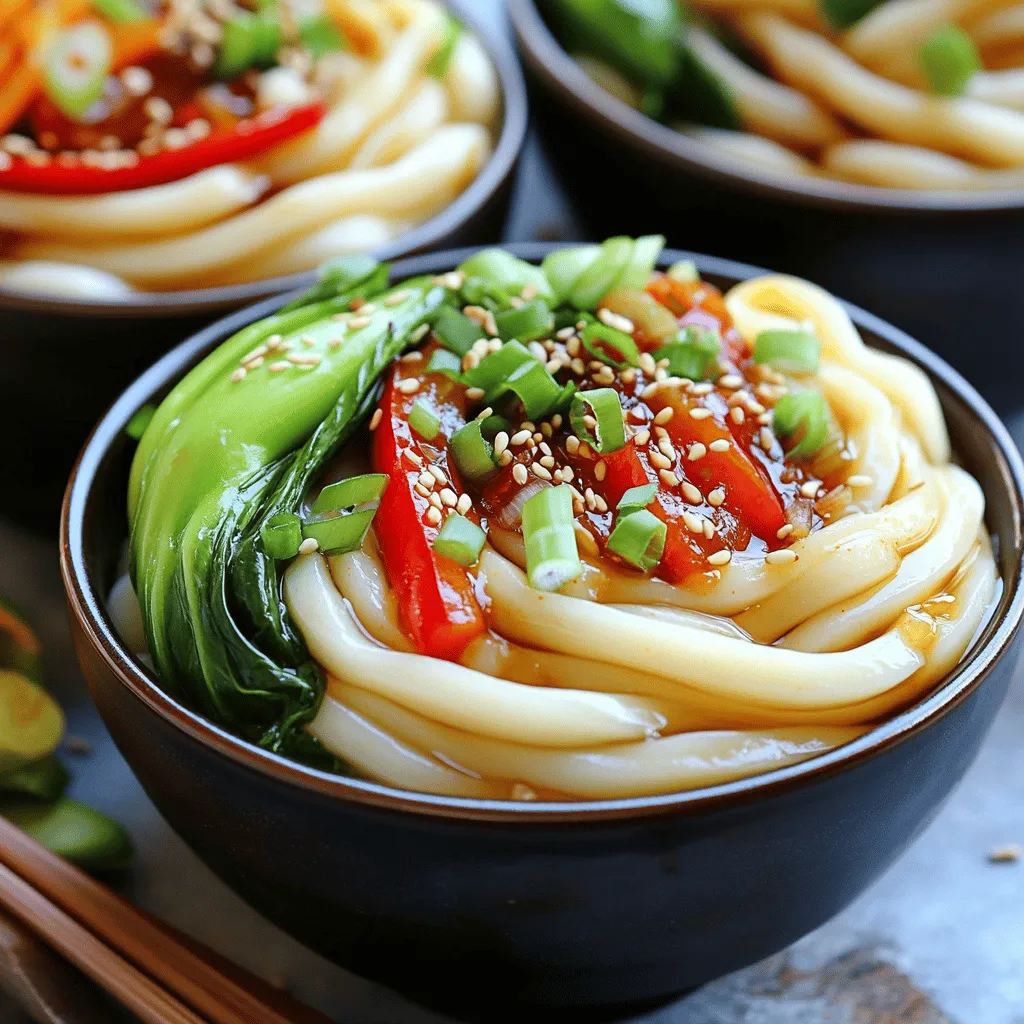
Chili Oil Udon Noodles Quick and Flavorful Stir-Fry
Are you ready to spice up your dinner routine? Chili Oil Udon Noodles are quick, tasty, and perfect for a
Read more…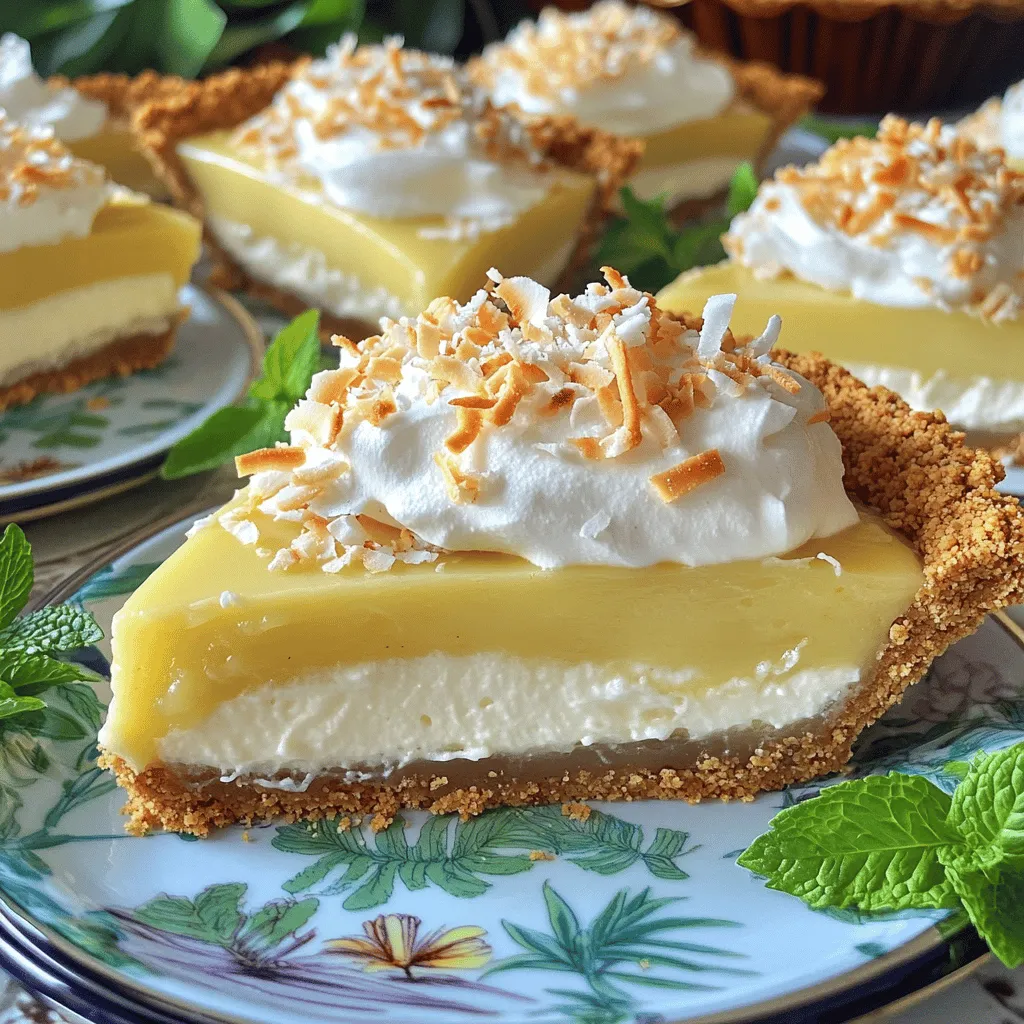
Coconut Cream Pie Scrumptious and Simple Recipe
If you love desserts that are sweet and creamy, you will adore this Coconut Cream Pie recipe. It’s easy to
Read more…
Crispy Fried Chicken Delightfully Easy to Prepare
Do you crave crunchy, juicy fried chicken that’s easy to make? You’re in the right place! I’ll guide you through
Read more…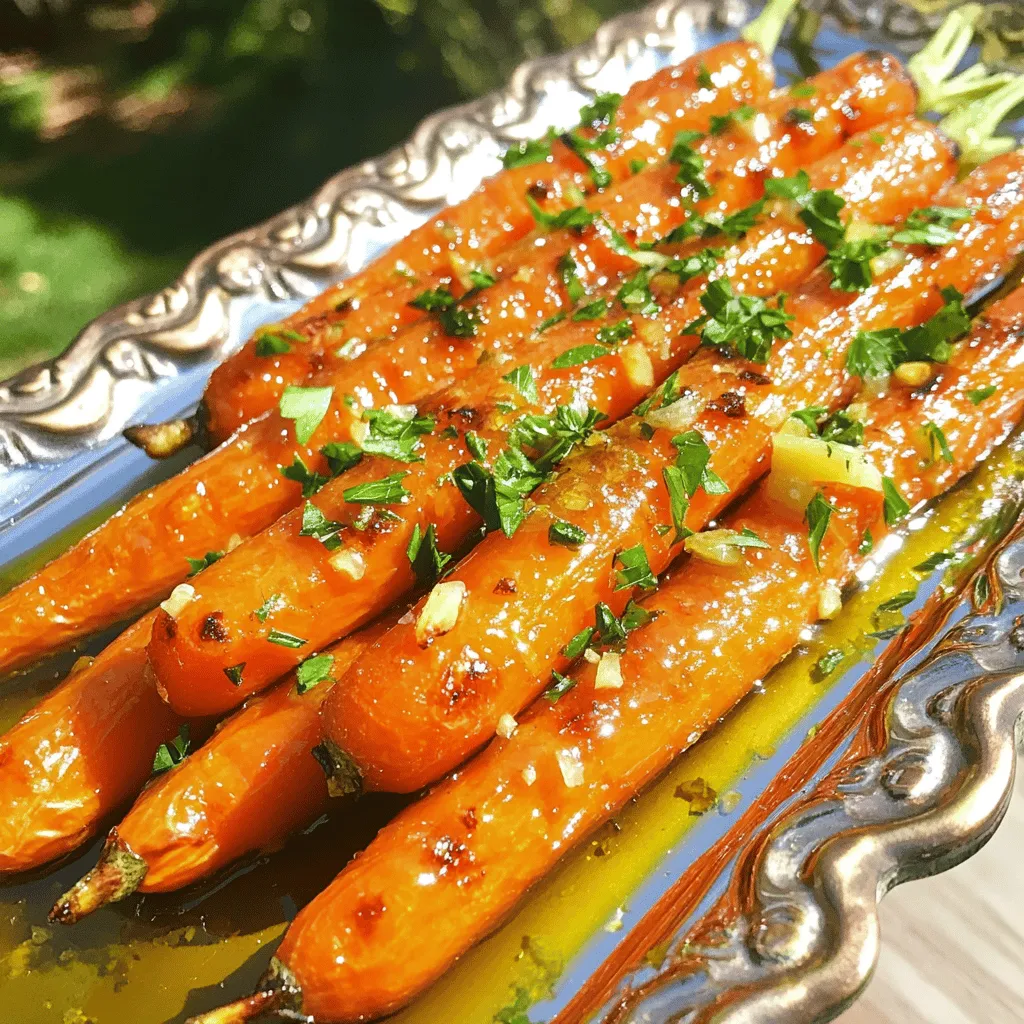
Tangy Lemon Garlic Roasted Carrots Flavorful Side Dish
Are you ready to elevate your dinner game with a vibrant, delicious side dish? Tangy Lemon Garlic Roasted Carrots are
Read more…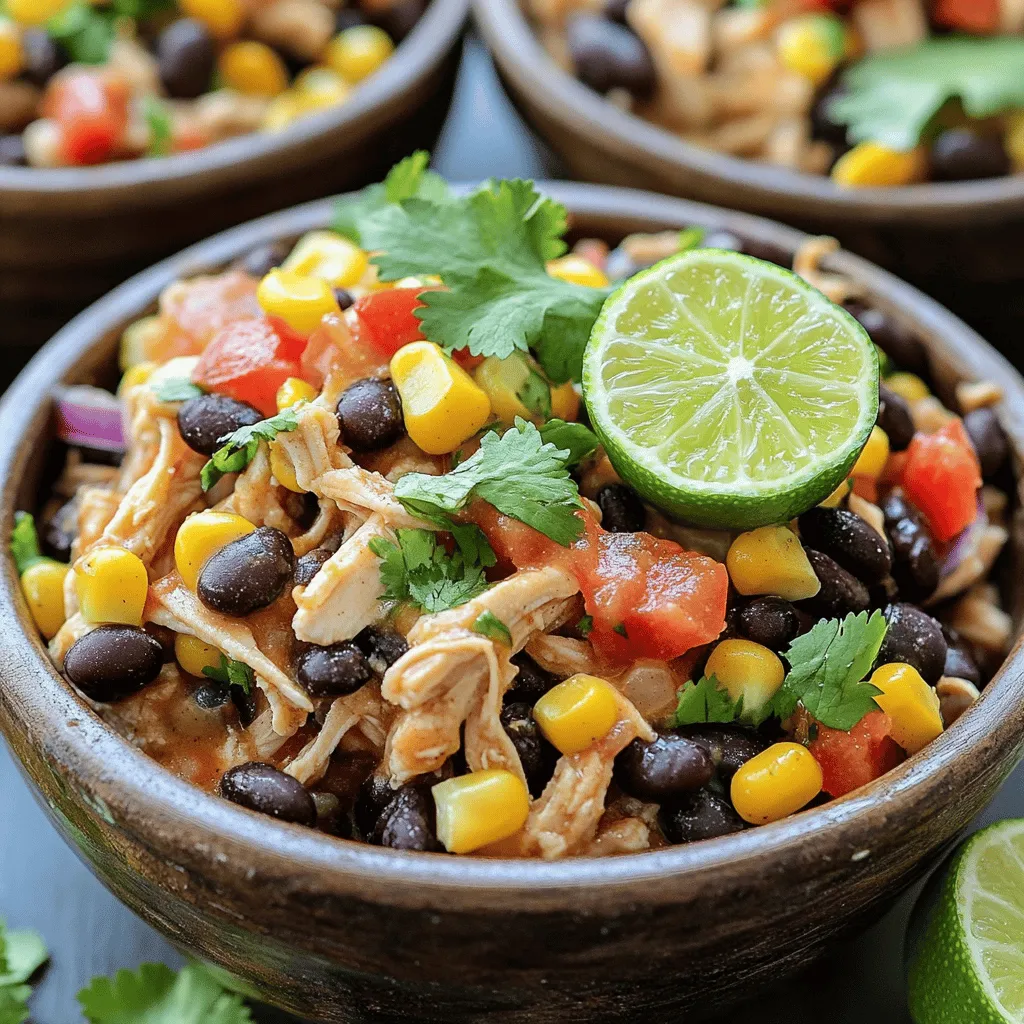
Crockpot Mexican Chicken Flavorful and Easy Recipe
Looking for a simple, tasty dinner idea? This Crockpot Mexican Chicken recipe is your answer. With just a few easy
Read more…
Spring Hash Brown Crust Quiche Flavorful and Easy Meal
Spring Hash Brown Crust Quiche offers a fresh twist on an easy classic. With crispy hash browns as the crust,
Read more…browse recipes


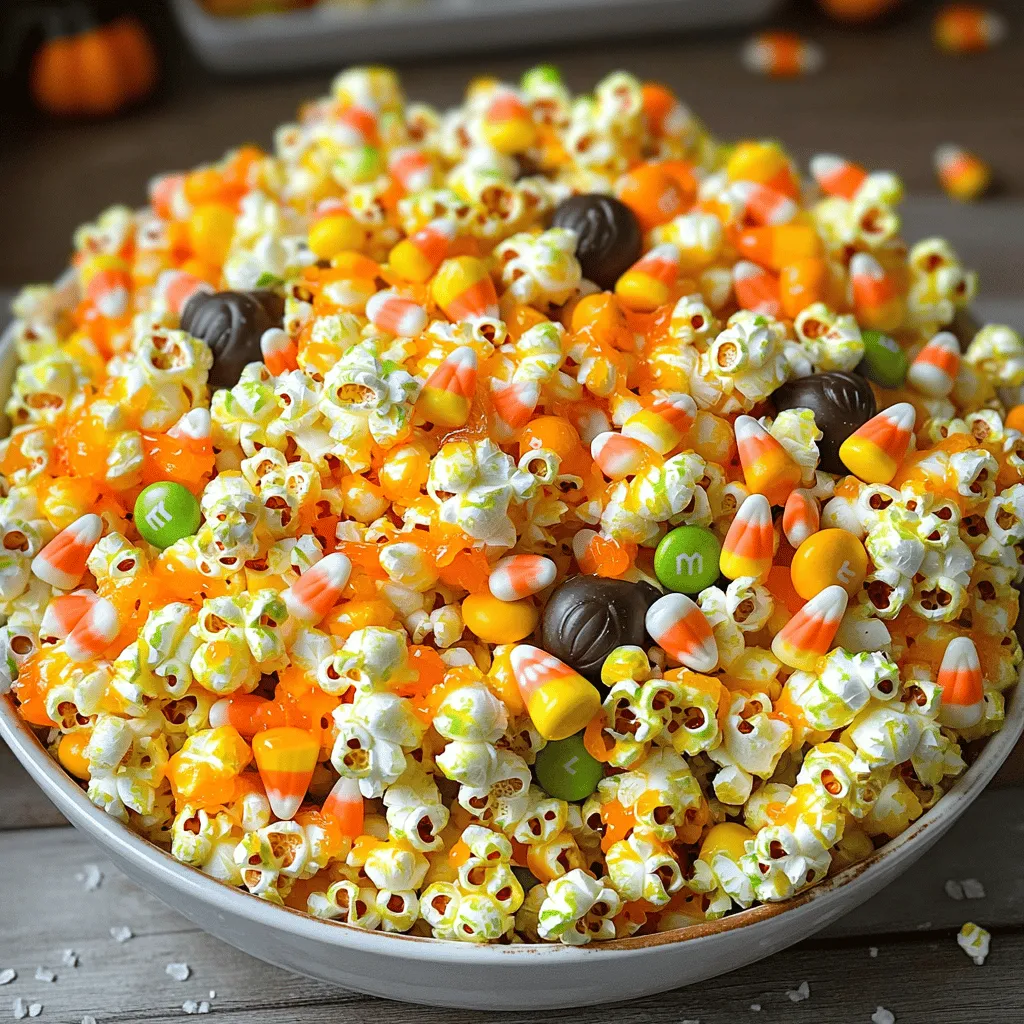
Candy Coated Halloween Popcorn Simple and Fun Treat
Halloween is just around the corner, and what better way to celebrate than with a sweet and festive snack? This Candy Coated Halloween Popcorn…
My Latest Drinks

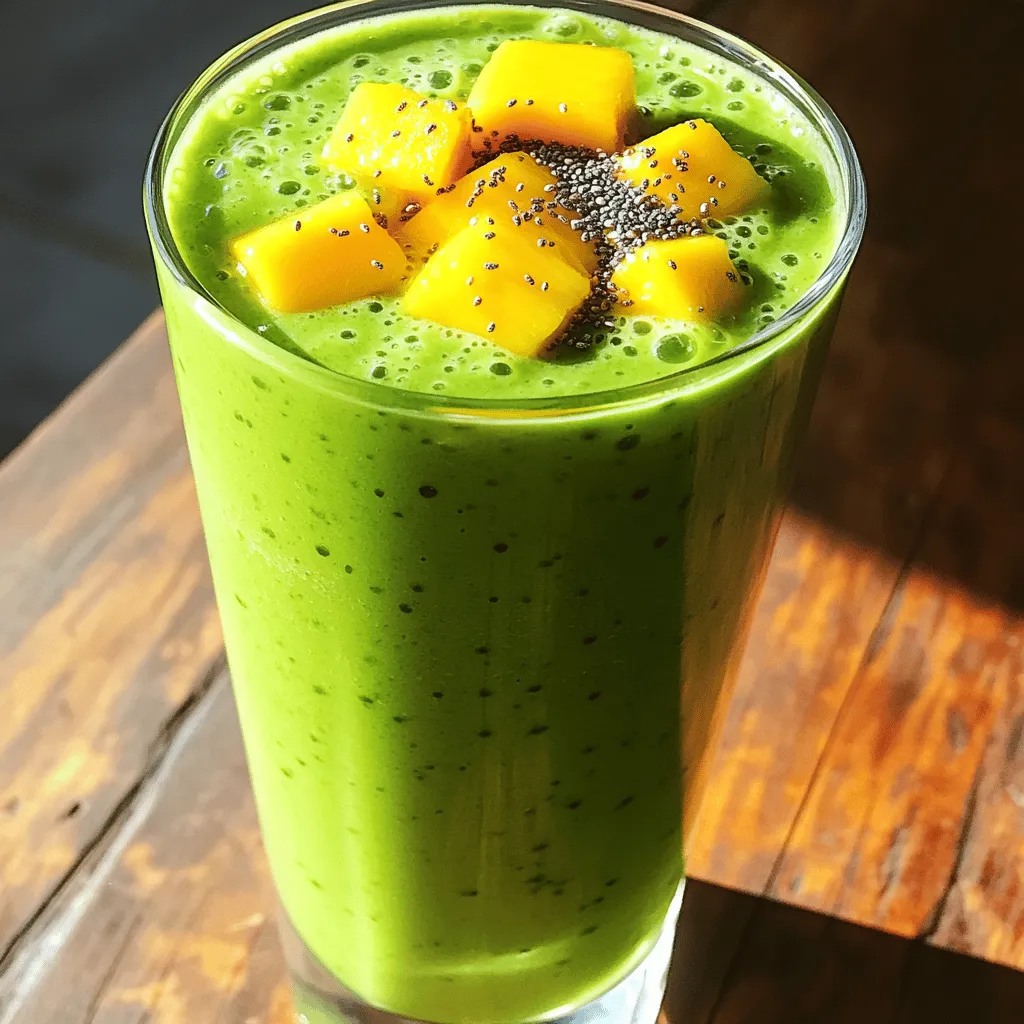
Tropical Green Smoothie Refreshing Health Boost Recipe
Looking for a refreshing drink that packs a health punch? My Tropical Green Smoothie is the perfect blend of fruits Read Full Recipe-
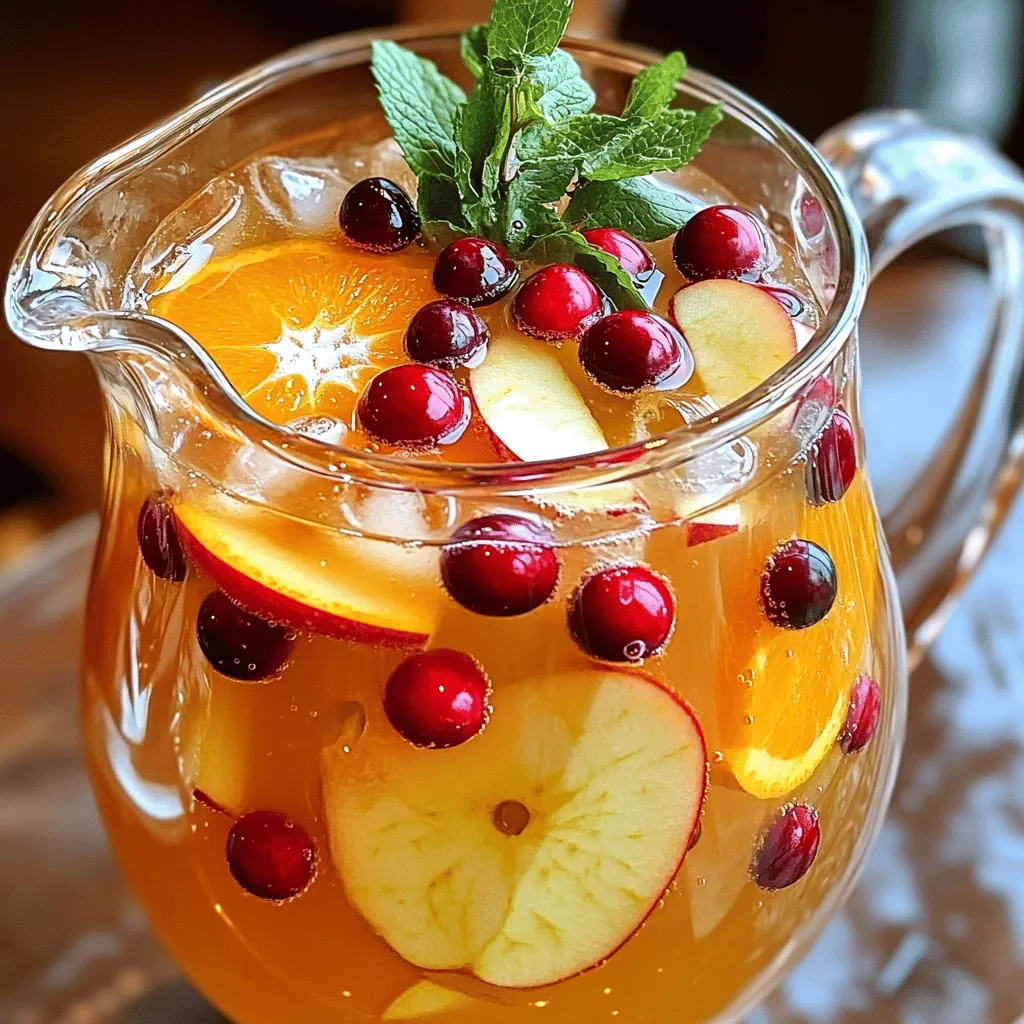
Apple Cider Harvest Punch Refreshing Fall Delight
Get ready for fall with my delicious Apple Cider Harvest Punch! This easy recipe blends fresh flavors that celebrate the Read Full Recipe -
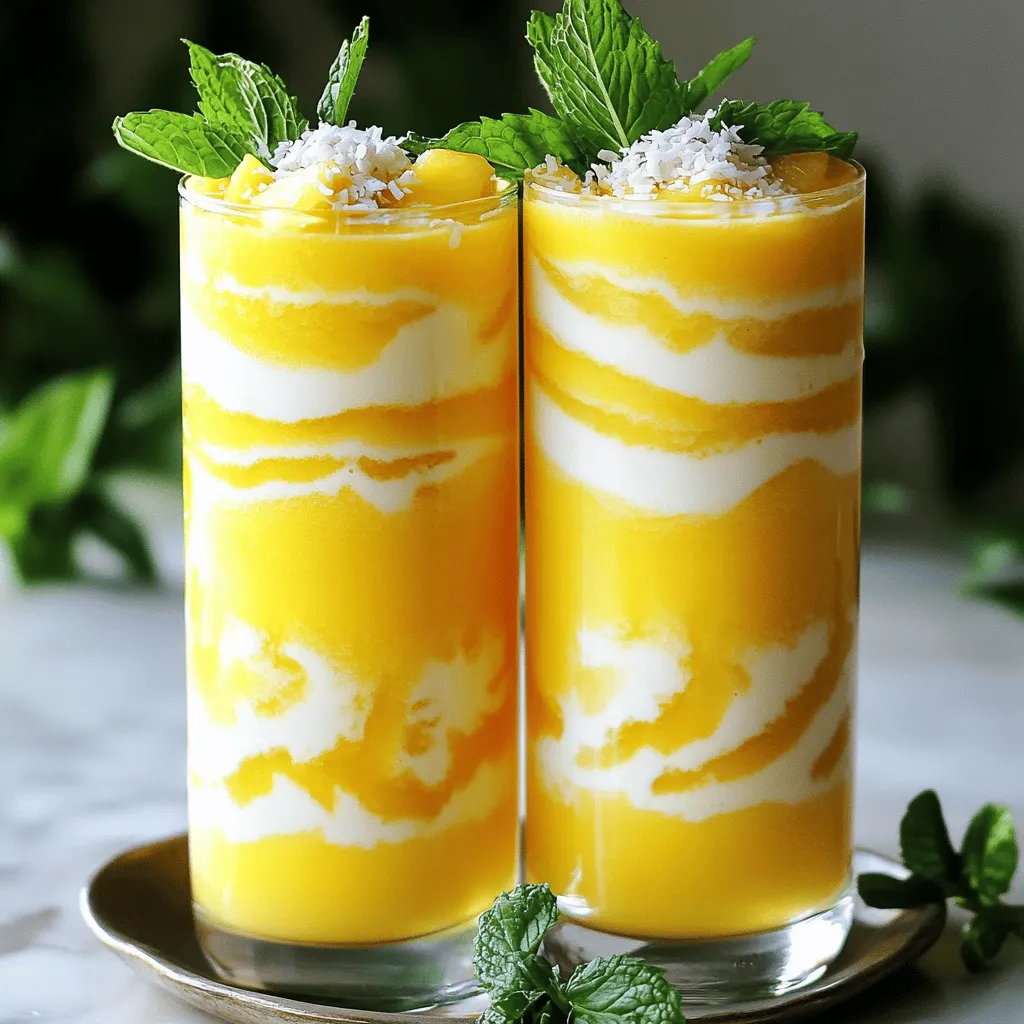
Pineapple Coconut Smoothie Creamy and Refreshing Drink
Are you craving a drink that’s both creamy and refreshing? Look no further than my Pineapple Coconut Smoothie! This easy-to-make Read Full Recipe -
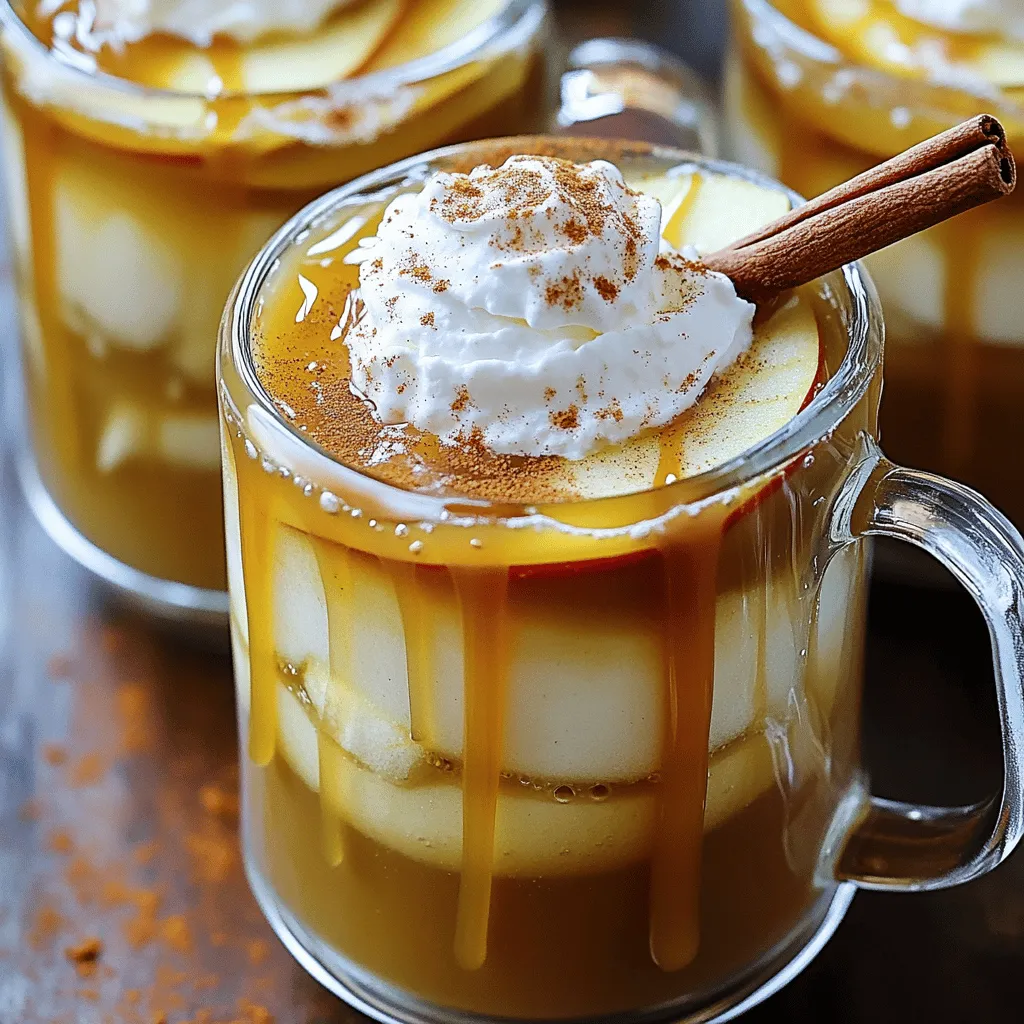
Delicious Caramel Apple Cider Cozy Fall Drink Recipe
Fall is here, and nothing says cozy like a warm cup of Caramel Apple Cider. This drink combines the sweet Read Full Recipe -
Instant Pot Apple Cider Quick and Flavorful Recipe
Looking for a quick and delicious way to make apple cider? The Instant Pot is your best friend! I’ll share Read Full Recipe -
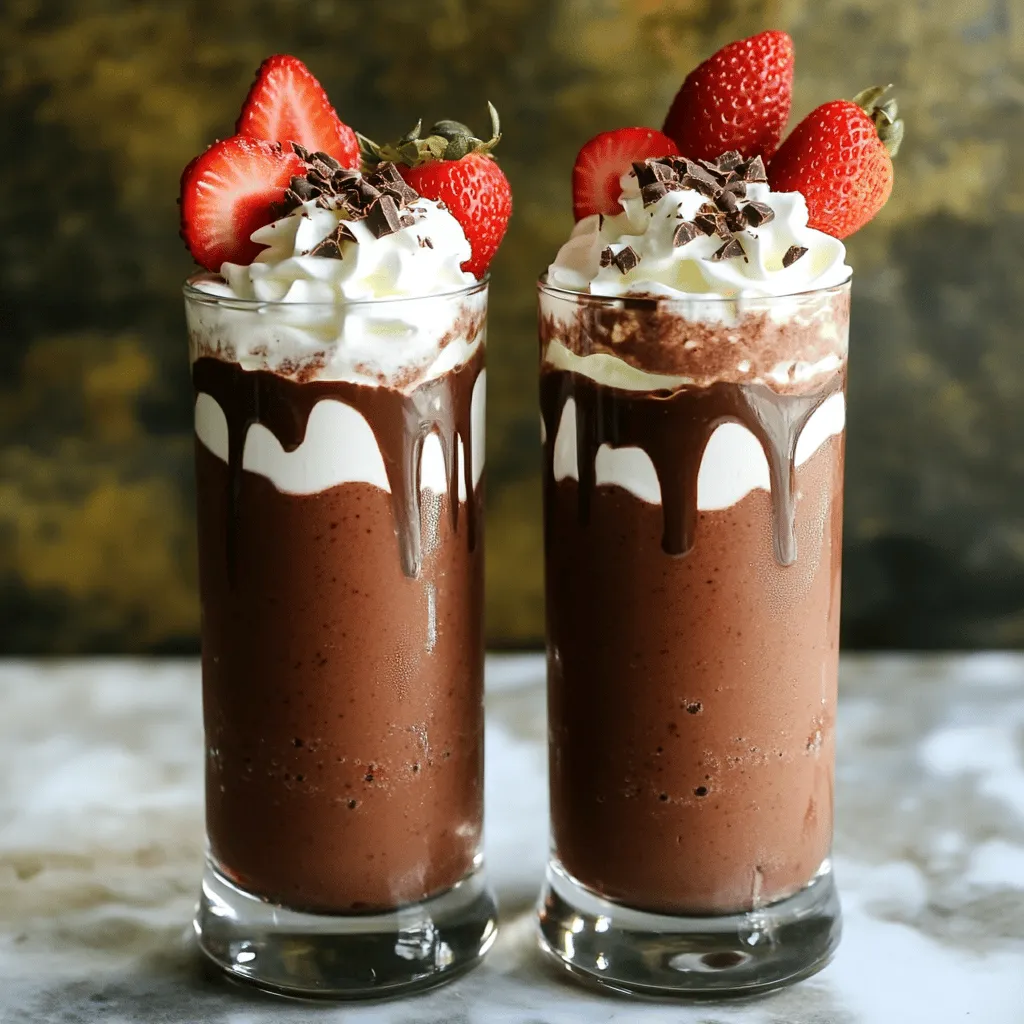
Chocolate Covered Strawberry Smoothie Delicious Treat
Craving something delicious and healthy? The Chocolate Covered Strawberry Smoothie is the perfect treat! With fresh strawberries, cocoa powder, and Read Full Recipe

My Latest Dinners
-
Greek Yogurt Chicken Salad Fresh and Flavorful Recipe
Looking for a fresh twist on a classic chicken salad? My Greek Yogurt Chicken Salad recipe is here to save Read Full Recipe -
Slow Cooker White Chicken Chili Easy and Flavorful Recipe
Looking for a warm, comforting meal that’s easy to make? My Slow Cooker White Chicken Chili is just what you Read Full Recipe -
Taco Stuffed Zucchini Boats Flavorful and Simple Dish
Looking for a fun, flavorful dish that packs a punch? Taco Stuffed Zucchini Boats are the answer! This easy recipe Read Full Recipe -
Creamy Mushroom Marsala Flavorful Dinner Delight
Are you ready to impress at dinner tonight? My Creamy Mushroom Marsala is a flavorful delight that will wow your Read Full Recipe -
Coconut Curry Chickpeas Flavorful and Easy Recipe
If you’re seeking a simple, tasty meal, look no further! My Coconut Curry Chickpeas recipe is a delightful blend of Read Full Recipe -
One-Pot Taco Rice Flavorful and Simple Dinner Delight
Looking for an easy and tasty dinner? Try my One-Pot Taco Rice! This simple dish combines savory flavors and requires Read Full Recipe


hey,
i’m !
I’m so happy you’re here!
Every dish I share is made with love and care. I hope they bring you the same comfort and joy they bring me. Let’s make memories, one recipe at a time.
![- 2 tablespoons matcha green tea powder - 1 cup milk (dairy or non-dairy) - 1 cup coconut milk - 2-3 tablespoons honey or maple syrup - 1 teaspoon vanilla extract - A pinch of sea salt - Optional ingredients: chia seeds or chopped nuts To make the best Iced Matcha Latte Popsicles, gather your ingredients first. I love starting with the matcha powder. Choose a high-quality matcha for a vibrant color and rich flavor. The milk can be dairy or non-dairy, like almond or oat milk, based on your taste. Next, combine coconut milk for a creamy base that adds a tropical twist. Sweeten your mixture with honey or maple syrup. Adjust the sweetness according to your taste. A touch of vanilla extract boosts the flavor, while the sea salt helps balance the sweetness. If you want a fun texture, consider adding chia seeds or chopped nuts. These extras give your popsicles a nice crunch. Ensure you have everything ready before moving to the next steps. Each ingredient plays a vital role in creating a refreshing treat that’s both delicious and visually appealing. Enjoy the process, and have fun experimenting! 1. Sift matcha powder to remove clumps. This helps make your popsicles smooth. If you skip this step, you might have lumps in your mix. 2. Combine all liquid ingredients in a bowl. This includes milk, coconut milk, honey or maple syrup, vanilla extract, and sea salt. Mixing them well ensures great flavor. 3. Whisk until smooth and lump-free. Use a whisk for best results. It takes only a minute or two. 1. Stir in optional texture ingredients. You can add chia seeds or chopped nuts here. These give your popsicles a nice crunch. 2. Pour the mixture into molds. Fill them up but leave a little room at the top. The liquid will expand as it freezes. 3. Insert popsicle sticks and freeze. Make sure the sticks are centered. Freeze for at least 4-6 hours or until solid. 1. Tips for easy unmolding. When ready, run warm water over the outside of the molds. This helps release the popsicles without breaking them. 2. Recommended freezing time. For best results, freeze your popsicles for at least 6 hours. The longer, the better! These steps will guide you to make refreshing Iced Matcha Latte Popsicles. For the Full Recipe, check the ingredients and instructions above. To make the best iced matcha latte popsicles, start with high-quality matcha powder. Look for a vibrant green color, which means it is fresh. Ceremonial grade matcha is great for this recipe. It has a smooth taste that works well in popsicles. Next, adjust the sweetness to fit your taste. You can use honey or maple syrup. Start with less and add more if needed. This way, your popsicles will not be too sweet. Remember, the flavor of matcha should shine through! Adding texture can make these popsicles even better. Consider stirring in chia seeds or chopped nuts. Chia seeds add a fun crunch, while nuts give a lovely bite. They help make every lick interesting. Think about how texture affects enjoyment. A smooth popsicle can be nice, but adding bits makes it exciting. It breaks up the creaminess and gives you a tasty surprise. When it's time to serve, make your popsicles look great! Try placing them on a rustic wooden board or a bright plate. You can sprinkle some matcha powder on top or add fresh mint leaves. Both add a nice touch. Pair these popsicles with other desserts or drinks. They go well with fruity sorbets or a cold brew coffee. Enjoying them together makes for a fun treat! For the full recipe, check out the section above. {{image_2}} If you want to skip dairy, many options exist. Almond milk is a great choice. It has a light flavor that pairs well with matcha. Oat milk is thicker and creamier. It enhances the popsicle's texture. Coconut milk is another fantastic option. It adds a rich, tropical taste. Plus, it helps keep the popsicles creamy. Coconut milk is rich in healthy fats. These fats help your body absorb vitamins. They also provide a nice, smooth mouthfeel. Using coconut milk can make your popsicles more filling. It’s a perfect way to enjoy a treat without dairy. Want to spice up your popsicles? Adding fruit puree is a fun way to do it! You can use berries, mango, or even pineapple. Just blend your fruit and mix it into the matcha base. This gives your popsicles a fruity twist. It’s refreshing on hot days! You can also try different sweeteners. Honey and maple syrup are common, but there are more. Agave syrup is a great choice for a light sweetness. Coconut sugar adds a unique flavor. Experiment with what you like best. This way, you can create a popsicle that suits your taste. Popsicles reflect trends and seasons. You might see seasonal flavors like pumpkin spice in fall. Or how about a peppermint matcha during winter? These seasonal twists keep things exciting! Matcha itself has global roots. It comes from Japan, where it is a key part of tea ceremonies. Pop culture now embraces matcha in many treats. From lattes to cakes, matcha is everywhere! By blending global flavors, you can create unique popsicles. Try adding spices like ginger or cardamom for a twist. The possibilities are endless! For the full recipe to create these delightful treats, be sure to check out the [Full Recipe]. To keep your Iced Matcha Latte Popsicles fresh, always store them in the freezer. Wrap each popsicle in plastic wrap. This helps prevent freezer burn. You can also place them in an airtight container. This adds an extra layer of protection. If you have many popsicles, use a freezer-safe bag. Make sure to remove as much air as possible before sealing. The best temperature for freezing popsicles is 0°F (-18°C) or lower. This helps them freeze faster and stay solid. To avoid ice crystals, freeze your popsicles quickly. Pour the mixture into molds and freeze as soon as possible. Avoid opening the freezer door too often. Each time you open it, warm air enters and can affect the freezing process. These popsicles can last about 2 to 3 months in the freezer. However, for the best taste, enjoy them within a month. Signs of spoilage include off smells, discoloration, or ice crystals on the surface. If you notice any of these, it's best to toss them. Enjoy your popsicles while they're fresh for the best flavor and texture. The best matcha powder for popsicles is ceremonial grade. This type is bright green and smooth. It offers a rich flavor and vibrant color. Look for brands that are organic and finely ground. Higher quality matcha gives your popsicles a nice taste. Yes, you can make these popsicles vegan. Just use non-dairy milk instead of regular milk. Coconut milk works great and adds creaminess. For sweetener, use maple syrup or agave nectar. Both are vegan-friendly and tasty. You need to freeze the popsicles for at least 4-6 hours. This ensures they freeze solid. If they are not fully frozen, they will be hard to unmold. For best results, leave them overnight. Yes, you can use other sweeteners. Agave nectar and coconut sugar are good options. You can also use stevia for a low-calorie choice. Adjust the amount based on your taste. Each sweetener may change the flavor slightly. Check the Full Recipe for more details. This blog post has walked you through making delicious matcha popsicles. We covered ingredients, preparation steps, and tips for the best flavor and texture. You can customize them with fun add-ins and flavors. Remember to store them properly to keep them fresh for longer. Enjoy making these treats at home! With simple steps, you'll impress friends and family. Dive in and explore these tasty popsicle variations whenever you crave something cool and refreshing.](https://easycookingbite.com/wp-content/uploads/2025/07/9b519993-1baf-4061-b845-5ee4d9f7be97-300x300.webp)


Sweet and Sour Chicken Easy Recipe for Everyone
Are you ready to make a dish that everyone loves? Sweet and sour chicken is quick, tasty, and fun to make! In this easy…
![To make this sweet and sour chicken, you will need: - 1 lb chicken breast, cut into bite-sized pieces - 1 bell pepper (red or yellow), diced - 1 small onion, diced - 1 cup pineapple chunks (fresh or canned) - 1 cup carrots, julienned - 1/2 cup sugar - 1/2 cup apple cider vinegar - 1/4 cup ketchup - 2 tablespoons soy sauce (low sodium) - 1 tablespoon cornstarch mixed with 2 tablespoons water - 2 cloves garlic, minced - 2 tablespoons vegetable oil - Salt and pepper to taste - Cooked white rice, for serving Feel free to add or change these ingredients: - Broccoli for extra crunch - Snap peas for a fresh touch - Sesame seeds for a nice garnish Here are some tools that will help you: - Large skillet or wok for cooking - Cutting board for chopping - Sharp knife for easy cutting - Mixing bowl for blending sauce - Measuring cups and spoons for accuracy These ingredients and tools will set you up for success in making sweet and sour chicken. For the complete recipe, check [Full Recipe]. Gather all your ingredients before you start cooking. This makes the process smooth and fun. Cut the chicken into small pieces. Dice the bell pepper and onion. Julienne the carrots. If using fresh pineapple, cut it into chunks. 1. Heat the vegetable oil in a large skillet over medium-high heat. 2. Add the chicken pieces and season with salt and pepper. Cook until browned, about 5-7 minutes. 3. Add the garlic, onion, bell pepper, and carrots to the skillet. Stir-fry for 3-4 minutes until the veggies soften. 4. In a bowl, mix the sugar, apple cider vinegar, ketchup, and soy sauce. Whisk until blended. 5. Pour the sauce over the chicken and veggies. Stir well to coat everything. 6. Bring the mix to a gentle simmer, then add the pineapple chunks. 7. Stir in the cornstarch mixture to thicken the sauce. Cook for another 2 minutes. 8. Taste and adjust seasonings if needed. Remove from heat. 9. Serve the sweet and sour chicken over warm white rice. Enjoy! Stir-frying is key for this dish. It cooks food quickly while keeping it crisp. Use high heat for the best results. Make sure to cut your ingredients evenly. This ensures they cook at the same rate. Always taste your dish before serving. Adjust flavors to make it perfect. Check the texture of the sauce; it should be thick but not gluey. For the full recipe, refer to the Sweet and Sour Chicken Delight . To make your sweet and sour chicken shine, balance the flavors well. You want the sauce to be sweet but not too sweet. Add a touch more vinegar if needed. Use fresh garlic for a stronger taste. A dash of crushed red pepper adds heat, if you like spice. Always taste your sauce before adding it to the chicken. One common mistake is overcooking the chicken. This can make it dry. Cook it just until it turns golden brown. Don’t skip the cornstarch mixture; it thickens the sauce. If you add the pineapple too early, it can get mushy. Always add it near the end of cooking. Serve sweet and sour chicken over warm white rice. This keeps the dish comforting. You can also add steamed broccoli or snap peas for a vibrant touch. For a fun twist, serve it in lettuce wraps. This adds crunch and freshness. Enjoy your meal with friends or family for a great time! {{image_2}} You can easily make sweet and sour chicken vegetarian or vegan. For a veggie twist, use tofu instead of chicken. Firm tofu works best. Press it to remove extra moisture, then cut it into cubes. Sauté the tofu until golden brown. You can also use seitan or tempeh for added texture. Replace the chicken broth with vegetable broth for a vegan sauce. Feel free to mix up the ingredients in this recipe. If you don't have chicken, try shrimp or pork. You can swap out the bell pepper for any other color or use zucchini instead. If you can’t find pineapple, use mango or peaches for a fruity kick. Instead of apple cider vinegar, rice vinegar gives a nice tang. The sauce can change the whole dish. You can make it sweeter by adding more sugar or honey. For a spicier kick, mix in some chili sauce or red pepper flakes. If you want a deeper flavor, add some ginger or sesame oil. Play with the ketchup ratio to create the perfect balance for your taste. Each of these variations keeps the essence of sweet and sour chicken. You can enjoy it while also making it your own! For the full recipe, check out the Sweet and Sour Chicken Delight. Store your sweet and sour chicken in an airtight container. It can last in the fridge for 3 to 4 days. Make sure it cools down to room temperature before sealing. This helps keep it fresh and tasty. You can freeze sweet and sour chicken for up to 3 months. Use a freezer-safe container or a heavy-duty freezer bag. To freeze, let the dish cool, then portion it out. Remove as much air as possible to prevent freezer burn. To reheat, thaw the chicken in the fridge overnight. Heat it on the stove over low heat. Stir it often to warm it evenly. You can also microwave it; cover it with a damp paper towel. This keeps it moist while reheating. If you want to enjoy it again, serve it over fresh rice. For the full recipe, check out the original instructions. Sweet and sour chicken comes from Chinese cuisine. It mixes flavors of sweet and tangy. This dish gained popularity in Western countries. It often features chicken, bell peppers, and pineapple. The sauce usually has vinegar, sugar, and soy sauce. Each region has its own twist on the recipe. Today, it’s a favorite in many homes. Yes, you can make sweet and sour chicken ahead of time. Cook the chicken and sauce, then store them in the fridge. Keep the rice separate to avoid sogginess. Reheat the chicken on the stove or in the microwave. This dish tastes great the next day, too. Just make sure to store it in an airtight container. Sweet and sour chicken goes well with many sides. Here are some great options: - Steamed white rice - Fried rice - Noodles - Stir-fried vegetables - Spring rolls - Egg rolls These sides complement the dish's flavors and add variety. You can mix and match to find your favorite combination. Want the full recipe? Check out the [Full Recipe]. In this blog post, I covered key points about making Sweet and Sour Chicken. I shared the essential ingredients and tools you'll need. The step-by-step guide lays out clear instructions for preparation and cooking. Tips for flavor and common mistakes help you get it right. I also offered variations for different diets and storage tips. Remember, practice makes perfect. Enjoy making your dish and impress others with your cooking skills!](https://easycookingbite.com/wp-content/uploads/2025/05/c47ba50c-7cb5-49d4-bda0-d9b09883bdd4.webp)
