


Latest & Greatest

Air Fryer Jalapeño Cheddar Pretzel Bites Delight
Are you ready for a tasty treat? My Air Fryer Jalapeño Cheddar Pretzel Bites are the perfect snack for any
Read more…
Pumpkin Chocolate Chip Energy Bites Simple Snack Treat
Looking for a tasty, healthy snack? Try my Pumpkin Chocolate Chip Energy Bites! These bites are easy to make and
Read more…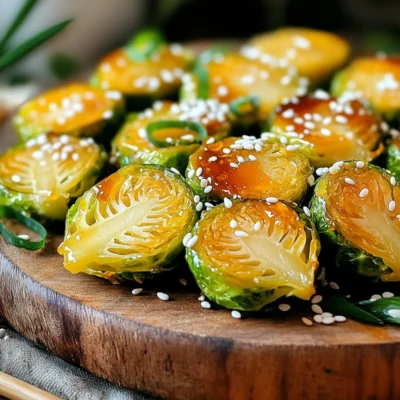
Honey Sriracha Brussels Sprouts Flavorful Side Dish
Looking for a side dish that packs a punch? Honey Sriracha Brussels Sprouts hit the mark with sweet and spicy
Read more…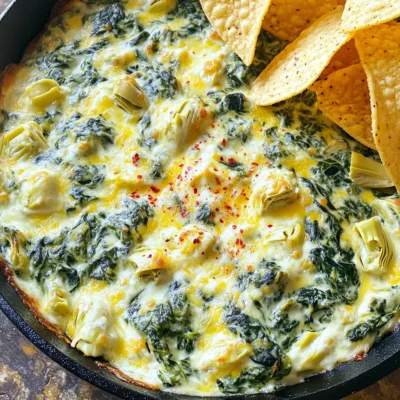
Cheesy Spinach Artichoke Dip Skillet Irresistible Treat
If you love cheesy treats, this Cheesy Spinach Artichoke Dip Skillet is for you! Packed with fresh spinach, artichoke hearts,
Read more…
Baked Lemon Ricotta Pancakes Simple and Light Delight
Dive into the world of easy and delicious with my Baked Lemon Ricotta Pancakes. These pancakes are simple, light, and
Read more…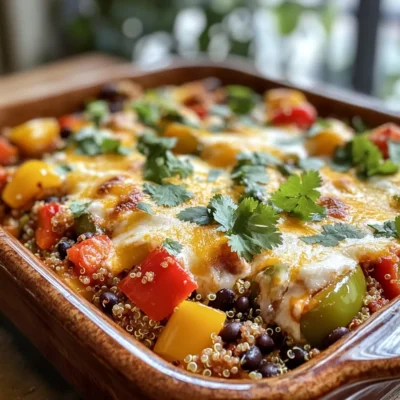
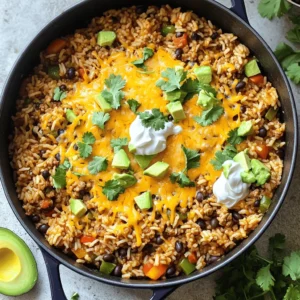
Stuffed Bell Pepper Casserole Simple and Tasty Dish
If you’re looking for a simple and tasty meal, you’ve found it! My Stuffed Bell Pepper Casserole is perfect for
Read more…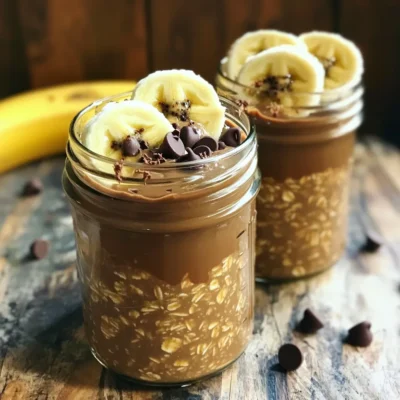
Mocha Overnight Oats Tasty and Simple Breakfast Recipe
Start your day with a boost of energy and flavor! Mocha Overnight Oats are not only tasty, but they’re also
Read more…
Pumpkin Spice White Chocolate Truffles Delightful Treat
Are you ready to indulge in a sweet treat that screams fall? These Pumpkin Spice White Chocolate Truffles combine creamy
Read more…browse recipes


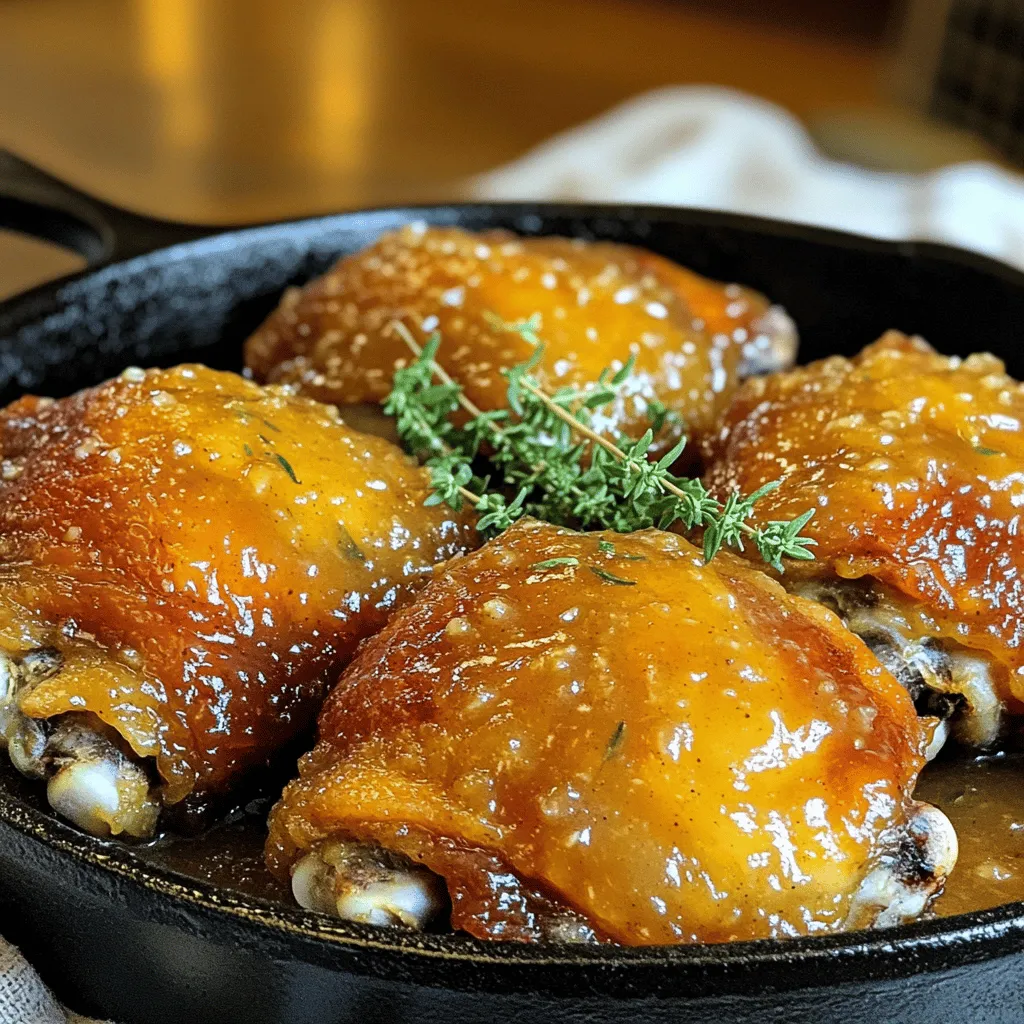
Savory Apple Butter Glazed Chicken Thighs Delight
Are you ready to elevate your dinner game? This Savory Apple Butter Glazed Chicken Thighs Delight is the answer. With a perfect blend of…
My Latest Drinks

Strawberry Cheesecake Smoothie Creamy Refreshing Treat
Craving something delicious and cool? The Strawberry Cheesecake Smoothie is your answer! It blends creamy cheesecake flavors with sweet strawberries Read Full Recipe-
Mocktail Pink Punch Refreshing and Easy Recipe
Are you ready to impress your guests with a delightful drink? This Mocktail Pink Punch recipe is both refreshing and Read Full Recipe -
Blue Lagoon Tropical Lemonade Refreshing and Zesty Drink
Looking for a drink that’s both refreshing and fun? Say hello to Blue Lagoon Tropical Lemonade! This colorful beverage packs Read Full Recipe -
Pumpkin Spice Coffee Creamer Flavorful Fall Treat
Are you ready to embrace the cozy vibes of autumn? In this blog post, I’ll guide you through making your Read Full Recipe -
Apple Cider Margarita Mocktail Refreshing Fall Drink
Fall is here, and that means it’s the perfect time for a cozy drink! The Apple Cider Margarita Mocktail offers Read Full Recipe -
Pumpkin Spice Latte Copycat Cozy and Comforting Recipe
Craving that warm, cozy feeling of fall? You can enjoy a delicious Pumpkin Spice Latte at home! In this article, Read Full Recipe


My Latest Dinners
-
White Bean Soup Simple and Hearty Delight
Looking for a warm and filling meal? Let me introduce you to white bean soup! This simple and hearty delight Read Full Recipe -
Garlic Herb Roasted Sweet Potatoes Flavorful Side Dish
Looking for a side dish that’s both tasty and easy to make? Garlic Herb Roasted Sweet Potatoes are the answer! Read Full Recipe -
One Pot Beef Taco Pasta Easy and Flavorful Meal
Looking for a quick and tasty meal? One Pot Beef Taco Pasta is the perfect dish! This recipe packs bold Read Full Recipe -
Garlic Chicken Zucchini Noodles Stir Fry Delight
Are you ready for a tasty twist on dinner? My Garlic Chicken Zucchini Noodles Stir Fry is a quick and Read Full Recipe -
Stuffed Italian Meatloaf Easy and Tasty Recipe
Are you ready to elevate your dinner game? This Stuffed Italian Meatloaf is both easy and tasty! In this article, Read Full Recipe -
One Pot French Onion Pasta Flavorful Comfort Dish
Looking for a cozy dinner that warms your soul? Try my One Pot French Onion Pasta! This creamy, rich dish Read Full Recipe


hey,
i’m !
I’m so happy you’re here!
Every dish I share is made with love and care. I hope they bring you the same comfort and joy they bring me. Let’s make memories, one recipe at a time.


One Pot Creamy Pesto Pasta Simple and Tasty Dish
Ready for a delicious meal that’s simple to make? One Pot Creamy Pesto Pasta is your answer! This dish combines fresh flavors with creamy…
![For a tasty One Pot Creamy Pesto Pasta, gather these key ingredients: - Pasta options: 12 oz (340g) of penne, fusilli, or spaghetti - Key flavor components: 1 tablespoon of olive oil, 3 cloves of minced garlic, and 3 cups of vegetable broth - Creamy elements: 1 cup of heavy cream and 1 cup of basil pesto (store-bought or homemade) - Fresh additions: 1 cup of halved cherry tomatoes and 1 cup of loosely packed spinach - Cheese and seasoning: ½ cup of grated Parmesan cheese, plus salt and pepper to taste When you combine these ingredients, you create a dish that is both simple and delicious. Each component adds its own flavor and texture, making every bite satisfying. The pasta absorbs the rich broth and cream, while the pesto gives it a fresh, herby kick. The cherry tomatoes and spinach add color and nutrition, making it a complete meal. You can find the complete recipe above to guide you through the cooking process. Enjoy making this easy yet gourmet dish! 1. Sauté aromatics in olive oil First, take a large pot. Heat 1 tablespoon of olive oil over medium heat. Add 3 cloves of minced garlic. Sauté for about 1 minute. You want it fragrant, not browned. 2. Cook pasta with vegetable broth Next, add 12 oz of your favorite pasta to the pot. Pour in 3 cups of vegetable broth. Bring this mixture to a boil. Once boiling, reduce the heat and simmer for 10 to 12 minutes. Stir often until the pasta is al dente and most of the liquid is absorbed. 3. Incorporate creamy elements Now, stir in 1 cup of heavy cream and 1 cup of basil pesto. Mix well until everything combines nicely. Let it cook for another 2 to 3 minutes. This will help the sauce thicken slightly. 4. Add vegetables Time to add some color! Toss in 1 cup of halved cherry tomatoes and 1 cup of spinach. Stir gently until the spinach wilts. This should take about 2 minutes. 5. Final touches Remove the pot from heat. Stir in ½ cup of grated Parmesan cheese. Season with salt and pepper to taste. If the pasta is too thick, add a splash of vegetable broth to loosen it up. Enjoy your One Pot Creamy Pesto Pasta! For the complete recipe, check out the [Full Recipe]. To get the best texture, cook your pasta until it is al dente. This means it should be firm but not hard. Test it a minute or two before the time is up. If you want a creamier sauce, you can adjust the consistency. Add more broth or a splash of cream as needed. For extra flavor, try adding more herbs or spices. A pinch of red pepper flakes can give it a nice kick. To save time, use pre-minced garlic. It’s quick and easy, and it saves you from chopping. When you chop vegetables, try to use a sharp knife. This helps you chop faster and safer. You can cook the pasta right in the sauce. This cuts down on extra dishes and makes cleanup easier. {{image_2}} You can easily change the pasta type to suit your needs. Try using gluten-free pasta if you want a different option. It works just as well and is just as tasty. You can also swap in proteins like chicken, shrimp, or tofu. Each choice adds a unique flavor and texture. For a vegan version, replace heavy cream and cheese. Use coconut cream or cashew cream instead. Nutritional yeast can add a cheesy flavor without dairy. To enhance the taste, add lemon zest. It brightens the dish and adds freshness. You can also mix in nuts like walnuts or pine nuts. They provide crunch and extra flavor. If you like some heat, sprinkle red pepper flakes or smoked paprika. This gives your pasta a nice kick. Each tweak allows you to customize your One Pot Creamy Pesto Pasta to your liking. For the full recipe, check out the relevant section above. To store leftover One Pot Creamy Pesto Pasta, follow these steps: - Refrigerate: Let the pasta cool down first. Place it in an airtight container. Store it in the fridge. It can last up to 3 days. - Freezing: For longer storage, freeze the pasta. Use a freezer-safe container. It can last up to 2 months. - Reheating: When ready to eat, thaw in the fridge overnight. You can reheat it in a microwave or on the stovetop. If using a microwave, heat in short bursts. For stovetop, add a splash of broth to loosen the pasta. Stir often to heat evenly. In the fridge, One Pot Creamy Pesto Pasta lasts about 3 days. Look for signs of spoilage: - Off smell or flavor - Slimy texture - Discoloration To extend freshness, store it properly and consume it quickly. Freezing is a great option for longer storage. Just remember to label your container with the date. How do I make this recipe in advance? You can prepare the One Pot Creamy Pesto Pasta ahead of time. First, cook the pasta and mix in the sauce as usual. Let it cool completely, then store it in an airtight container. You can keep it in the fridge for up to three days. When you are ready to eat, just reheat it on the stove over low heat. Add a splash of broth to help loosen the sauce. Can I use homemade pesto instead of store-bought? Absolutely! Homemade pesto can add a personal touch to your dish. Use fresh basil, garlic, nuts, cheese, and olive oil to make your pesto. This change can enhance the flavor and make the pasta feel more special. Just make sure it’s the same amount as the store-bought version, about one cup. How do I adjust servings for larger gatherings? To serve more people, simply multiply the ingredients. For example, if you want to serve eight people, double the ingredients in the Full Recipe. Be mindful of your pot size. You might need a larger pot or to cook in batches. Check the cooking time, as it may vary slightly with larger quantities. Caloric content per serving Each serving of One Pot Creamy Pesto Pasta has about 600 calories. This can change based on the specific ingredients you choose, like the type of pasta or if you use less cream. Nutrient breakdown This dish is a good source of protein, mainly from the cheese and heavy cream. It also offers healthy fats from the olive oil and pesto. If you choose whole grain pasta, it can be lower in carbs and higher in fiber. Dietary considerations If you need gluten-free options, use gluten-free pasta. The dish is vegetarian due to its ingredients. For a vegan option, substitute the heavy cream and cheese with plant-based alternatives. This blog post covered everything you need for a delicious pasta dish. We discussed the best ingredients, step-by-step instructions, and handy tips. You learned about ingredient swaps and fun flavor tweaks to make your meal unique. Proper storage and reheating tips help you enjoy leftovers without waste. Overall, you now have a complete guide to crafting a creamy, flavorful pasta dish that fits your taste. Take these ideas and make your next meal special!](https://easycookingbite.com/wp-content/uploads/2025/07/be392c5c-522c-4119-8674-461e05f9824f.webp)
