

Latest & Greatest
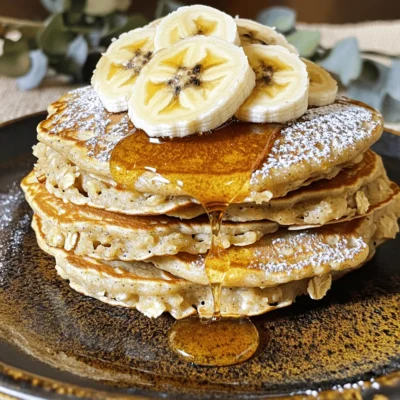
Banana Oatmeal Pancakes Simple and Tasty Recipe
Are you ready to make breakfast a little more exciting? Banana oatmeal pancakes are simple, tasty, and pack a nutritious
Read more…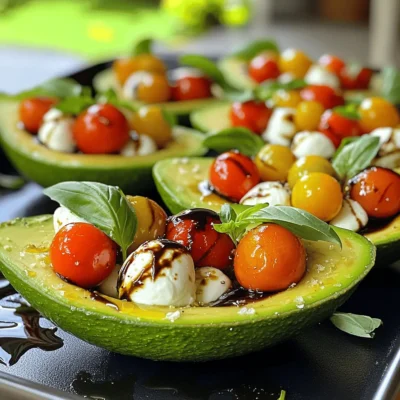
Caprese Stuffed Avocados Fresh and Flavorful Delight
Are you ready to elevate your snacking game? These Caprese Stuffed Avocados offer a perfect blend of fresh flavors. With
Read more…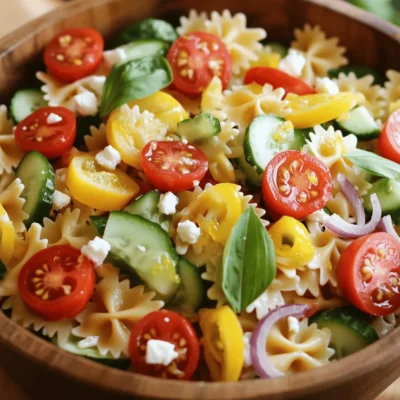
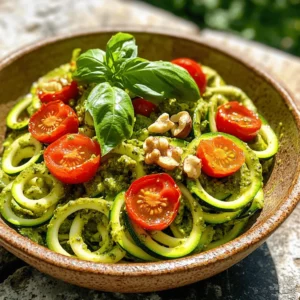
Lemon Basil Pasta Salad Fresh and Flavorful Dish
Looking for a fresh and tasty dish that’s easy to make? Try my Lemon Basil Pasta Salad! This vibrant meal
Read more…
Classic Deviled Eggs Easy and Flavorful Recipe
Are you ready to whip up a crowd-pleaser? Classic deviled eggs are a delicious, easy snack that everyone loves. With
Read more…
No-Bake Chocolate Oatmeal Cookies Easy and Quick Treat
Looking for a quick and easy treat that satisfies your sweet tooth? These No-Bake Chocolate Oatmeal Cookies are just what
Read more…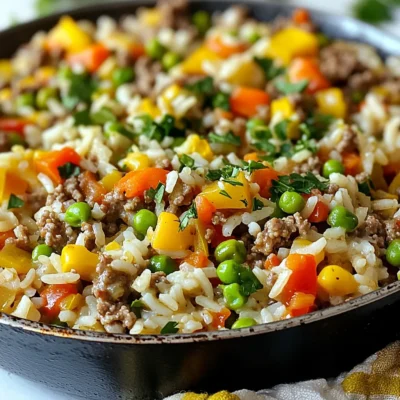
Ground Beef and Rice Skillet Simple One-Pan Meal
Are you tired of the same old meals? Let’s spice things up with a Ground Beef and Rice Skillet! This
Read more…
Garlic Parmesan Roasted Broccoli Flavorful Side Dish
Looking for a tasty and easy side dish? Garlic Parmesan Roasted Broccoli is just what you need! This dish is
Read more…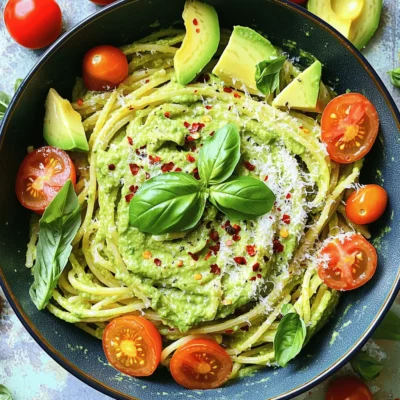
Creamy Avocado Pasta Simple Flavorful Delight
If you crave a simple yet flavorful dish, creamy avocado pasta is your answer. This easy recipe blends ripe avocados
Read more…browse recipes


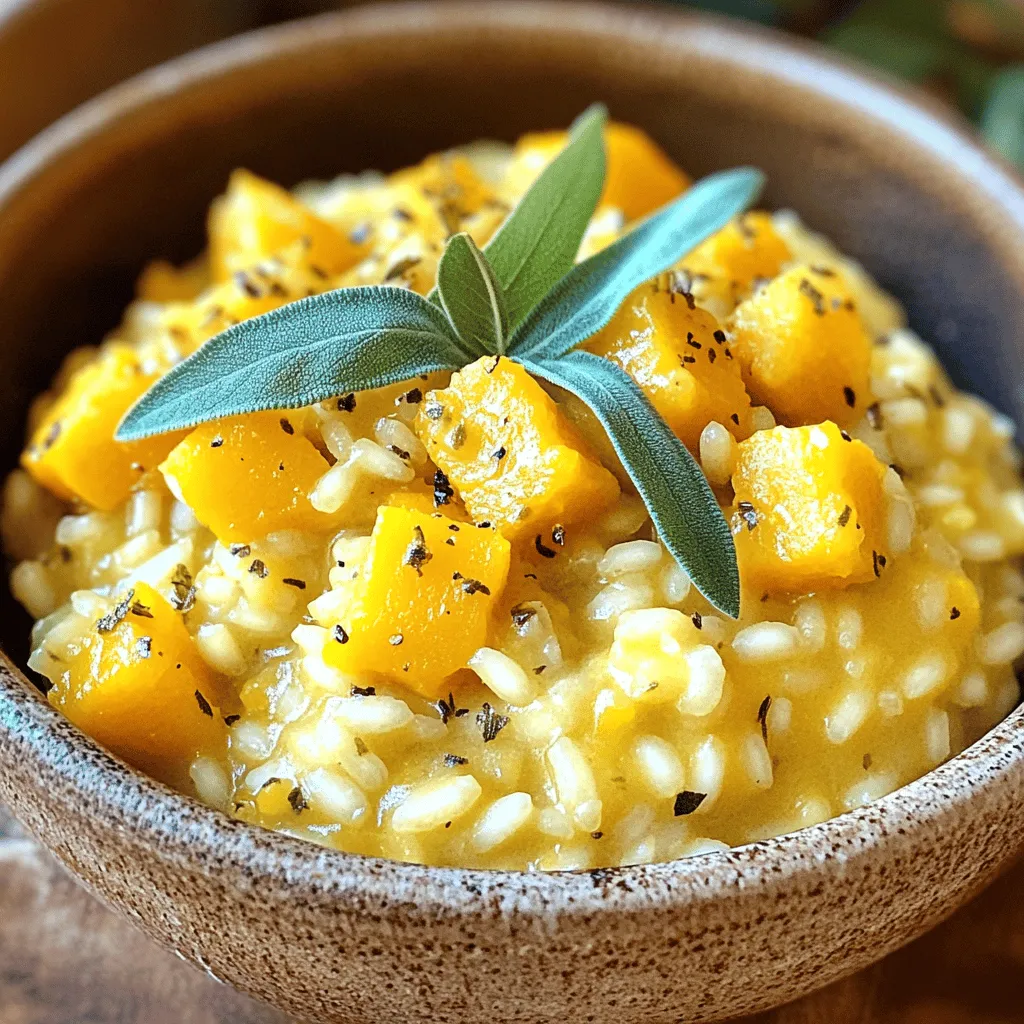
Butternut Squash Sage Risotto Creamy Comfort Food
Craving a warm bowl of creamy comfort? Look no further than my Butternut Squash Sage Risotto! This dish blends velvety Arborio rice with sweet…
My Latest Drinks

Strawberry Cheesecake Smoothie Creamy Refreshing Treat
Craving something delicious and cool? The Strawberry Cheesecake Smoothie is your answer! It blends creamy cheesecake flavors with sweet strawberries Read Full Recipe-
Mocktail Pink Punch Refreshing and Easy Recipe
Are you ready to impress your guests with a delightful drink? This Mocktail Pink Punch recipe is both refreshing and Read Full Recipe -
Blue Lagoon Tropical Lemonade Refreshing and Zesty Drink
Looking for a drink that’s both refreshing and fun? Say hello to Blue Lagoon Tropical Lemonade! This colorful beverage packs Read Full Recipe -
Pumpkin Spice Coffee Creamer Flavorful Fall Treat
Are you ready to embrace the cozy vibes of autumn? In this blog post, I’ll guide you through making your Read Full Recipe -
Apple Cider Margarita Mocktail Refreshing Fall Drink
Fall is here, and that means it’s the perfect time for a cozy drink! The Apple Cider Margarita Mocktail offers Read Full Recipe -
Pumpkin Spice Latte Copycat Cozy and Comforting Recipe
Craving that warm, cozy feeling of fall? You can enjoy a delicious Pumpkin Spice Latte at home! In this article, Read Full Recipe


My Latest Dinners
-
White Bean Soup Simple and Hearty Delight
Looking for a warm and filling meal? Let me introduce you to white bean soup! This simple and hearty delight Read Full Recipe -
Garlic Herb Roasted Sweet Potatoes Flavorful Side Dish
Looking for a side dish that’s both tasty and easy to make? Garlic Herb Roasted Sweet Potatoes are the answer! Read Full Recipe -
One Pot Beef Taco Pasta Easy and Flavorful Meal
Looking for a quick and tasty meal? One Pot Beef Taco Pasta is the perfect dish! This recipe packs bold Read Full Recipe -
Garlic Chicken Zucchini Noodles Stir Fry Delight
Are you ready for a tasty twist on dinner? My Garlic Chicken Zucchini Noodles Stir Fry is a quick and Read Full Recipe -
Stuffed Italian Meatloaf Easy and Tasty Recipe
Are you ready to elevate your dinner game? This Stuffed Italian Meatloaf is both easy and tasty! In this article, Read Full Recipe -
One Pot French Onion Pasta Flavorful Comfort Dish
Looking for a cozy dinner that warms your soul? Try my One Pot French Onion Pasta! This creamy, rich dish Read Full Recipe


hey,
i’m !
I’m so happy you’re here!
Every dish I share is made with love and care. I hope they bring you the same comfort and joy they bring me. Let’s make memories, one recipe at a time.

![- 2 cups broccoli florets - 1/2 cup onion, finely chopped - 2 cloves garlic, minced - 1 cup uncooked long-grain white rice - 2 cups vegetable broth - 1 cup milk - 1/2 cup cream cheese - 1 teaspoon mustard powder - 1/2 teaspoon paprika - Salt and pepper, to taste - 1 cup shredded cheddar cheese - 1/2 cup breadcrumbs for topping - 2 tablespoons olive oil When I make Cheesy Broccoli Rice Casserole, I love using fresh ingredients. The bright green broccoli florets add color and taste. Fine-chopped onion gives the dish a nice base flavor. Minced garlic boosts the aroma and brings warmth. For pantry items, I always keep long-grain white rice on hand. It cooks well and pairs perfectly with the creamy sauce. Vegetable broth gives depth, while milk and cream cheese make it rich and smooth. Mustard powder adds a hint of tang, and paprika brings a pop of warmth. Don't forget to add salt and pepper to enhance all the flavors. If you want to make it even tastier, consider adding optional ingredients. Shredded cheddar cheese can make the casserole extra cheesy. Breadcrumbs on top create a crunchy layer that contrasts with the soft rice. A drizzle of olive oil on the breadcrumbs helps them brown nicely in the oven. For the full recipe, check out the detailed guide. You'll find everything you need to make this easy and tasty dish! First, we need to get our oven ready. Preheat your oven to 350°F (175°C). Next, take a 9x13-inch baking dish and grease it with a little olive oil. This helps prevent sticking. Now, let’s sauté the onions and garlic. Heat 1 tablespoon of olive oil in a medium saucepan over medium heat. Add the finely chopped onion and the minced garlic. Cook them for about 3 to 4 minutes. You want the onion to turn translucent and soft. Next, we will toast the rice. Add 1 cup of uncooked long-grain white rice to the saucepan. Stir it for about 2 minutes. This gives the rice a nice flavor. After toasting, we cook the rice with broth and seasonings. Pour in 2 cups of vegetable broth. Add salt, pepper, 1 teaspoon of mustard powder, and 1/2 teaspoon of paprika. Bring this mixture to a boil. Once boiling, lower the heat, cover the pot, and let it simmer for 15 to 20 minutes. The rice will absorb the broth and become tender. While the rice cooks, we need to steam the broccoli. Use 2 cups of broccoli florets. Steam them for about 5 to 7 minutes until they are bright green and tender. Drain the broccoli and set it aside. Now, it’s time to combine all the ingredients. In a large mixing bowl, mix the cooked rice, steamed broccoli, 1 cup of shredded cheddar cheese, 1/2 cup of softened cream cheese, and 1 cup of milk. Stir until everything is well combined and the cheeses are melted into the mixture. Finally, transfer this mixture to the greased baking dish. Spread it out evenly. If you like, sprinkle 1/2 cup of breadcrumbs on top for extra crunch. Now, you're ready to bake! Place the casserole in your preheated oven. Bake for 20 to 25 minutes, or until it's hot and the top is golden brown. For the full recipe, check out the [Full Recipe]. To boost flavor in Cheesy Broccoli Rice Casserole, try different types of cheese. Instead of just cheddar, mix in mozzarella or gouda for a rich taste. You can even add a sprinkle of parmesan on top for that extra kick. Using spices and herbs can also elevate this dish. Try adding garlic powder or onion powder for more depth. Fresh herbs like thyme or parsley can add a fresh touch. Don’t be afraid to experiment! If you want to make the casserole healthier, you can use low-fat cream cheese. This swap cuts calories while still keeping it creamy. You can also add more vegetables. Consider diced bell peppers or carrots for added nutrition and color. Another great option is to use brown rice instead of white rice. It gives more fiber and makes the dish heartier. Achieving a golden brown topping is simple. If you use breadcrumbs, mix them with a little olive oil before sprinkling. This helps them crisp up nicely in the oven. To manage casserole consistency, make sure the rice is fully cooked before mixing it with other ingredients. If it's too dry, add a splash of milk. If it's too wet, let it bake a little longer. You want a creamy but not soupy casserole. For the full recipe, check out the detailed instructions. {{image_2}} You can make this casserole vegetarian by adding more veggies. Mushrooms work well. You can also toss in bell peppers or spinach. These will add great flavor and color. Use vegetable broth instead of chicken broth for a richer taste. This keeps it light and healthy. If you want a protein boost, you can add chicken or tofu. Cook chicken pieces until golden before mixing them in. For tofu, press and cube it first. You can sauté it for extra flavor. When adding protein, adjust cooking times. Make sure everything is cooked through before serving. If you need a gluten-free version, swap out the rice. Quinoa or cauliflower rice are great choices. They both cook well and add texture. For breadcrumbs, use gluten-free options or crushed nuts. They will provide that nice crunch on top without gluten. To keep your Cheesy Broccoli Rice Casserole fresh, let it cool first. After cooling, place it in an airtight container. This helps keep moisture in and prevents drying out. Glass containers work great because they do not stain and are microwave safe. You can freeze the casserole for later use. To do this, let it cool completely. Then, wrap it tightly in plastic wrap and foil. This prevents freezer burn. When you want to eat it, defrost it in the fridge overnight. Reheat it in the oven at 350°F (175°C) until hot. In the fridge, the casserole lasts about 3 to 5 days. Look for any signs of spoilage. If you see mold or if it smells off, it’s best to toss it. Always trust your senses when checking food. The total cooking time is about 50 minutes. This includes prep and baking time. You will spend 15 minutes to prepare the ingredients. Cooking the casserole takes around 20 to 25 minutes in the oven. So, set aside a little time to enjoy this tasty dish. Yes, you can prepare this casserole ahead of time! To do this, follow the recipe but stop before baking. Cover the dish with plastic wrap or foil and store it in the fridge. You can bake it later, just add a few extra minutes to the cooking time. To avoid a mushy casserole, use the right amount of broth. Make sure to cook the rice properly before mixing in the other ingredients. Steaming the broccoli instead of boiling it helps keep it firm. Lastly, avoid overcooking the casserole in the oven. A nice golden top is what you want! This blog post shared a tasty Cheesy Broccoli Rice Casserole recipe. We covered fresh and pantry ingredients, prepping steps, and tips for perfecting flavor and texture. You have options for variations and healthy swaps, too. I hope this recipe inspires you to create a comforting meal. Enjoy cooking and sharing this dish with others. Your kitchen will be filled with smiles. Happy baking!](https://easycookingbite.com/wp-content/uploads/2025/07/36214f56-36bd-4462-8cb0-146158b92116-300x300.webp)

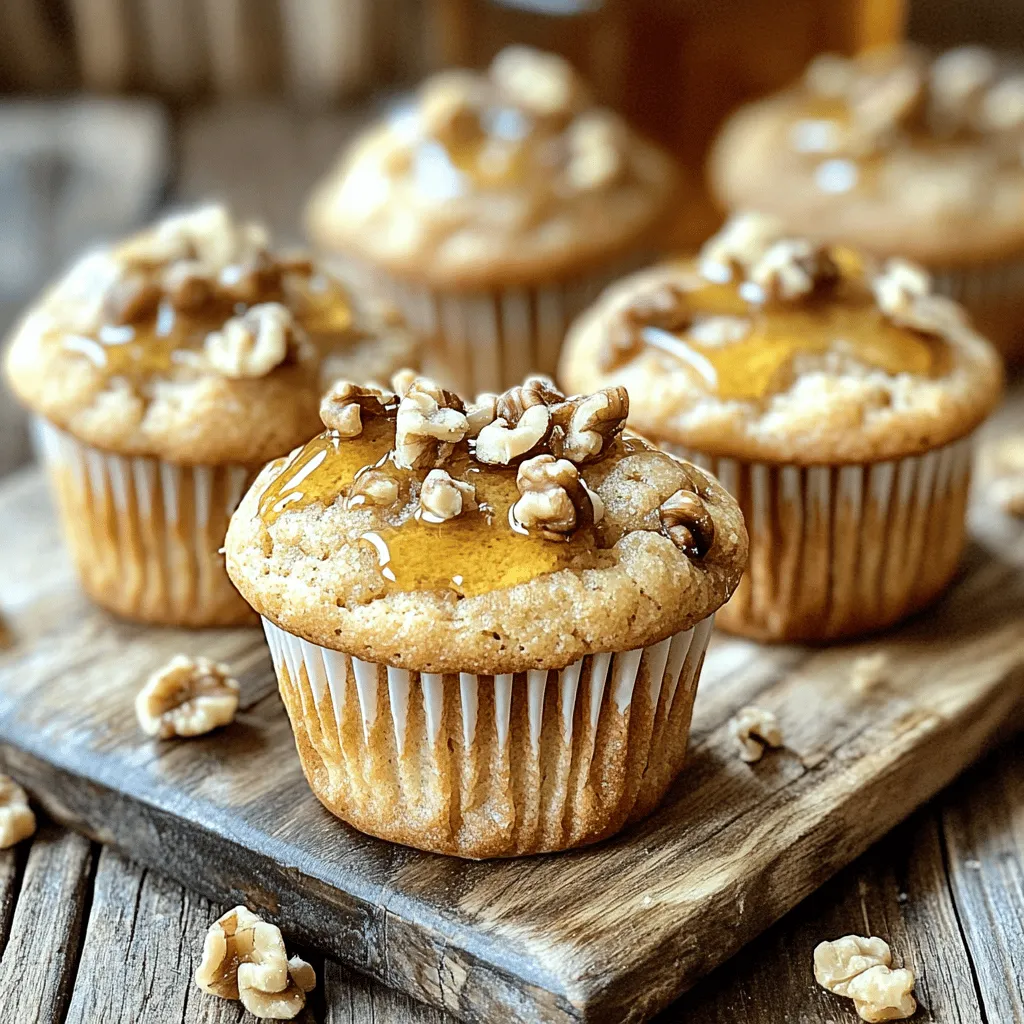
Maple Walnut Muffins Scrumptious and Easy Recipe
If you love warm, sweet treats, you’re in for a treat! These Maple Walnut Muffins are not only scrumptious, but they’re also easy to…