Latest & Greatest

browse recipes

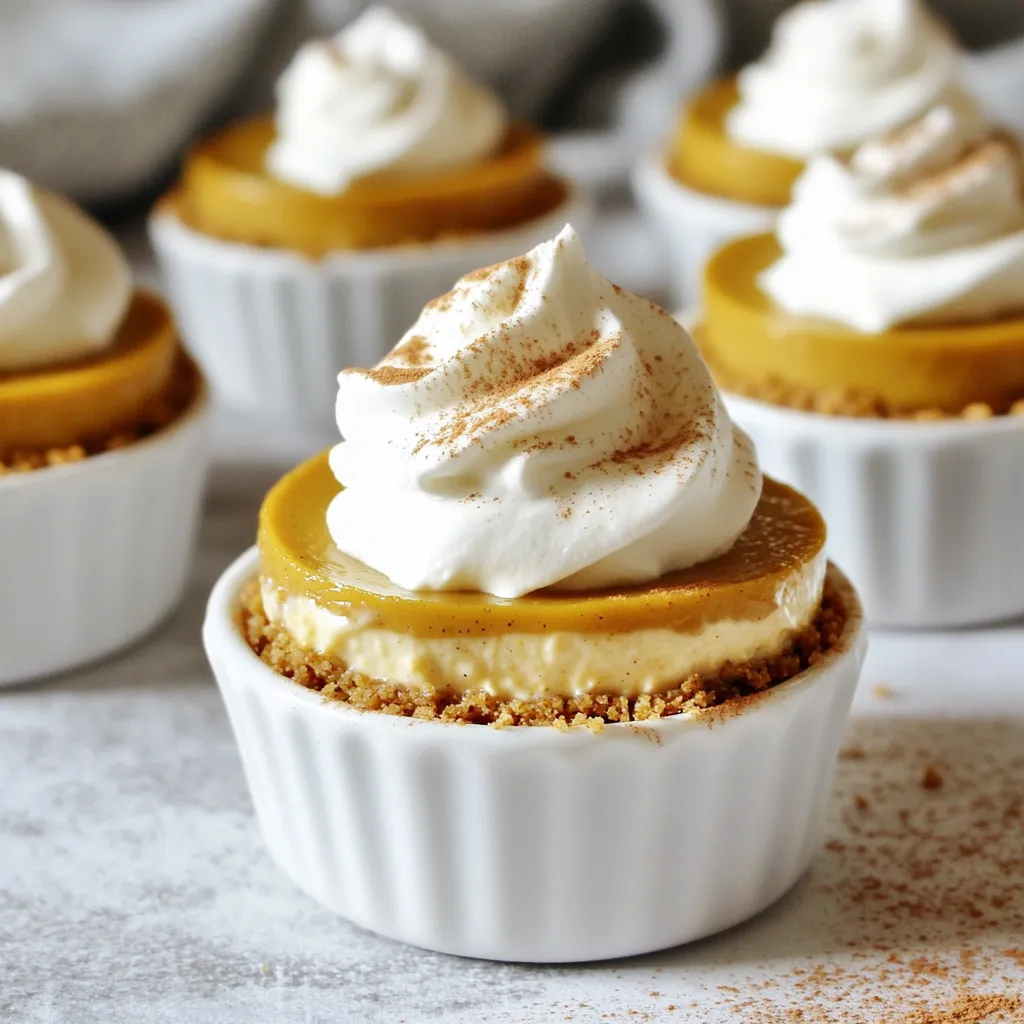
To make these yummy cheesecake cups, you will need: - 1 cup pumpkin puree - 8 oz cream cheese, softened - 1/2 cup Greek yogurt - 1/2 cup vanilla protein powder - 1/4 cup maple syrup - 1 tsp vanilla extract - 1 tsp pumpkin pie spice - 1/4 tsp salt These main ingredients bring the pumpkin flavor and creamy texture. The Greek yogurt adds protein and tang, while maple syrup gives sweetness. For the crust, gather these items: - 1 cup crushed graham crackers - 2 tbsp melted coconut oil This crust is simple yet tasty. The graham crackers bring crunch, while the coconut oil binds it all together. You can make your dessert even better with these extras: - Whipped cream (for topping, optional) - Cinnamon for dusting (optional) Whipped cream adds a fluffy touch, and cinnamon gives a warm flavor kick. Enjoy customizing your cheesecake cups! Start by gathering your ingredients. You need crushed graham crackers and melted coconut oil. In a medium bowl, mix the graham cracker crumbs with the coconut oil. Make sure the crumbs get evenly coated. This mix will form a tasty base. Next, divide this mixture into 6-8 small cups. Press it down firmly to create a solid layer at the bottom. In a large bowl, beat 8 oz of softened cream cheese with an electric mixer. Mix until it is smooth and creamy. Then, add 1 cup of pumpkin puree, 1/2 cup of Greek yogurt, and 1/2 cup of vanilla protein powder. Pour in 1/4 cup of maple syrup, 1 tsp of vanilla extract, 1 tsp of pumpkin pie spice, and 1/4 tsp of salt. Blend everything together until it is well mixed and smooth. Now, take your cheesecake filling and spoon it over the crust in each cup. Fill them to the top and smooth the surface with a spatula. Once all cups are filled, place them in the refrigerator. Let them chill for at least 4 hours. For the best texture, leave them overnight. When you are ready to serve, take the cups out of the fridge. You can add whipped cream on top for extra flavor. A light dusting of cinnamon adds a nice touch too. Enjoy your delightful pumpkin protein cheesecake cups! To get a creamy texture, start with softened cream cheese. Beat it well until smooth. This step is key. When you add pumpkin puree and Greek yogurt, mix slowly. Use an electric mixer for best results. If you see lumps, keep mixing. The more you blend, the creamier it gets. Chilling is essential for the best texture. After you fill the cups, place them in the fridge. Let them chill for at least four hours. Overnight is even better. This time helps the flavors meld and the filling set. Cover the cups with plastic wrap. This keeps them fresh and prevents drying out. You can easily modify this recipe. If you want a different flavor, swap pumpkin for sweet potato puree. You can also use flavored protein powder for a twist. For a lower sugar option, use a sugar substitute in place of maple syrup. If you're dairy-free, try cashew cream instead of cream cheese. These swaps keep the dessert fun and flexible! {{image_2}} You can mix up the flavors in these cups. Try adding cocoa powder for a chocolate twist. You could also use flavored protein powder, like chocolate or vanilla. If you want a fruity touch, consider mixing in some mashed bananas or applesauce. Each flavor change gives a new taste that keeps things fun. Looking to make a healthier version? Swap the cream cheese for a dairy-free cream cheese. Use coconut yogurt or almond yogurt for a lighter touch. Choose a low-sugar maple syrup or a sugar substitute like stevia. These changes keep the treat tasty while cutting back on sugar and calories. You can serve these cheesecake cups in various ways. Instead of small cups, layer the filling and crust in a glass for a parfait. This looks fancy and gives a fun twist. You can also make mini cups using smaller containers. These are great for parties or snacks. Just remember, presentation can make a simple dessert feel special! Store your pumpkin protein cheesecake cups in the fridge. Use an airtight container. This keeps them fresh and tasty. If you have extra cups, wrap them well. Use plastic wrap or foil to cover them tightly. These cheesecake cups last about 5 days in the fridge. After that, they may lose their flavor and texture. To enjoy them at their best, eat them within this time. If they look or smell off, it’s best to toss them. You can freeze these cups for longer storage. First, let them chill in the fridge for a few hours. Then, wrap each cup tightly in plastic wrap. Place them in a freezer-safe container. They should stay good for up to 3 months. When ready to eat, thaw them in the fridge overnight. Enjoy them as a cool, sweet treat! Yes, you can use a different protein powder. Just choose one that fits your taste. If you want a chocolate flavor, go for chocolate protein powder. If you want no flavor, use unflavored protein. The texture may change a bit, but it will still taste great. You can store these cheesecake cups for up to five days in the fridge. Make sure to cover them well to keep them fresh. If you have leftovers, they will still taste yummy later on. Yes, you can make this a vegan dessert! Use vegan cream cheese and coconut yogurt instead of Greek yogurt. Swap maple syrup for agave or another vegan sweetener. This way, you can enjoy a tasty treat without any animal products. If you don’t have pumpkin puree, try using sweet potato puree or butternut squash puree. Both options bring a nice flavor and texture. You can even use mashed bananas for a fun twist! Just keep in mind that the taste will change a bit. You now have all you need to make cheesecake cups. We discussed key ingredients, a clear step-by-step guide, and useful tips. We also explored variations and how best to store them. Whether you enjoy classic flavors or want to try healthy options, these cheesecake cups are simple and delicious. Get creative with your toppings and substitutions. Your friends and family will love your treats. Enjoy your cheesecake adventure!

No Bake Pumpkin Protein Cheesecake Cups Delightful Treat

Craving a sweet treat that fits your healthy lifestyle? Look no further! These No Bake Pumpkin Protein Cheesecake Cups combine creamy pumpkin goodness with…

My Latest Drinks

My Latest Dinners

hey,

i’m !

I’m so happy you’re here!

Every dish I share is made with love and care. I hope they bring you the same comfort and joy they bring me. Let’s make memories, one recipe at a time.

Chili Crisp Peanut Butter Ramen Tasty and Quick Meal

If you’re craving a meal that’s quick, tasty, and a little different, you’ve come to the right place! Today, I’m sharing my go-to recipe…
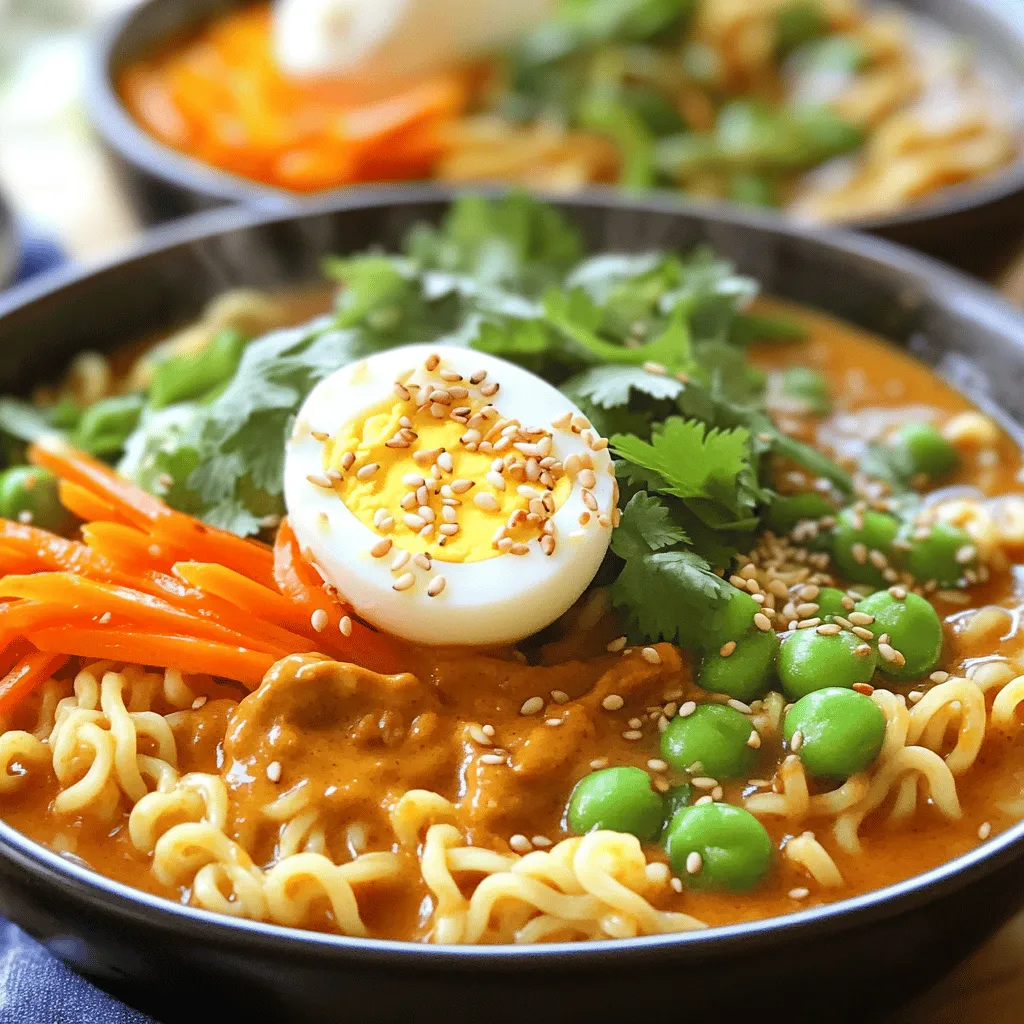
- 200g ramen noodles - 2 tablespoons peanut butter (smooth or crunchy) - 2 tablespoons chili crisp oil - 2 tablespoons soy sauce - 1 tablespoon sesame oil - 1 teaspoon rice vinegar To start, you need the right main ingredients for this tasty meal. Ramen noodles are the base of the dish. They are quick to cook and absorb flavors well. Peanut butter adds creaminess and richness. Chili crisp oil brings heat and crunch. Soy sauce adds depth, while sesame oil and rice vinegar give a nice balance to the flavors. - 1-2 scallions, finely chopped - 1 carrot, julienned - ½ cup snap peas, trimmed - 1 boiled egg, halved (optional) - Toasted sesame seeds for garnish - Fresh cilantro, for garnish Next, I love to add some vegetables to my ramen. Scallions give a fresh taste. Carrots add a sweet crunch. Snap peas bring a nice green element and keep things bright. The boiled egg is optional but adds protein and a creamy texture. Finally, sesame seeds and fresh cilantro make great garnishes. They elevate the dish and add more flavor. To cook the ramen, start with a large pot. Fill it with water and bring it to a boil. Once the water is bubbling, add 200g of ramen noodles. Cook them for about 3-4 minutes, following the package instructions. When the noodles are tender, drain them and set them aside. This step is easy, but timing is key to avoid mushy noodles. Next, you will prepare the sauce. In a mixing bowl, add 2 tablespoons of peanut butter, 2 tablespoons of chili crisp oil, 2 tablespoons of soy sauce, 1 tablespoon of sesame oil, and 1 teaspoon of rice vinegar. Use a whisk or fork to mix these ingredients together until the sauce is smooth. This sauce is the star of the dish, so make sure it's well combined. Now, it's time to sauté the vegetables. Heat a pan over medium heat and add a drizzle of sesame oil. Once the oil is warm, toss in the chopped scallions, julienned carrot, and snap peas. Sauté these for about 2-3 minutes. The goal is to make them tender but still crisp. Keep an eye on them to avoid overcooking. For the final assembly, add the cooked ramen noodles to the pan with the sautéed vegetables. Pour the peanut butter sauce over the noodles. Toss everything together gently until the noodles are fully coated in sauce. This step combines all the flavors into one delicious dish. Once mixed well, divide the ramen into bowls. If you like, top each bowl with a halved boiled egg, a sprinkle of toasted sesame seeds, and some fresh cilantro. Enjoy your tasty and quick meal! To make the sauce just right, taste as you go. Start with the basic mix of peanut butter, chili crisp oil, soy sauce, sesame oil, and rice vinegar. If you like it sweeter, add a bit more peanut butter. If you want it spicier, add more chili crisp oil. You can also add a splash of lime juice for a bright flavor. Experiment until it fits your taste. When cooking ramen noodles, timing is key. Follow the package instructions carefully. Usually, 3-4 minutes is enough. Keep an eye on them. Test a noodle to check if it is al dente—firm but not hard. Drain them quickly to stop the cooking process. Rinse them briefly under cold water to keep them from sticking together. Garnishes add fun and flavor. You can use halved boiled eggs for richness. Toasted sesame seeds add a nice crunch. Fresh cilantro gives a fresh taste. You can also add chili flakes for extra heat or diced avocado for creaminess. Feel free to mix and match based on what you love! {{image_2}} You can add protein to your Chili Crisp Peanut Butter Ramen. Here are some tasty choices: - Chicken: Cook bite-sized pieces in a pan until golden. - Tofu: Use firm tofu, cut into cubes, and sauté until crispy. - Shrimp: Sauté shrimp until pink and tender. Adding protein makes the meal more filling and adds flavor. Want more heat? You can easily boost the spice level. Here’s how: - Add an extra tablespoon of chili crisp oil for more flavor. - Toss in sliced fresh chili peppers, like jalapeños or Thai chilis. - If you like it very hot, use a hot sauce of your choice. This will give your ramen a fiery kick that pairs well with the creamy peanut butter. If you want to keep it vegetarian or vegan, here are some swaps: - Replace chicken with tofu or tempeh for protein. - Use vegetable broth instead of chicken broth if you need a base. - Ensure your chili crisp and soy sauce are vegan-friendly. These changes keep your dish delicious without any animal products. Store leftovers in an airtight container. This helps keep the ramen fresh. You can keep it in the fridge for up to three days. Make sure to cool the ramen completely before sealing it. This step prevents moisture build-up that can make the noodles soggy. To reheat ramen, place it in a pot over medium heat. Add a splash of water or broth to keep it moist. Stir gently as it heats up. You can also use the microwave. Place the ramen in a bowl and cover it with a damp paper towel. Heat for one to two minutes, stirring halfway through. You can freeze this dish for later. Divide the ramen into portions and place them in freezer-safe bags. Squeeze out the air before sealing. This helps prevent freezer burn. The ramen can last for about a month in the freezer. To eat, thaw it overnight in the fridge and reheat as usual. Chili crisp is a spicy oil blend. It contains chili flakes, garlic, and onions. People use it to add flavor and heat. It works well in many dishes, like ramen or rice. Yes, you can use other noodles. Try udon, soba, or even egg noodles. Rice noodles are a great gluten-free option. Just cook them according to package directions. To make this dish gluten-free, use gluten-free ramen noodles. Check labels on soy sauce and chili crisp. Choose gluten-free versions to ensure safety. To reduce heat, use less chili crisp oil. You can also add more peanut butter. Mix in coconut milk for creaminess. Adding more veggies can help balance the spice, too. In this blog post, we explored how to make a tasty ramen dish. We covered key ingredients like ramen noodles, peanut butter, and chili crisp oil. You learned step-by-step instructions for cooking perfect noodles and making a flavorful sauce. We shared tips to customize your ramen with vegetables and toppings. My final thoughts: Experiment with flavors and ingredients. Enjoy this easy dish any way you like!