

Latest & Greatest
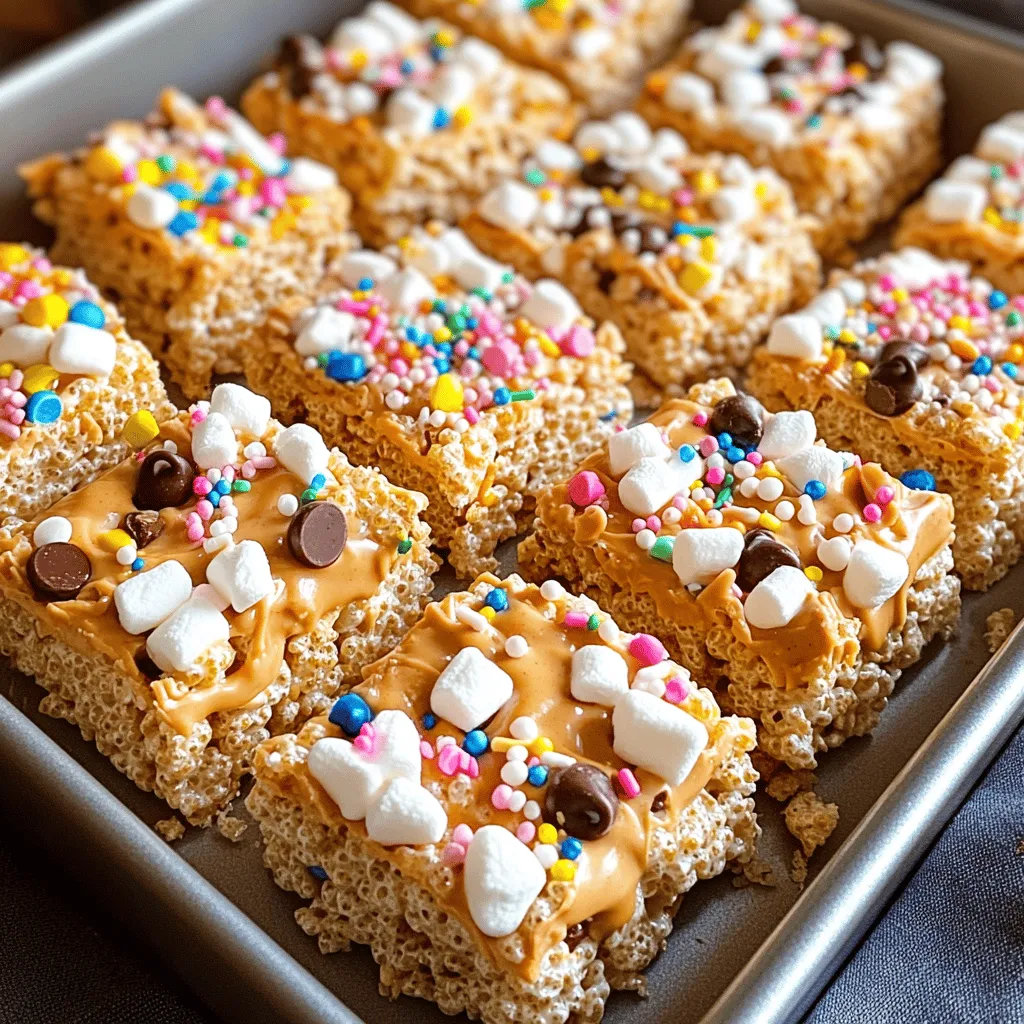
Chewy Rice Krispies Treats Simple and Tasty Recipe
Are you ready to make the chewiest Rice Krispies Treats ever? This simple and tasty recipe is a hit with
Read more…
Breakfast Burritos with Potatoes and Eggs Delight
Are you ready to spice up your mornings? In this blog post, we’re diving into the world of Breakfast Burritos
Read more…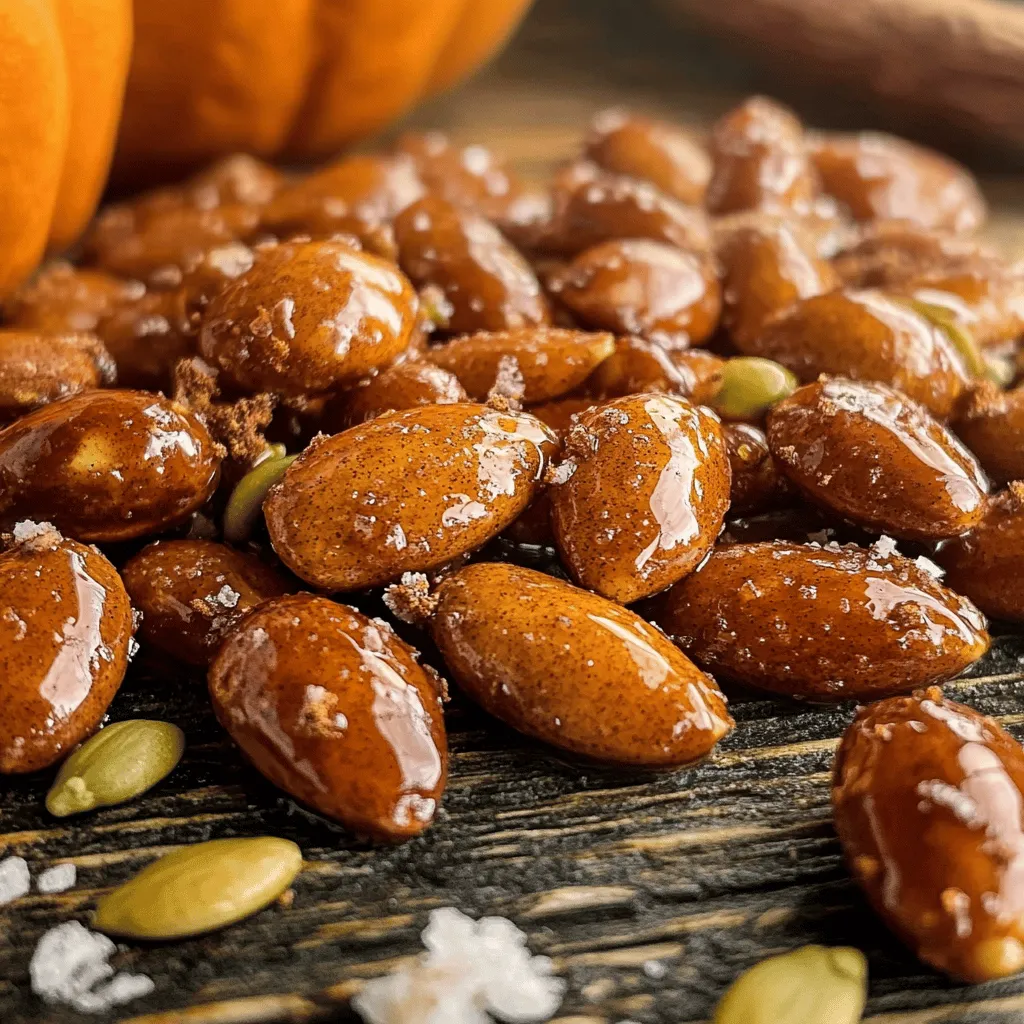
Pumpkin Pie Spiced Almonds Crunchy and Flavorful Treat
Are you ready to indulge in a crunchy snack that captures the essence of fall? With my Pumpkin Pie Spiced
Read more…
Chickpea and Potato Curry Flavorful and Easy Recipe
Craving a dish that’s both tasty and simple? This Chickpea and Potato Curry is the answer! Packed with flavor and
Read more…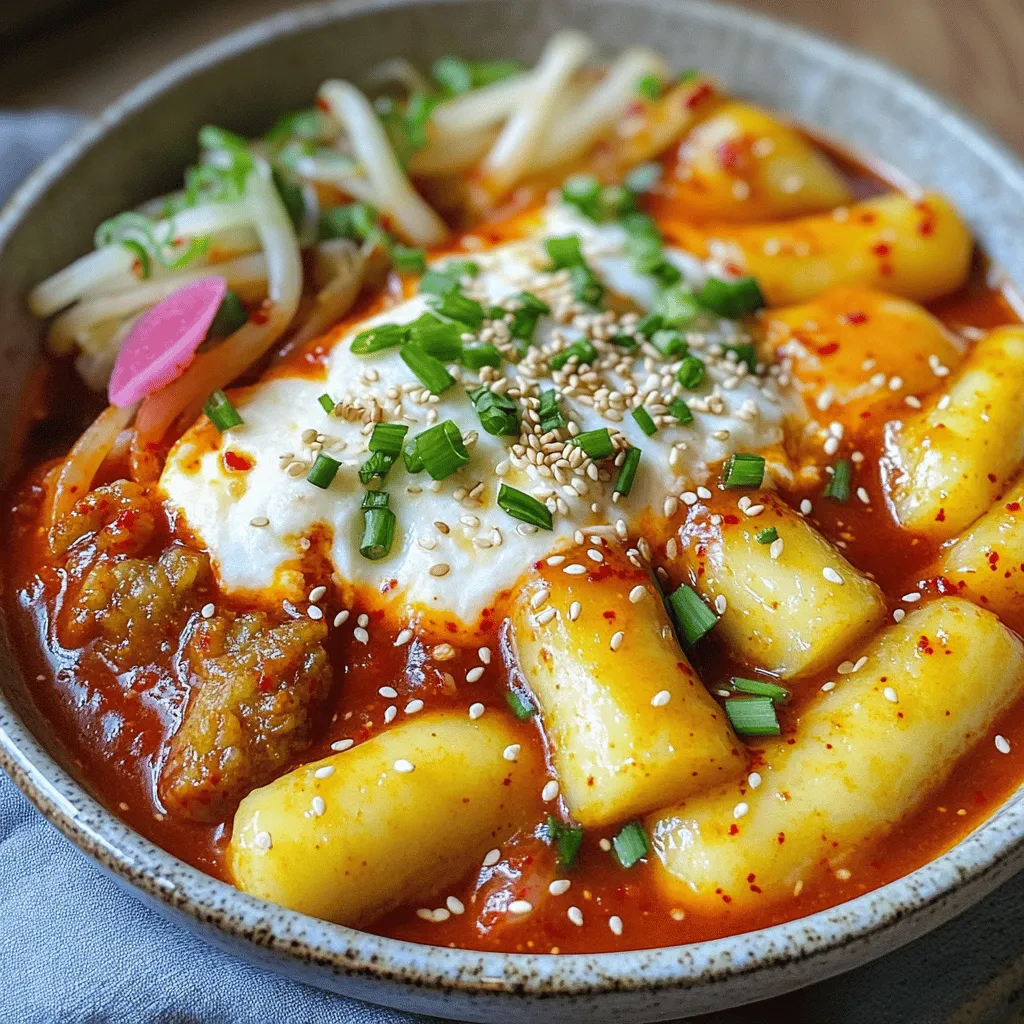
Cheese Tteokbokki Delight Simple and Flavorful Recipe
Are you ready to spice up your dinner with a cheesy twist? Cheese Tteokbokki is a delightful, flavorful dish that’s
Read more…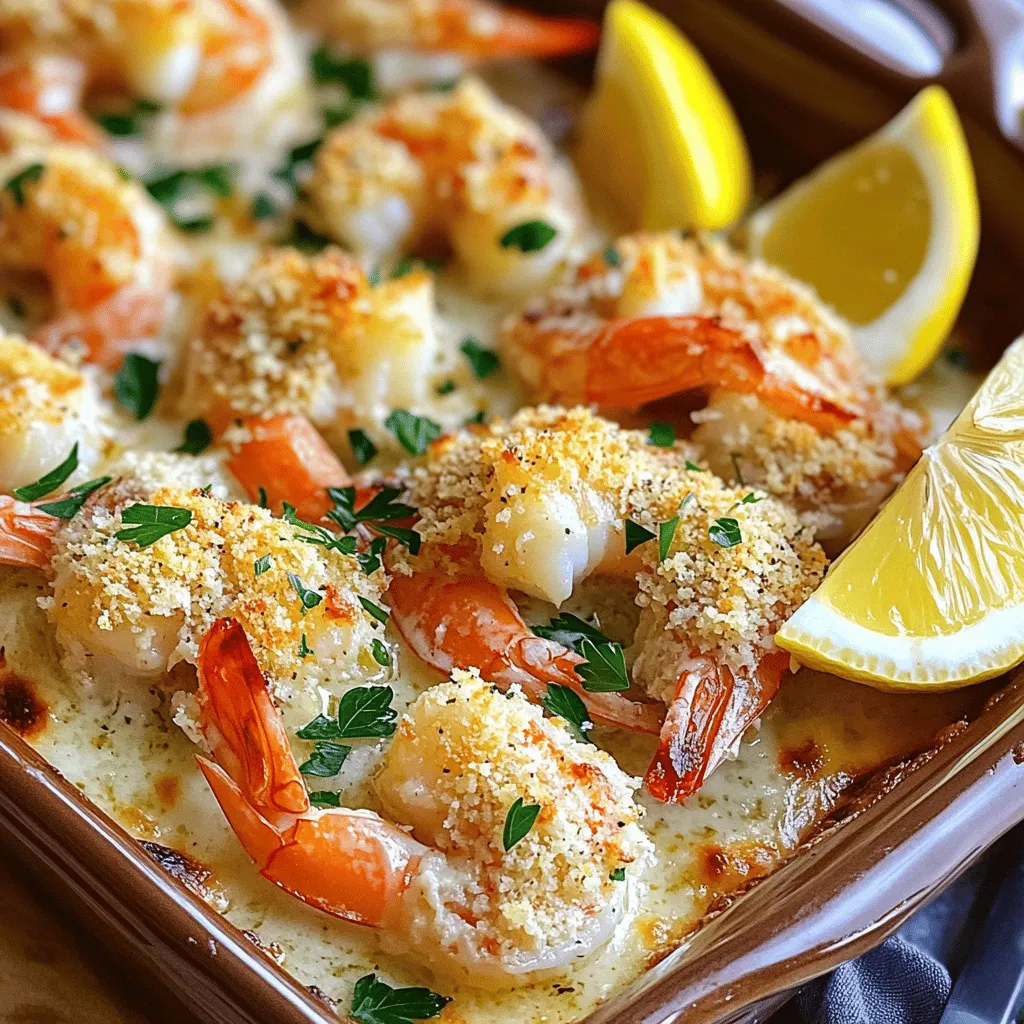
Garlic Parmesan Baked Shrimp Quick and Easy Recipe
Are you ready to enjoy a delicious meal in under 30 minutes? This Garlic Parmesan Baked Shrimp recipe is quick,
Read more…
McGriddle Muffins Tasty Breakfast Delight Recipe
Craving a delicious breakfast that’s quick and fun to make? Look no further! McGriddle Muffins combine fluffy pancakes, crispy bacon,
Read more…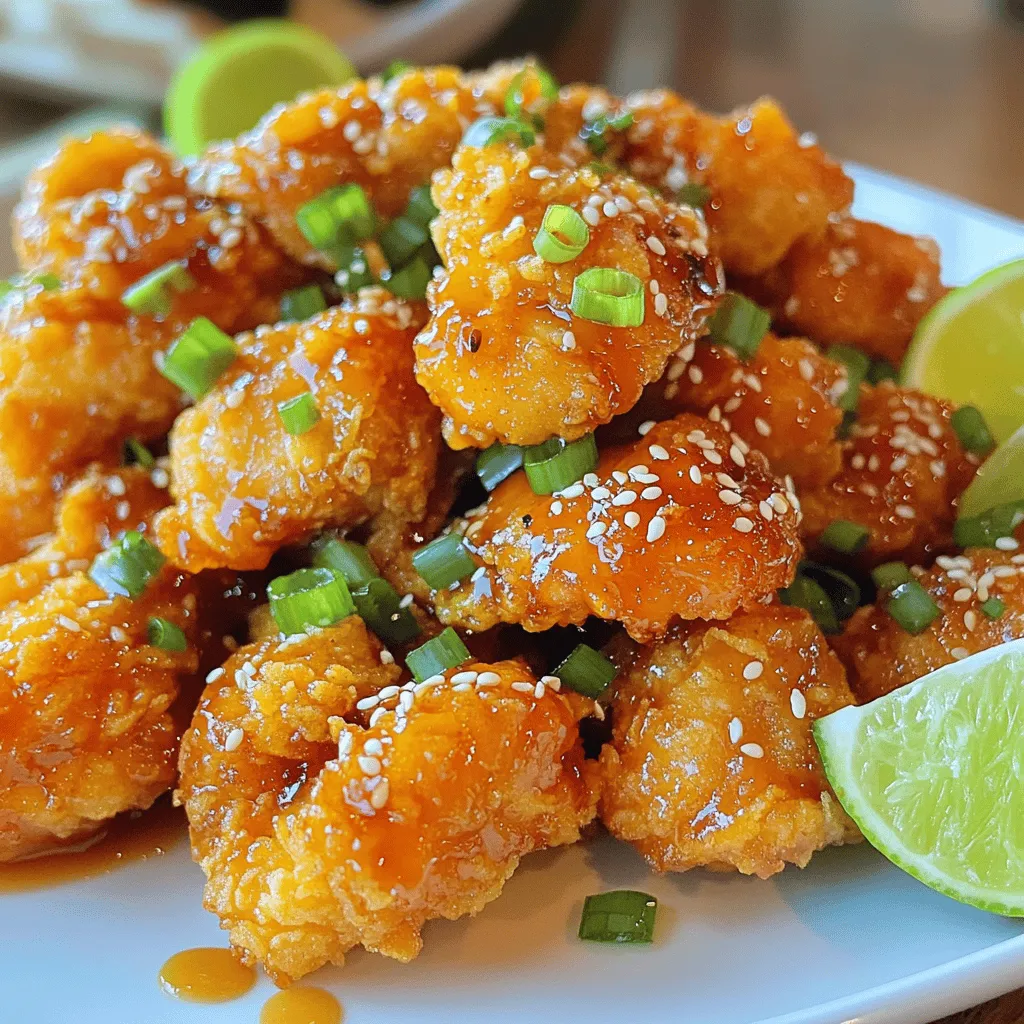
Crispy Bang Bang Chicken Tasty and Fun Dinner Recipe
Ready to elevate your dinner game? This Crispy Bang Bang Chicken recipe is a must-try! With juicy chicken coated in
Read more…browse recipes


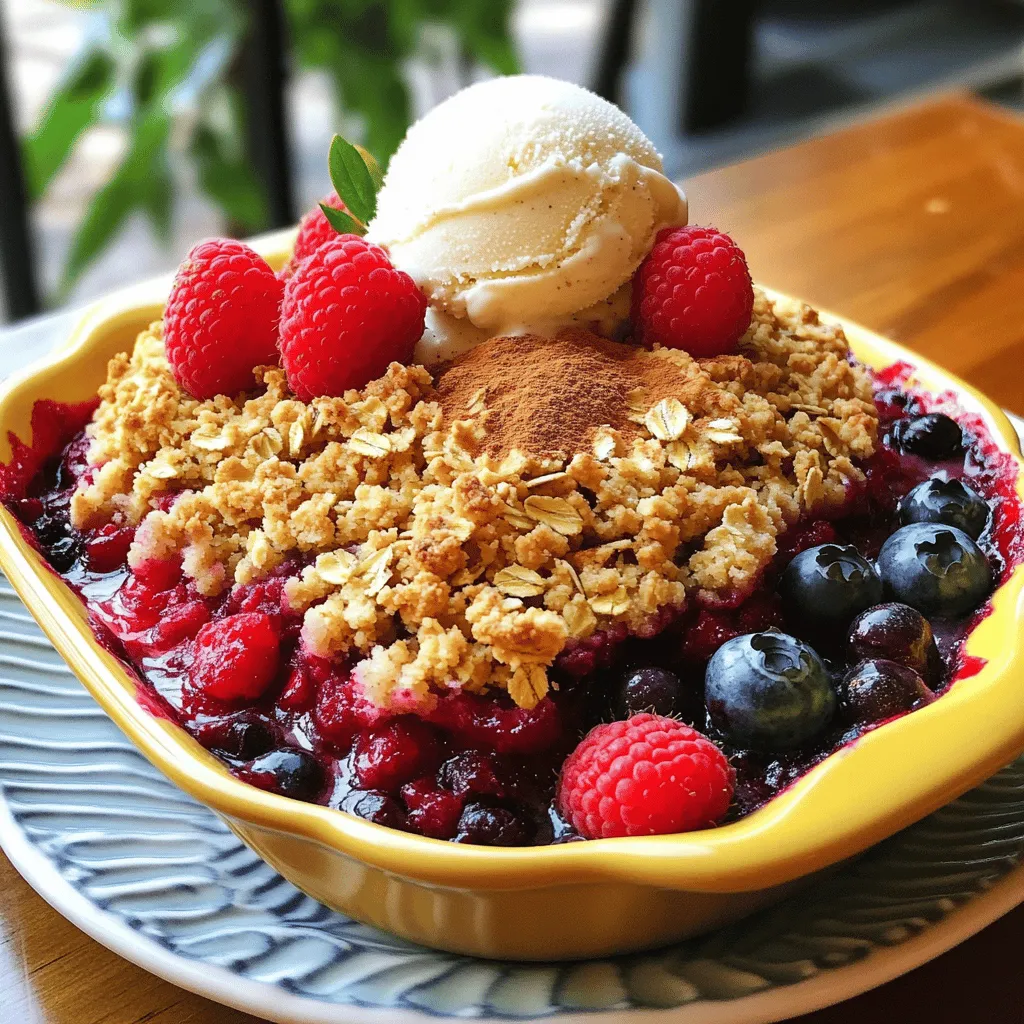
Triple Berry Crumble Delightful Berry Dessert Recipe
Are you ready to indulge in a delicious dessert? This Triple Berry Crumble is easy to make and packed with flavors. With sweet strawberries,…
My Latest Drinks

Strawberry Cheesecake Smoothie Creamy Refreshing Treat
Craving something delicious and cool? The Strawberry Cheesecake Smoothie is your answer! It blends creamy cheesecake flavors with sweet strawberries Read Full Recipe-
Mocktail Pink Punch Refreshing and Easy Recipe
Are you ready to impress your guests with a delightful drink? This Mocktail Pink Punch recipe is both refreshing and Read Full Recipe -
Blue Lagoon Tropical Lemonade Refreshing and Zesty Drink
Looking for a drink that’s both refreshing and fun? Say hello to Blue Lagoon Tropical Lemonade! This colorful beverage packs Read Full Recipe -
Pumpkin Spice Coffee Creamer Flavorful Fall Treat
Are you ready to embrace the cozy vibes of autumn? In this blog post, I’ll guide you through making your Read Full Recipe -
Apple Cider Margarita Mocktail Refreshing Fall Drink
Fall is here, and that means it’s the perfect time for a cozy drink! The Apple Cider Margarita Mocktail offers Read Full Recipe -
Pumpkin Spice Latte Copycat Cozy and Comforting Recipe
Craving that warm, cozy feeling of fall? You can enjoy a delicious Pumpkin Spice Latte at home! In this article, Read Full Recipe


My Latest Dinners
-
White Bean Soup Simple and Hearty Delight
Looking for a warm and filling meal? Let me introduce you to white bean soup! This simple and hearty delight Read Full Recipe -
Garlic Herb Roasted Sweet Potatoes Flavorful Side Dish
Looking for a side dish that’s both tasty and easy to make? Garlic Herb Roasted Sweet Potatoes are the answer! Read Full Recipe -
One Pot Beef Taco Pasta Easy and Flavorful Meal
Looking for a quick and tasty meal? One Pot Beef Taco Pasta is the perfect dish! This recipe packs bold Read Full Recipe -
Garlic Chicken Zucchini Noodles Stir Fry Delight
Are you ready for a tasty twist on dinner? My Garlic Chicken Zucchini Noodles Stir Fry is a quick and Read Full Recipe -
Stuffed Italian Meatloaf Easy and Tasty Recipe
Are you ready to elevate your dinner game? This Stuffed Italian Meatloaf is both easy and tasty! In this article, Read Full Recipe -
One Pot French Onion Pasta Flavorful Comfort Dish
Looking for a cozy dinner that warms your soul? Try my One Pot French Onion Pasta! This creamy, rich dish Read Full Recipe


hey,
i’m !
I’m so happy you’re here!
Every dish I share is made with love and care. I hope they bring you the same comfort and joy they bring me. Let’s make memories, one recipe at a time.


![- 1 cup unsalted butter, softened - 3/4 cup light brown sugar, packed - 1/2 cup granulated sugar - 2 large eggs - 1 teaspoon vanilla extract - 2 1/4 cups all-purpose flour - 1 teaspoon baking soda - 1/2 teaspoon salt - 1 cup dark chocolate chunks - 1 cup fresh cherries, pitted and halved The butter, sugars, and eggs create a rich base. The butter gives cookies a soft texture. Both sugars add sweetness and help the cookies spread. Eggs bind the dough and add moisture. Next, flour, baking soda, and salt play key roles. Flour gives structure and helps the cookies rise. Baking soda acts as a leavening agent, making the cookies fluffy. Salt balances the sweetness and enhances flavor. Finally, chocolate chunks and fresh cherries provide the best bites. The chocolate adds rich flavor, while cherries bring sweetness and a slight tartness. Together, they create a perfect balance in each cookie. - 1/2 cup chopped walnuts (optional) Chopped walnuts add a crunchy texture. They also provide a nutty flavor that complements the chocolate and cherries well. You can also switch up sweeteners if you like. Try using coconut sugar or honey for a different taste. Each variation brings a new twist to the classic recipe. For the full recipe, check the [Full Recipe] link. 1. Preheat the oven and prepare baking sheets Set your oven to 350°F (175°C). While it heats, line two baking sheets with parchment paper. This keeps the cookies from sticking. 2. Creaming the butter and sugars together In a large bowl, beat 1 cup of softened butter, 3/4 cup of brown sugar, and 1/2 cup of granulated sugar. Mix until it’s light and fluffy. This takes about 3-4 minutes with an electric mixer. This step makes the cookies soft. 3. Incorporating eggs and vanilla extract Add 2 large eggs one at a time. Mix well after each egg. Then, stir in 1 teaspoon of vanilla extract. This adds a nice flavor to the dough. 1. Mixing dry ingredients and avoiding overmixing In another bowl, whisk together 2 1/4 cups of flour, 1 teaspoon of baking soda, and 1/2 teaspoon of salt. Slowly add this dry mix to the wet ingredients. Stir just until combined. Be careful not to overmix; this helps keep your cookies soft. 2. Folding in chocolate chunks and cherries Gently fold in 1 cup of dark chocolate chunks and 1 cup of fresh cherries that are pitted and halved. This keeps the chunks from breaking. You can also add 1/2 cup of chopped walnuts if you like. 3. Shaping the cookies on baking sheets Use a cookie scoop or tablespoon to drop rounded dough onto the prepared baking sheets. Leave enough space between each cookie for them to spread. 1. Setting baking time and temperature Place the trays in the preheated oven. Bake for 10-12 minutes. The edges should be golden brown, while the centers stay soft. 2. Tips for checking doneness Keep an eye on the cookies as they bake. If the edges turn golden but the center looks wet, they are done. Remember, they will firm up as they cool. For the full recipe, visit the provided link. Enjoy baking! To get the right texture, use room temperature butter. Cold butter makes mixing hard. Soft butter helps create a light, fluffy dough. This dough will spread well in the oven. Next, avoid overmixing. Mix until the dry and wet ingredients blend. Overmixing can lead to tough cookies. You want a soft dough with chunks of chocolate and cherries. For great flavor, choose high-quality chocolate and fresh cherries. Look for dark chocolate with at least 60% cocoa. It gives a rich taste to your cookies. For cherries, fresh is best. Look for ones that are bright and firm. You can also enhance flavor with extracts. A splash of almond or orange extract can add a nice twist. Just a little goes a long way. When baking cookies, leave space on the tray. This helps them spread. Bake for 10-12 minutes. You want golden edges and soft centers. Once baked, let them cool on the tray for 5 minutes. This helps them set up. After that, move the cookies to a wire rack. This keeps them soft and chewy. Store them in an airtight container to maintain freshness. For the full recipe, check out the Cherry Chocolate Chunk Cookies section above. {{image_2}} You can easily change some ingredients to fit your needs. If you prefer gluten-free cookies, use a gluten-free flour blend. Many brands work well in baking. For a twist on flavor, try dried fruits. Chopped dried cherries or cranberries add a nice touch. You can also swap walnuts for pecans or almonds. This gives your cookies a new crunch and taste. Spices can enhance your cookies in fun ways. Adding a pinch of cinnamon or nutmeg can bring warmth to the flavor. You might also try mixing in different types of chocolate. White chocolate or milk chocolate chunks can brighten the taste. For a fresh zing, add some citrus zest, like orange or lemon. This adds a refreshing burst that pairs well with cherries. Get creative with your cookies for special occasions. For holidays, add festive sprinkles or use seasonal fruits. In summer, peaches or blueberries can replace cherries. In fall, consider using pumpkin spice or dried apples. Each season brings new flavors to explore, making every batch unique. These themed variations keep the excitement alive in your baking routine. To keep your Cherry Chocolate Chunk Cookies fresh, store them in an airtight container. This helps prevent them from drying out. You can keep the cookies at room temperature for up to a week. If your kitchen is warm, consider placing them in the fridge. This will help them last longer, but it may change their texture slightly. You can freeze the cookie dough for later. Start by portioning the dough into balls using a cookie scoop. Place the dough balls on a baking sheet and freeze them for about an hour. Once frozen, transfer the balls to a zip-top bag. Label the bag with the date. When you want to bake, just preheat the oven and bake the frozen cookies directly. Add a couple of extra minutes to the baking time. Cherry Chocolate Chunk Cookies last about one week at room temperature. If stored in the fridge, they can last up to two weeks. Check for signs of spoilage, like an off smell or hard texture. If they become stale, you can revive them by warming them in the oven for a few minutes. Enjoy your cookies fresh or revived! For the full recipe, check out the detailed steps above. To keep your cookies soft, focus on moisture. Here are some tips: - Use brown sugar. It has more moisture than white sugar. - Don't overbake. Remove cookies when the edges are golden but centers are soft. - Store cookies in an airtight container. This traps moisture and keeps them fresh. Yes, you can make these cookies ahead of time! Here are some strategies: - Prepare the cookie dough and chill it in the fridge for up to 3 days. This enhances flavor and makes it easier to scoop. - Bake the cookies and let them cool completely. Store them in an airtight container for up to a week. - Freeze the baked cookies for up to three months. Thaw them at room temperature before serving. Stale cookies can still be delicious. Here are some creative ideas: - Crumble stale cookies and use them as a topping for ice cream. - Make cookie crumbs for a crust in cheesecakes or pies. - Dip stale cookies in milk or coffee to soften them before eating. For the full recipe, check out the Cherry Chocolate Chunk Cookies section. In this post, we covered how to make delicious cherry chocolate chunk cookies. We discussed key ingredients like butter, fresh cherries, and chocolate chunks, along with helpful tips for texture and flavor. You learned about variations, storage options, and ways to keep your cookies soft. Enjoy experimenting with this recipe! The joy of baking lies in trying new things. With practice, you'll perfect your cookies and impress everyone. Happy baking!](https://easycookingbite.com/wp-content/uploads/2025/07/ba94987e-6b26-4b5a-a8ad-34cc438de02d-1-300x300.webp)
Grilled Shrimp Bowl with Avocado Corn Salsa Delight
Get ready for a fresh and vibrant meal that’s perfect for any occasion! My Grilled Shrimp Bowl with Avocado Corn Salsa combines juicy shrimp,…
![To create a delicious Grilled Shrimp Bowl with Avocado Corn Salsa, you will need: - 1 lb large shrimp, peeled and deveined - 2 tablespoons olive oil - 1 teaspoon smoked paprika - 1 teaspoon garlic powder - 1 teaspoon cumin - Salt and pepper to taste - 2 cups cooked quinoa or brown rice These main ingredients form the tasty base of your dish. The shrimp bring a sweet, briny flavor, while spices add depth. Quinoa or brown rice gives you a hearty base to soak up all the flavors. For the bright and fresh avocado corn salsa, gather: - 1 cup corn (fresh or frozen) - 1 avocado, diced - 1 medium tomato, diced - 1/4 red onion, finely chopped - Juice of 1 lime This salsa is a colorful mix. The corn offers crunch, while avocado gives creaminess. Lime juice adds a zesty kick, balancing the richness of the avocado. You can enhance your bowl with: - Fresh cilantro, chopped, for garnish - Additional spices or toppings Fresh cilantro adds a pop of flavor and color. You can also add extra spices, like chili powder or a sprinkle of cheese, for fun twists. For the full recipe, check the [Full Recipe]. First, let's marinate the shrimp. In a bowl, mix the shrimp with olive oil, smoked paprika, garlic powder, cumin, salt, and pepper. Toss well to coat the shrimp evenly. Let it sit for at least 15 minutes. This helps the shrimp soak up all the flavors. Next, preheat your grill to medium-high heat. Make sure your grill is clean. This step helps prevent the shrimp from sticking. A well-oiled grill is key for a great cook. Now, it’s time to grill the shrimp. If you’re using skewers, thread the marinated shrimp onto them. If you have wooden skewers, soak them in water for 30 minutes beforehand. This keeps them from burning. Place the skewers on the grill once it's hot. Cook the shrimp for about 2-3 minutes on each side. They should turn pink and opaque when done. Remove them from the grill and set aside. While the shrimp cook, prepare the salsa. In a medium bowl, add corn, diced avocado, tomato, red onion, and lime juice. Sprinkle in some salt and pepper. Mix gently to combine the ingredients. Be careful not to mash the avocado; you want nice chunks for texture. For a fresh taste, use ripe avocado and fresh ingredients. This makes the salsa bright and flavorful. Now you’re ready to build your delicious Grilled Shrimp Bowl with Avocado Corn Salsa! Check the Full Recipe for more details. To make sure your shrimp don’t stick, oil your grill well. A clean grill helps too. Use a paper towel dipped in oil, and wipe down the grates. This simple step keeps your shrimp intact when flipping. For perfect grill marks, preheat the grill to medium-high heat. Place the shrimp on the grill without moving them for 2-3 minutes. When you see nice marks, flip them. This gives you that restaurant look at home. Choosing a ripe avocado is key. Look for an avocado that feels slightly soft when you squeeze it. If it’s too hard, wait a few days. A ripe avocado adds a creamy texture to your salsa. Balancing the flavors in the salsa is also important. Use fresh lime juice to add brightness. The lime cuts through the richness of the avocado. Mix in some salt to enhance all the flavors. Remember, taste as you go! For ideal pairings, serve your shrimp bowl with a light salad. A simple green salad works well. You can also add a slice of crusty bread for crunch. When it comes to presentation, use clear bowls for a colorful display. Layer the quinoa or rice at the bottom. Top with shrimp and salsa. Finish with a sprinkle of cilantro for a pop of color. This makes your dish look as good as it tastes! {{image_2}} You can easily switch the shrimp for chicken or tofu. Chicken adds a hearty texture. Use boneless, skinless chicken breasts for the best results. Cut them into bite-sized pieces for even cooking. Tofu is a great choice for vegetarians. Press it to remove excess water, then marinate just like the shrimp. Feel free to add different vegetables to the salsa. Try bell peppers for crunch or diced cucumber for freshness. You can also mix in fruits like mango for a sweet twist. Experiment with herbs, too! Fresh basil or mint can brighten the flavors and add depth. If you want to change things up, switch to other grains. Couscous or farro are great options that cook quickly. They add a nutty flavor and texture. For a low-carb choice, use cauliflower rice. It’s light and will soak up all that delicious salsa. To keep your grilled shrimp and avocado corn salsa fresh, follow these tips: - Shrimp: Store in an airtight container. Use within 2 days for best taste. - Salsa: Place in a separate container. Consume within 1 day to avoid browning. - Containers: Glass or BPA-free plastic containers work well. Label them with dates for easy tracking. Reheat grilled shrimp gently to keep them tender: - Shrimp: Warm in a skillet over low heat. Stir often for even heating. Do not overcook. - Salsa: Enjoy cold for the best taste. If you prefer warm, heat briefly in the microwave. This helps keep the avocado from getting mushy. Freezing is great for longer storage: - Shrimp: Freeze in a single layer on a baking sheet. Once firm, transfer to a freezer bag. - Salsa: Freeze ingredients separately. Avoid freezing avocado, as it changes texture. - Thawing: Thaw shrimp overnight in the fridge. For salsa, let it sit at room temperature for a bit before mixing again. With these tips, you can enjoy your Grilled Shrimp Bowl with Avocado Corn Salsa later. For the complete recipe, check the Full Recipe section. You should grill shrimp for about 2-3 minutes per side. This time works well for large shrimp, which cook fast. When they turn pink and opaque, they are done. Avoid overcooking, as shrimp can become tough and chewy. Yes, you can prepare the salsa ahead. To keep the avocado fresh, add lime juice right before serving. Store the salsa in an airtight container in the fridge. This helps to slow down browning. Mix gently to avoid mashing the avocado. Pair your grilled shrimp bowl with simple sides. Here are some great options: - Grilled vegetables for added flavor. - A fresh green salad to balance the meal. - Crusty bread to soak up any juices. These sides complement the shrimp and salsa well. You can also try different grains or dips. Feel free to explore your favorites! For the full recipe, check out the [Full Recipe] section. In this post, we explored a tasty grilled shrimp bowl. We covered key ingredients like shrimp, quinoa, and fresh avocado corn salsa. I shared easy steps for marinating and grilling shrimp. You learned tips for making delicious salsa and different ways to serve it. Now, enjoy experimenting with flavors and make this meal your own. Feel free to switch ingredients or try new combinations. Cooking should be fun, so let your creativity shine and savor every bite!](https://easycookingbite.com/wp-content/uploads/2025/04/707b2ac8-2195-4b75-a0d6-92c2073f7896.webp)
