
Latest & Greatest
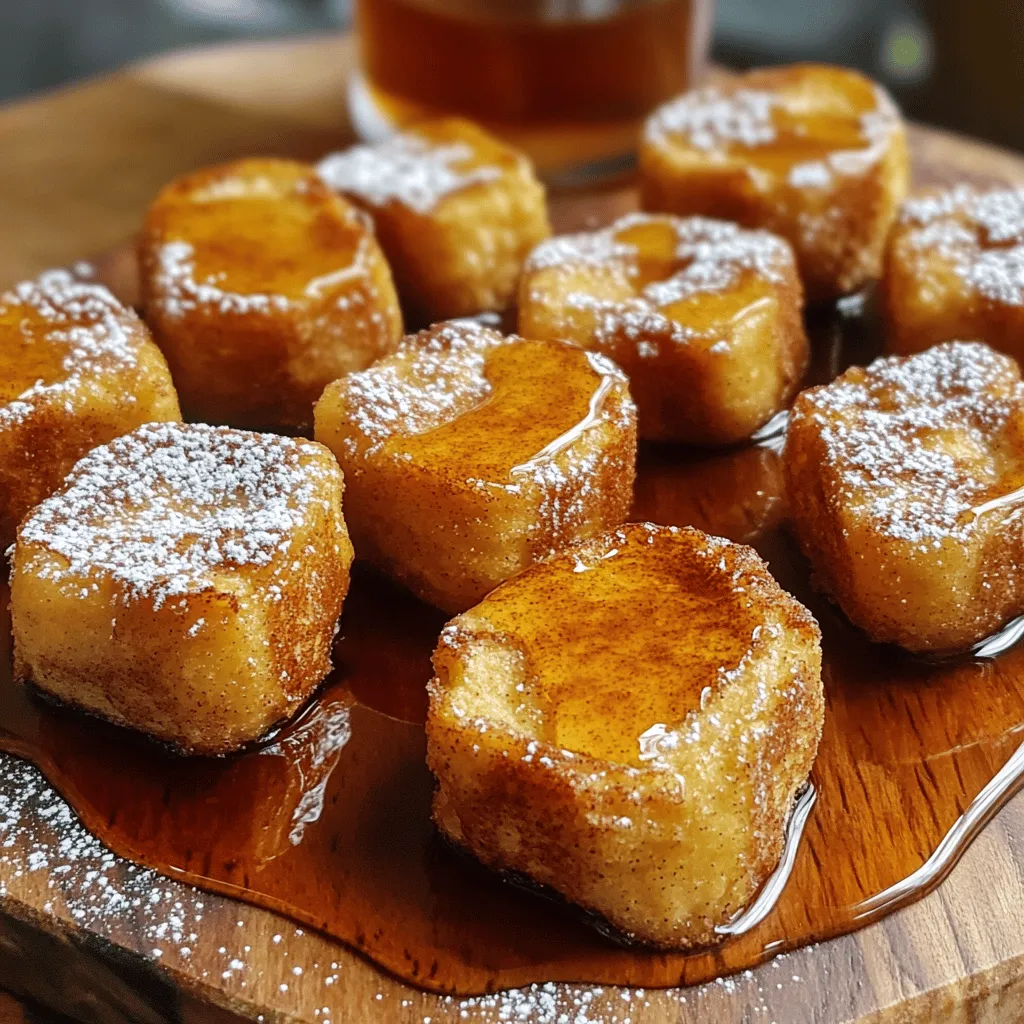
Cinnamon Roll French Toast Bites Sweet Morning Treat
Are you ready to elevate your breakfast game? Cinnamon Roll French Toast Bites are a sweet twist on a classic
Read more…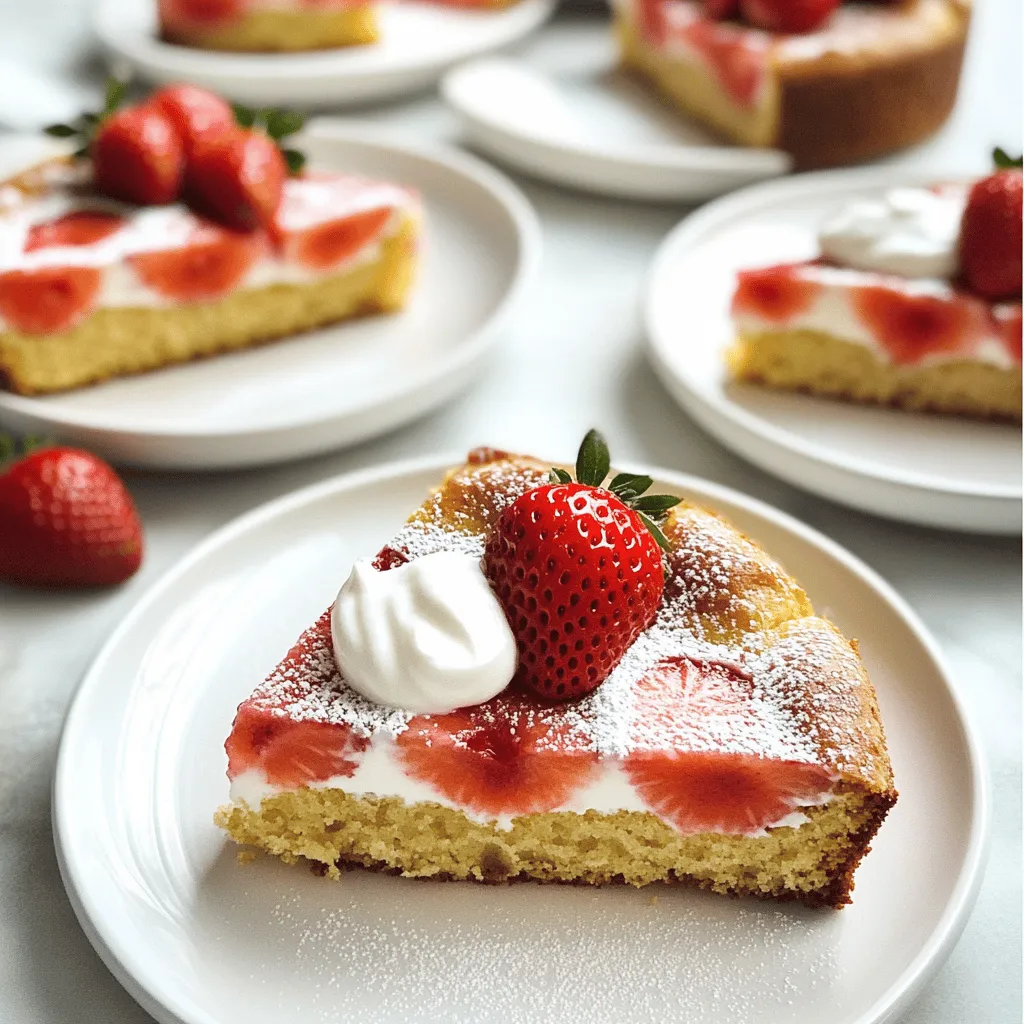
Skinny Strawberry Cake Delightfully Healthy Treat
Craving a sweet treat but want to keep it healthy? Let me introduce you to my Skinny Strawberry Cake—a delightful
Read more…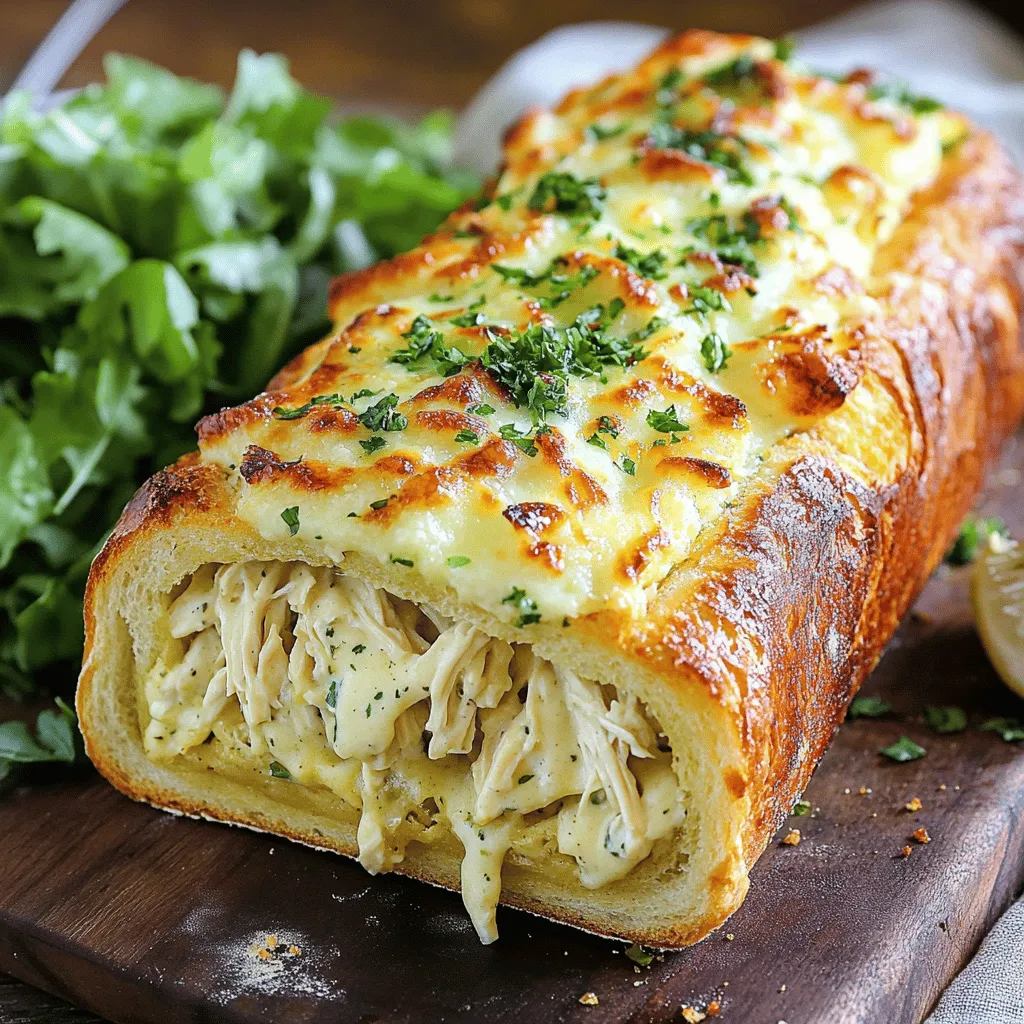
Chicken Alfredo Stuffed Garlic Bread Simple Delight
Are you ready for a dish that will wow your taste buds? Chicken Alfredo Stuffed Garlic Bread is a fun
Read more…
Voodoo Fries Irresistible Flavor You Can’t Resist
Are you ready to dive into the world of Voodoo Fries? This dish bursts with flavors you won’t forget. Combining
Read more…
Louisiana BBQ Shrimp Delightful and Easy Recipe
Are you ready to spice up your dinner table? Louisiana BBQ Shrimp is a rich, flavorful dish that’s surprisingly easy
Read more…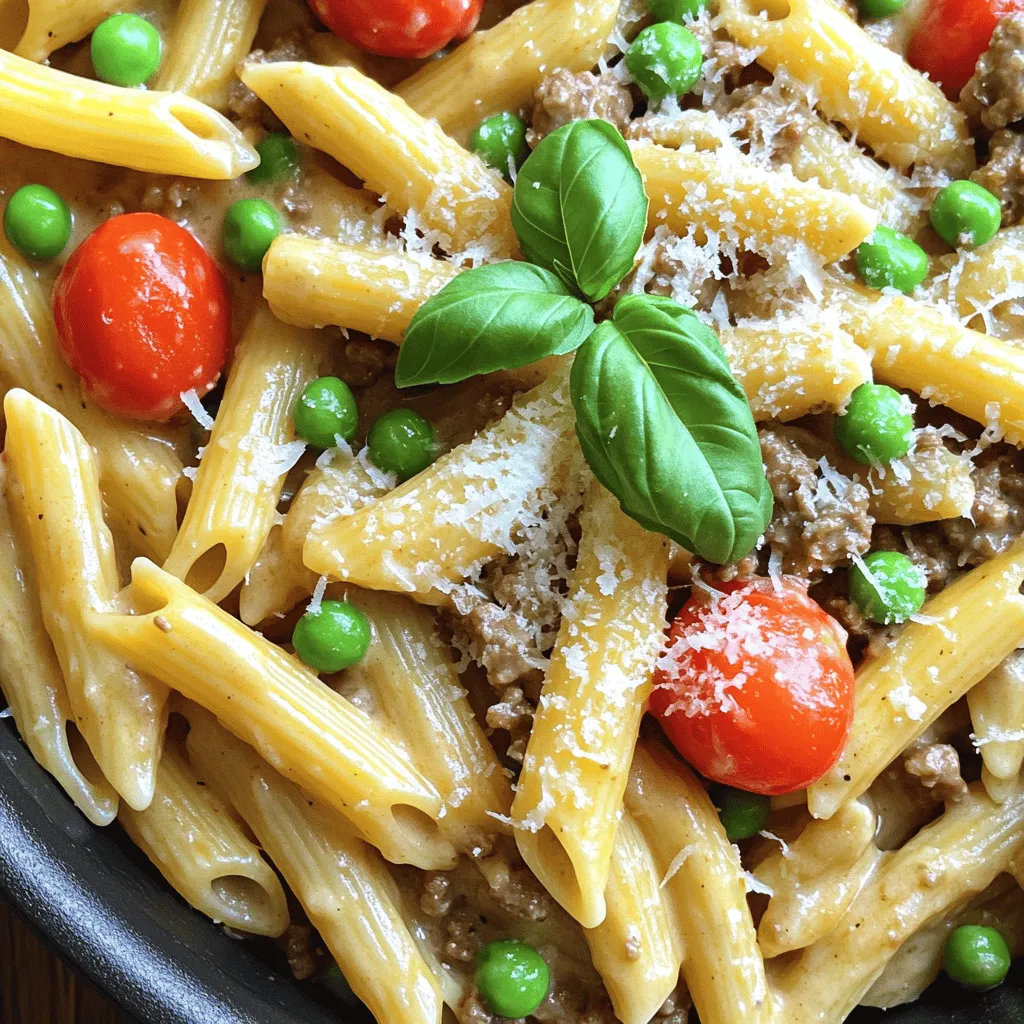
One-Pot Creamy Beef Pasta Easy Weeknight Meal
If you crave a quick, delicious meal, your search ends here! One-Pot Creamy Beef Pasta is the answer for busy
Read more…
Crock Pot Birria Tacos Flavorful and Easy Recipe
Love tacos? Get ready to spice up your meals with my easy Crock Pot Birria Tacos! This flavorful recipe features
Read more…
Japanese Katsu Bowls Tasty and Easy Meal Idea
If you’re craving a meal that’s both tasty and easy to make, Japanese Katsu Bowls are perfect! These bowls combine
Read more…browse recipes


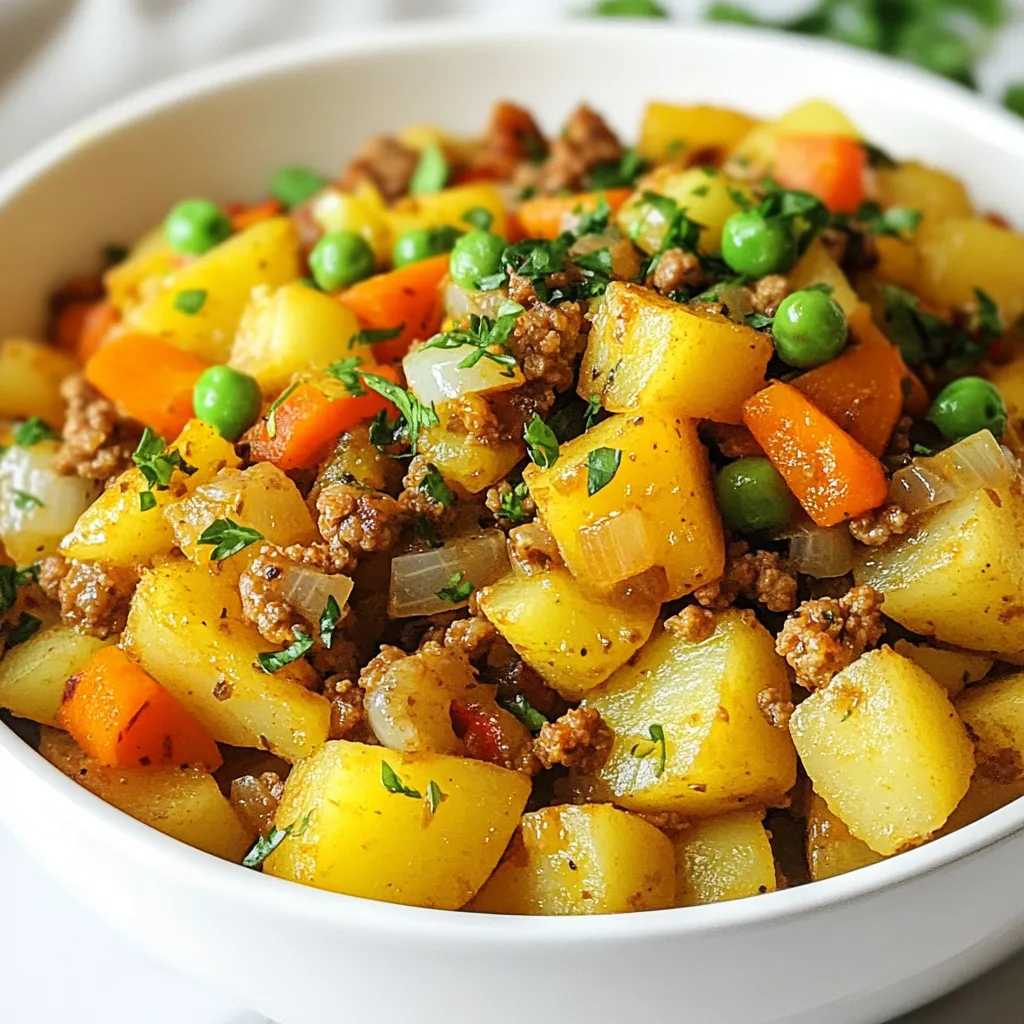
Ground Turkey Potato Skillet Quick and Tasty Meal
Looking for a quick and tasty meal? You’ve come to the right place! This Ground Turkey Potato Skillet is simple to make and packed…
My Latest Drinks

Strawberry Cheesecake Smoothie Creamy Refreshing Treat
Craving something delicious and cool? The Strawberry Cheesecake Smoothie is your answer! It blends creamy cheesecake flavors with sweet strawberries Read Full Recipe-
Mocktail Pink Punch Refreshing and Easy Recipe
Are you ready to impress your guests with a delightful drink? This Mocktail Pink Punch recipe is both refreshing and Read Full Recipe -
Blue Lagoon Tropical Lemonade Refreshing and Zesty Drink
Looking for a drink that’s both refreshing and fun? Say hello to Blue Lagoon Tropical Lemonade! This colorful beverage packs Read Full Recipe -
Pumpkin Spice Coffee Creamer Flavorful Fall Treat
Are you ready to embrace the cozy vibes of autumn? In this blog post, I’ll guide you through making your Read Full Recipe -
Apple Cider Margarita Mocktail Refreshing Fall Drink
Fall is here, and that means it’s the perfect time for a cozy drink! The Apple Cider Margarita Mocktail offers Read Full Recipe -
Pumpkin Spice Latte Copycat Cozy and Comforting Recipe
Craving that warm, cozy feeling of fall? You can enjoy a delicious Pumpkin Spice Latte at home! In this article, Read Full Recipe


My Latest Dinners
-
White Bean Soup Simple and Hearty Delight
Looking for a warm and filling meal? Let me introduce you to white bean soup! This simple and hearty delight Read Full Recipe -
Garlic Herb Roasted Sweet Potatoes Flavorful Side Dish
Looking for a side dish that’s both tasty and easy to make? Garlic Herb Roasted Sweet Potatoes are the answer! Read Full Recipe -
One Pot Beef Taco Pasta Easy and Flavorful Meal
Looking for a quick and tasty meal? One Pot Beef Taco Pasta is the perfect dish! This recipe packs bold Read Full Recipe -
Garlic Chicken Zucchini Noodles Stir Fry Delight
Are you ready for a tasty twist on dinner? My Garlic Chicken Zucchini Noodles Stir Fry is a quick and Read Full Recipe -
Stuffed Italian Meatloaf Easy and Tasty Recipe
Are you ready to elevate your dinner game? This Stuffed Italian Meatloaf is both easy and tasty! In this article, Read Full Recipe -
One Pot French Onion Pasta Flavorful Comfort Dish
Looking for a cozy dinner that warms your soul? Try my One Pot French Onion Pasta! This creamy, rich dish Read Full Recipe


hey,
i’m !
I’m so happy you’re here!
Every dish I share is made with love and care. I hope they bring you the same comfort and joy they bring me. Let’s make memories, one recipe at a time.

![To make soft and chewy snickerdoodle cookies, you need simple ingredients. This recipe yields about 24 cookies, perfect for sharing or enjoying at home. - 1 cup unsalted butter, softened - 1 ½ cups granulated sugar - 2 large eggs - 1 teaspoon vanilla extract - 3 cups all-purpose flour - 2 teaspoons cream of tartar - 1 teaspoon baking soda - ½ teaspoon salt - 2 tablespoons cinnamon sugar (mix 1 tablespoon cinnamon with 1 tablespoon sugar) If you need to adjust measurements, here are some handy tips: - 1 cup of butter equals 2 sticks or 225 grams. - For sugar, 1 cup equals about 200 grams. - Use 1 tablespoon of baking powder if you don’t have cream of tartar. - You can swap all-purpose flour with a gluten-free blend if needed. Feel free to explore the Full Recipe for more details on how to create these delightful cookies! To bake the best snickerdoodle cookies, you need some key tools. Gather these items before you start: - Mixing bowls - Electric mixer - Measuring cups - Measuring spoons - Parchment paper - Baking sheet - Wire rack These tools help make the process smooth and fun. Follow these steps to create delicious cookies. 1. Preheat your oven to 350°F (175°C). This is important for even baking. 2. Line a baking sheet with parchment paper. This keeps cookies from sticking. 3. In a large mixing bowl, cream the softened butter and granulated sugar. Mix until light and fluffy. This takes about 3-4 minutes. 4. Next, beat in the eggs one at a time. Add the vanilla extract after mixing in the eggs. 5. In another bowl, whisk the flour, cream of tartar, baking soda, and salt together. 6. Gradually mix the dry ingredients into the wet ones. Be careful not to overmix. This keeps the cookies soft. 7. Chill the dough in the fridge for about 30 minutes. This helps the flavors blend and makes it easier to scoop. 8. Once chilled, scoop out dough balls, about 1.5 tablespoons each. Roll them into balls. 9. Roll each ball in the cinnamon sugar mixture until fully coated. 10. Place the dough balls on the prepared baking sheet, leaving about 2 inches between them. 11. Bake in the preheated oven for 10-12 minutes. Watch for lightly golden edges and soft centers. 12. Let the cookies cool on the baking sheet for 5 minutes. Then transfer them to a wire rack to cool completely. Baking time is key to perfect cookies. Keep these tips in mind: - Always preheat your oven. This ensures even baking. - Bake for 10-12 minutes. Check for golden edges but soft centers. - Let cookies cool on the sheet before moving them. This helps them set. By following these steps closely, your snickerdoodle cookies will turn out soft and chewy, just like you want! For the complete list of ingredients and instructions, check the Full Recipe. To get those perfect soft and chewy snickerdoodles, start with room temperature butter. This helps create a creamy mix with sugar. Use a mixer to blend the butter and sugar well. Whip them together for about 3-4 minutes. This step adds air and makes the cookies light. Next, don't skip chilling the dough. It helps the flavors blend and keeps the cookies from spreading too much. Chill the dough for at least 30 minutes. When you bake, take them out while the centers still look soft. They will continue cooking as they cool. This is key for that gooey bite. One big mistake is overmixing the dough. Mix until just combined. Overmixing can make cookies tough. Another common issue is not measuring flour correctly. Too much flour can dry out the cookies. Use the spoon and level method for accurate measuring. Lastly, don’t skip the cinnamon sugar coating. It adds a nice crunch and flavor. Roll each dough ball well in the mix before baking. For a flavor boost, use high-quality vanilla extract. It makes a noticeable difference in taste. You can also try adding a pinch of nutmeg along with the cinnamon. It gives a warm, cozy flavor. If you want a little more depth, consider browning the butter. It adds a rich, nutty flavor that complements the cookies well. For the full recipe, check the [Full Recipe]. {{image_2}} Snickerdoodles are great on their own, but you can add fun ingredients! Try mixing in chopped nuts like pecans or walnuts. They add a nice crunch. You can also fold in chocolate chips for a sweet surprise. Dark chocolate or white chocolate chips work well. These add-ins make each bite even more exciting. Want to mix it up? You can change the flavor of your snickerdoodles. Adding pumpkin puree gives them a fall twist. Just replace some of the butter with pumpkin. For a minty treat, mix in peppermint extract. This gives a fresh taste that’s perfect for the holidays. Experiment with these flavors to find your favorite! Looking for healthier options? You can make gluten-free snickerdoodles! Use a gluten-free flour blend instead of all-purpose flour. If you want vegan cookies, substitute the eggs with flax eggs made from ground flaxseed and water. You can also replace the butter with coconut oil or vegan butter. These swaps help you enjoy snickerdoodles while sticking to your diet. For the full recipe, check out the earlier section. Enjoy creating your perfect batch of cookies! To keep your snickerdoodle cookies soft and chewy, storage is key. Always let cookies cool completely before storing. Use an airtight container for the best results. Line the container with parchment paper to absorb any moisture. Layer the cookies with parchment in between to prevent sticking. Keep the container at room temperature. This helps maintain the perfect texture. Freezing cookies is a great way to save them for later. After baking, let the cookies cool. Place them in a single layer on a baking sheet. Put the sheet in the freezer for about one hour. Once frozen, transfer the cookies to a freezer-safe bag or container. Make sure to remove as much air as possible. They can last for up to three months in the freezer. When you want to enjoy them, just thaw at room temperature. If your cookies lose their softness, don't worry. You can easily revive them. Place the cookies in the microwave for about 10 seconds. This will add some warmth and moisture back. Another option is to place a slice of bread in the container. The cookies will absorb the moisture from the bread. This helps keep them soft and chewy longer. Snickerdoodle cookies get their soft and chewy texture from two main ingredients: cream of tartar and butter. Cream of tartar helps the cookies rise and gives them a unique taste. It also keeps the cookies tender. Using softened butter creates a nice, rich flavor. When you mix them together, you get that perfect chewy bite you love. Yes, you can use brown sugar! Brown sugar adds moisture and a deeper flavor. It can make your cookies a bit softer and chewier. If you decide to switch, use the same amount of brown sugar as granulated sugar. You may notice a slight change in taste, which can be delicious! Homemade snickerdoodle cookies can last up to a week when stored properly. Keep them in an airtight container at room temperature. To extend their freshness, you can freeze them. Just place the cookies in a freezer-safe bag, and they can last for up to three months. When you're ready to eat, thaw them at room temperature. Enjoy the soft and chewy goodness! You now have all the tools to make perfect snickerdoodle cookies. We covered each ingredient and its role in this tasty treat. I shared tips to avoid common mistakes and achieve the best texture. Remember to explore fun variations and dietary substitutions. Proper storage will keep your cookies fresh, and knowing the answers to FAQs will help you troubleshoot. Baking should be fun, so let your creativity shine. Enjoy the sweet results of your hard work!](https://easycookingbite.com/wp-content/uploads/2025/04/096db9e6-7660-4d86-94c3-3f950be870db-300x300.webp)

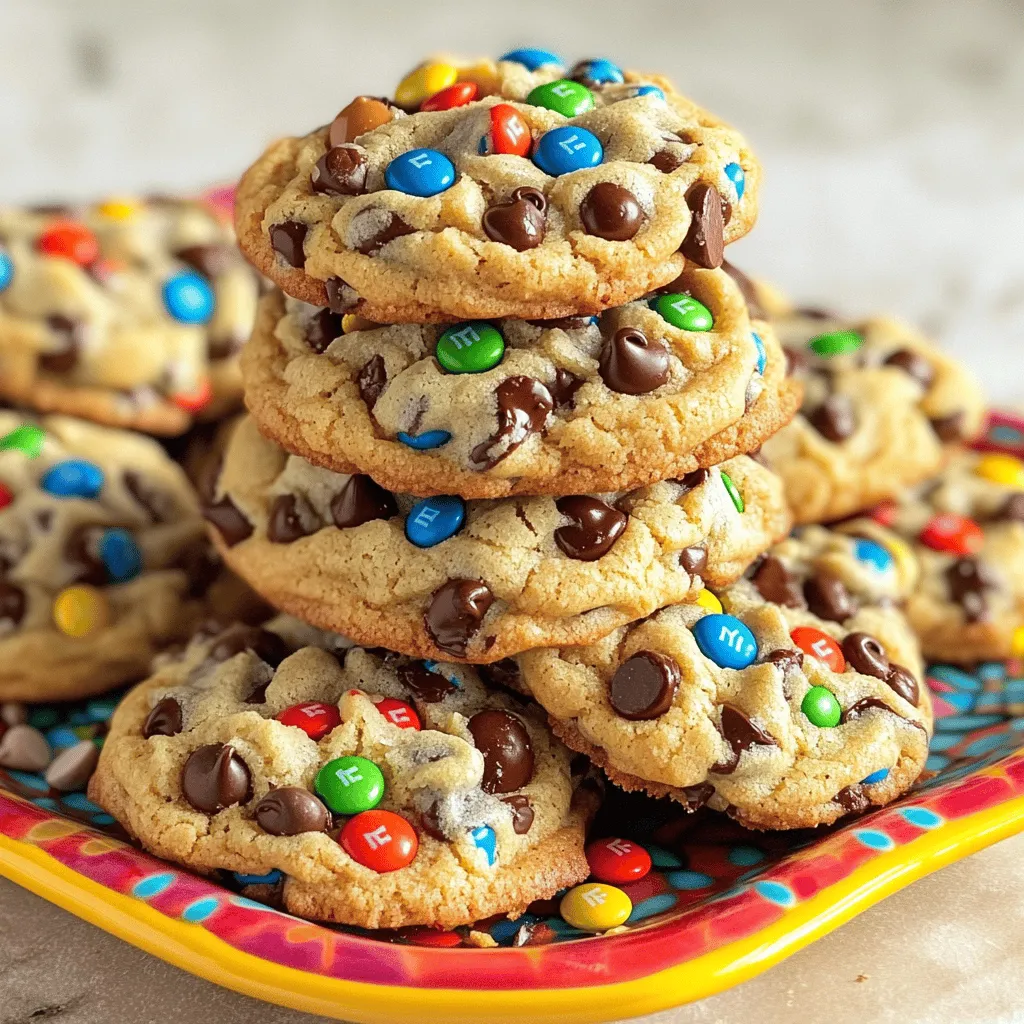
Chewy Monster Cookies Irresistible and Soft Treat
Welcome to your new favorite cookie adventure! Chewy Monster Cookies are the ultimate treat—soft, loaded with goodies, and easy to make. In this post,…