
Latest & Greatest
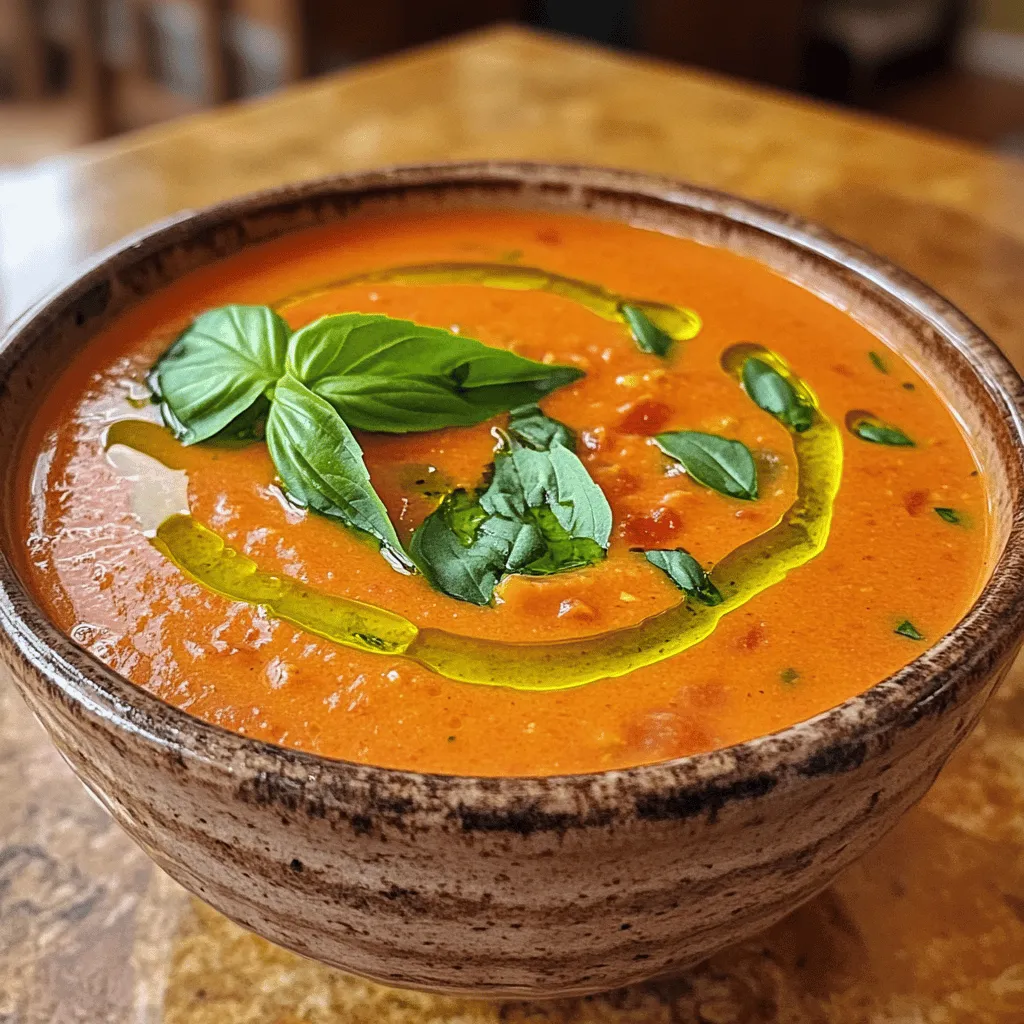
Homemade Tomato Basil Soup Easy and Flavorful Recipe
Are you ready to warm up with a bowl of delightful Homemade Tomato Basil Soup? This easy and flavorful recipe
Read more…
Grilled Vegetable Skewers Flavorful and Simple Delight
Looking to impress your friends with a simple yet delicious dish? Grilled vegetable skewers are a perfect choice! They bring
Read more…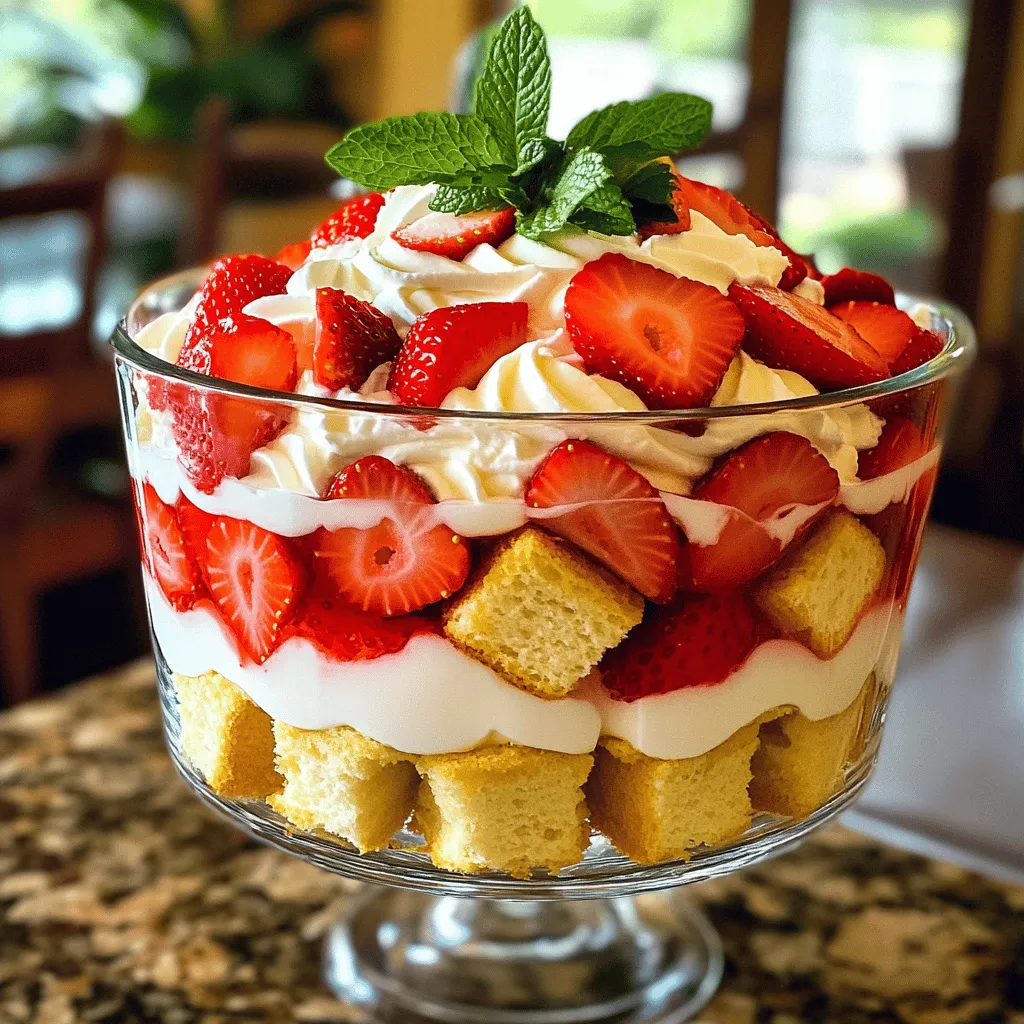
Strawberry Shortcake Trifle Easy Layered Delight
Are you ready to impress friends and family with a delicious dessert? This Strawberry Shortcake Trifle is an easy, layered
Read more…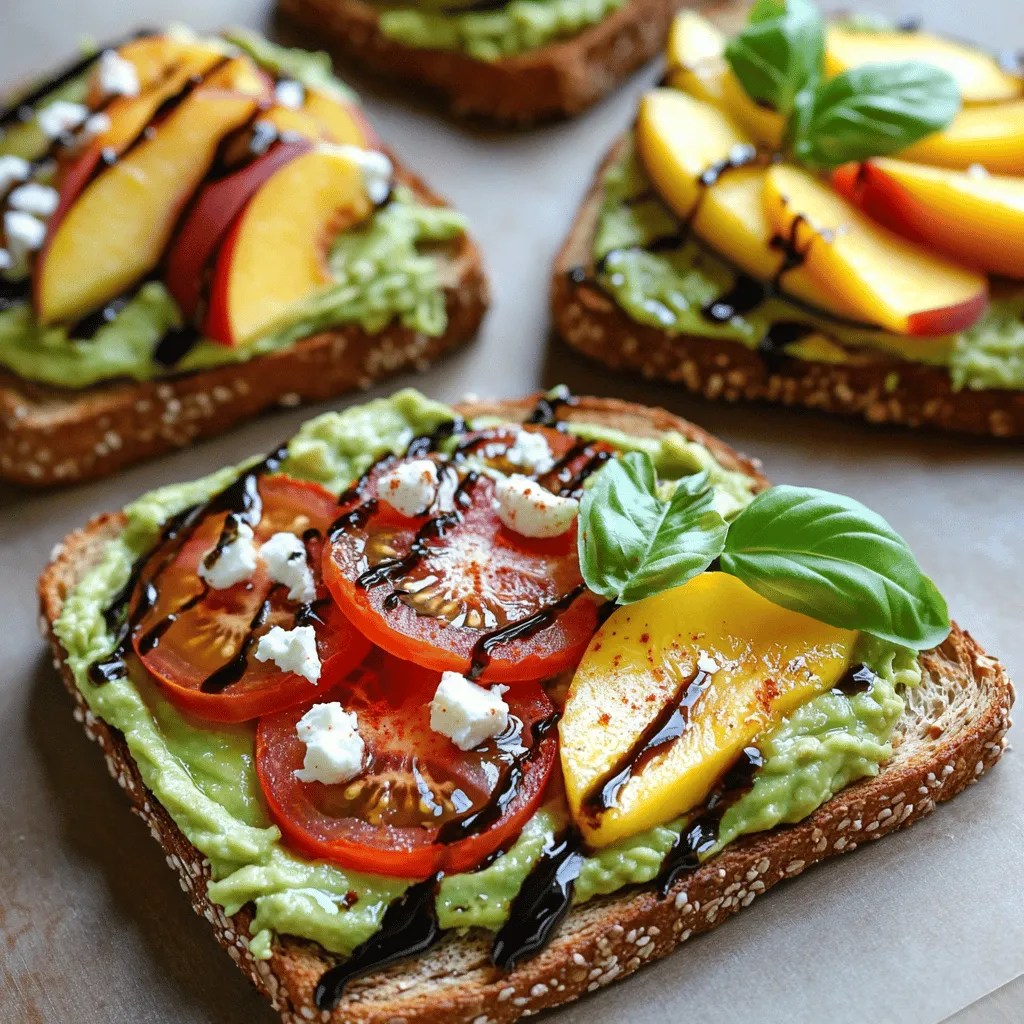
Avocado Toast Variations Flavorful and Simple Ideas
Are you ready to elevate your breakfast game? Avocado toast is a simple yet tasty way to start your day.
Read more…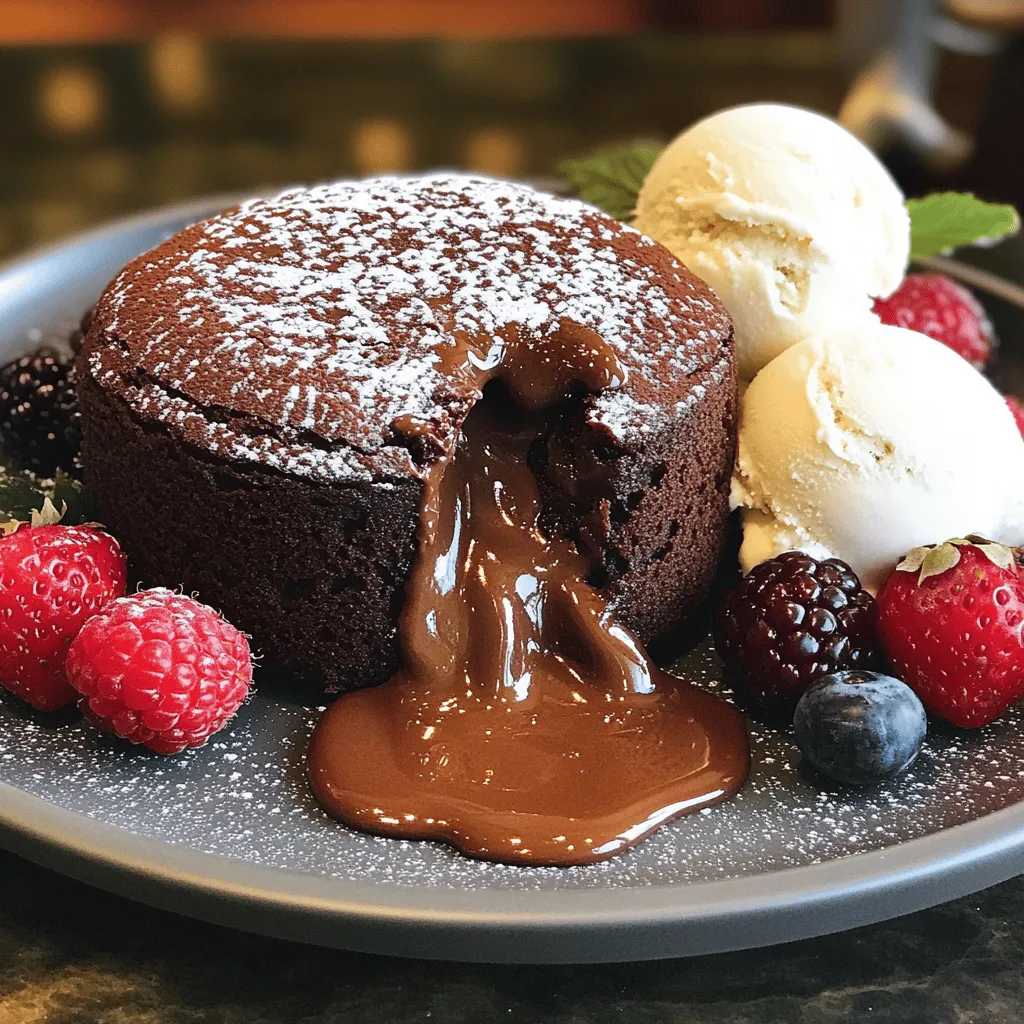
Chocolate Lava Cake Irresistible Gooey Delight
Are you ready to impress your friends with a dessert everyone loves? Chocolate Lava Cake is the ultimate indulgence, combining
Read more…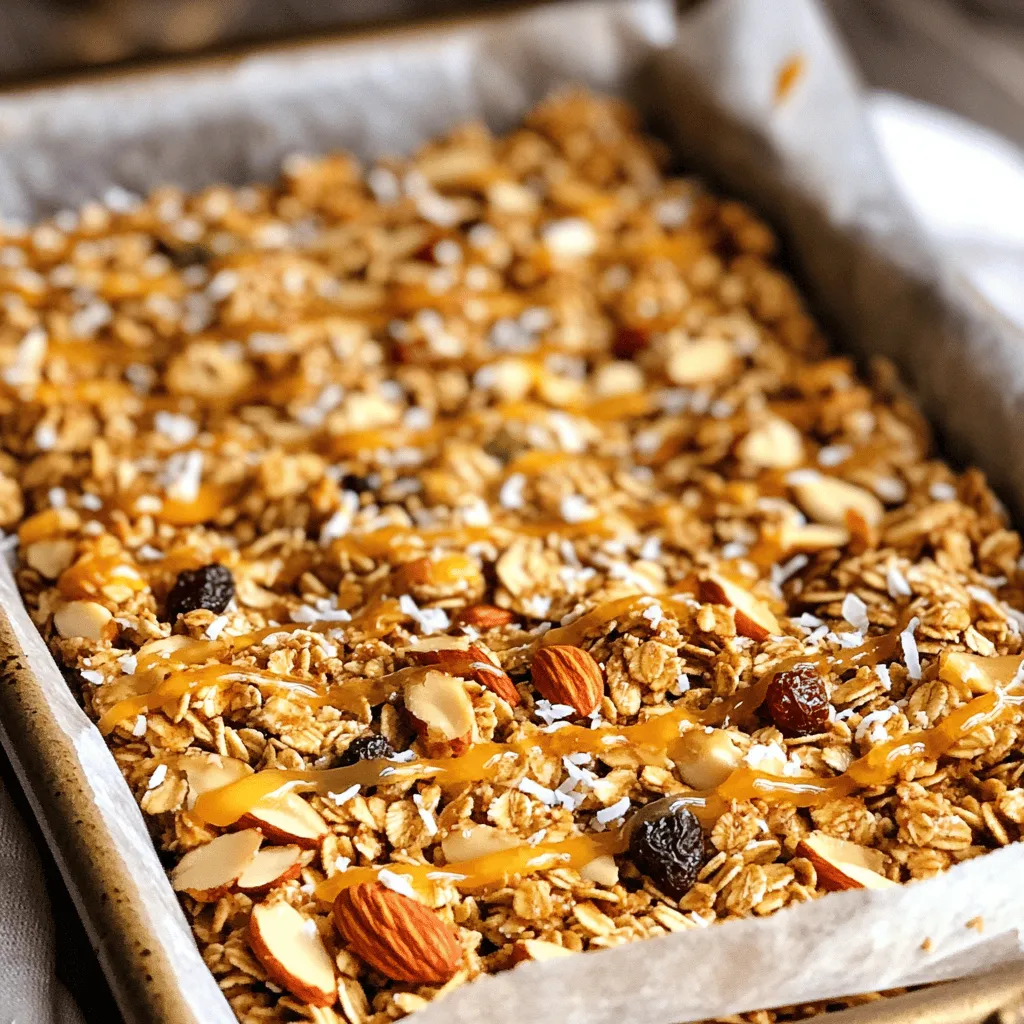
Nutty Granola Bars Simple and Tasty Recipe
Looking for a quick and easy snack that’s both delicious and healthy? You’ve come to the right place! In this
Read more…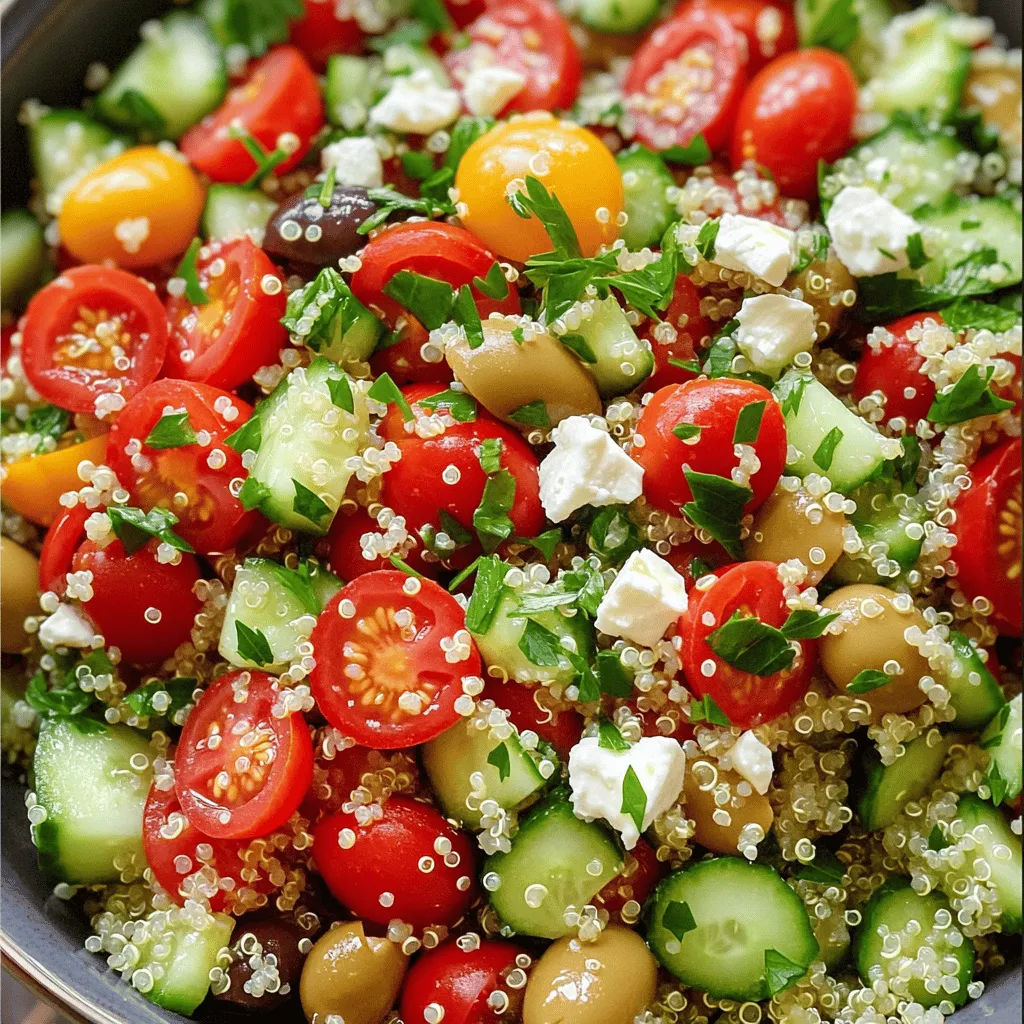
Savory Quinoa Salad with Feta Nutrient-Packed Dish
Looking for a dish that bursts with flavor and packs a nutrient punch? You’ll love this Savory Quinoa Salad with
Read more…
Nutella Rolls with Cream Cheese Delightful Dessert
If you’re looking for a sweet treat that’s easy to make, Nutella Rolls with Cream Cheese are perfect. This delightful
Read more…browse recipes


Loaded Veggie Omelette Flavorful and Nutritious Meal
Looking for a tasty and healthy breakfast? This Loaded Veggie Omelette is your answer! Packed with colorful vegetables and cheesy goodness, it offers a…
My Latest Drinks

Strawberry Cheesecake Smoothie Creamy Refreshing Treat
Craving something delicious and cool? The Strawberry Cheesecake Smoothie is your answer! It blends creamy cheesecake flavors with sweet strawberries Read Full Recipe-
Mocktail Pink Punch Refreshing and Easy Recipe
Are you ready to impress your guests with a delightful drink? This Mocktail Pink Punch recipe is both refreshing and Read Full Recipe -
Blue Lagoon Tropical Lemonade Refreshing and Zesty Drink
Looking for a drink that’s both refreshing and fun? Say hello to Blue Lagoon Tropical Lemonade! This colorful beverage packs Read Full Recipe -
Pumpkin Spice Coffee Creamer Flavorful Fall Treat
Are you ready to embrace the cozy vibes of autumn? In this blog post, I’ll guide you through making your Read Full Recipe -
Apple Cider Margarita Mocktail Refreshing Fall Drink
Fall is here, and that means it’s the perfect time for a cozy drink! The Apple Cider Margarita Mocktail offers Read Full Recipe -
Pumpkin Spice Latte Copycat Cozy and Comforting Recipe
Craving that warm, cozy feeling of fall? You can enjoy a delicious Pumpkin Spice Latte at home! In this article, Read Full Recipe


My Latest Dinners
-
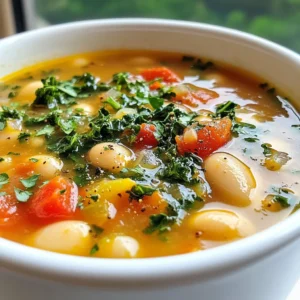
White Bean Soup Simple and Hearty Delight
Looking for a warm and filling meal? Let me introduce you to white bean soup! This simple and hearty delight Read Full Recipe -
Garlic Herb Roasted Sweet Potatoes Flavorful Side Dish
Looking for a side dish that’s both tasty and easy to make? Garlic Herb Roasted Sweet Potatoes are the answer! Read Full Recipe -
One Pot Beef Taco Pasta Easy and Flavorful Meal
Looking for a quick and tasty meal? One Pot Beef Taco Pasta is the perfect dish! This recipe packs bold Read Full Recipe -
Garlic Chicken Zucchini Noodles Stir Fry Delight
Are you ready for a tasty twist on dinner? My Garlic Chicken Zucchini Noodles Stir Fry is a quick and Read Full Recipe -
Stuffed Italian Meatloaf Easy and Tasty Recipe
Are you ready to elevate your dinner game? This Stuffed Italian Meatloaf is both easy and tasty! In this article, Read Full Recipe -
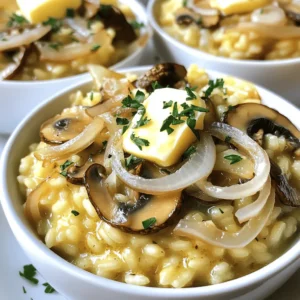
One Pot French Onion Pasta Flavorful Comfort Dish
Looking for a cozy dinner that warms your soul? Try my One Pot French Onion Pasta! This creamy, rich dish Read Full Recipe


hey,
i’m !
I’m so happy you’re here!
Every dish I share is made with love and care. I hope they bring you the same comfort and joy they bring me. Let’s make memories, one recipe at a time.

Balsamic Glazed Brussels Sprouts Flavorful Side Dish
Looking for a side dish that brings a burst of flavor to your table? Balsamic Glazed Brussels Sprouts are the answer! These tasty veggies…

