


Latest & Greatest
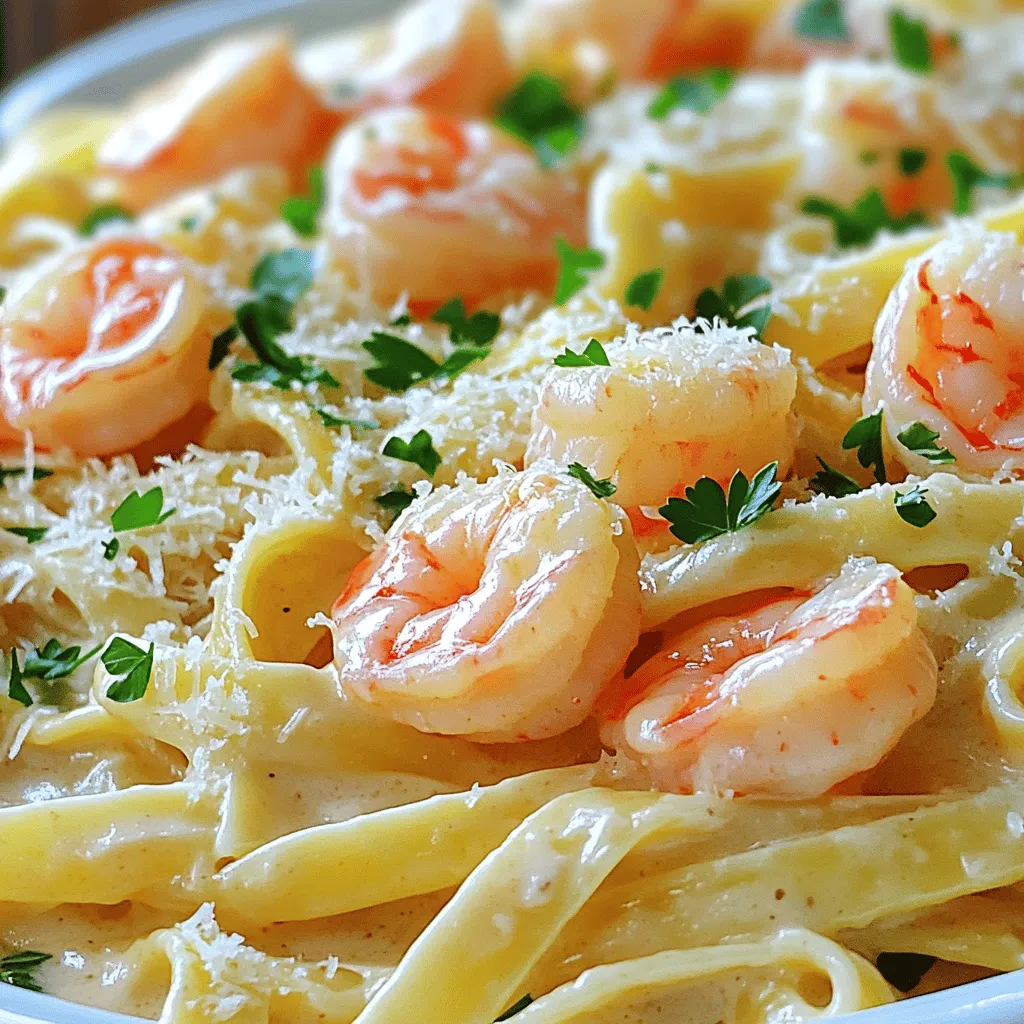
Creamy Shrimp Pasta Delightful and Simple Recipe
Are you ready to impress with a dish that’s both simple and delightful? This Creamy Shrimp Pasta recipe is a
Read more…
Savory Hot Honey Chicken Bowls Easy Weeknight Meal
Are you ready to spice up your weeknight meals? These Savory Hot Honey Chicken Bowls deliver a delightful mix of
Read more…
Pineapple Heaven Cake Irresistible Tropical Delight
If you’re craving a sweet escape to a tropical paradise, Pineapple Heaven Cake is your ticket! This delightful dessert balances
Read more…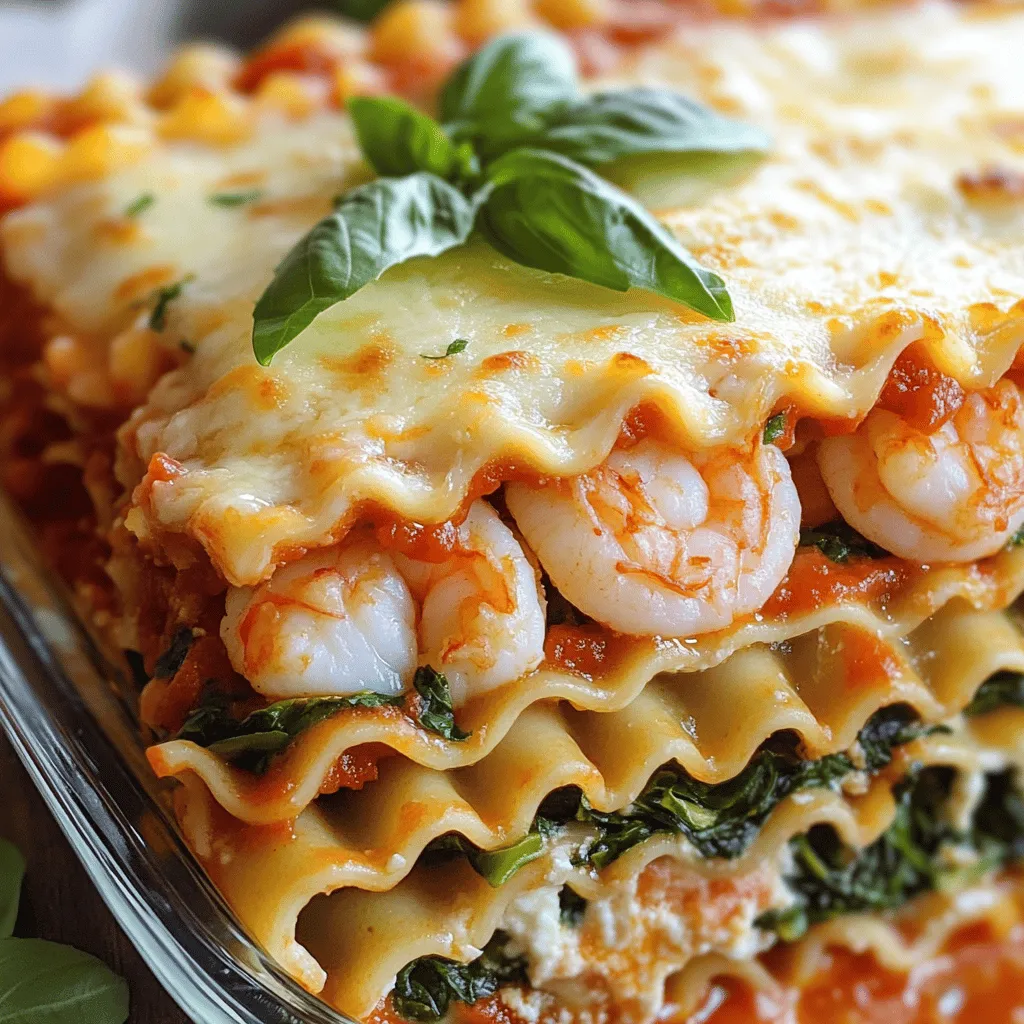
Seafood Lasagna Delightful and Creamy Dinner Recipe
If you love seafood and comfort food, seafood lasagna is a must-try! This creamy and delightful meal blends fresh shrimp
Read more…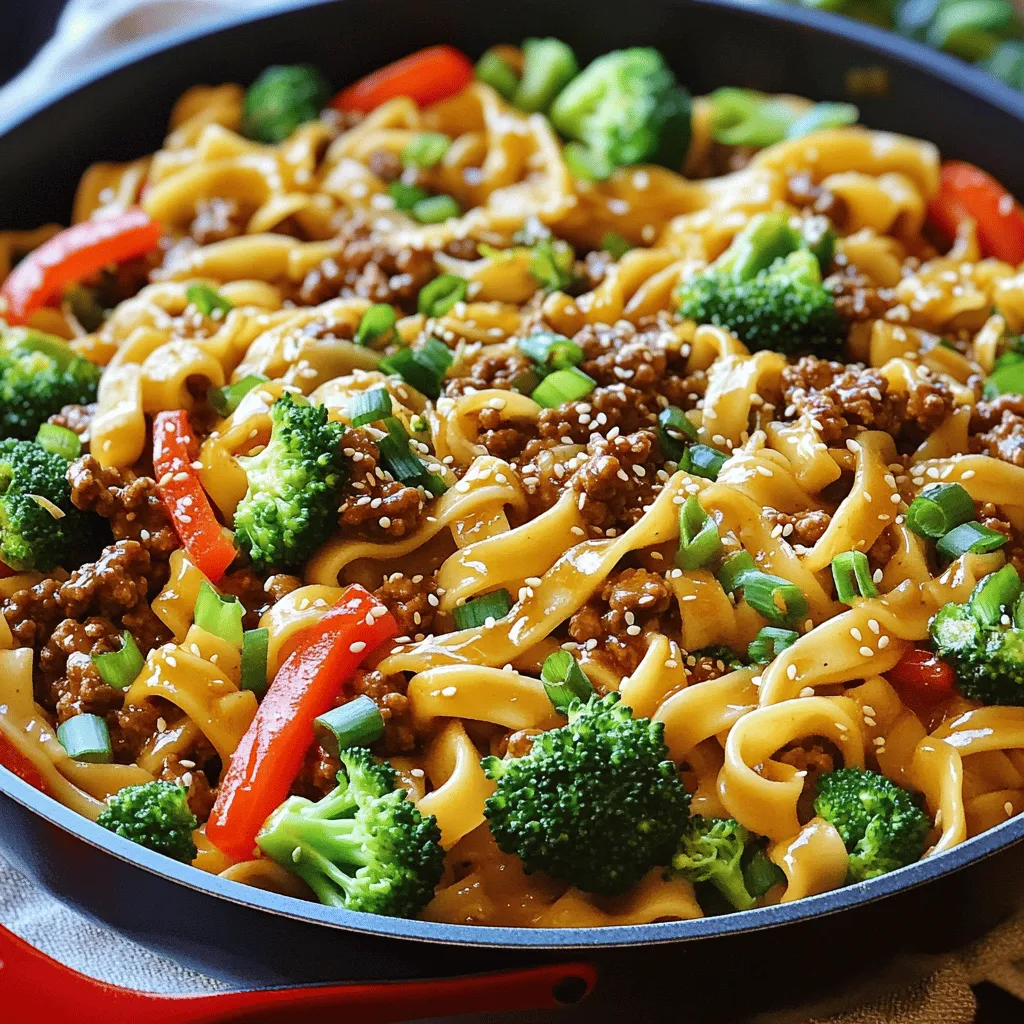
Mongolian Ground Beef Noodles Flavorful Easy Recipe
Welcome to my kitchen! Today, I’m excited to share my Mongolian Ground Beef Noodles recipe. This dish is not only
Read more…
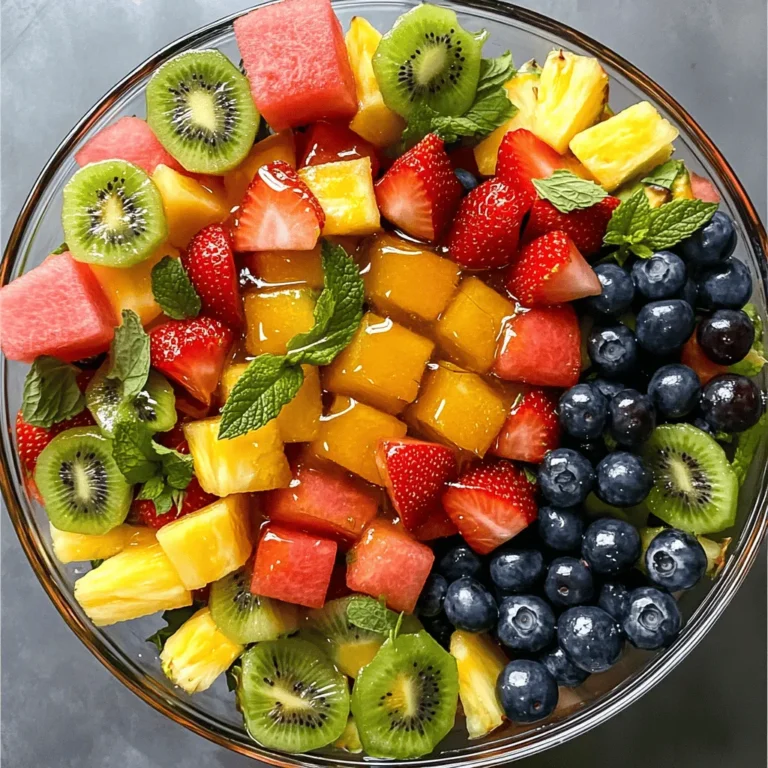
Seafood Salad Fresh and Flavorful Summer Dish
Summer is here, and nothing beats a fresh seafood salad! You’ll enjoy the mix of tasty seafood, crisp veggies, and
Read more…
Homemade Chicken Stroganoff Creamy and Savory Dish
Get ready to dive into a warm bowl of Homemade Chicken Stroganoff! This creamy, savory dish combines tender chicken, fresh
Read more…
Loaded Baked Potato Gnocchi Simple and Tasty Recipe
Craving something warm and comforting? You’ve come to the right place! My Loaded Baked Potato Gnocchi recipe combines the classic
Read more…browse recipes


![- 2 ½ pounds Granny Smith apples, peeled, cored, and sliced - 1 ½ cups granulated sugar - 2 teaspoons cinnamon - ½ teaspoon nutmeg Granny Smith apples are perfect for this pie. They are tart and firm. Their crispness holds up well during baking. Granulated sugar adds sweetness and balances the tart apples. The spices, cinnamon and nutmeg, bring warmth and depth to the flavor. - 2 tablespoons lemon juice - 1 tablespoon all-purpose flour (for thickening) - 1 tablespoon unsalted butter, cut into small pieces - 1 egg (for egg wash) - 1 tablespoon milk (for egg wash) Lemon juice brightens the apple flavor and helps prevent browning. The flour thickens the filling, giving it the right texture. Butter adds richness and creates a lovely top layer. The egg wash, made from egg and milk, gives the crust a golden color. Using these ingredients, you can create a classic apple pie that delights everyone. For the full recipe, check the details above. First, preheat your oven to 425°F (220°C). This step helps the pie bake evenly. Next, take your refrigerated pie crusts out. If you want to make homemade crusts, start preparing those now. Roll out one pie crust and fit it into a 9-inch pie pan. Make sure the edges hang over slightly. In a large mixing bowl, combine the sliced Granny Smith apples with 1 ½ cups of granulated sugar. Add 2 tablespoons of lemon juice, 2 teaspoons of cinnamon, and ½ teaspoon of nutmeg to the apples. Sprinkle in 1 tablespoon of all-purpose flour for thickening. Toss everything together until the apples are well-coated. Let the mixture sit for about 15 minutes. This time helps release the apple juices and enhances the flavor. Now, pour the apple filling into the pie crust. Spread it out evenly. Dot the filling with small pieces of 1 tablespoon of unsalted butter for richness. Next, cover the pie with the second pie crust. Crimp the edges to seal the pie and cut a few slits in the top crust. These slits allow steam to escape while baking. Place the pie in the preheated oven for 15 minutes. After that, reduce the temperature to 350°F (175°C). Continue baking for another 35-45 minutes. The pie is done when the apples are tender and the crust is golden brown. To check, insert a knife into the filling. If it goes in easily, your pie is ready! Enjoy your homemade classic apple pie! For the full recipe, refer to the earlier section. To slice apples well, start with a sharp knife. Cut the apple in half from top to bottom. Then, take each half and slice it into thin pieces. Aim for slices that are about 1/4 inch thick. This size helps the apples cook evenly. To stop browning, squeeze a little lemon juice on the cut apples. This simple trick keeps them looking fresh. A flaky crust makes the pie special. Use cold butter when making your crust. Cut the butter into the flour until it looks like small crumbs. Don’t overwork the dough; mix just until it holds together. Chill the dough for at least 30 minutes before rolling it out. This step helps achieve that perfect flaky texture. To boost the flavor of your pie, try adding more spices. Besides cinnamon and nutmeg, consider a pinch of allspice or ginger. A splash of vanilla extract can also add a nice touch. If you want to be adventurous, toss in some caramel bits or raisins. These ingredients can make your pie unique and tasty. For the complete recipe, check out the [Full Recipe]. {{image_2}} You can use many apples for your pie. While Granny Smith apples are popular, there are great alternatives. Try Honeycrisp apples for a sweet and tart flavor. Fuji apples offer a juicy and crisp bite. If you like softer apples, use McIntosh. They break down nicely when baked. Mixing different types can add depth to your pie's flavor. Want to make your apple pie even better? Consider adding flavor infusions. A splash of caramel can bring a rich sweetness. You can also stir in some raisins for a chewy texture. If you like spice, add a pinch of ginger or cloves. These little changes can make your classic apple pie unique and exciting. Not everyone can eat regular crust. You can make a gluten-free crust using almond flour or oat flour. These options are tasty and healthy. If you love a buttery crust, use a mix of butter and cream cheese. This creates a rich, flaky texture. Each crust offers a new twist to the classic apple pie. For the full recipe, refer to the section above. To keep your apple pie fresh, refrigerate it. Wrap the pie in plastic wrap. You can also use aluminum foil. This prevents it from drying out. Store it in the fridge for up to four days. Always let pie cool before wrapping. This helps keep the crust flaky. Freezing your apple pie is easy. You can freeze it uncooked or cooked. - For uncooked pie: Wrap it tightly in plastic wrap. Place it in a freezer bag. This keeps it fresh for up to three months. - For cooked pie: Let it cool completely. Wrap it in plastic wrap and foil. It can last for two to three months. To enjoy your pie again, reheating is key. - In the oven: Preheat to 350°F (175°C). Place the pie on a baking sheet. Heat for about 15 to 20 minutes. This keeps the crust crisp. - In the microwave: Use a microwave-safe plate. Heat a slice for about 30 seconds. This method is quick but may soften the crust. Using these methods, your apple pie will taste fresh and delicious! Enjoy your Classic Apple Pie Delightful and Simple Recipe! For the complete recipe, check the Full Recipe section. The best type of apple for apple pie is Granny Smith. These apples are tart, crisp, and hold their shape when baked. Their tartness balances the sweetness of sugar. Other great choices include Honeycrisp and Braeburn. Mixing different apples can add depth to the flavor. You want a firm apple that won't turn mushy. Yes, you can make apple pie ahead of time. To do this, prepare the pie filling and store it in the fridge. You can also assemble the pie and freeze it before baking. If you freeze it, wrap it tightly in plastic wrap and foil. This keeps it fresh. When ready to bake, do not thaw. Just add extra time to the baking. An apple pie lasts about 3 to 4 days in the fridge. Make sure to cover it well. If you freeze it, it can last up to 6 months. Signs of spoilage include a strange smell or mold. If you notice either, throw it away. Enjoy your pie fresh for the best taste! Making classic apple pie is simple and fun. We explored key ingredients like Granny Smith apples and sugar. I shared step-by-step instructions to mix and bake your pie perfectly. With tips for crust and flavor, you can impress anyone. Remember, variations let you get creative, adding your twist. Store leftovers right or freeze them for later. Finally, I hope this guide helps you enjoy making apple pie as much as I do! Happy baking!](https://easycookingbite.com/wp-content/uploads/2025/07/85a767df-abdc-414b-aa69-5983a6f1ac45.webp)
Classic Apple Pie Delightful and Simple Recipe
There’s nothing quite like a warm slice of classic apple pie straight from the oven. In this article, I’ll share my delightful and simple…
My Latest Drinks

Strawberry Cheesecake Smoothie Creamy Refreshing Treat
Craving something delicious and cool? The Strawberry Cheesecake Smoothie is your answer! It blends creamy cheesecake flavors with sweet strawberries Read Full Recipe-
Mocktail Pink Punch Refreshing and Easy Recipe
Are you ready to impress your guests with a delightful drink? This Mocktail Pink Punch recipe is both refreshing and Read Full Recipe -
Blue Lagoon Tropical Lemonade Refreshing and Zesty Drink
Looking for a drink that’s both refreshing and fun? Say hello to Blue Lagoon Tropical Lemonade! This colorful beverage packs Read Full Recipe -
Pumpkin Spice Coffee Creamer Flavorful Fall Treat
Are you ready to embrace the cozy vibes of autumn? In this blog post, I’ll guide you through making your Read Full Recipe -
Apple Cider Margarita Mocktail Refreshing Fall Drink
Fall is here, and that means it’s the perfect time for a cozy drink! The Apple Cider Margarita Mocktail offers Read Full Recipe -
Pumpkin Spice Latte Copycat Cozy and Comforting Recipe
Craving that warm, cozy feeling of fall? You can enjoy a delicious Pumpkin Spice Latte at home! In this article, Read Full Recipe


My Latest Dinners
-
White Bean Soup Simple and Hearty Delight
Looking for a warm and filling meal? Let me introduce you to white bean soup! This simple and hearty delight Read Full Recipe -
Garlic Herb Roasted Sweet Potatoes Flavorful Side Dish
Looking for a side dish that’s both tasty and easy to make? Garlic Herb Roasted Sweet Potatoes are the answer! Read Full Recipe -
One Pot Beef Taco Pasta Easy and Flavorful Meal
Looking for a quick and tasty meal? One Pot Beef Taco Pasta is the perfect dish! This recipe packs bold Read Full Recipe -
Garlic Chicken Zucchini Noodles Stir Fry Delight
Are you ready for a tasty twist on dinner? My Garlic Chicken Zucchini Noodles Stir Fry is a quick and Read Full Recipe -
Stuffed Italian Meatloaf Easy and Tasty Recipe
Are you ready to elevate your dinner game? This Stuffed Italian Meatloaf is both easy and tasty! In this article, Read Full Recipe -
One Pot French Onion Pasta Flavorful Comfort Dish
Looking for a cozy dinner that warms your soul? Try my One Pot French Onion Pasta! This creamy, rich dish Read Full Recipe


hey,
i’m !
I’m so happy you’re here!
Every dish I share is made with love and care. I hope they bring you the same comfort and joy they bring me. Let’s make memories, one recipe at a time.


Pineapple Coconut Smoothie Creamy and Refreshing Drink
Are you craving a drink that’s both creamy and refreshing? Look no further than my Pineapple Coconut Smoothie! This easy-to-make delight is perfect for…