Latest & Greatest
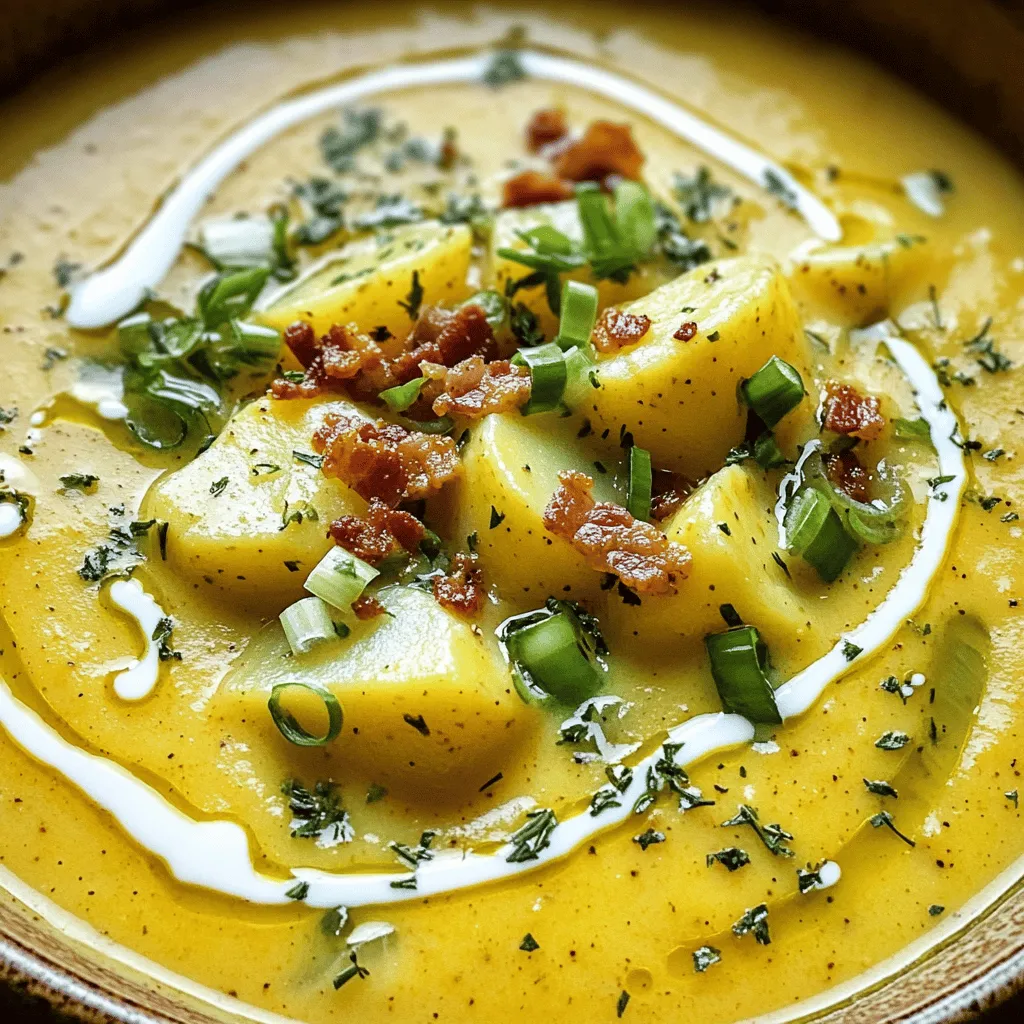
Cajun Potato Soup Hearty and Comforting Delight
Cajun Potato Soup is a warm hug in a bowl, perfect for any day. This hearty dish blends creamy potatoes
Read more…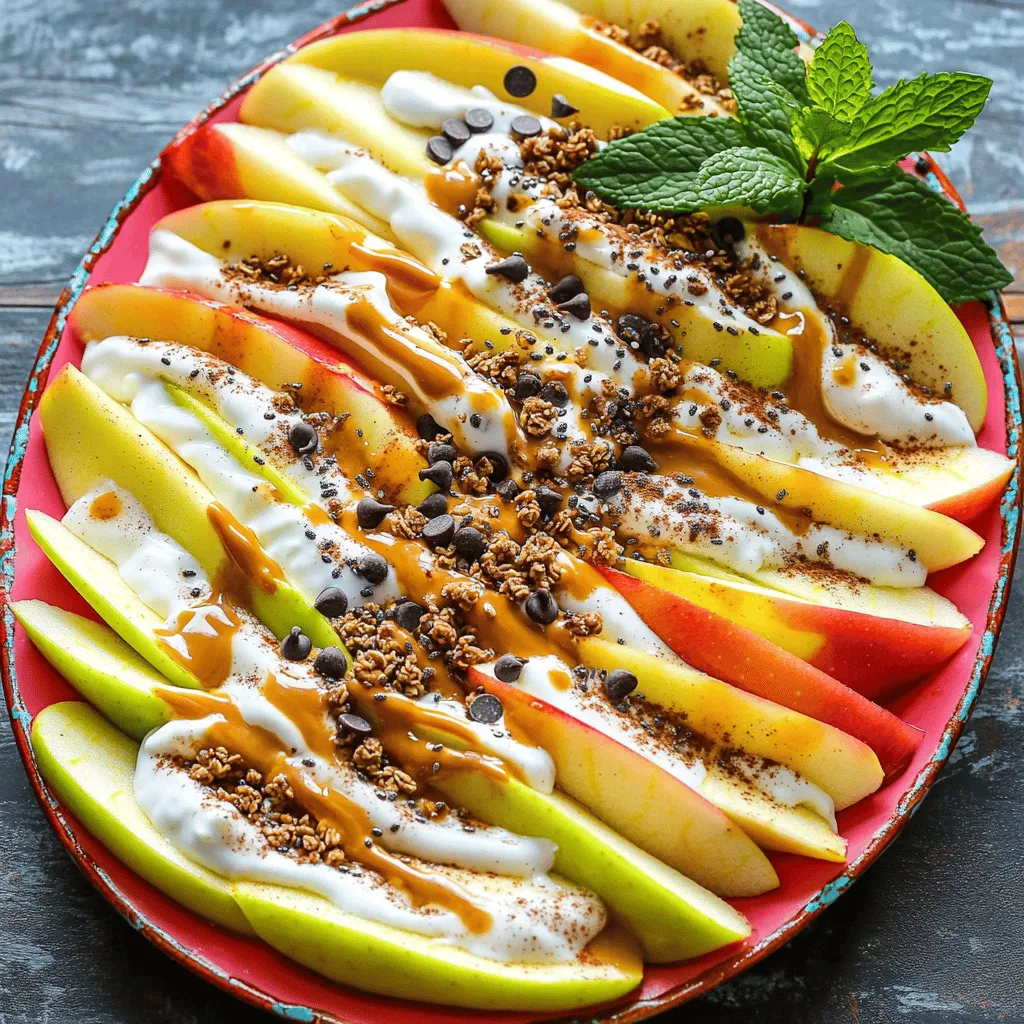
Healthy Apple Nachos Tasty Snack for Everyone
Looking for a fun and healthy snack? Try my Healthy Apple Nachos! Packed with delicious ingredients like apples, nut butter,
Read more…
Milk and Cookies Fudge Delightful Easy Recipe
Get ready to satisfy your sweet tooth with my Milk and Cookies Fudge! This delightful recipe blends the classic flavors
Read more…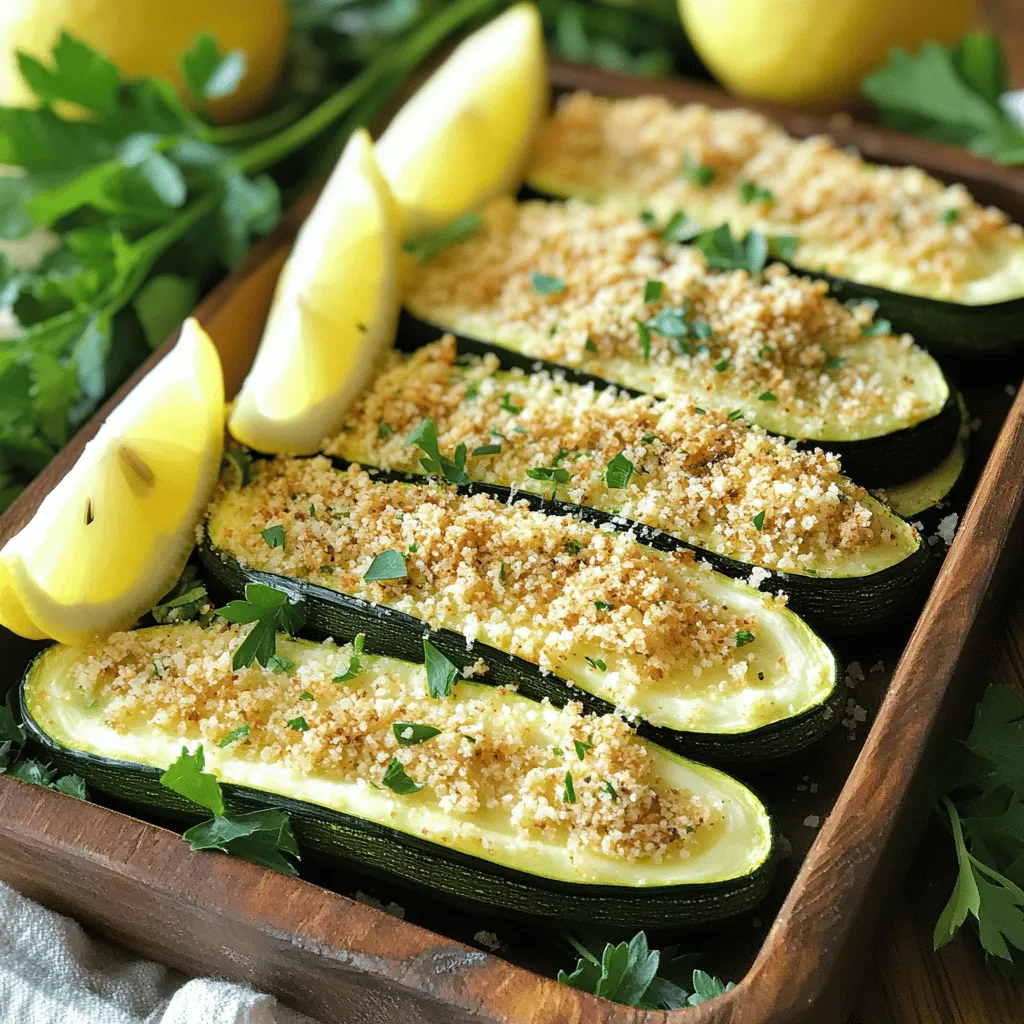
Baked Parmesan Zucchini Crisp and Flavorful Delight
If you’re craving a tasty, healthy dish, Baked Parmesan Zucchini is the answer. This simple recipe packs a crunch and
Read more…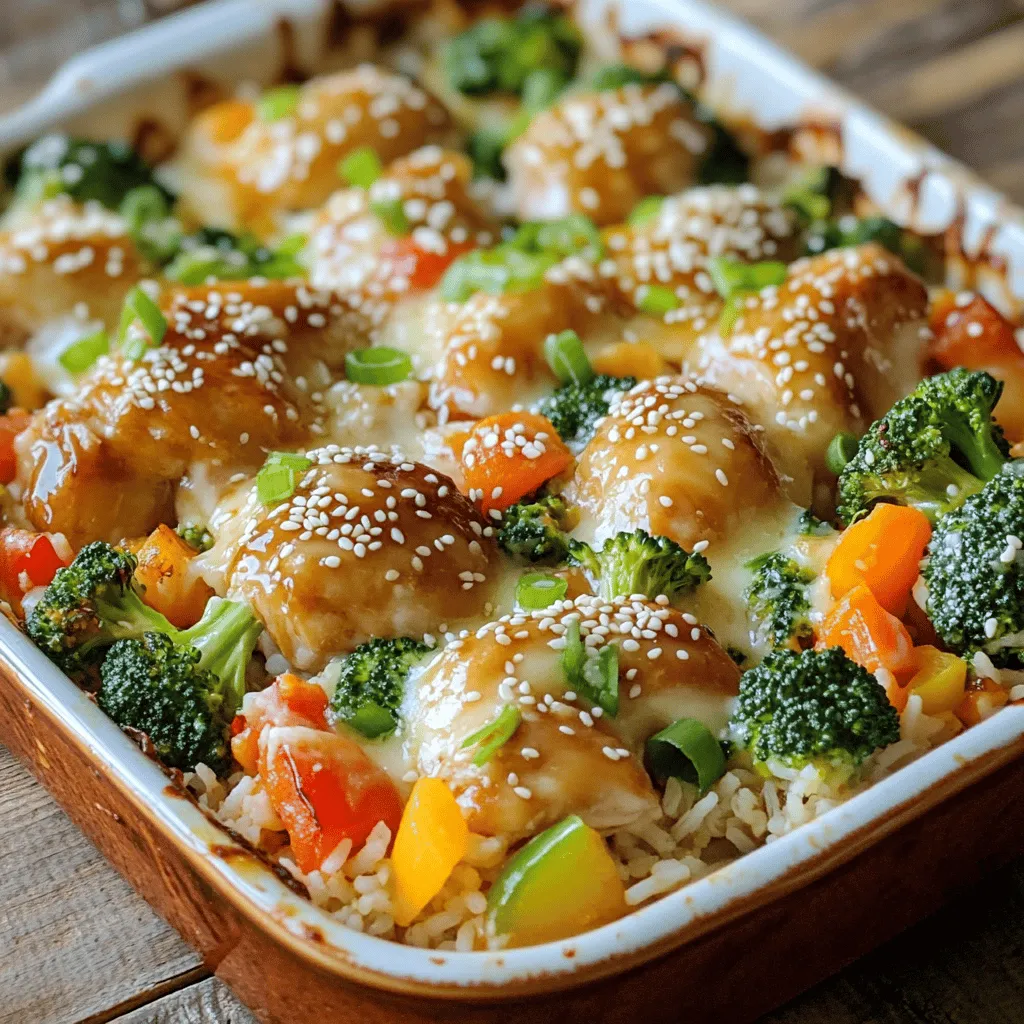
Teriyaki Chicken Casserole Flavorful Weeknight Meal
Weeknight dinners don’t have to be bland or boring. My Teriyaki Chicken Casserole combines juicy chicken, vibrant vegetables, and cheesy
Read more…
Savory Slow Cooker Broccoli Cheese Soup Delight
Are you craving a warm, cheesy bowl of soup? Look no further! My Savory Slow Cooker Broccoli Cheese Soup Delight
Read more…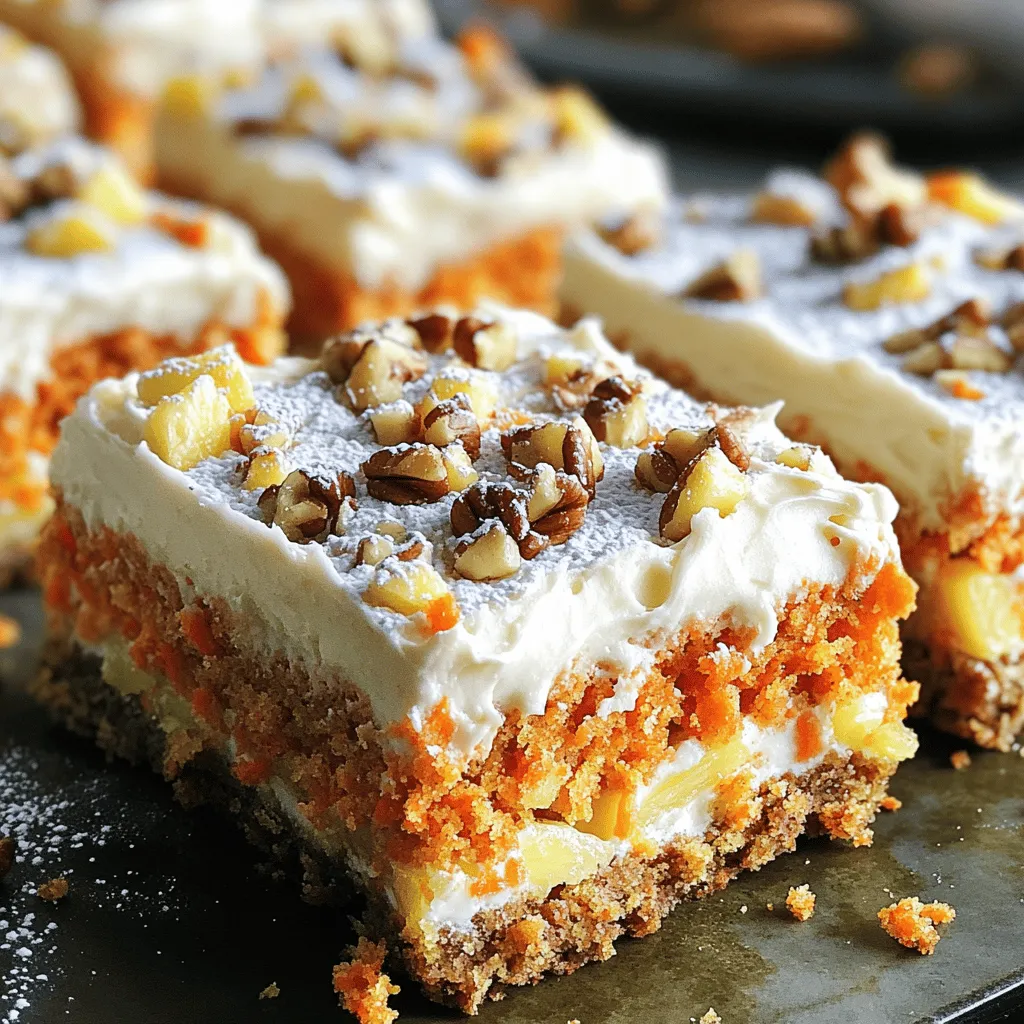
Decadent Carrot Cake Bars Delightful and Easy Treat
If you’re craving a sweet treat that’s easy to make, you’ve come to the right place! These decadent carrot cake
Read more…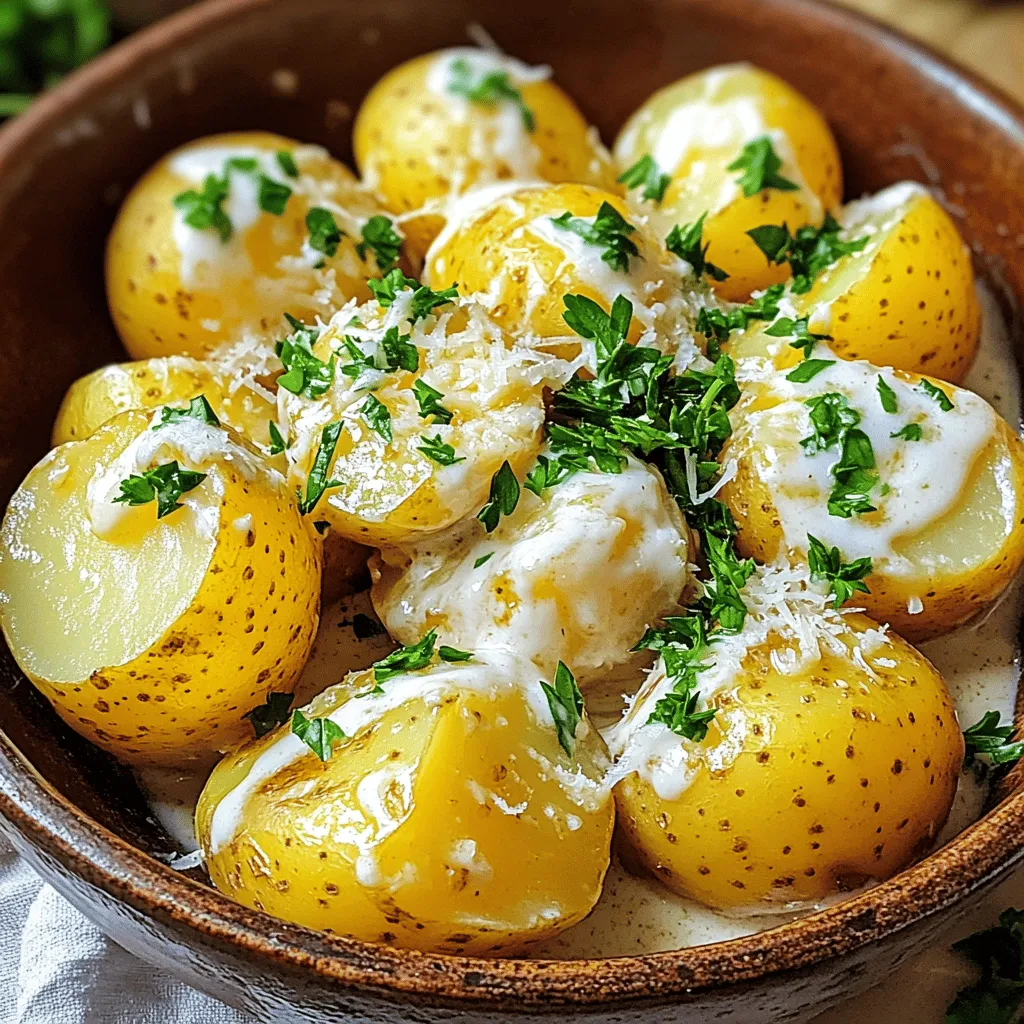
Easy Creamy Garlic Sauce Baby Potatoes Delight
Are you ready to elevate your potato game? In this article, I’ll show you how to make Easy Creamy Garlic
Read more…browse recipes
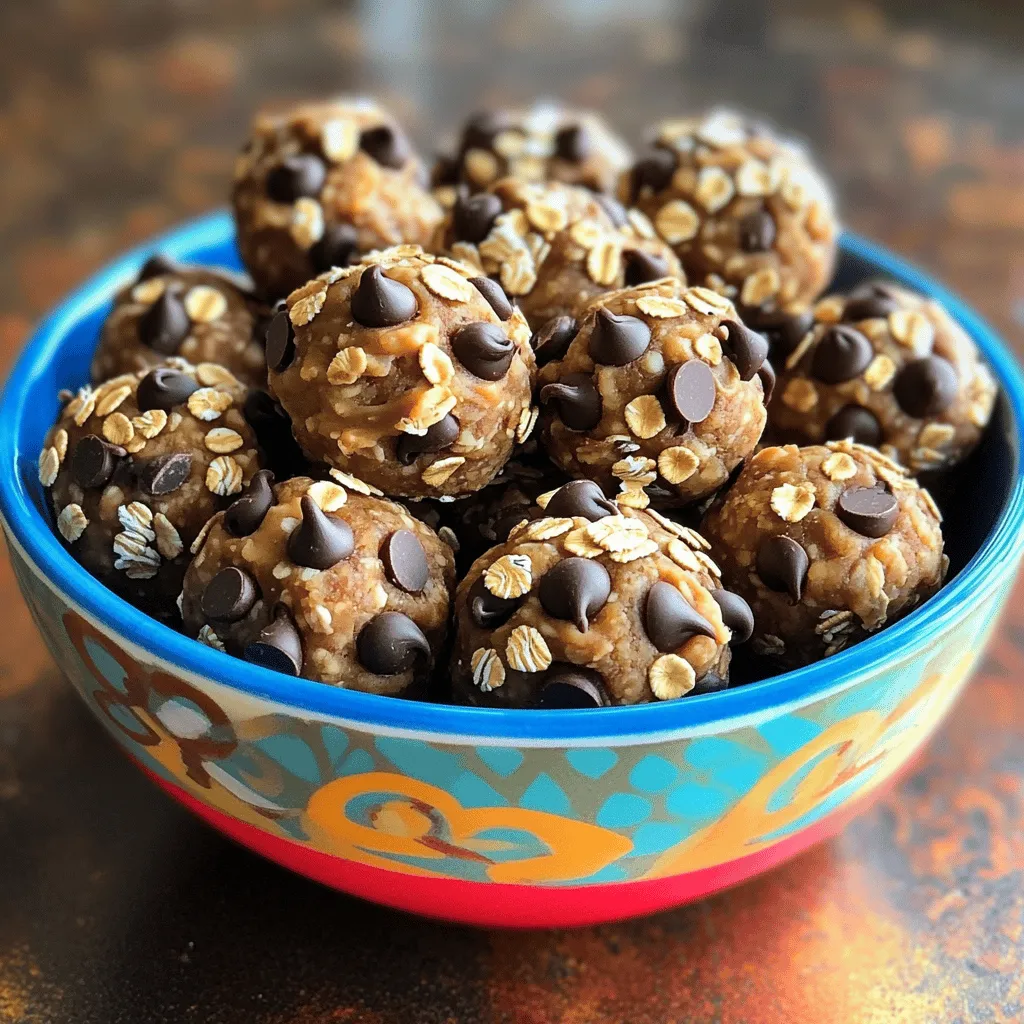
Peanut Butter Chocolate Chip Energy Bites Easy Recipe
Looking for a quick and tasty snack to fuel your day? You’ve come to the right place! These Peanut Butter Chocolate Chip Energy Bites…
My Latest Drinks
Strawberry Cheesecake Smoothie Creamy Refreshing Treat
Craving something delicious and cool? The Strawberry Cheesecake Smoothie is your answer! It blends creamy cheesecake flavors with sweet strawberries Read Full RecipeMocktail Pink Punch Refreshing and Easy Recipe
Are you ready to impress your guests with a delightful drink? This Mocktail Pink Punch recipe is both refreshing and Read Full RecipeBlue Lagoon Tropical Lemonade Refreshing and Zesty Drink
Looking for a drink that’s both refreshing and fun? Say hello to Blue Lagoon Tropical Lemonade! This colorful beverage packs Read Full RecipePumpkin Spice Coffee Creamer Flavorful Fall Treat
Are you ready to embrace the cozy vibes of autumn? In this blog post, I’ll guide you through making your Read Full RecipeApple Cider Margarita Mocktail Refreshing Fall Drink
Fall is here, and that means it’s the perfect time for a cozy drink! The Apple Cider Margarita Mocktail offers Read Full RecipePumpkin Spice Latte Copycat Cozy and Comforting Recipe
Craving that warm, cozy feeling of fall? You can enjoy a delicious Pumpkin Spice Latte at home! In this article, Read Full Recipe
My Latest Dinners
White Bean Soup Simple and Hearty Delight
Looking for a warm and filling meal? Let me introduce you to white bean soup! This simple and hearty delight Read Full RecipeGarlic Herb Roasted Sweet Potatoes Flavorful Side Dish
Looking for a side dish that’s both tasty and easy to make? Garlic Herb Roasted Sweet Potatoes are the answer! Read Full RecipeOne Pot Beef Taco Pasta Easy and Flavorful Meal
Looking for a quick and tasty meal? One Pot Beef Taco Pasta is the perfect dish! This recipe packs bold Read Full RecipeGarlic Chicken Zucchini Noodles Stir Fry Delight
Are you ready for a tasty twist on dinner? My Garlic Chicken Zucchini Noodles Stir Fry is a quick and Read Full RecipeStuffed Italian Meatloaf Easy and Tasty Recipe
Are you ready to elevate your dinner game? This Stuffed Italian Meatloaf is both easy and tasty! In this article, Read Full RecipeOne Pot French Onion Pasta Flavorful Comfort Dish
Looking for a cozy dinner that warms your soul? Try my One Pot French Onion Pasta! This creamy, rich dish Read Full Recipe
hey,
i’m !
I’m so happy you’re here!
Every dish I share is made with love and care. I hope they bring you the same comfort and joy they bring me. Let’s make memories, one recipe at a time.
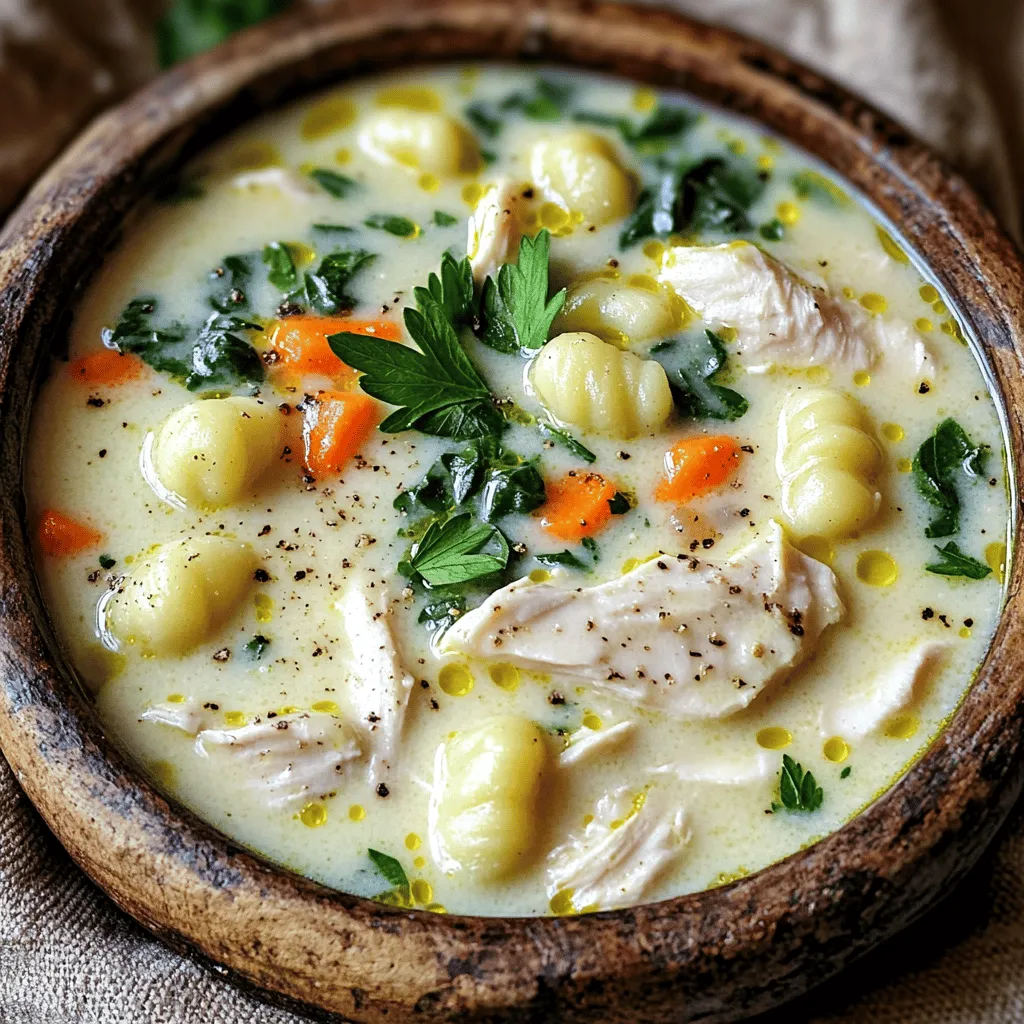
Creamy Chicken and Gnocchi Soup Flavorful Comfort Meal
If you’re craving a warm, comforting meal, look no further than Creamy Chicken and Gnocchi Soup. This dish brings together tender chicken, fluffy gnocchi,…








![To make these tasty White Cheddar Spinach Chicken Burgers, gather these ingredients: - 1 lb ground chicken - 1 cup fresh spinach, finely chopped - 3/4 cup white cheddar cheese, shredded - 1/2 cup breadcrumbs - 1/4 cup grated Parmesan cheese - 1 egg - 2 cloves garlic, minced - 1 teaspoon onion powder - 1 teaspoon salt - 1/2 teaspoon black pepper - 1 tablespoon olive oil - Burger buns - Lettuce, tomato, and condiments (optional for serving) The essential ingredients for these burgers are ground chicken, spinach, and white cheddar cheese. The chicken gives the burger its base. Spinach adds color and nutrients. White cheddar cheese melts beautifully, giving a rich flavor. The optional ingredients include the burger buns and toppings like lettuce and tomato. You can adjust these based on your taste. Use any condiments you love for extra flavor. If you need to swap out some ingredients, here are a few ideas: - Ground chicken: You can use ground turkey or lean beef instead. - White cheddar cheese: Try mozzarella or gouda for a different taste. - Breadcrumbs: Oat flour or crushed crackers can work as a substitute. - Egg: A flax egg (1 tablespoon ground flaxseed mixed with 2.5 tablespoons water) can replace the egg for a vegan option. These swaps keep the recipe fun and flexible. For the full recipe, check the detailed instructions and tips. To make these white cheddar spinach chicken burgers, start with a large mixing bowl. Combine the ground chicken, chopped spinach, shredded white cheddar cheese, breadcrumbs, grated Parmesan cheese, egg, minced garlic, onion powder, salt, and black pepper. Mix everything well with your hands until just combined. Be careful not to overmix, as this can make the patties tough. Next, divide the mixture into four equal parts. Shape each part into a patty, about 1/2 inch thick. This thickness helps them cook evenly. Heat olive oil in a large skillet over medium heat. When the oil is hot, carefully add the patties. Make sure there is enough space between each patty. Cook them for about 5-6 minutes on each side. Use a meat thermometer to check that the internal temperature reaches 165°F (75°C). The outside should be golden brown. While the last batch cooks, toast the burger buns in a separate pan if you like. Once the patties are done, assemble your burgers. Place each chicken patty on a toasted bun. Add toppings like lettuce, tomato, and any condiments you prefer. To make the best patties, keep a few tips in mind. First, wet your hands with water before shaping the patties. This helps prevent the mixture from sticking to your hands. Second, try to make the patties uniform in size. This way, they cook evenly and look great on a plate. Lastly, make a small indent in the center of each patty. This helps them hold their shape while cooking and prevents them from puffing up. You can cook these burgers in two ways: on a skillet or on a grill. Skillet Method: This method gives you a nice brown crust. Use medium heat and add olive oil. The skillet method is quick and easy, perfect for weeknight dinners. Grill Method: Grilling adds a smoky flavor. Preheat your grill to medium heat. Cook the patties for about 5-6 minutes on each side. This method can be messy but adds a great taste. Both methods yield tasty burgers, so choose the one that fits your cooking style. For the full recipe, check out the complete details to create these delicious white cheddar spinach chicken burgers! To keep your chicken burgers moist, use a few simple steps. First, do not overmix the meat. Overmixing makes the burgers tough. Just mix until everything is combined. Adding spinach and cheese also helps keep them juicy. Cook the burgers on medium heat to avoid drying them out. For great flavor, you can try different seasonings. Garlic powder and paprika add a nice kick. If you like herbs, try adding dried oregano or thyme. You can also mix in a splash of Worcestershire sauce for extra depth. Taste as you go to find your perfect blend. These burgers pair well with many sides. Sweet potato fries bring out the cheese flavor. A fresh salad adds a nice crunch. You can also serve them with coleslaw or grilled veggies for a colorful plate. Try different combinations to find your favorite! For the complete recipe, check out the Full Recipe section. {{image_2}} You can switch up the cheese in these burgers. If you want a different taste, try using mozzarella or feta. Mozzarella gives a mild flavor and nice stretch. Feta adds a salty kick, which pairs well with spinach. You can even mix cheeses for a fun twist. Feel free to add more veggies to the mix. Diced bell peppers or mushrooms can boost flavor and nutrition. You can also add grated carrots for a slight sweetness. Just remember to chop them finely. This keeps the burger juicy and tasty. For those who love heat, try adding jalapeños. You can chop fresh jalapeños and mix them into the burger mix. If you prefer less heat, use pickled jalapeños. They give a nice tang without being too spicy. This spicy twist makes the burgers even more exciting. Try these variations to make your White Cheddar Spinach Chicken Burgers unique and delicious. For the Full Recipe, check out the detailed instructions above. To keep your leftover burgers fresh, let them cool down first. Then, place them in an airtight container. This will help lock in the flavor and moisture. Store the burgers in the fridge for up to three days. If you want to enjoy them later, consider freezing them. When you're ready to eat your leftovers, reheat the burgers properly. The best way is to use the skillet. Heat a little oil over medium heat, then add the burger. Cook for about 3-4 minutes on each side until warmed through. You can also use the microwave, but it might make them a bit soggy. If you prefer a crispy texture, stick to the skillet. For meal prep, freezing is a great option. After shaping the patties but before cooking, place them on a baking sheet lined with parchment paper. Freeze them until solid, then transfer them to a freezer bag. Label the bag with the date. You can freeze them for up to three months. When ready to cook, thaw overnight in the fridge before cooking as usual. This keeps your meal prep easy and tasty! You can find the full recipe for these delicious burgers [Full Recipe]. You can serve these burgers with many tasty sides. Sweet potato fries are a great choice. They add a sweet and savory touch. A fresh salad also works well. You might try a mix of greens, tomatoes, and cucumbers. For a fun twist, serve them with coleslaw. It gives a crunchy texture that pairs nicely. Don't forget to add your favorite condiments on the side. Ketchup, mustard, or even a tangy aioli can enhance the flavor. To check if your chicken burgers are done, use a meat thermometer. The internal temperature should reach 165°F (75°C). This ensures the chicken is safe to eat. You can also check the color. The meat should be white, not pink. If you cut into the burger, the juices should run clear. These tips help you serve perfectly cooked patties every time. Yes, you can make these burgers ahead of time. Prepare the patties and store them in the fridge. They can last for one to two days. If you want to keep them longer, freeze them. Just wrap each patty in plastic wrap before freezing. When ready to cook, thaw them overnight in the fridge. Then, cook as directed in the Full Recipe. This makes meal prep easy and saves time on busy days. In this article, I covered the ingredients, cooking steps, and helpful tips for chicken burgers. I also shared ways to vary recipes and store leftovers. Remember, using fresh ingredients and proper cooking methods makes a big difference. Experiment with flavors and create your own twist on these burgers. Enjoy making and sharing delicious meals! Keep these tips in mind for tasty, juicy results every time. Happy cooking!](https://easycookingbite.com/wp-content/uploads/2025/05/a27f1600-b889-4475-b666-49c7c1bcc9b0-300x300.webp)
