Latest & Greatest
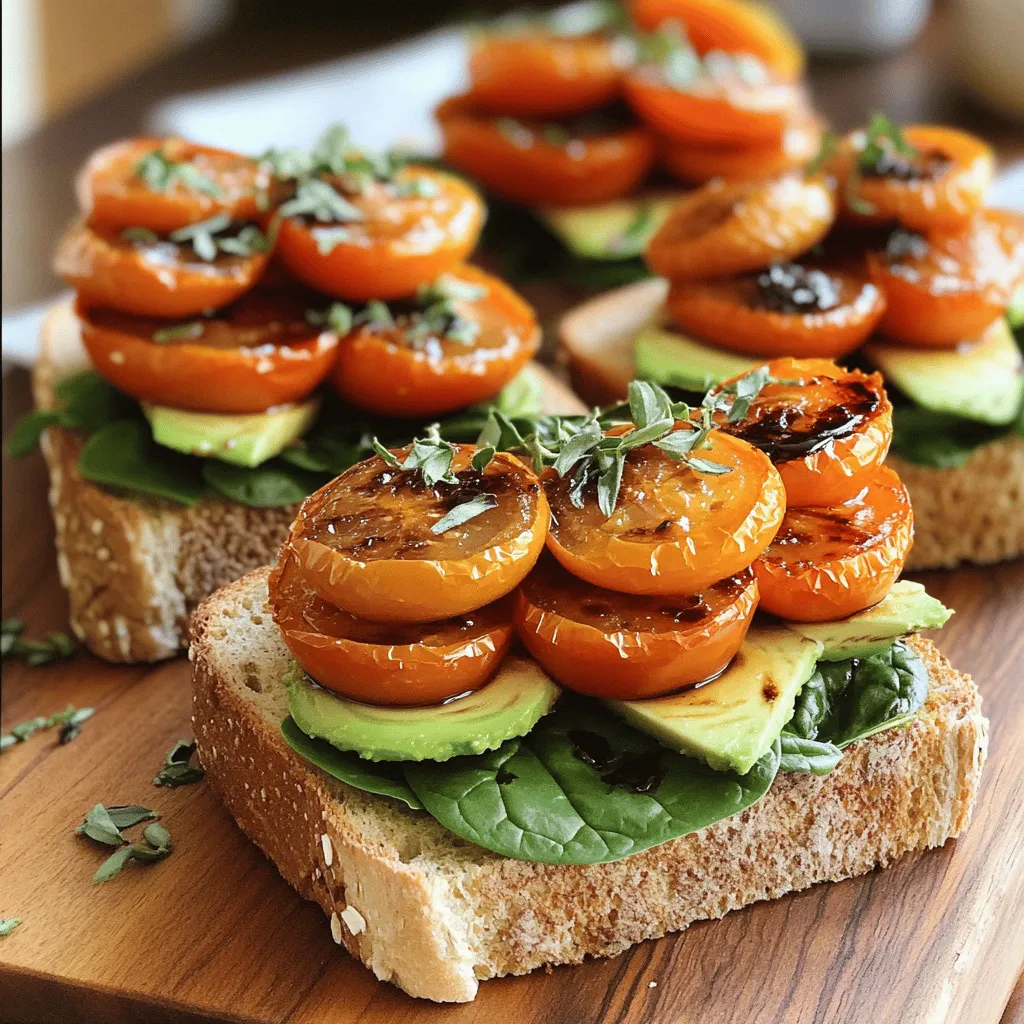
Roasted Tomato Sandwiches with Vegan Aioli Delight
If you love fresh, bold flavors, you’re in for a treat! My Roasted Tomato Sandwiches with Vegan Aioli are a
Read more…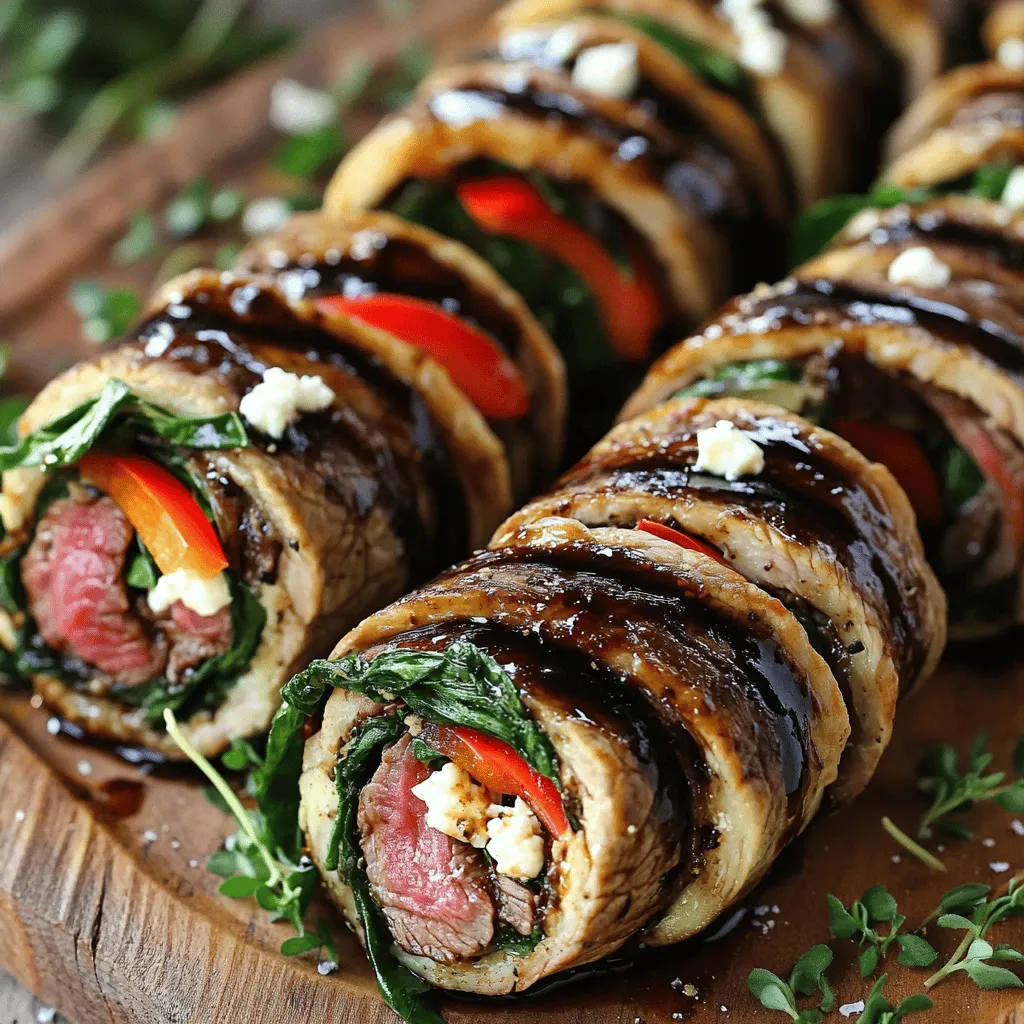
Balsamic Glazed Steak Rolls Flavorful and Simple Dish
Looking for a tasty dish that’s easy to make? Try my Balsamic Glazed Steak Rolls! They pack bold flavor from
Read more…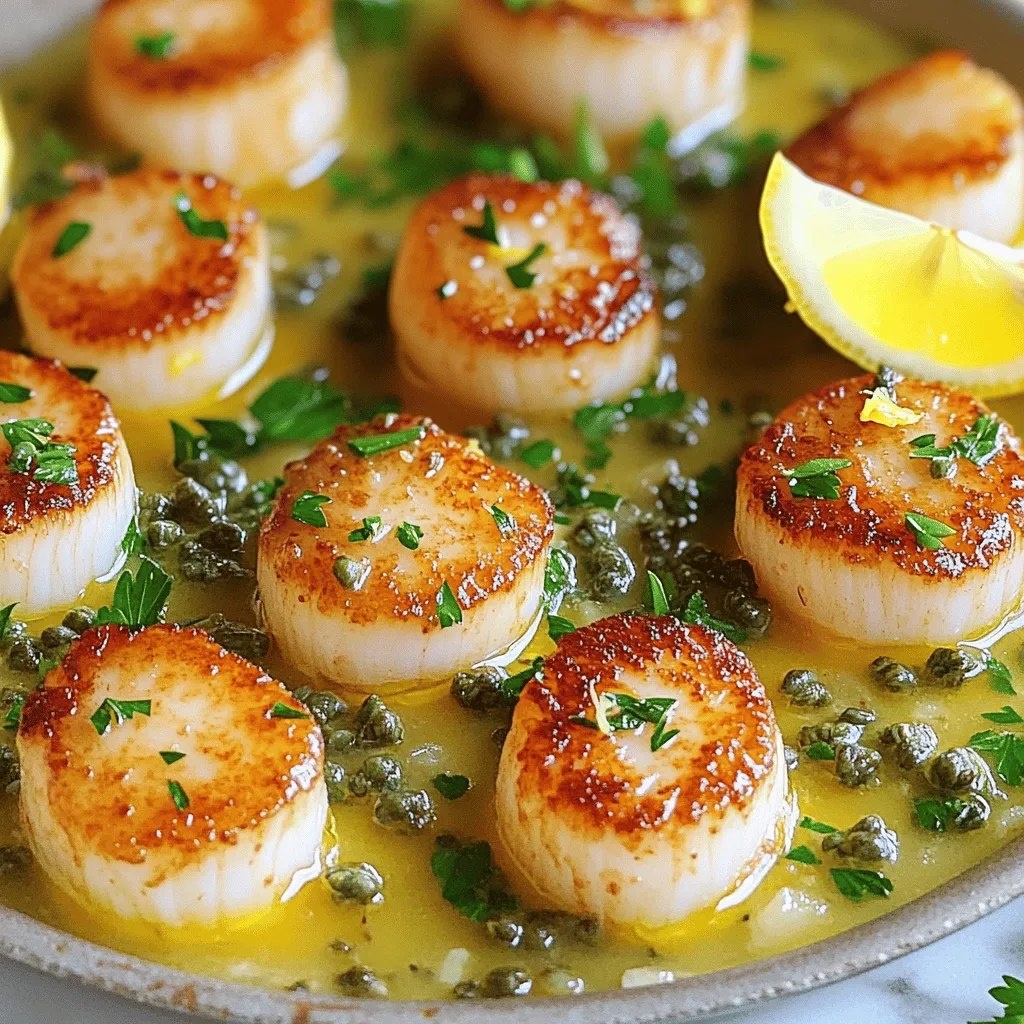
Pan Seared Scallops with Lemon Caper Sauce Delight
Welcome to my guide on making Pan Seared Scallops with Lemon Caper Sauce! If you love seafood, scallops are a
Read more…
Sausage Egg Cheese Breakfast Roll-Ups Quick Delight
Looking for a quick and tasty breakfast? Try my Sausage Egg Cheese Breakfast Roll-Ups! These easy roll-ups are packed with
Read more…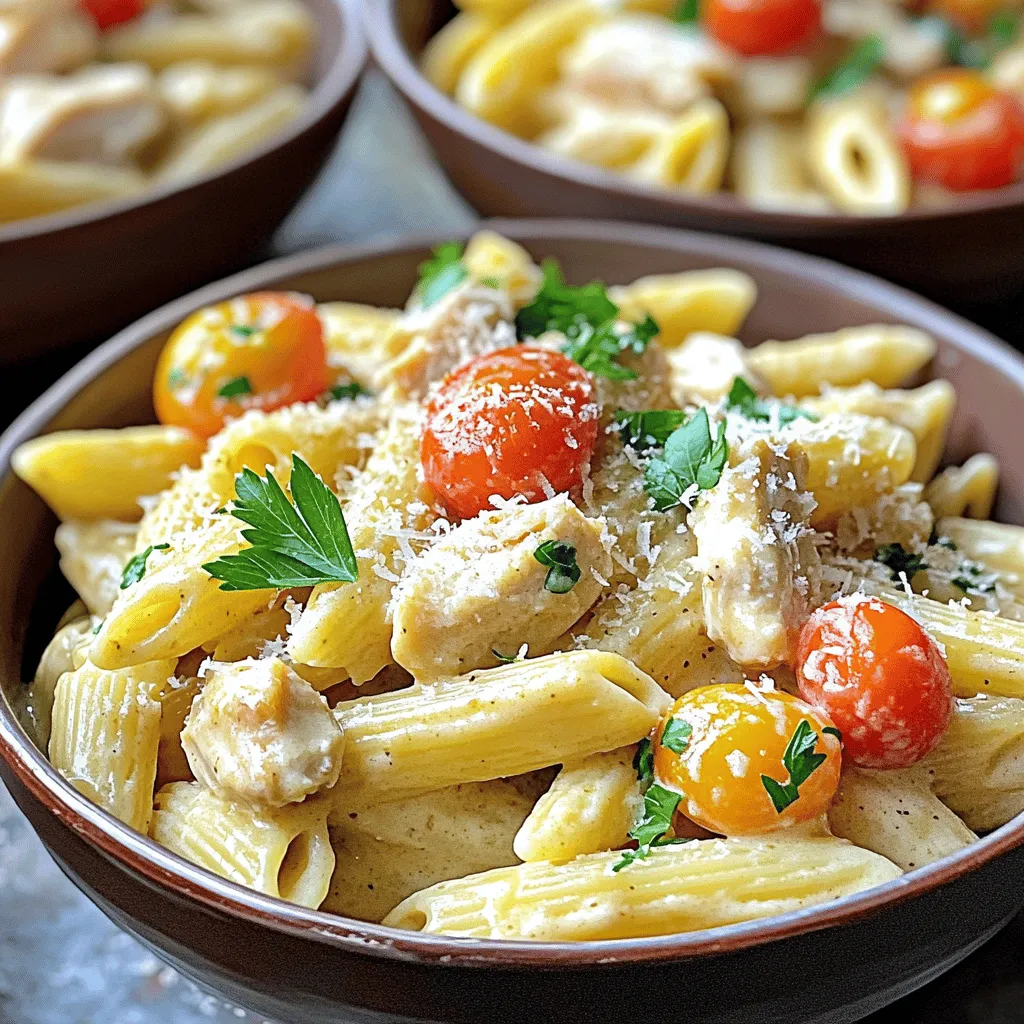
Creamy Chicken Ranch Pasta Tasty and Easy Recipe
Are you ready to dive into a creamy, savory delight? My Creamy Chicken Ranch Pasta recipe is not just tasty
Read more…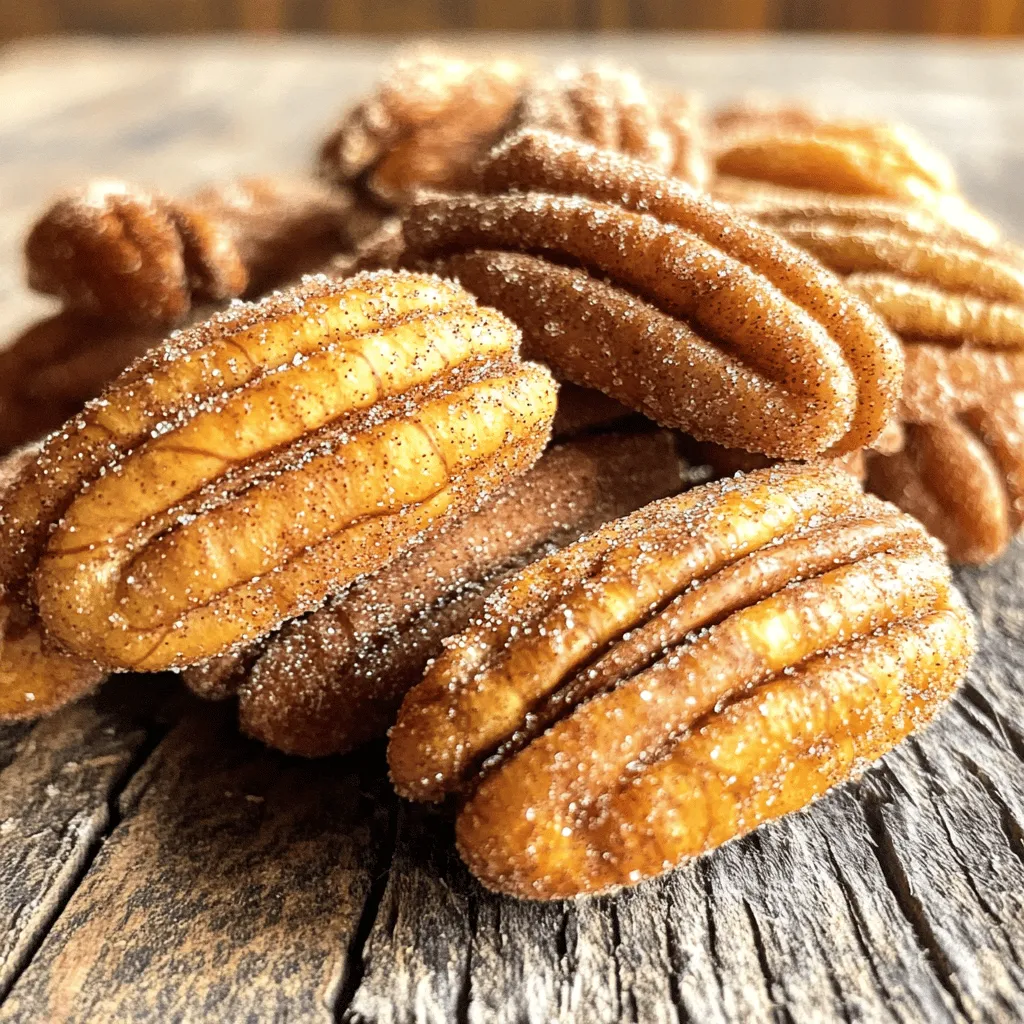
Cinnamon Sugar Pecans Simple and Tasty Snack Recipe
Craving a snack that’s easy to make and full of flavor? You’re in the right place! In this guide, I’ll
Read more…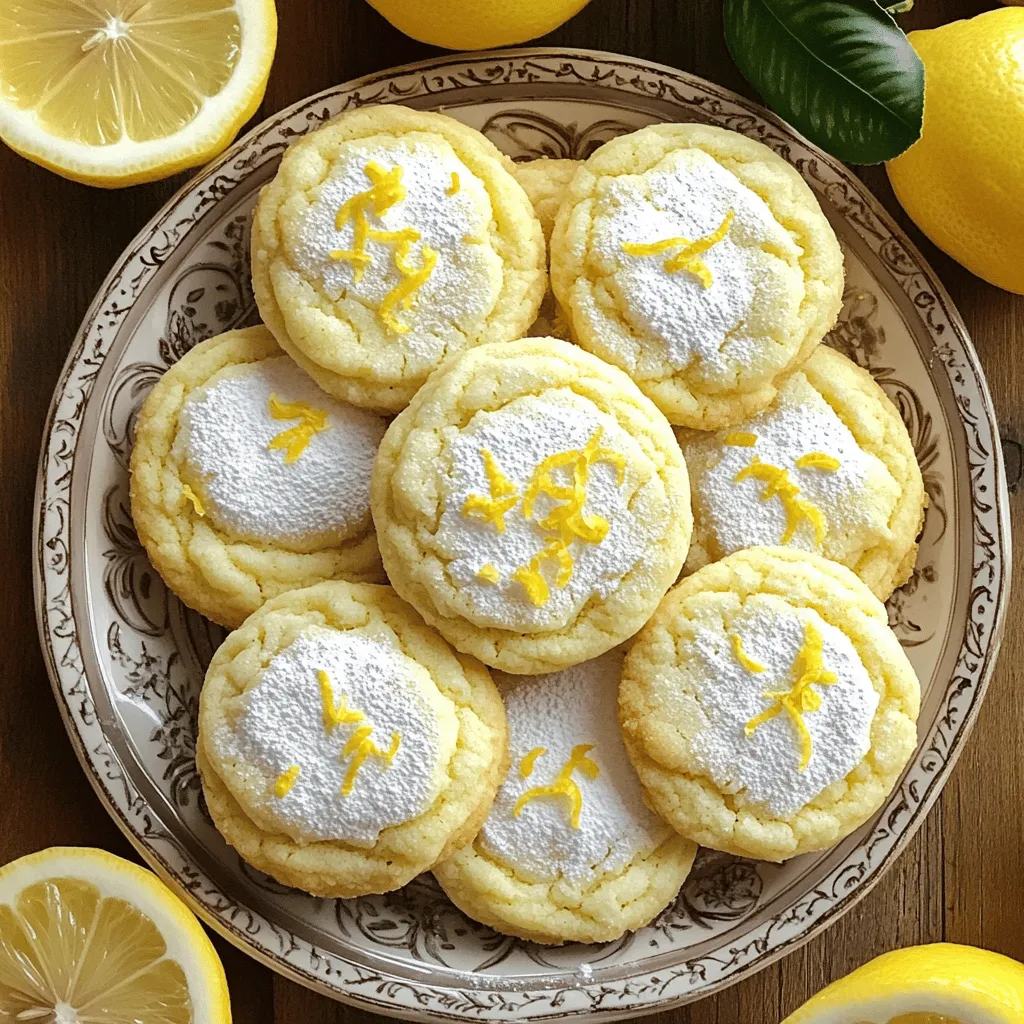
Lemon Ricotta Cookies Delightful and Soft Treat
Ready to bake something special? Lemon Ricotta Cookies are your answer! These delightful, soft treats are bursting with bright lemon
Read more…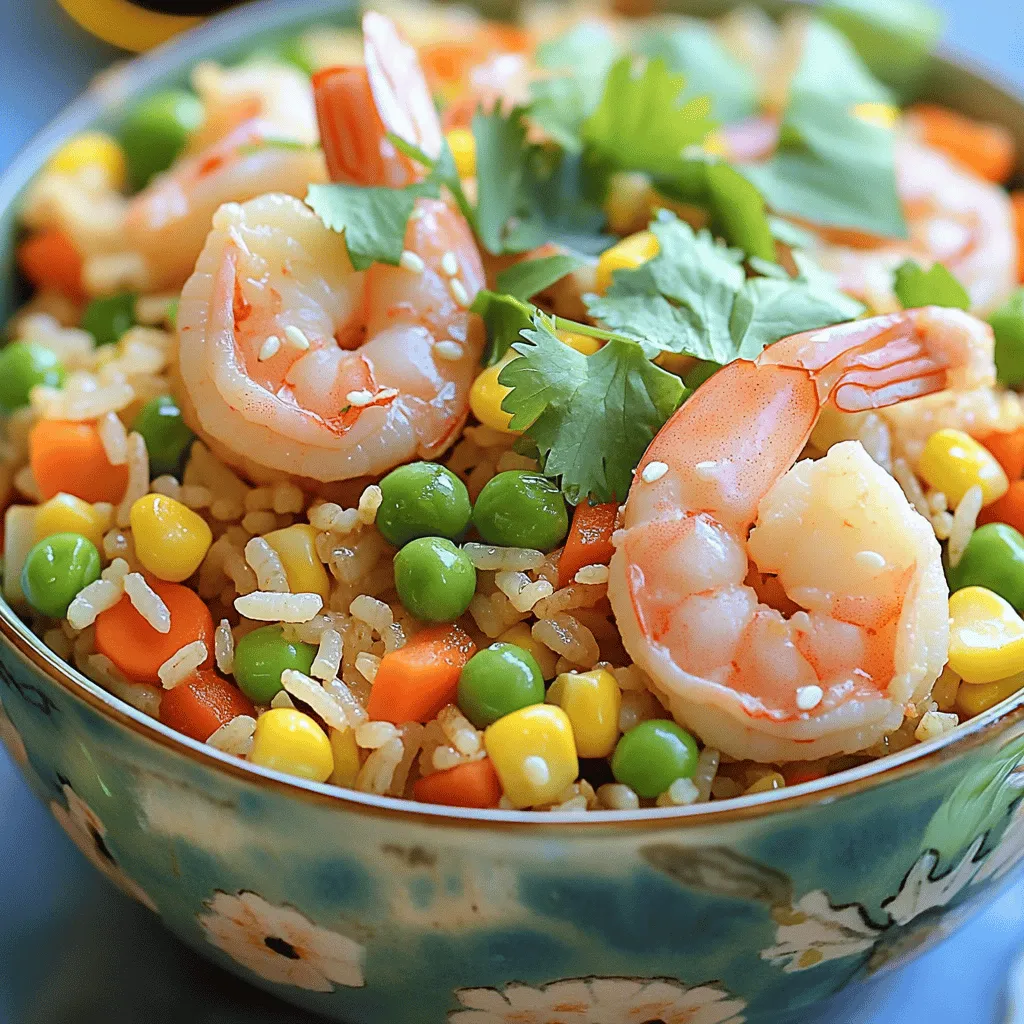
Shrimp Fried Rice Recipe Simple and Savory Delight
Dive into a bowl of comfort with my Shrimp Fried Rice recipe! This simple yet satisfying dish packs bold flavors
Read more…browse recipes
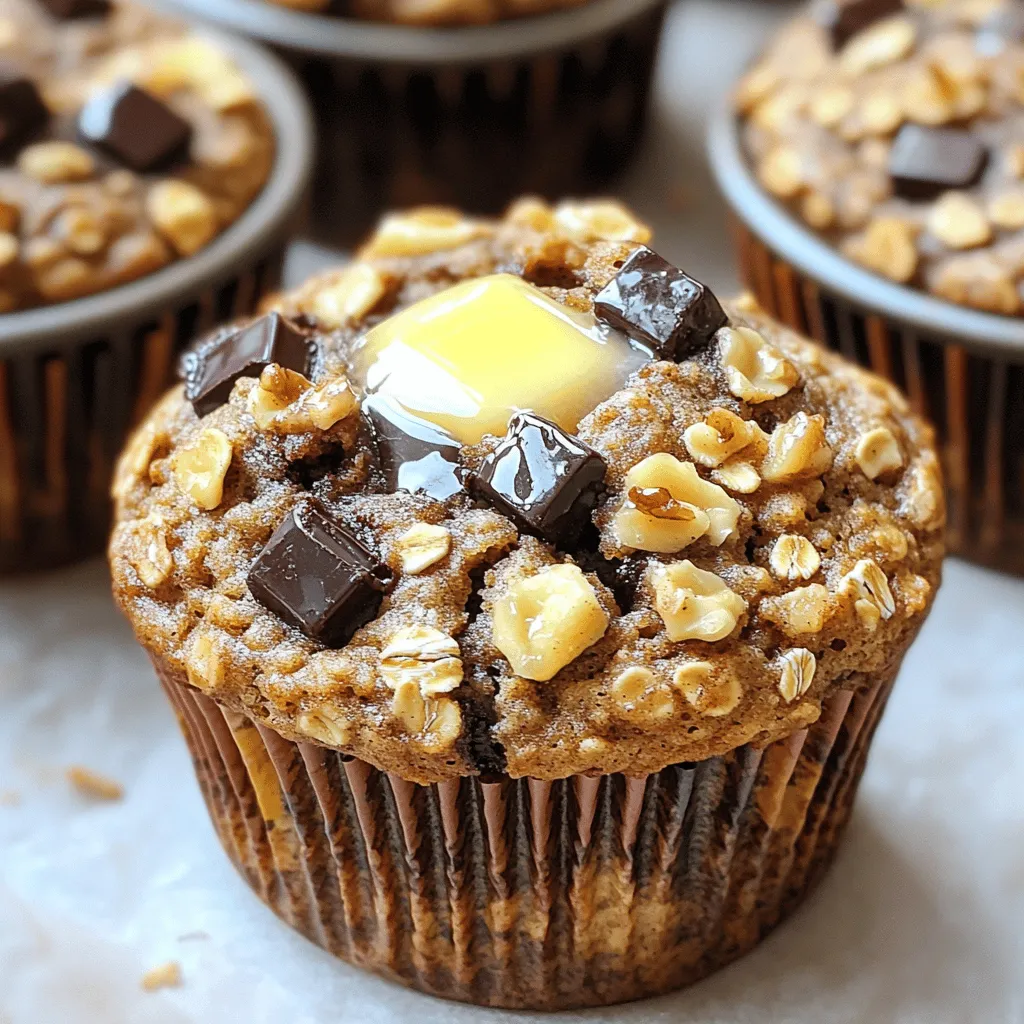
Banana Oatmeal Muffins Simple and Tasty Treat
Are you ready to bake a simple, tasty treat? Banana oatmeal muffins are nutritious and packed with flavor. In this post, I’ll guide you…
My Latest Drinks
Strawberry Cheesecake Smoothie Creamy Refreshing Treat
Craving something delicious and cool? The Strawberry Cheesecake Smoothie is your answer! It blends creamy cheesecake flavors with sweet strawberries Read Full RecipeMocktail Pink Punch Refreshing and Easy Recipe
Are you ready to impress your guests with a delightful drink? This Mocktail Pink Punch recipe is both refreshing and Read Full RecipeBlue Lagoon Tropical Lemonade Refreshing and Zesty Drink
Looking for a drink that’s both refreshing and fun? Say hello to Blue Lagoon Tropical Lemonade! This colorful beverage packs Read Full RecipePumpkin Spice Coffee Creamer Flavorful Fall Treat
Are you ready to embrace the cozy vibes of autumn? In this blog post, I’ll guide you through making your Read Full RecipeApple Cider Margarita Mocktail Refreshing Fall Drink
Fall is here, and that means it’s the perfect time for a cozy drink! The Apple Cider Margarita Mocktail offers Read Full RecipePumpkin Spice Latte Copycat Cozy and Comforting Recipe
Craving that warm, cozy feeling of fall? You can enjoy a delicious Pumpkin Spice Latte at home! In this article, Read Full Recipe
My Latest Dinners
White Bean Soup Simple and Hearty Delight
Looking for a warm and filling meal? Let me introduce you to white bean soup! This simple and hearty delight Read Full RecipeGarlic Herb Roasted Sweet Potatoes Flavorful Side Dish
Looking for a side dish that’s both tasty and easy to make? Garlic Herb Roasted Sweet Potatoes are the answer! Read Full RecipeOne Pot Beef Taco Pasta Easy and Flavorful Meal
Looking for a quick and tasty meal? One Pot Beef Taco Pasta is the perfect dish! This recipe packs bold Read Full RecipeGarlic Chicken Zucchini Noodles Stir Fry Delight
Are you ready for a tasty twist on dinner? My Garlic Chicken Zucchini Noodles Stir Fry is a quick and Read Full RecipeStuffed Italian Meatloaf Easy and Tasty Recipe
Are you ready to elevate your dinner game? This Stuffed Italian Meatloaf is both easy and tasty! In this article, Read Full RecipeOne Pot French Onion Pasta Flavorful Comfort Dish
Looking for a cozy dinner that warms your soul? Try my One Pot French Onion Pasta! This creamy, rich dish Read Full Recipe
hey,
i’m !
I’m so happy you’re here!
Every dish I share is made with love and care. I hope they bring you the same comfort and joy they bring me. Let’s make memories, one recipe at a time.
Easy Chicken Quesadillas Simple and Quick Recipe
Craving a quick and tasty meal? You’re in the right place! Easy chicken quesadillas are delicious, simple to make, and perfect for any occasion.…
![- 2 cups cooked chicken, shredded - 1 cup shredded cheddar cheese - 1 cup shredded mozzarella cheese - 1/2 cup bell pepper, finely chopped (any color) - 1/2 cup red onion, finely chopped - 1 tablespoon taco seasoning - 1 tablespoon olive oil - 4 large flour tortillas - 1/4 cup fresh cilantro, chopped (for garnish) - Salsa and sour cream (for dipping) - For a vegetarian option, use black beans or mushrooms instead of chicken. - Try pepper jack cheese for a spicy kick or goat cheese for creaminess. - Add cumin or smoked paprika for unique flavors. You can also mix in fresh herbs like basil or parsley. Using these ideas, you can make your quesadillas just how you like them. Enjoy the fun of mixing flavors! For a full recipe with step-by-step instructions, check out the [Full Recipe]. - Start with 2 cups of cooked chicken. Shred it into bite-sized pieces. - Chop 1/2 cup of bell pepper and 1/2 cup of red onion into small bits. - Gather these ingredients: shredded cheddar, mozzarella, taco seasoning, tortillas, and olive oil. - Heat 1 tablespoon of olive oil in a large skillet over medium heat. - Add the chopped bell pepper and onion. Sauté for 3–4 minutes until soft. - Mix in the shredded chicken and 1 tablespoon of taco seasoning. Stir for 2–3 minutes to heat. - Remove from heat and add 1 cup of shredded cheddar and 1 cup of mozzarella. Stir until melted. - In a separate skillet, place one large tortilla over medium heat. - Put a quarter of the chicken mixture on one half of the tortilla. - Fold the tortilla over the filling and press down gently. - Cook for 3–4 minutes until golden brown. Flip and cook for another 3–4 minutes until crispy. - Take out the quesadilla and let it cool for a minute. Slice it into wedges. - Repeat for the rest of the tortillas and filling. - For a perfect golden crust, keep the heat at medium. - To make many quesadillas at once, use a large griddle. - To melt cheese evenly, use a lid on the skillet for a minute. For the full recipe, check out the Cheesy Fiesta Chicken Quesadillas. To make your quesadillas pop, use spices like cumin and chili powder. These spices add depth and warmth. You can also sprinkle some garlic powder for a nice twist. Fresh herbs like cilantro brighten the dish. Add toppings such as sliced avocado or jalapeños for heat. You can even try a squeeze of lime juice to enhance the flavors. Use a non-stick skillet or a well-seasoned cast-iron pan for cooking. These surfaces help prevent sticking. If you use a griddle, make sure it is heated evenly. To flip the quesadillas easily, use a wide spatula. Slide it under the quesadilla gently and lift. This method keeps the filling intact. Pair your quesadillas with fresh salsa or creamy sour cream for dipping. You can also serve them with guacamole for a tasty treat. To make your dish look fancy, cut the quesadillas into wedges and arrange them on a plate. Add a sprinkle of fresh cilantro on top for color. This simple touch makes your meal feel special. For the full recipe, check out the complete guide. {{image_2}} You can switch up the chicken for many meats. Try beef, pork, or shrimp. Each adds a new taste. If you want a meatless option, use beans or tofu. You can also mix veggies like mushrooms or corn. For a twist, try BBQ chicken. The smoky flavor brings excitement to your meal. Cheese is key to a great quesadilla. You can use pepper jack for spice or feta for a tangy taste. Mixing cheeses creates depth. If you're gluten-free, look for rice or corn tortillas. They work well and taste great. Kids may prefer simpler flavors. Use just cheese or chicken without extra spices. You can cut quesadillas into fun shapes. Use cookie cutters for stars or hearts. Serving them with fruity dips can make them more appealing. Kids love to eat with their eyes! For more ideas, check the Full Recipe and explore new flavors! To keep your quesadillas fresh, store them right. First, let them cool to room temperature. Then, wrap each quesadilla in plastic wrap or foil. This helps keep moisture in and prevents them from drying out. Use airtight containers for extra protection. They work well to avoid spills in the fridge. Reheat quesadillas in a skillet for the best texture. Heat on medium-low for about 3-4 minutes on each side. This method keeps them crispy. You can also use an oven. Preheat it to 350°F and bake for 10-15 minutes. For added flavor, cover them with a damp paper towel while reheating in the microwave. To freeze quesadillas, follow these steps. First, let them cool completely. Then, wrap each one in plastic wrap. Place them in a freezer bag or container. Label with the date to track freshness. For reheating, remove them from the freezer and thaw overnight in the fridge. Reheat as mentioned above for the best taste. To make Easy Chicken Quesadillas, start by gathering your ingredients. You need cooked chicken, cheese, bell pepper, onion, and tortillas. First, heat olive oil in a skillet. Sauté the chopped bell pepper and onion for about 3–4 minutes. Then, add the shredded chicken and taco seasoning. Cook for another 2–3 minutes until it heats fully. Mix in the cheese until it melts. Next, place a tortilla in a separate skillet, fill it with the mixture, and fold it. Cook for 3–4 minutes on each side. Slice, garnish, and enjoy your delicious meal. For the full recipe, check out the section above. Yes, you can use rotisserie chicken. It saves time and adds great flavor. Rotisserie chicken is already cooked and seasoned. This makes your prep even easier and quicker. Just shred the chicken and mix it with the other ingredients. You will still get that great taste without all the work. It’s perfect for busy nights when you want a tasty meal fast. For dipping sauces, you have plenty of tasty options. Salsa is a classic choice, offering a fresh kick. Sour cream adds creaminess and balances the flavors. Guacamole pairs well, bringing a rich texture. If you like heat, try hot sauce or a spicy salsa. You can even mix yogurt with herbs for a cool dip. These sauces will make your quesadillas even more enjoyable. To make quesadillas in an air fryer, follow the same filling steps. Prepare your chicken and cheese mixture as usual. Then, assemble your quesadilla. Lightly spray the air fryer basket with oil. Place the quesadilla in the basket in a single layer. Cook at 375°F for about 5–7 minutes. Check for a golden brown color and melted cheese. Flip halfway through for even cooking. This method gives you a crispy texture with less oil. To reheat quesadillas, use a skillet for the best results. Heat the skillet over medium-low heat. Place the quesadilla in the pan and cover it with a lid. This keeps the moisture in and helps the cheese melt. Heat for about 3–5 minutes on each side. You can also use an oven at 350°F. Bake for about 10 minutes, flipping halfway. Avoid the microwave, as it can make them soggy. Enjoy your reheated quesadillas crisp and tasty! In this blog post, we explored making delicious chicken quesadillas from scratch. We covered ingredients, step-by-step instructions, and helpful tips to ensure great flavor and texture. You now have multiple options to customize your quesadillas, whether you prefer a classic style or something unique. Remember, storing leftovers properly keeps them tasty for later. Enjoy your cooking, and don’t be afraid to experiment with flavors!](https://easycookingbite.com/wp-content/uploads/2025/06/f511a845-b98b-444f-909e-30dd2854b95e.webp)


![- 8 ounces rotini pasta - 6 strips turkey bacon - 1 cup cherry tomatoes - 1 cup romaine lettuce - 1/2 cup red onion - Dressing components: - 1/2 cup mayonnaise - 2 tablespoons apple cider vinegar - 1 teaspoon Dijon mustard - Salt and pepper to taste Choosing fresh ingredients makes a big difference. Look for bright, firm tomatoes. For lettuce, select crisp romaine. Fresh herbs add flavor, too. For mayonnaise, I recommend brands like Hellmann's or Duke's. They create a rich and creamy dressing. Always check for freshness dates on all products. Start by boiling a large pot of salted water. Once it boils, add 8 ounces of rotini pasta. Cook the pasta until it is al dente, following the package instructions. Usually, this takes about 8 to 10 minutes. After cooking, drain the pasta well. Rinse it under cold water to stop the cooking process. This helps the pasta stay firm and not gummy. In a large mixing bowl, combine the cooled pasta with the other ingredients. Add 6 strips of crumbled turkey bacon, 1 cup of halved cherry tomatoes, 1 cup of chopped romaine lettuce, and 1/2 cup of finely chopped red onion. Mix gently with a spatula or wooden spoon. This ensures all the ingredients blend well without crushing them. For the dressing, take a separate bowl and whisk together 1/2 cup of mayonnaise, 2 tablespoons of apple cider vinegar, and 1 teaspoon of Dijon mustard. Mix until the dressing is smooth and creamy. It should not be too thick. Season it with salt and pepper to taste. Pour the dressing over the pasta mixture and toss gently to coat everything evenly. For full details, check the Full Recipe. To make your BLT pasta salad shine, adjust the seasoning. Start with salt and pepper. Taste your salad after mixing in the dressing. Add more salt or pepper if needed. You can also try adding garlic powder or smoked paprika for a twist. These small changes can make a big difference in flavor. Garnishing makes your salad look great. Use fresh basil leaves on top for color. You can also add more halved cherry tomatoes around the edges. This adds visual appeal. A sprinkle of black pepper can finish the look nicely. Serve it in a clear bowl to show off the colors. Timing is key for the best taste. Prepare the salad at least 30 minutes before serving. This helps the flavors blend well. If you can, let it chill longer in the fridge. This extra time makes the salad even better. If you want to serve it later, keep the dressing separate until just before eating. This keeps everything fresh and crunchy. For the full recipe, see the [Full Recipe]. {{image_2}} For your BLT Pasta Salad, you can switch up the pasta. Try penne or farfalle for fun shapes. They will still hold the dressing well. For a gluten-free option, use chickpea or quinoa pasta. Changing the protein is also easy. You can swap turkey bacon for regular bacon. If you want a vegetarian dish, use chickpeas or lentils instead. They add protein and a nice texture. The dressing is key for flavor. You can try ranch or vinaigrette for a twist. A zesty Italian dressing gives a nice kick too. Adding fresh herbs can change the taste. Try parsley, dill, or even chives. A sprinkle of garlic powder or smoked paprika can add depth. Experiment with what you like. In summer, add fresh corn or diced cucumbers. They bring a refreshing crunch. You can also use ripe avocado for creaminess. For fall or winter, think about roasted vegetables. Roasted red peppers or butternut squash will warm the dish. You can even add nuts for extra crunch and flavor. For the full recipe, check out the [Full Recipe]. To keep your BLT pasta salad fresh, use an airtight container. Glass or plastic containers work well. Make sure to store it in the fridge. This will help keep the flavors strong and the texture intact. If you want to keep the lettuce crisp, store it separately. Mix it in just before serving. Pasta salad is best cold, but you can serve it at room temp too. If you heat it, do so gently. Use a microwave and heat for short bursts. Stir it often to avoid hot spots. You can also add a splash of dressing to refresh the flavors. Your BLT pasta salad lasts about 3 to 5 days in the fridge. Always check for changes in smell or texture. If it looks or smells off, it's best to toss it. To enjoy the best taste, eat it within the first few days. For the full recipe, you can refer back to the earlier section. Yes, you can make BLT Pasta Salad ahead of time. This is great for events. Just prepare the salad and store it in the fridge. Let the flavors mix for a few hours. For best taste, serve it cold after chilling. You can make it a day ahead. This saves time on busy days. Absolutely, this recipe works well for meal prep. You can batch cook the pasta and bacon. Store them in separate containers. Mix the salad just before serving. This keeps everything fresh. To store, use airtight containers. The salad stays good in the fridge for up to four days. Just remember to add fresh lettuce right before eating. If you want a different option, try regular bacon or leave it out. You can also use veggie bacon for a meatless version. Another option is diced ham or chicken for added protein. If you prefer a lighter choice, use smoked tofu. Each of these gives a unique flavor to the salad. Experiment with what you like best! This blog post covered making a tasty BLT Pasta Salad. You learned about key ingredients like rotini pasta and turkey bacon, along with how to mix them correctly. I shared storage tips to keep your salad fresh and variations to try based on seasons or personal taste. In the end, making this salad offers fun and flavor. Enjoy experimenting with different ingredients and watching your loved ones enjoy it!](https://easycookingbite.com/wp-content/uploads/2025/06/f3cefba7-3b06-45bd-baef-fac7dd60a52f-300x300.webp)
