
Latest & Greatest
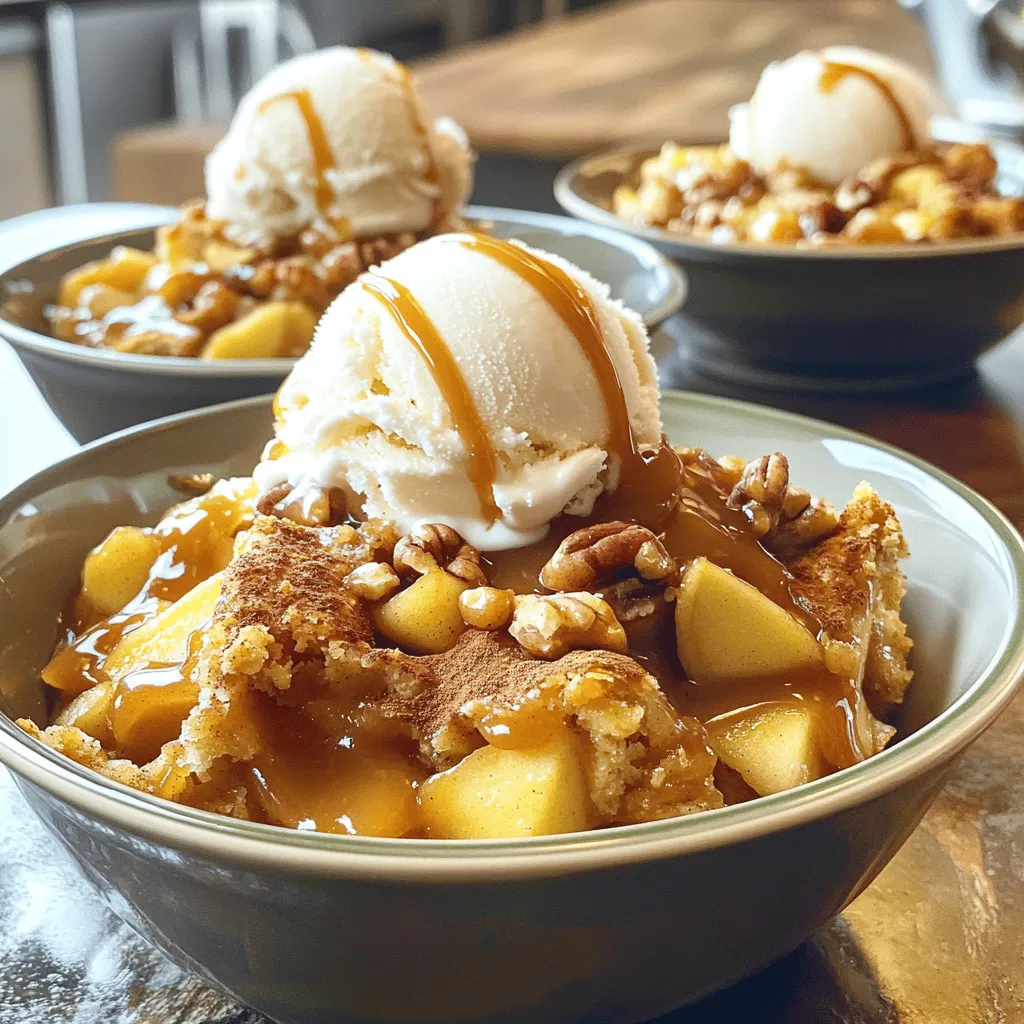
Caramel Apple Dump Cake Delightful and Easy Treat
If you’re craving a quick and delightful dessert, you’ve stumbled upon the perfect recipe! Caramel Apple Dump Cake combines warm,
Read more…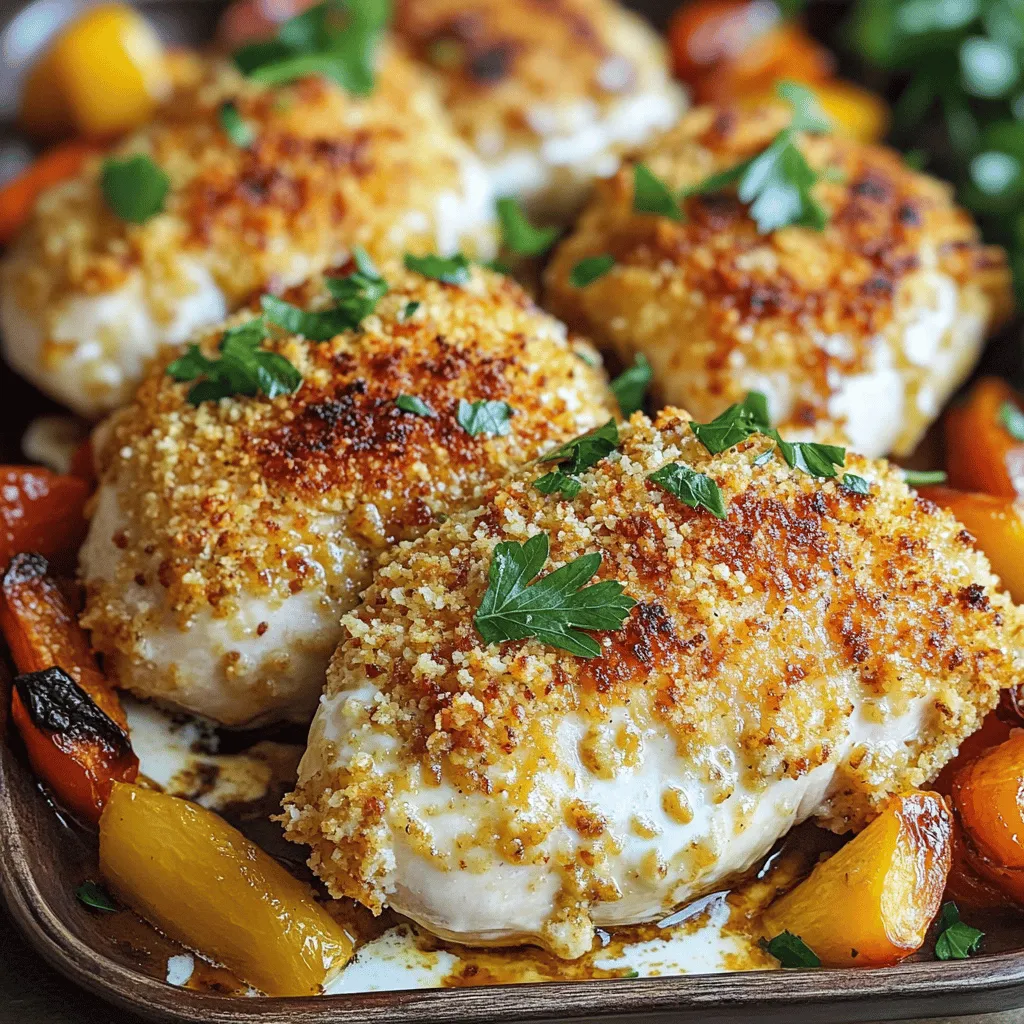
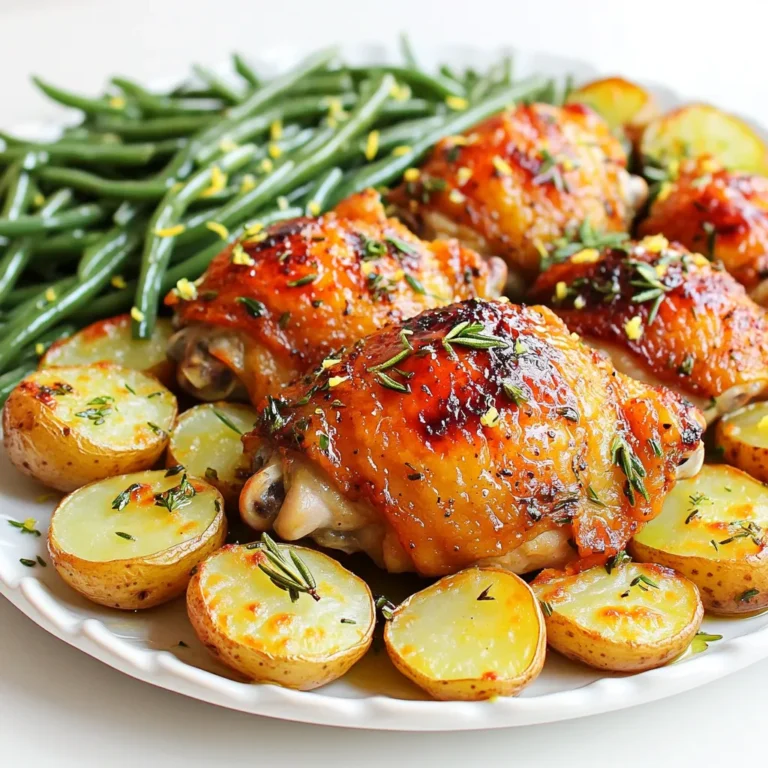
Melt In Your Mouth Chicken Breasts Easy Family Meal
Are you ready to impress your family with a simple and delicious meal? Melt-in-your-mouth chicken breasts will become your new
Read more…
Chinese Chicken & Broccoli Stir-Fry Tasty and Easy Recipe
Craving a delicious meal that’s quick and easy to whip up? Look no further! My Chinese Chicken & Broccoli Stir-Fry
Read more…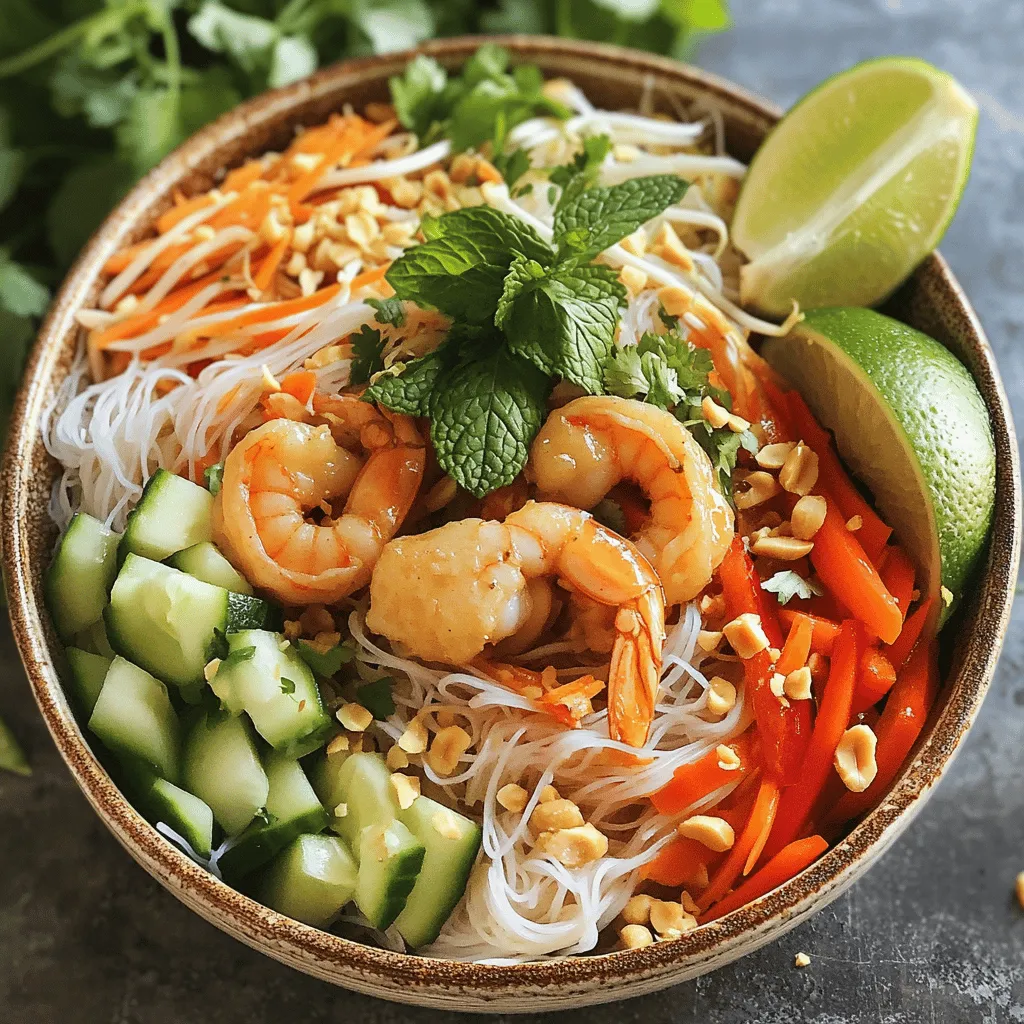
Quick Vietnamese Noodle Salad Fresh and Flavorful Meal
Looking for a fresh and flavorful meal that’s quick to whip up? This Quick Vietnamese Noodle Salad offers a delightful
Read more…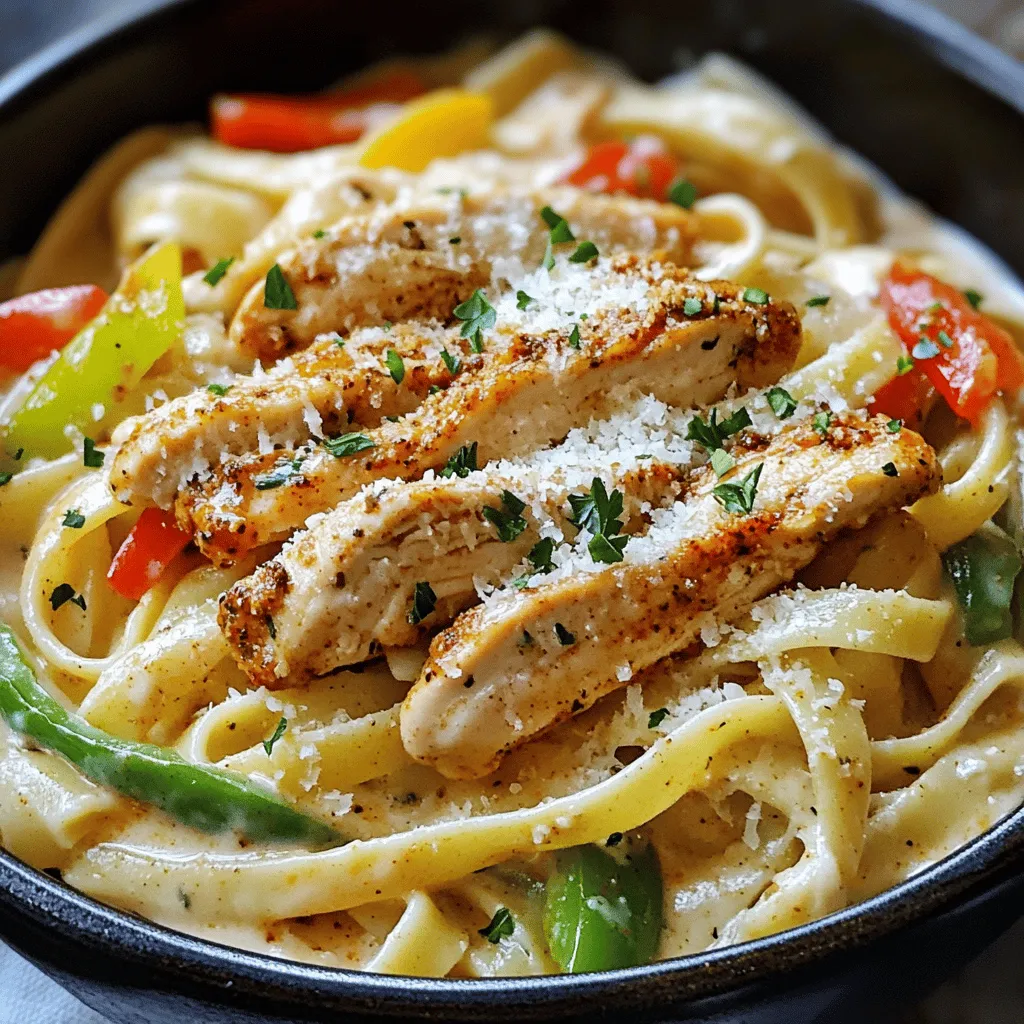
Cajun Chicken Pasta Flavorful and Easy Weeknight Meal
Are you looking for a tasty, quick dinner? Cajun Chicken Pasta is the answer! This meal packs bold flavors and
Read more…
Hot Chocolate Cookies Irresistible and Chewy Treat
Craving something sweet and cozy? These Hot Chocolate Cookies are the perfect chewy treat for you! With their rich chocolate
Read more…
Easy Lasagna Soup Flavorful and Simple Recipe
If you love lasagna but crave a quicker meal, Easy Lasagna Soup is your answer! This dish combines all the
Read more…
Sweet Pineapple Chicken & Rice Flavorful Family Meal
Looking for a fun and tasty dinner idea? Try my Sweet Pineapple Chicken & Rice! This dish combines juicy chicken,
Read more…browse recipes

![To make these veggie spring rolls, you'll need fresh and crunchy vegetables. Here’s what to gather: - 1 cup shredded cabbage - 1 cup shredded carrots - 1/2 cup bean sprouts - 1/2 cup chopped bell peppers (any color) - 1/4 cup chopped green onions - 2 cloves garlic, minced These veggies add texture and bright colors. Feel free to mix and match your favorites! Seasoning makes your spring rolls pop! I like to add: - 1 tablespoon soy sauce - 1 teaspoon sesame oil - Salt and pepper to taste These seasonings enhance the flavors of the veggies. Adjust them to your taste for a personal touch. For the outer layer, you will need: - 1 package spring roll wrappers (about 8-10 wrappers) These wrappers hold all your tasty filling. Choose high-quality ones for the best results. Once you have all your ingredients, you are ready to start making these air fryer veggie spring rolls! Check out the Full Recipe for a detailed guide. To start, gather your ingredients. You will need: - 1 cup shredded cabbage - 1 cup shredded carrots - 1/2 cup bean sprouts - 1/2 cup chopped bell peppers (any color) - 1/4 cup chopped green onions - 2 cloves garlic, minced - 1 tablespoon soy sauce - 1 teaspoon sesame oil - Salt and pepper to taste In a large bowl, mix the cabbage, carrots, bean sprouts, bell peppers, green onions, and garlic. This mix gives the spring rolls their crunch and flavor. Next, drizzle in the soy sauce and sesame oil. Add salt and pepper to taste. Toss everything until well combined. This step is key to making sure every bite is tasty. Now, it’s time to roll! Take a spring roll wrapper and lay it flat with a corner pointing toward you. Spoon about 2 tablespoons of your veggie mix near the corner closest to you. Fold that corner over the filling and tuck it in tightly. Then, fold in the sides and keep rolling until you seal it up. Repeat this process with the remaining wrappers and filling. You want each roll to be tight so they don’t open during cooking. Before air frying, preheat your air fryer to 375°F (190°C) for about 5 minutes. This step ensures even cooking. Lightly spray or brush each spring roll with cooking spray or olive oil. This tiny bit of oil helps them get crispy. Place the rolls in the air fryer basket in a single layer. Avoid overcrowding; it’s better to cook in batches. Cook for 12-15 minutes, flipping them halfway to ensure they brown evenly. They should come out golden brown and crispy. Let them cool for a few minutes before serving. For a fun touch, serve with soy sauce or sweet chili sauce for dipping. Enjoy! To get the best crisp, ensure you preheat your air fryer. Preheating helps create that golden crunch. Lightly spray or brush the spring rolls with oil. This adds a nice layer for crispiness. Avoid overcrowding the basket. Cook in batches if needed. Flip the rolls halfway through cooking for even browning. You can prep the filling earlier in the day. Store it in the fridge for up to 24 hours. When ready, just roll the spring rolls. You can also wrap them in plastic wrap. This keeps them fresh until you’re ready to cook. If you want to freeze the rolls, do so before cooking. They can last up to a month in the freezer. One mistake is using too much filling. If you overstuff the rolls, they may burst. Another issue is not sealing the edges well. Make sure to press them tightly. Lastly, don’t skip the oil spray. Without it, your rolls may not crisp up properly. Follow these tips for a perfect snack every time! {{image_2}} You can add protein to your veggie spring rolls for extra flavor. Cooked shrimp, chicken, or tofu work well. Simply chop the protein into small pieces and mix it into your veggie filling. This gives you a heartier snack. If you're using tofu, make sure to press it first to remove excess water. This helps the tofu absorb flavors better. For a gluten-free version, choose rice paper wrappers instead of traditional spring roll wrappers. Rice paper gives a nice chewy texture. You can typically find rice paper at Asian markets or online. Make sure to check the label to ensure they are gluten-free. Also, use tamari instead of soy sauce for a gluten-free seasoning option. You can change the flavor of your spring rolls to suit your taste. Try adding fresh herbs like cilantro or mint for a fresh twist. You can also add spices like chili flakes for heat or curry powder for warmth. Another idea is to include different vegetables like zucchini or mushrooms. These small changes can create a completely new and exciting spring roll. For more detailed instructions and a full recipe, check out the [Full Recipe]. To keep your air fryer veggie spring rolls fresh, store them in an airtight container. You can place parchment paper between layers to avoid sticking. Make sure the rolls cool completely before sealing. This helps maintain their crispiness. Store them in the fridge for up to 3 days. When you're ready to enjoy your spring rolls again, preheat your air fryer to 375°F (190°C). Place the rolls in the basket in a single layer. Cook them for about 5-7 minutes. This will make them crispy again. You can also use an oven at the same temperature. Just keep an eye on them to avoid burning. If you want to save some for later, freezing is a great option. Before cooking, lay the rolled spring rolls on a baking sheet lined with parchment paper. Freeze them for about 1-2 hours until solid. Then transfer them to a freezer bag. They can last up to 3 months in the freezer. To cook from frozen, add an extra 3-5 minutes to the cooking time. Enjoy your crunchy snack anytime! Yes, you can make these spring rolls ahead of time. Prepare the filling and roll them up. Then, store them in the fridge for up to a day. Cover them with a damp cloth to keep them moist. When ready to cook, just pop them in the air fryer. This way, you save time and enjoy fresh spring rolls with little effort. Spring rolls taste great with many dipping sauces. Here are a few popular options: - Soy sauce - Sweet chili sauce - Peanut sauce - Hoisin sauce These sauces add extra flavor and enhance your spring rolls. Feel free to mix and match to find your favorite combo. You can tell when the spring rolls are done by looking for a golden brown color. They should also feel crisp to the touch. If you flip them halfway through cooking and see they are browning evenly, they are likely finished. Cook for 12-15 minutes total for the best results. Enjoy your perfectly cooked spring rolls! For the complete recipe, check out the Full Recipe. You learned how to make tasty spring rolls with fresh veggies and seasonings. Preparing the filling, rolling them up, and air frying is simple. I shared tips to get that perfect crisp and avoid common mistakes. You can customize these rolls with proteins or gluten-free options. Remember proper storage methods to keep them fresh. Enjoy experimenting with this recipe and make it your own. Spring rolls are fun to make and share!](https://easycookingbite.com/wp-content/uploads/2025/05/1f18f1d3-a3f5-46d9-a2db-2a0afbbe2d25.webp)
Air Fryer Veggie Spring Rolls Crisp and Flavorful Snack
If you love crispy snacks that burst with flavor, you’re in for a treat! Today, I’ll show you how to make Air Fryer Veggie…
My Latest Drinks

Strawberry Cheesecake Smoothie Creamy Refreshing Treat
Craving something delicious and cool? The Strawberry Cheesecake Smoothie is your answer! It blends creamy cheesecake flavors with sweet strawberries Read Full Recipe-
Mocktail Pink Punch Refreshing and Easy Recipe
Are you ready to impress your guests with a delightful drink? This Mocktail Pink Punch recipe is both refreshing and Read Full Recipe -
Blue Lagoon Tropical Lemonade Refreshing and Zesty Drink
Looking for a drink that’s both refreshing and fun? Say hello to Blue Lagoon Tropical Lemonade! This colorful beverage packs Read Full Recipe -
Pumpkin Spice Coffee Creamer Flavorful Fall Treat
Are you ready to embrace the cozy vibes of autumn? In this blog post, I’ll guide you through making your Read Full Recipe -
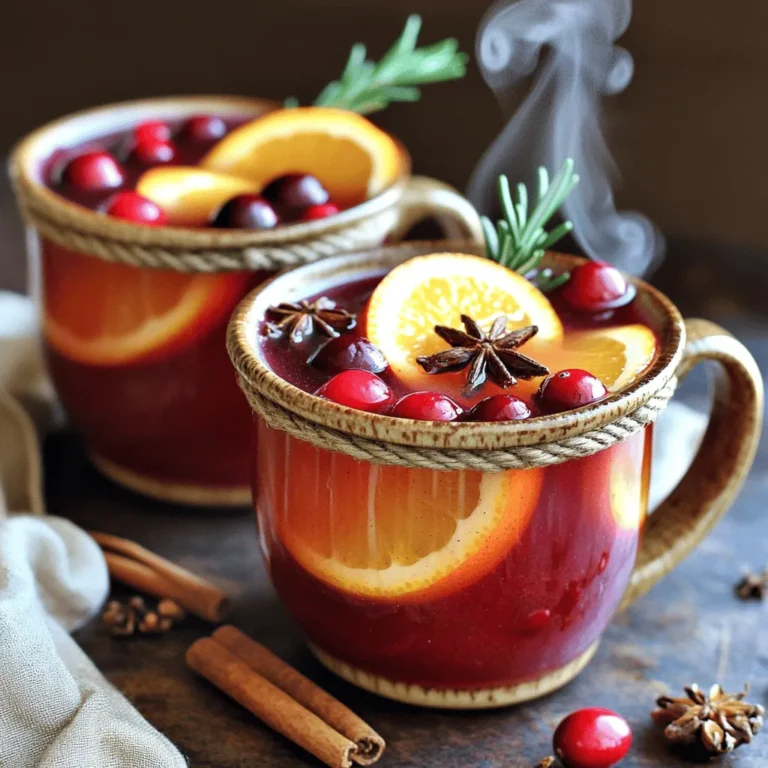
Apple Cider Margarita Mocktail Refreshing Fall Drink
Fall is here, and that means it’s the perfect time for a cozy drink! The Apple Cider Margarita Mocktail offers Read Full Recipe -
Pumpkin Spice Latte Copycat Cozy and Comforting Recipe
Craving that warm, cozy feeling of fall? You can enjoy a delicious Pumpkin Spice Latte at home! In this article, Read Full Recipe


My Latest Dinners
-
White Bean Soup Simple and Hearty Delight
Looking for a warm and filling meal? Let me introduce you to white bean soup! This simple and hearty delight Read Full Recipe -
Garlic Herb Roasted Sweet Potatoes Flavorful Side Dish
Looking for a side dish that’s both tasty and easy to make? Garlic Herb Roasted Sweet Potatoes are the answer! Read Full Recipe -
One Pot Beef Taco Pasta Easy and Flavorful Meal
Looking for a quick and tasty meal? One Pot Beef Taco Pasta is the perfect dish! This recipe packs bold Read Full Recipe -
Garlic Chicken Zucchini Noodles Stir Fry Delight
Are you ready for a tasty twist on dinner? My Garlic Chicken Zucchini Noodles Stir Fry is a quick and Read Full Recipe -
Stuffed Italian Meatloaf Easy and Tasty Recipe
Are you ready to elevate your dinner game? This Stuffed Italian Meatloaf is both easy and tasty! In this article, Read Full Recipe -
One Pot French Onion Pasta Flavorful Comfort Dish
Looking for a cozy dinner that warms your soul? Try my One Pot French Onion Pasta! This creamy, rich dish Read Full Recipe


hey,
i’m !
I’m so happy you’re here!
Every dish I share is made with love and care. I hope they bring you the same comfort and joy they bring me. Let’s make memories, one recipe at a time.

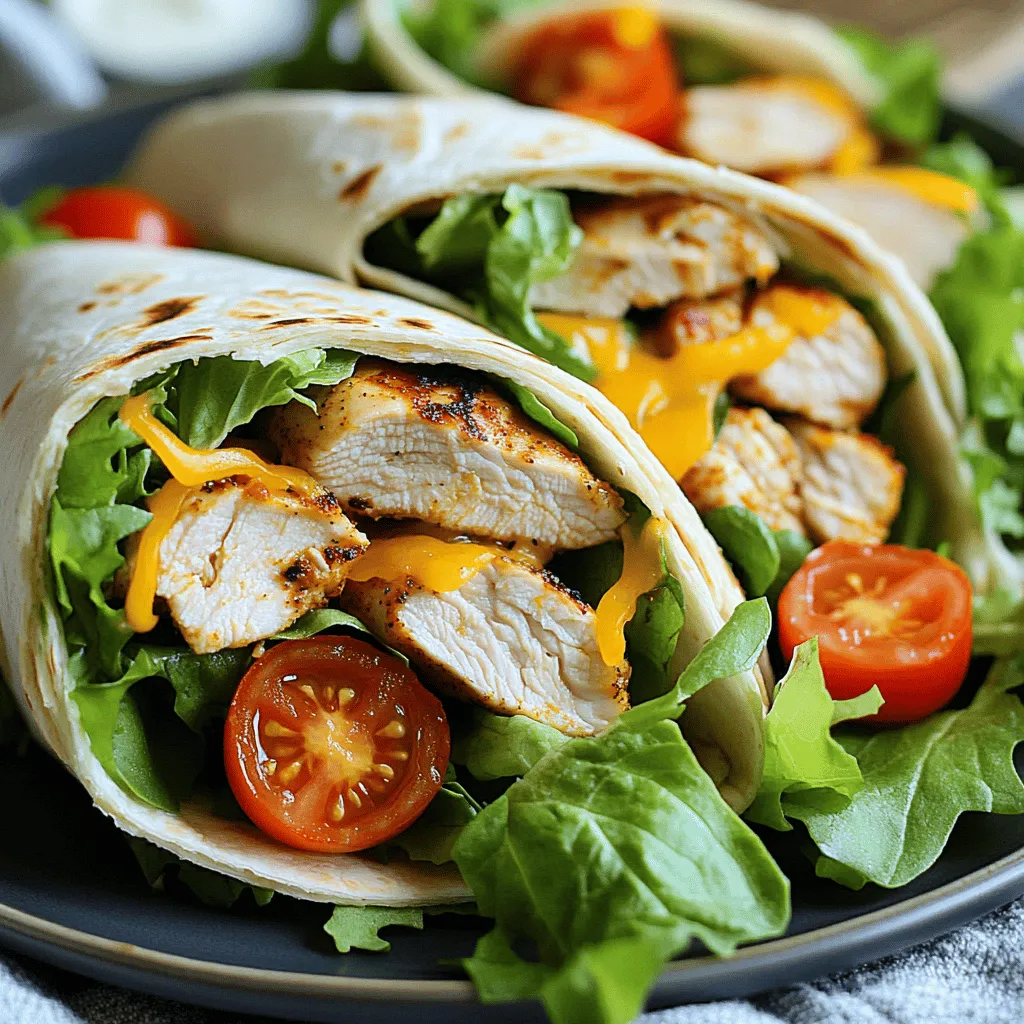
Minute Spicy Garlic Chicken Wraps Flavorful Meal Idea
Are you ready to spice up your meal routine? My Minute Spicy Garlic Chicken Wraps deliver bold flavor in a snap! With simple ingredients…