Latest & Greatest
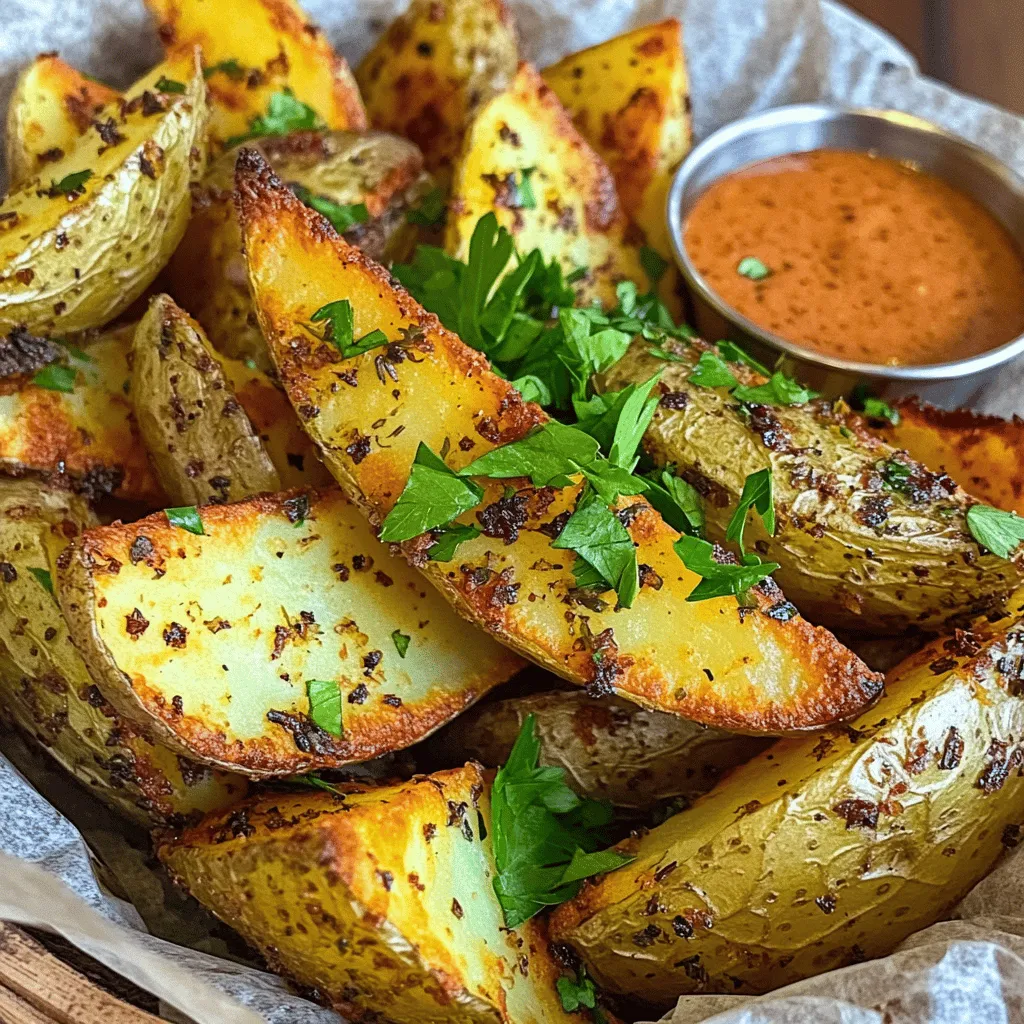
Crispy Potato Wedges Flavorful and Easy Recipe Guide
If you’re craving a snack that’s crunchy and bursting with flavor, crispy potato wedges are the answer. I’ve crafted a
Read more…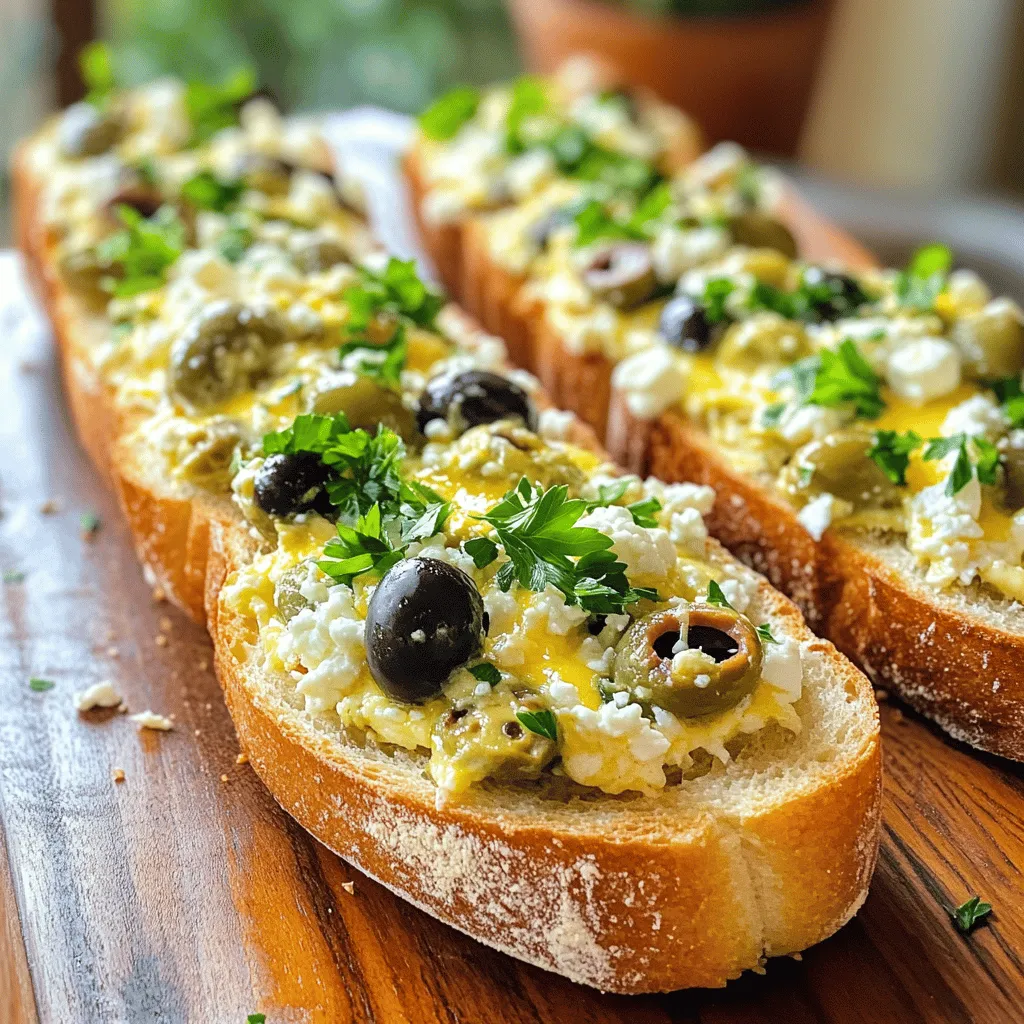
Olive Cheese Bread Appetizer Tasty and Simple Dish
Looking for a quick, tasty snack that’s sure to impress? You’re in the right place! This Olive Cheese Bread Appetizer
Read more…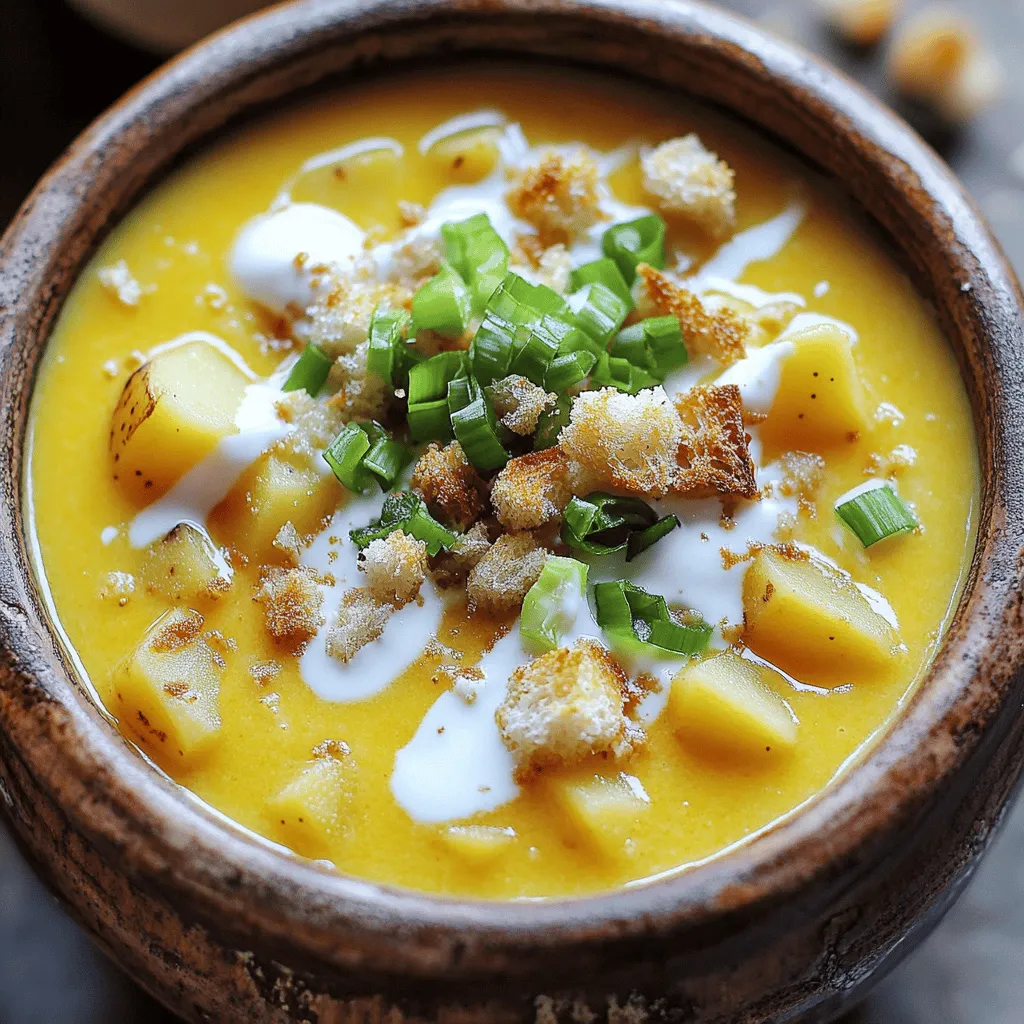
Slow Cooker Cheesy Potato Soup Cozy Comforting Meal
Warm up your kitchen with my Slow Cooker Cheesy Potato Soup! This creamy, cheesy delight is perfect for chilly nights
Read more…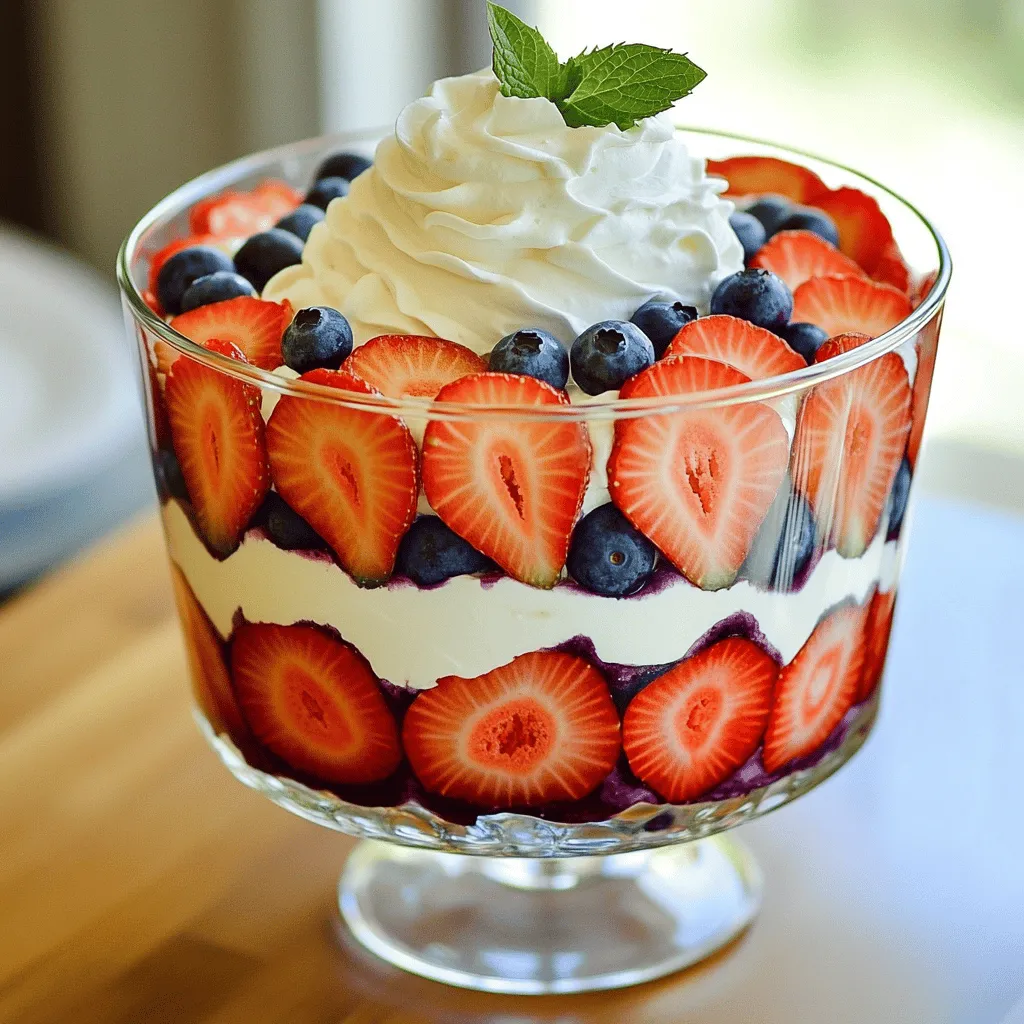
Red, White and Blueberry Trifle Simple Summer Dessert
Looking for a refreshing summer treat? Try my Red, White and Blueberry Trifle! This simple dessert combines fresh strawberries, blueberries,
Read more…
Red Velvet Cake Delicious and Easy Baking Recipe
Craving a sweet treat that’s as impressive as it is simple? Let me guide you through my delicious and easy
Read more…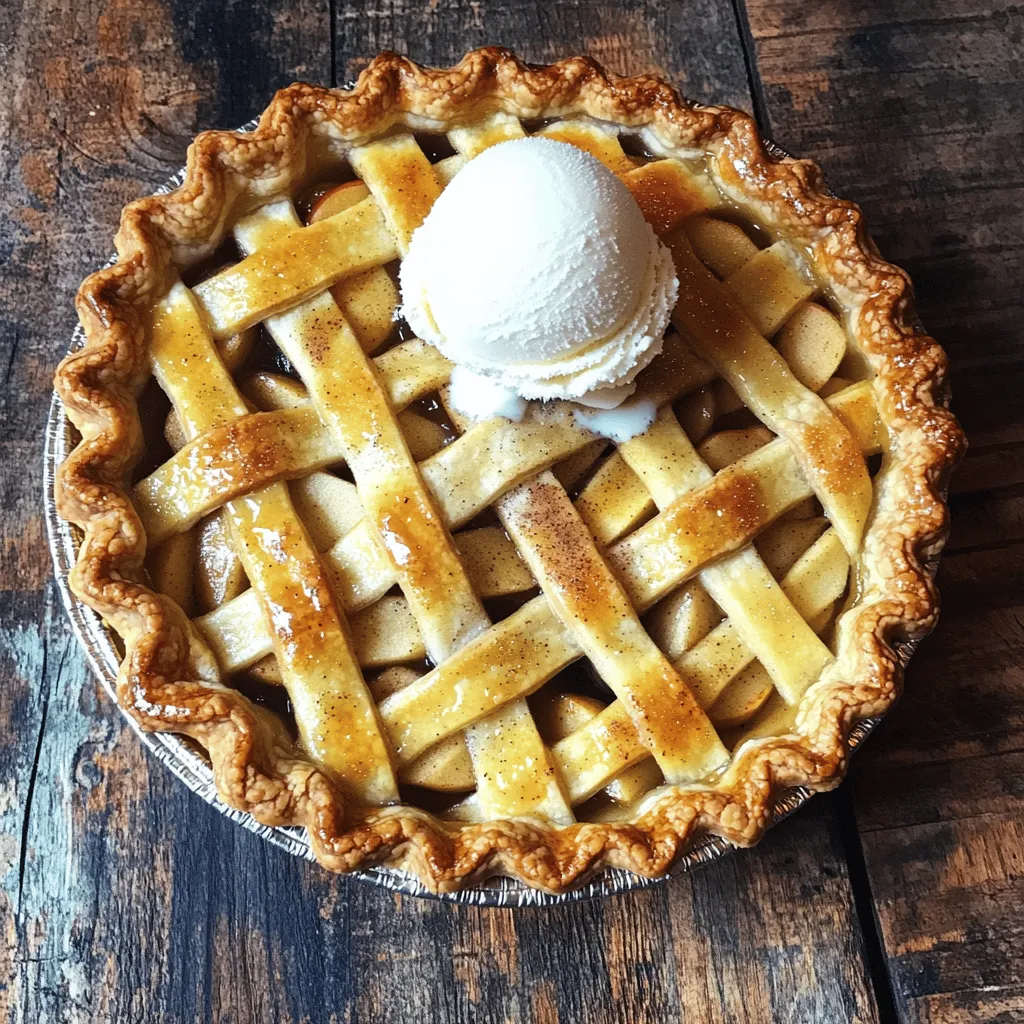
Classic Apple Pie Irresistible Homemade Delight
Are you ready to make the best apple pie? Classic Apple Pie: Irresistible Homemade Delight gives you every detail you
Read more…
Glazed Lemon Sugar Cookies Tasty and Simple Recipe
Craving something sweet, bright, and delicious? You’ll love these Glazed Lemon Sugar Cookies! This simple recipe combines fresh lemon zest
Read more…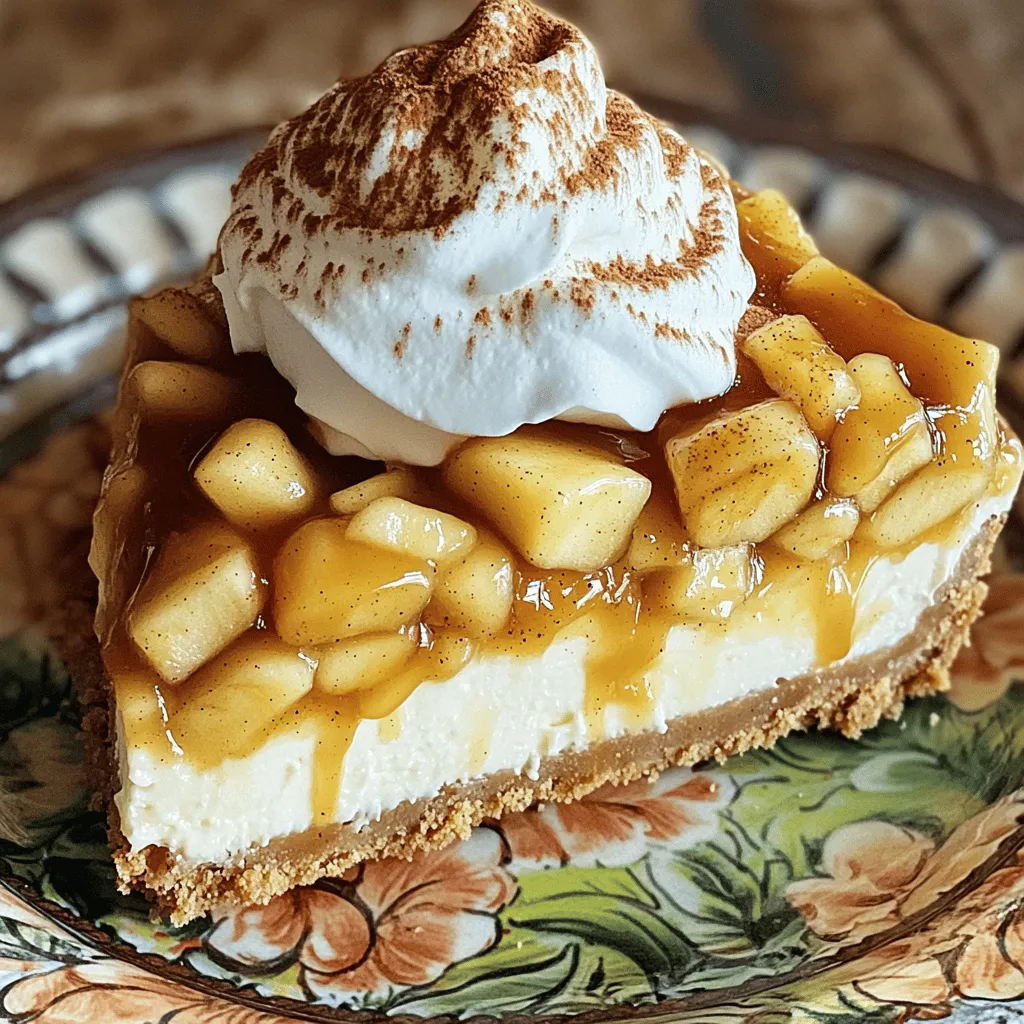
Irresistible Apple Pie Stuffed Cheesecake Delight
Welcome to a dessert lover’s dream! Today, I’m sharing my recipe for Irresistible Apple Pie Stuffed Cheesecake Delight. Imagine creamy
Read more…browse recipes
![- 2 cups cooked chicken, shredded - 1 bag (12 oz) tortilla chips - 1 cup black beans, drained and rinsed - 1 cup corn kernels (fresh or canned) - 1 cup diced tomatoes - 1 cup shredded cheddar cheese - 1 cup shredded Monterey Jack cheese These ingredients form the base of your loaded chicken nachos. The shredded chicken adds protein and flavor. Tortilla chips provide the crunchy base. Black beans and corn add texture and nutrition. The cheese varieties melt beautifully, creating a gooey topping. - 1 jalapeño, sliced (optional) - 1 avocado, diced - ½ cup sour cream - ¼ cup fresh cilantro, chopped These toppings elevate your nachos. Jalapeños give heat, while avocado adds creaminess. Sour cream offers a cool contrast to the spices. Cilantro brings freshness and color. - Spices: 1 tablespoon olive oil, 1 teaspoon cumin, 1 teaspoon chili powder, salt and pepper to taste Adding spices makes a big difference. Olive oil helps cook the chicken mixture. Cumin and chili powder enhance the overall flavor. Adjust salt and pepper to your taste, making your nachos truly yours. - Calories per Serving: Approximately 400-500 - Protein: About 25 grams - Fiber: Around 6 grams - Allergen Information: Contains dairy and may have gluten This dish is filling and tasty, making it a great game day snack. The protein and fiber help keep you satisfied. Just be mindful of allergens if you're serving guests with dietary restrictions. For the full recipe, check out the [Full Recipe]. - Cooking the Chicken Start by heating olive oil in a skillet over medium heat. Add 2 cups of shredded chicken, along with 1 cup of black beans and 1 cup of corn. Sprinkle in 1 teaspoon of cumin and 1 teaspoon of chili powder. Add salt and pepper to taste. Stir the mixture for about 5 minutes. Cook until everything is hot and well mixed. This step builds the tasty base for your nachos. - Blending in Other Ingredients Next, mix in 1 cup of diced tomatoes. This adds freshness and color to the chicken mixture. Stir gently to avoid breaking the tomatoes. Be sure to blend all the ingredients well. This step is key to ensuring every bite of nachos is full of flavor. - Layering Chips and Chicken Take a large baking sheet and spread out 1 bag (12 oz) of tortilla chips in an even layer. This gives a good base. Next, evenly distribute the chicken mixture over the chips. Make sure every chip gets some chicken. This ensures every bite is loaded with goodness. - Cheese Distribution Now comes the fun part! Sprinkle 1 cup of shredded cheddar cheese and 1 cup of Monterey Jack cheese over the chicken. This melty goodness is what makes nachos irresistible. Do not hold back on the cheese; it’s a star player in this dish. - Oven Temperature and Timing Preheat your oven to 350°F (175°C). Once your nachos are assembled, place the baking sheet in the oven. Bake for 10-15 minutes. You want the cheese to melt and get bubbly. Keep an eye on them to avoid burning. - Checking for Doneness After about 10 minutes, check the nachos. The cheese should look melted and slightly golden. If it looks good, remove the baking sheet from the oven. This is where the magic happens; the whole kitchen will smell amazing! Now you can add your favorite toppings like diced avocado, sour cream, and cilantro, and enjoy your cheesy fiesta! For full details on the recipe, check the Full Recipe. Preventing Sogginess To keep your nachos crispy, layer them right. Start with a base of chips. Spread the chicken mixture evenly over them. This helps the chips stay dry. Add cheese last to create a barrier. It melts and protects the chips from moisture. Ensuring Even Melting For even melting, use a mix of cheeses. I like using cheddar and Monterey Jack. They melt well together. Spread the cheese in a thin, even layer. This way, every bite has cheese goodness. Ideal Sides and Accompaniments Pair your nachos with fresh sides. I recommend guacamole and salsa. They add great flavor. You can also serve them with a side of beans. This makes your meal even heartier. Presentation Tips For a nice look, use a large, colorful platter. Scatter fresh cilantro on top for a pop of green. Place the sour cream in a bowl on the side. This makes it easy for everyone to dip. Overloading Toppings Less is often more. Avoid piling on too many toppings. This can make your nachos soggy and hard to eat. Focus on a few key toppings for best flavor and texture. Skipping the Broiling Step Don’t skip the broiling step! This is key for melting the cheese. Broil for a few minutes at the end. Watch closely to prevent burning. Broiling gives you that perfect, gooey texture. For the full recipe, check out the Cheesy Fiesta Loaded Chicken Nachos. {{image_2}} Substituting Protein If you want a meat-free option, swap the chicken for black beans or lentils. These add protein and taste great. You can also use tofu or tempeh for a hearty bite. Alternative Cheese Options Try different cheeses like pepper jack or smoked gouda for a fun twist. Vegan cheese can work well too. Look for options that melt nicely to keep your nachos creamy. Southwest Style Add some roasted corn, diced red onion, and a sprinkle of lime juice for a fresh twist. You can also mix in some salsa verde for a zesty kick. This gives your nachos a bright, vibrant taste. BBQ Chicken Nachos Use BBQ sauce instead of spices for a sweet and tangy flavor. Mix shredded chicken with the sauce before layering it on your chips. Top with coleslaw for crunch and extra flavor. Taco Night Variation Load your nachos with taco toppings like seasoned ground beef, pico de gallo, and guacamole. This makes a perfect taco night meal and is easy to share. Game Day Loaded Nachos For game day, add extra toppings like sliced olives, pickled jalapeños, or even a drizzle of ranch dressing. This creates a fun, crowd-pleasing snack everyone will love. Feel free to explore these variations to create your own loaded chicken nachos masterpiece! For a full recipe, check out the details above. To keep your loaded chicken nachos fresh, store them in an airtight container. Make sure to cover them tightly to avoid air exposure. You can keep them in the fridge for up to three days. After that, the chips may become too soggy. When reheating nachos, I recommend using an oven. Preheat it to 350°F (175°C). Place the nachos on a baking sheet for about 10 minutes. This helps restore their crispiness. If you use a microwave, they may turn soft. If you have no other choice, heat them for 30 seconds at a time until warm. You can prep some ingredients ahead of time. Cook and shred your chicken a day before. Store it in the fridge. You can also chop your veggies and mix the spices in advance. Just assemble the nachos right before serving for the best taste. Store any assembled nachos in the fridge for up to two days. For the freshest crunch, it’s best to add chips just before serving. For the complete journey to flavor, refer to the Full Recipe. You can make Loaded Chicken Nachos healthier with simple swaps. Try these ingredient substitutions: - Use whole grain tortilla chips for more fiber. - Swap regular cheese for low-fat cheese options. - Add more veggies like bell peppers or spinach. - Use Greek yogurt instead of sour cream. - Opt for grilled chicken instead of fried. These changes help cut calories and boost nutrition without losing flavor. Yes, you can freeze Loaded Chicken Nachos. Follow these best practices: - Assemble the nachos without toppings like avocado and sour cream. - Wrap them tightly in plastic wrap and place in a freezer bag. - Label the bag with the date for easy tracking. - To thaw, move them to the fridge overnight. When ready to eat, bake them until hot and add fresh toppings. Loaded Chicken Nachos pair well with many dishes and drinks. Here are some ideas: - Serve with a side of fresh salsa or guacamole. - Pair with a chilled beer or a fruity mocktail. - Offer a light salad to balance the meal. - Try a bowl of chili for a hearty combo. These sides enhance your nacho experience and keep the game day fun! You now have all the tools to make perfect loaded chicken nachos. We covered essential ingredients, cooking steps, and best practices. Remember to balance toppings to keep your nachos crispy. Try not to overload them, and follow our serving tips for a standout dish. Get creative with variations like vegetarian options and fun themes. With these tips, you can impress everyone at your next gathering. Enjoy every bite and share your nacho journey with friends!](https://easycookingbite.com/wp-content/uploads/2025/06/84126e0f-a8fc-483d-9483-da30c6c23e1e.webp)
Loaded Chicken Nachos Tasty and Easy Game Day Snack
Looking for a game day snack that packs flavor and fun? Loaded Chicken Nachos are your answer! With crispy tortilla chips, savory shredded chicken,…
My Latest Drinks
Strawberry Cheesecake Smoothie Creamy Refreshing Treat
Craving something delicious and cool? The Strawberry Cheesecake Smoothie is your answer! It blends creamy cheesecake flavors with sweet strawberries Read Full RecipeMocktail Pink Punch Refreshing and Easy Recipe
Are you ready to impress your guests with a delightful drink? This Mocktail Pink Punch recipe is both refreshing and Read Full RecipeBlue Lagoon Tropical Lemonade Refreshing and Zesty Drink
Looking for a drink that’s both refreshing and fun? Say hello to Blue Lagoon Tropical Lemonade! This colorful beverage packs Read Full RecipePumpkin Spice Coffee Creamer Flavorful Fall Treat
Are you ready to embrace the cozy vibes of autumn? In this blog post, I’ll guide you through making your Read Full RecipeApple Cider Margarita Mocktail Refreshing Fall Drink
Fall is here, and that means it’s the perfect time for a cozy drink! The Apple Cider Margarita Mocktail offers Read Full RecipePumpkin Spice Latte Copycat Cozy and Comforting Recipe
Craving that warm, cozy feeling of fall? You can enjoy a delicious Pumpkin Spice Latte at home! In this article, Read Full Recipe
My Latest Dinners
White Bean Soup Simple and Hearty Delight
Looking for a warm and filling meal? Let me introduce you to white bean soup! This simple and hearty delight Read Full RecipeGarlic Herb Roasted Sweet Potatoes Flavorful Side Dish
Looking for a side dish that’s both tasty and easy to make? Garlic Herb Roasted Sweet Potatoes are the answer! Read Full RecipeOne Pot Beef Taco Pasta Easy and Flavorful Meal
Looking for a quick and tasty meal? One Pot Beef Taco Pasta is the perfect dish! This recipe packs bold Read Full RecipeGarlic Chicken Zucchini Noodles Stir Fry Delight
Are you ready for a tasty twist on dinner? My Garlic Chicken Zucchini Noodles Stir Fry is a quick and Read Full RecipeStuffed Italian Meatloaf Easy and Tasty Recipe
Are you ready to elevate your dinner game? This Stuffed Italian Meatloaf is both easy and tasty! In this article, Read Full RecipeOne Pot French Onion Pasta Flavorful Comfort Dish
Looking for a cozy dinner that warms your soul? Try my One Pot French Onion Pasta! This creamy, rich dish Read Full Recipe
hey,
i’m !
I’m so happy you’re here!
Every dish I share is made with love and care. I hope they bring you the same comfort and joy they bring me. Let’s make memories, one recipe at a time.
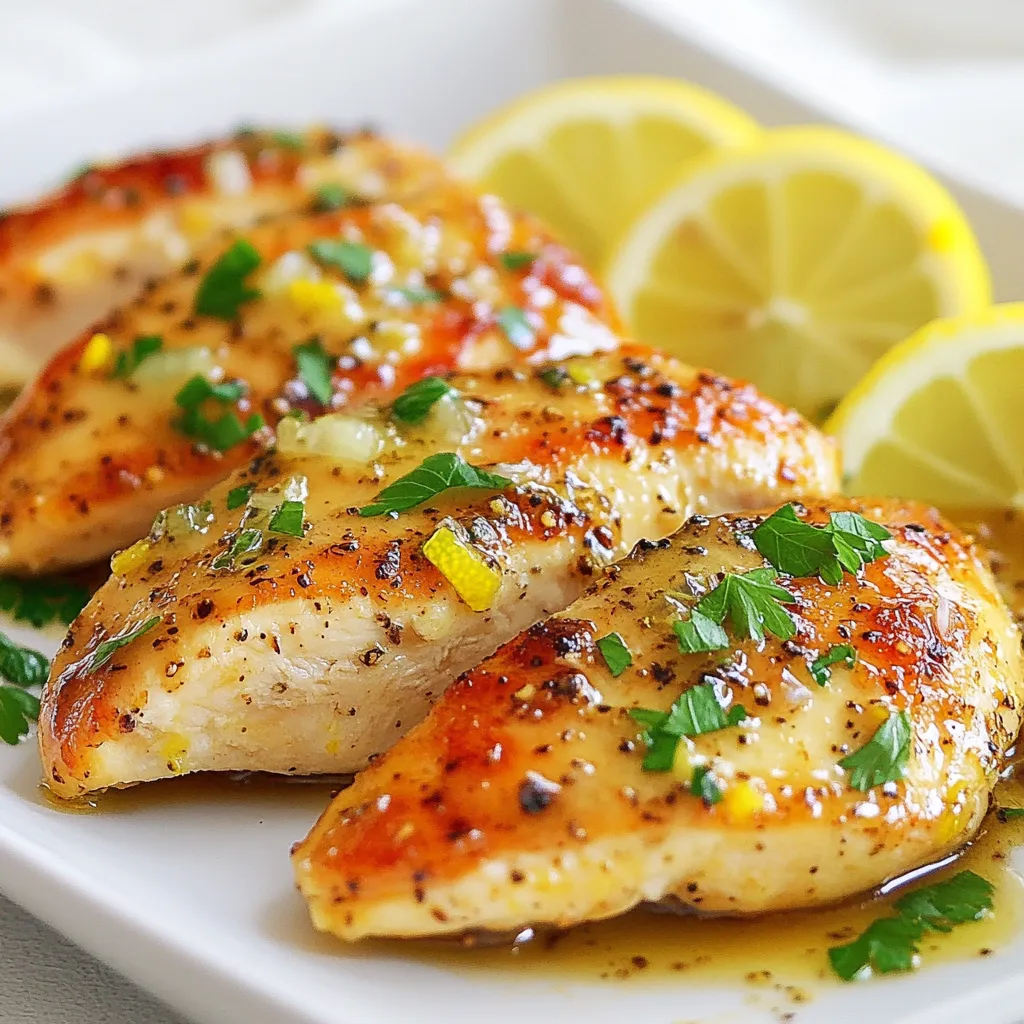
Minute Lemon Pepper Chicken Quick and Tasty Meal
Looking for a quick and tasty recipe that bursts with flavor? You’ll love this Minute Lemon Pepper Chicken! This dish is simple enough for…



![To make these tasty White Cheddar Spinach Chicken Burgers, gather these ingredients: - 1 lb ground chicken - 1 cup fresh spinach, finely chopped - 3/4 cup white cheddar cheese, shredded - 1/2 cup breadcrumbs - 1/4 cup grated Parmesan cheese - 1 egg - 2 cloves garlic, minced - 1 teaspoon onion powder - 1 teaspoon salt - 1/2 teaspoon black pepper - 1 tablespoon olive oil - Burger buns - Lettuce, tomato, and condiments (optional for serving) The essential ingredients for these burgers are ground chicken, spinach, and white cheddar cheese. The chicken gives the burger its base. Spinach adds color and nutrients. White cheddar cheese melts beautifully, giving a rich flavor. The optional ingredients include the burger buns and toppings like lettuce and tomato. You can adjust these based on your taste. Use any condiments you love for extra flavor. If you need to swap out some ingredients, here are a few ideas: - Ground chicken: You can use ground turkey or lean beef instead. - White cheddar cheese: Try mozzarella or gouda for a different taste. - Breadcrumbs: Oat flour or crushed crackers can work as a substitute. - Egg: A flax egg (1 tablespoon ground flaxseed mixed with 2.5 tablespoons water) can replace the egg for a vegan option. These swaps keep the recipe fun and flexible. For the full recipe, check the detailed instructions and tips. To make these white cheddar spinach chicken burgers, start with a large mixing bowl. Combine the ground chicken, chopped spinach, shredded white cheddar cheese, breadcrumbs, grated Parmesan cheese, egg, minced garlic, onion powder, salt, and black pepper. Mix everything well with your hands until just combined. Be careful not to overmix, as this can make the patties tough. Next, divide the mixture into four equal parts. Shape each part into a patty, about 1/2 inch thick. This thickness helps them cook evenly. Heat olive oil in a large skillet over medium heat. When the oil is hot, carefully add the patties. Make sure there is enough space between each patty. Cook them for about 5-6 minutes on each side. Use a meat thermometer to check that the internal temperature reaches 165°F (75°C). The outside should be golden brown. While the last batch cooks, toast the burger buns in a separate pan if you like. Once the patties are done, assemble your burgers. Place each chicken patty on a toasted bun. Add toppings like lettuce, tomato, and any condiments you prefer. To make the best patties, keep a few tips in mind. First, wet your hands with water before shaping the patties. This helps prevent the mixture from sticking to your hands. Second, try to make the patties uniform in size. This way, they cook evenly and look great on a plate. Lastly, make a small indent in the center of each patty. This helps them hold their shape while cooking and prevents them from puffing up. You can cook these burgers in two ways: on a skillet or on a grill. Skillet Method: This method gives you a nice brown crust. Use medium heat and add olive oil. The skillet method is quick and easy, perfect for weeknight dinners. Grill Method: Grilling adds a smoky flavor. Preheat your grill to medium heat. Cook the patties for about 5-6 minutes on each side. This method can be messy but adds a great taste. Both methods yield tasty burgers, so choose the one that fits your cooking style. For the full recipe, check out the complete details to create these delicious white cheddar spinach chicken burgers! To keep your chicken burgers moist, use a few simple steps. First, do not overmix the meat. Overmixing makes the burgers tough. Just mix until everything is combined. Adding spinach and cheese also helps keep them juicy. Cook the burgers on medium heat to avoid drying them out. For great flavor, you can try different seasonings. Garlic powder and paprika add a nice kick. If you like herbs, try adding dried oregano or thyme. You can also mix in a splash of Worcestershire sauce for extra depth. Taste as you go to find your perfect blend. These burgers pair well with many sides. Sweet potato fries bring out the cheese flavor. A fresh salad adds a nice crunch. You can also serve them with coleslaw or grilled veggies for a colorful plate. Try different combinations to find your favorite! For the complete recipe, check out the Full Recipe section. {{image_2}} You can switch up the cheese in these burgers. If you want a different taste, try using mozzarella or feta. Mozzarella gives a mild flavor and nice stretch. Feta adds a salty kick, which pairs well with spinach. You can even mix cheeses for a fun twist. Feel free to add more veggies to the mix. Diced bell peppers or mushrooms can boost flavor and nutrition. You can also add grated carrots for a slight sweetness. Just remember to chop them finely. This keeps the burger juicy and tasty. For those who love heat, try adding jalapeños. You can chop fresh jalapeños and mix them into the burger mix. If you prefer less heat, use pickled jalapeños. They give a nice tang without being too spicy. This spicy twist makes the burgers even more exciting. Try these variations to make your White Cheddar Spinach Chicken Burgers unique and delicious. For the Full Recipe, check out the detailed instructions above. To keep your leftover burgers fresh, let them cool down first. Then, place them in an airtight container. This will help lock in the flavor and moisture. Store the burgers in the fridge for up to three days. If you want to enjoy them later, consider freezing them. When you're ready to eat your leftovers, reheat the burgers properly. The best way is to use the skillet. Heat a little oil over medium heat, then add the burger. Cook for about 3-4 minutes on each side until warmed through. You can also use the microwave, but it might make them a bit soggy. If you prefer a crispy texture, stick to the skillet. For meal prep, freezing is a great option. After shaping the patties but before cooking, place them on a baking sheet lined with parchment paper. Freeze them until solid, then transfer them to a freezer bag. Label the bag with the date. You can freeze them for up to three months. When ready to cook, thaw overnight in the fridge before cooking as usual. This keeps your meal prep easy and tasty! You can find the full recipe for these delicious burgers [Full Recipe]. You can serve these burgers with many tasty sides. Sweet potato fries are a great choice. They add a sweet and savory touch. A fresh salad also works well. You might try a mix of greens, tomatoes, and cucumbers. For a fun twist, serve them with coleslaw. It gives a crunchy texture that pairs nicely. Don't forget to add your favorite condiments on the side. Ketchup, mustard, or even a tangy aioli can enhance the flavor. To check if your chicken burgers are done, use a meat thermometer. The internal temperature should reach 165°F (75°C). This ensures the chicken is safe to eat. You can also check the color. The meat should be white, not pink. If you cut into the burger, the juices should run clear. These tips help you serve perfectly cooked patties every time. Yes, you can make these burgers ahead of time. Prepare the patties and store them in the fridge. They can last for one to two days. If you want to keep them longer, freeze them. Just wrap each patty in plastic wrap before freezing. When ready to cook, thaw them overnight in the fridge. Then, cook as directed in the Full Recipe. This makes meal prep easy and saves time on busy days. In this article, I covered the ingredients, cooking steps, and helpful tips for chicken burgers. I also shared ways to vary recipes and store leftovers. Remember, using fresh ingredients and proper cooking methods makes a big difference. Experiment with flavors and create your own twist on these burgers. Enjoy making and sharing delicious meals! Keep these tips in mind for tasty, juicy results every time. Happy cooking!](https://easycookingbite.com/wp-content/uploads/2025/05/a27f1600-b889-4475-b666-49c7c1bcc9b0-300x300.webp)
![- 1 cup quinoa, rinsed - 2 cups vegetable broth - 1 cup cherry tomatoes, halved - 1 cucumber, diced - 1 bell pepper (red or yellow), diced - 1 cup chickpeas, canned and drained - 1/2 cup kalamata olives, pitted and halved - 1/2 red onion, finely chopped - 1 avocado, sliced - 1/4 cup fresh parsley, chopped - 2 tablespoons olive oil - 2 tablespoons lemon juice - 1 teaspoon dried oregano - Salt and pepper to taste This Mediterranean quinoa bowl bursts with color and flavor. I love how easy it is to make. You start with quinoa, which is a great source of protein. Rinse it well to remove any bitterness. Then, cook it in vegetable broth for added flavor. Next, chop up your veggies. Use fresh cherry tomatoes for sweetness. Dice a cucumber for crunch. A bell pepper adds a nice bite. Chickpeas give you protein and fiber. Don't forget the kalamata olives for a salty touch. The red onion adds a bit of sharpness, while the avocado gives creaminess. Finally, finish with fresh parsley. It brightens the dish and adds a pop of color. For the dressing, whisk together olive oil, lemon juice, oregano, salt, and pepper in a bowl. This simple dressing ties all the flavors together. You can find the full recipe in the previous sections. Enjoy crafting this vibrant bowl; it’s a meal you will love! Start by combining 1 cup of rinsed quinoa and 2 cups of vegetable broth in a medium saucepan. Heat it on high until it boils. Once it boils, reduce the heat to low. Cover the pan and let it simmer for about 15 minutes. The quinoa will absorb the broth and become fluffy. After 15 minutes, remove it from heat and let it sit for 5 minutes. Fluff the quinoa with a fork to separate the grains. While the quinoa cooks, grab a small bowl. Whisk together 2 tablespoons of olive oil, 2 tablespoons of lemon juice, 1 teaspoon of dried oregano, salt, and pepper. This dressing adds a burst of flavor to the bowl. Set it aside while you prepare the veggies. In a large mixing bowl, combine the fresh veggies. Add 1 cup of halved cherry tomatoes, 1 diced cucumber, 1 diced bell pepper, 1 cup of drained chickpeas, 1/2 cup of pitted and halved kalamata olives, 1/2 finely chopped red onion, and 1/4 cup of chopped fresh parsley. Once the quinoa is ready, add it to the large bowl. Pour in the prepared dressing and gently toss everything together. This will ensure that every bite is bursting with flavor. For the full recipe, check out the [Full Recipe]. To get the best texture, avoid overcooking the quinoa. When it cooks too long, it can turn mushy. Follow the cooking times closely for a fluffy result. After cooking, let it sit covered for five minutes. This helps it steam and fluff up nicely. You can make your dressing even better by trying different herbs. Fresh basil or mint can add a nice kick. If you want more tang, adjust the acidity with extra lemon juice. This enhances the bright flavors in your bowl. You can serve the Mediterranean quinoa bowl as a side dish or make it a main course. To make it more appealing, garnish with extra parsley or sliced avocado. This not only looks good but also adds flavor and texture. {{image_2}} You can boost the protein in your Mediterranean quinoa bowl by adding grilled chicken or shrimp. Both options add a nice flavor and make the dish more filling. If you prefer a vegetarian choice, try adding feta cheese for a creamy touch. For a vegan option, choose tofu or tempeh. They soak up flavors well and add a satisfying texture. Feel free to swap in different vegetables based on what's fresh and in season. Zucchini, asparagus, or spinach can work beautifully. You can even add fruits like pomegranate seeds or citrus slices for a sweet twist. These fruits add color and flavor, making your bowl even more appealing. To give your bowl some heat, try incorporating harissa. This spicy paste adds depth and warmth. You can also add nuts or seeds, like pine nuts or sunflower seeds, for extra crunch and nutrition. These little touches can elevate your dish, making it unique and exciting. For the full recipe, check the earlier section. To keep your Mediterranean quinoa bowl fresh, store leftovers in an airtight container. This helps prevent the bowl from absorbing other food odors. The ideal time to eat your leftovers is within 3-4 days. After that, the flavors may fade and the ingredients may lose their texture. If you want to save some for later, portion individual servings for freezing. This makes it easy to grab a healthy meal when you're short on time. To use frozen quinoa bowls, thaw them overnight in the refrigerator before reheating. This way, they stay tasty and retain their fresh feel. A Mediterranean Quinoa Bowl is a vibrant dish full of fresh flavors. It mixes cooked quinoa with vegetables and protein. You get tastes from tomatoes, cucumbers, olives, and chickpeas. This dish draws from the Mediterranean diet, known for its health benefits. Olive oil, lemon juice, and spices add depth to every bite. This bowl is colorful, healthy, and easy to make, perfect for any meal. Yes, you can use other grains for this bowl. Couscous is a great option for a softer texture. Farro gives a chewy bite and nutty flavor. Brown rice is also a good choice if you want something hearty. Just adjust the cooking time based on the grain you choose. Each grain will bring its unique taste to your Mediterranean bowl. Yes, this recipe is gluten-free because it uses quinoa. Quinoa is a seed, not a grain, and is safe for those with gluten issues. If you want to swap quinoa for another grain, make sure it is also gluten-free. Choices like rice or millet work well. Always check labels to ensure your ingredients are safe. This way, you can enjoy your bowl without worry. This blog post shared a simple recipe for a Mediterranean quinoa bowl. I covered the main ingredients, how to prepare the dressing, and step-by-step instructions. You learned tips for perfect quinoa and ways to mix it up with protein or seasonal veggies. Store your extras right for later enjoyment. Embrace this healthy meal in your kitchen. Experiment with new flavors and enjoy!](https://easycookingbite.com/wp-content/uploads/2025/06/10165cc2-2a99-49dc-9924-b839856dd375-300x300.webp)
