
Latest & Greatest
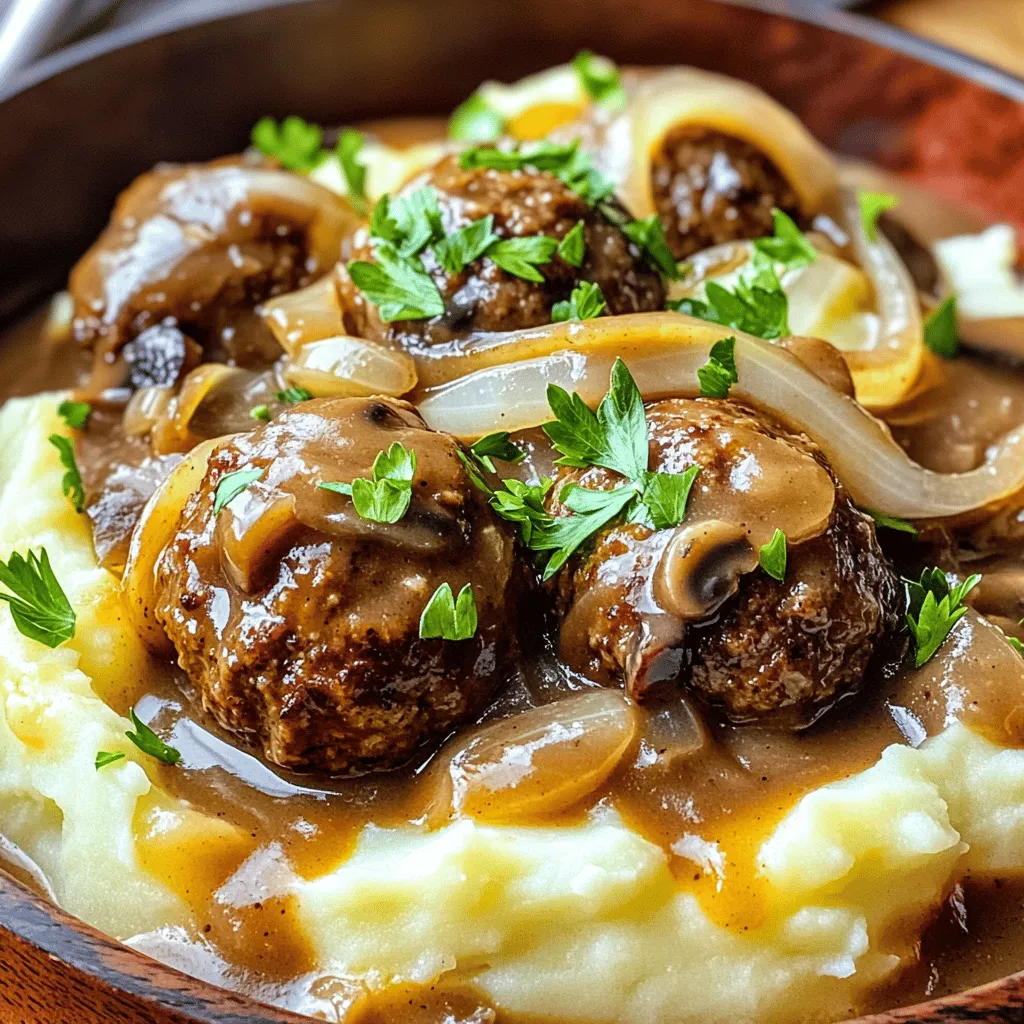
Slow Cooker Salisbury Steak Meatballs Flavorful Feast
Are you ready for a warm, comforting dish that will wow your family? Slow Cooker Salisbury Steak Meatballs are the
Read more…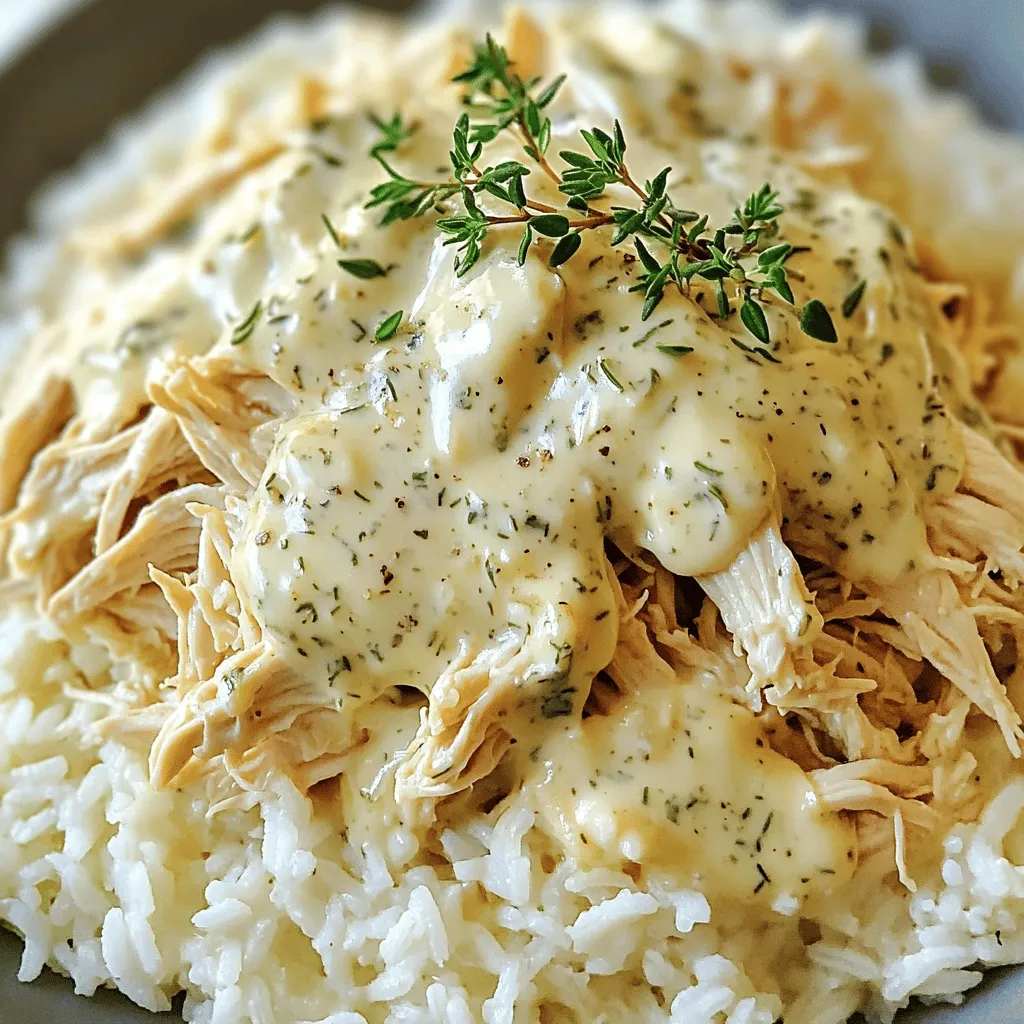
Crockpot Angel Chicken Creamy Flavorful Delight
Welcome to a world of easy cooking with my Crockpot Angel Chicken! This dish is a creamy, flavorful delight that
Read more…
Ricotta Meatballs Tasty and Easy Homemade Recipe
If you crave a hearty meal that’s as easy to make as it is delicious, you’ll love my ricotta meatballs!
Read more…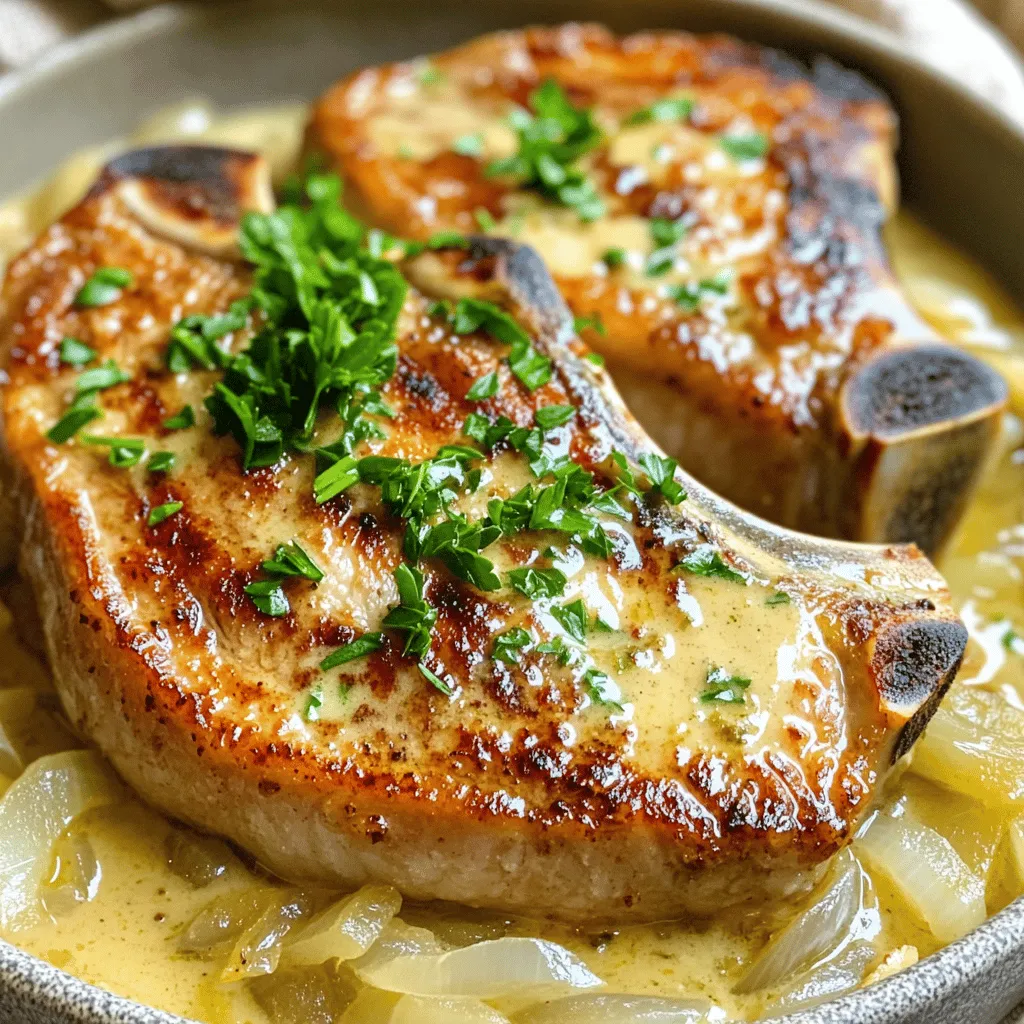
Smothered Pork Chops for a Flavorful Dinner
Are you ready to impress your family with a dinner that’s packed with flavor? Smothered pork chops bring hearty goodness
Read more…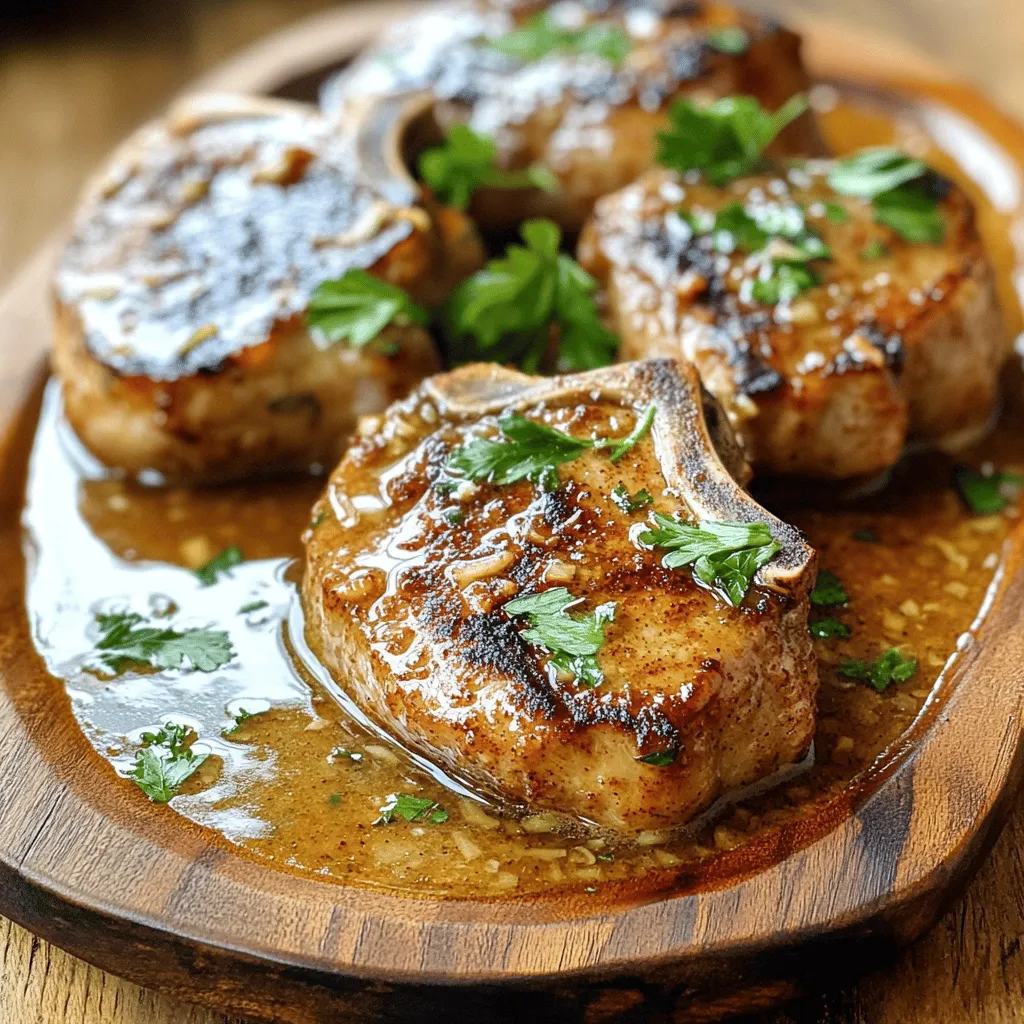
Savory Pork Chops with Garlic Sauce Recipe
If you’re ready to elevate your dinner game, you’ll love my Savory Pork Chops with Garlic Sauce recipe. These juicy,
Read more…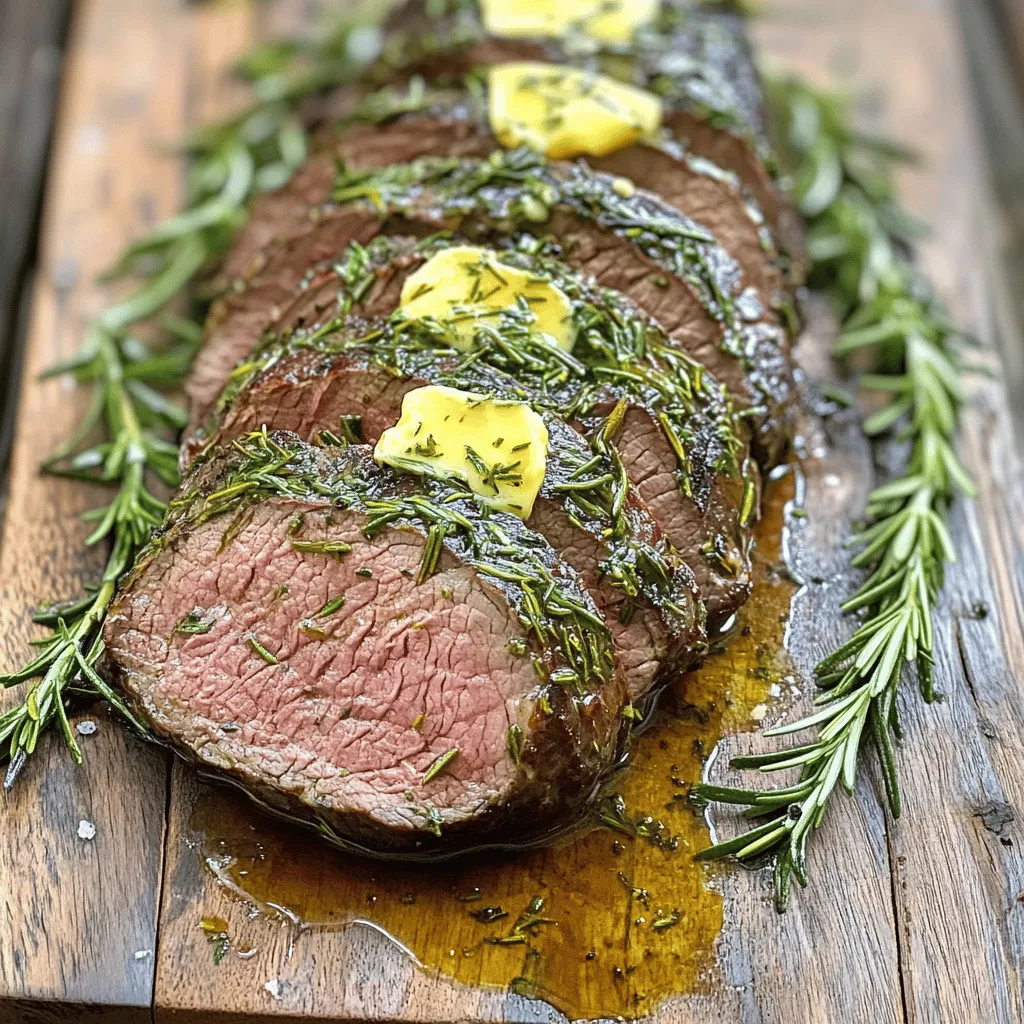
Herb Butter Beef Tenderloin Roast Deliciously Simple
Are you ready to impress your friends and family with a show-stopping meal? This Herb Butter Beef Tenderloin Roast is
Read more…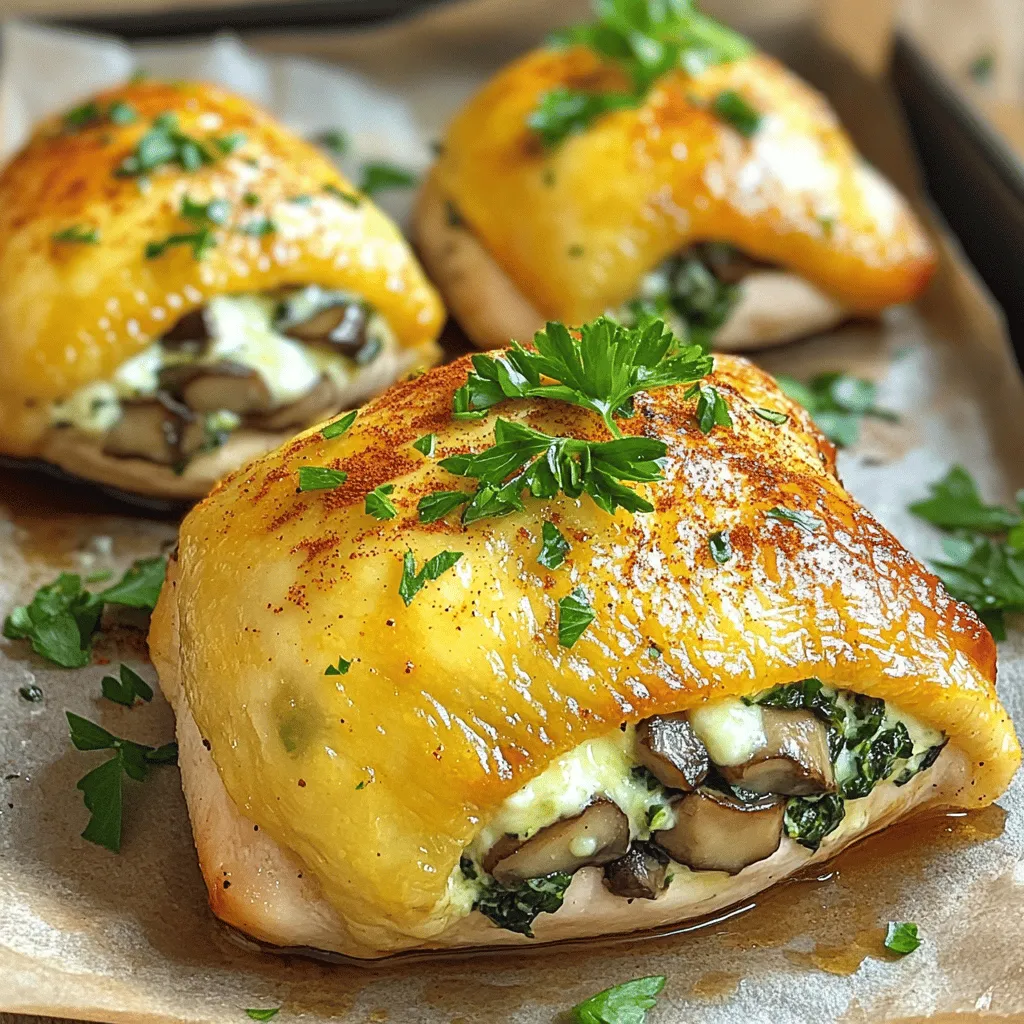
Healthy Mushroom Stuffed Chicken Breast Recipe Delight
Are you ready to transform your dinner routine? This Healthy Mushroom Stuffed Chicken Breast Recipe Delight is packed with flavor
Read more…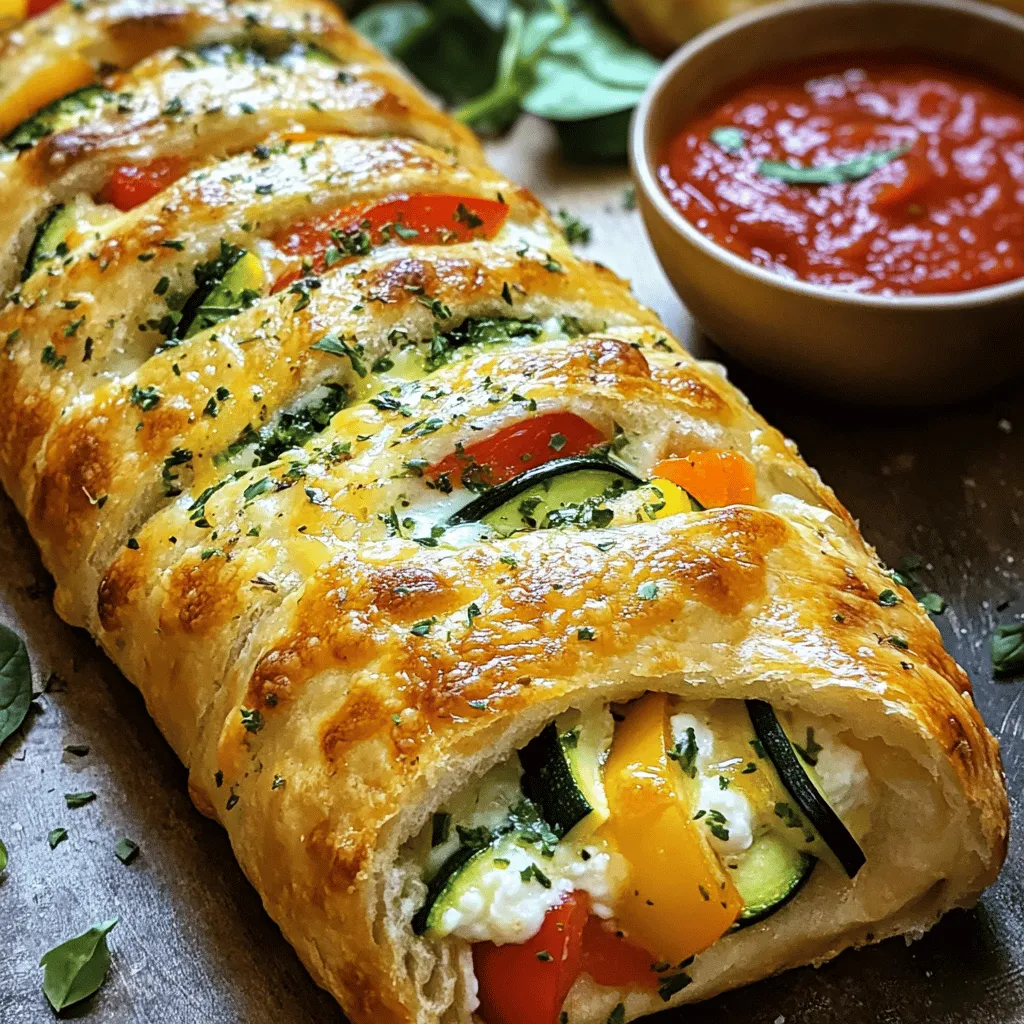
Easy Stromboli Dinner Quick and Delicious Recipe
Are you ready to whip up a quick and tasty Easy Stromboli Dinner? This fun recipe is perfect for busy
Read more…browse recipes


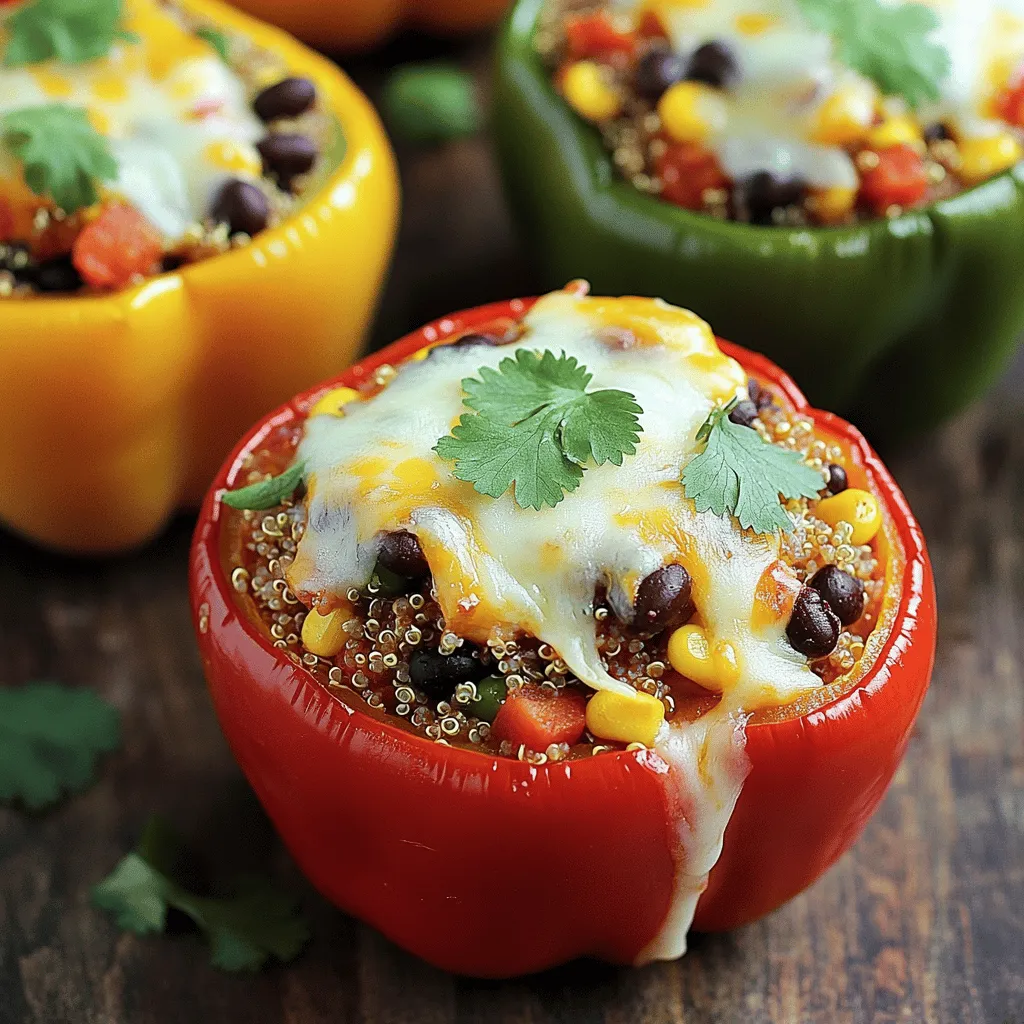
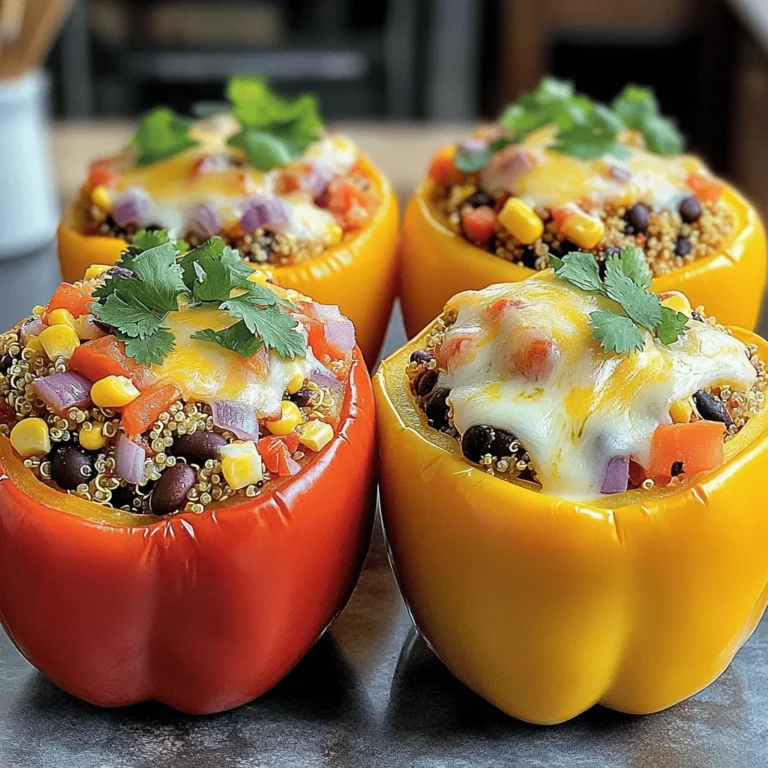
Delicious Stuffed Bell Peppers with Quinoa Recipe
Are you ready to impress your taste buds? In this post, I’ll guide you through making delicious stuffed bell peppers with quinoa. This recipe…
My Latest Drinks

Strawberry Cheesecake Smoothie Creamy Refreshing Treat
Craving something delicious and cool? The Strawberry Cheesecake Smoothie is your answer! It blends creamy cheesecake flavors with sweet strawberries Read Full Recipe-
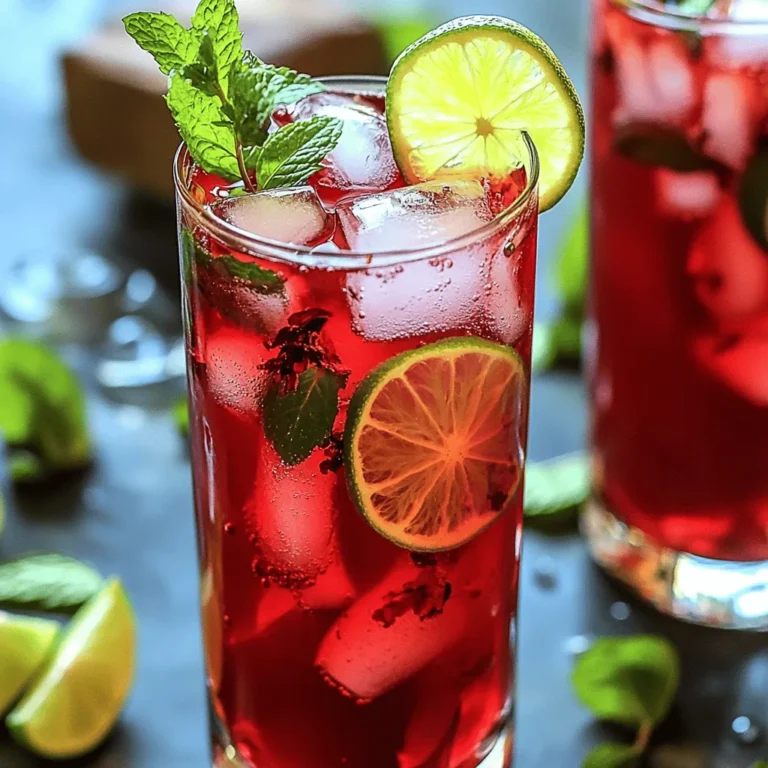
Mocktail Pink Punch Refreshing and Easy Recipe
Are you ready to impress your guests with a delightful drink? This Mocktail Pink Punch recipe is both refreshing and Read Full Recipe -
Blue Lagoon Tropical Lemonade Refreshing and Zesty Drink
Looking for a drink that’s both refreshing and fun? Say hello to Blue Lagoon Tropical Lemonade! This colorful beverage packs Read Full Recipe -
Pumpkin Spice Coffee Creamer Flavorful Fall Treat
Are you ready to embrace the cozy vibes of autumn? In this blog post, I’ll guide you through making your Read Full Recipe -
Apple Cider Margarita Mocktail Refreshing Fall Drink
Fall is here, and that means it’s the perfect time for a cozy drink! The Apple Cider Margarita Mocktail offers Read Full Recipe -
Pumpkin Spice Latte Copycat Cozy and Comforting Recipe
Craving that warm, cozy feeling of fall? You can enjoy a delicious Pumpkin Spice Latte at home! In this article, Read Full Recipe


My Latest Dinners
-
White Bean Soup Simple and Hearty Delight
Looking for a warm and filling meal? Let me introduce you to white bean soup! This simple and hearty delight Read Full Recipe -
Garlic Herb Roasted Sweet Potatoes Flavorful Side Dish
Looking for a side dish that’s both tasty and easy to make? Garlic Herb Roasted Sweet Potatoes are the answer! Read Full Recipe -
One Pot Beef Taco Pasta Easy and Flavorful Meal
Looking for a quick and tasty meal? One Pot Beef Taco Pasta is the perfect dish! This recipe packs bold Read Full Recipe -
Garlic Chicken Zucchini Noodles Stir Fry Delight
Are you ready for a tasty twist on dinner? My Garlic Chicken Zucchini Noodles Stir Fry is a quick and Read Full Recipe -
Stuffed Italian Meatloaf Easy and Tasty Recipe
Are you ready to elevate your dinner game? This Stuffed Italian Meatloaf is both easy and tasty! In this article, Read Full Recipe -
One Pot French Onion Pasta Flavorful Comfort Dish
Looking for a cozy dinner that warms your soul? Try my One Pot French Onion Pasta! This creamy, rich dish Read Full Recipe


hey,
i’m !
I’m so happy you’re here!
Every dish I share is made with love and care. I hope they bring you the same comfort and joy they bring me. Let’s make memories, one recipe at a time.

![- 1 cup quinoa - 1 can (15 oz) black beans, drained and rinsed - 1 cup corn kernels (fresh or frozen) - 1 bell pepper (red or yellow), diced - 1 cup cherry tomatoes, halved - 1 avocado, diced - Juice of 2 limes - 2 tablespoons olive oil - 1 teaspoon cumin - 1 teaspoon chili powder The main ingredients in this Tex Mex quinoa salad make it a powerhouse of nutrition. Quinoa is a complete protein, meaning it has all nine essential amino acids. It cooks up fluffy and adds a nutty flavor. Black beans bring fiber and protein, while corn adds sweetness and crunch. We use fresh vegetables to make the salad vibrant and full of flavor. Bell peppers add a crisp texture and bright color. Cherry tomatoes contribute juiciness and a pop of sweetness. Avocado brings creaminess and healthy fats that help keep you full. For the dressing, lime juice adds tang, while olive oil gives richness. Cumin and chili powder bring warmth and depth. This dressing ties all the flavors together beautifully. You can find the full recipe to make this delicious salad and enjoy its delightful flavors. To start, rinse 1 cup of quinoa under cold water. This helps remove any bitter taste. Next, in a medium saucepan, combine the rinsed quinoa with 2 cups of vegetable broth or water. Bring this mixture to a boil over medium-high heat. Once it boils, reduce the heat to low. Cover the pot and let it simmer for about 15 to 20 minutes. The quinoa should become fluffy, and the liquid will absorb. When done, remove it from the heat and let it cool slightly. While the quinoa cools, chop and combine your fresh vegetables. Dice 1 bell pepper and halve 1 cup of cherry tomatoes. You can also chop 1 avocado and finely chop 1/4 cup of red onion. Add these veggies into a large mixing bowl. Then, open a can of black beans, drain, and rinse them. Add 1 can (15 oz) of black beans and 1 cup of corn kernels, either fresh or frozen, to the bowl with the vegetables. Mix everything together well. In a small bowl, whisk together the dressing ingredients. Squeeze the juice of 2 limes into the bowl. Add 2 tablespoons of olive oil, 1 teaspoon of cumin, and 1 teaspoon of chili powder. Season with salt and pepper to taste. Whisk this mixture until well combined. The dressing adds a bright, zesty flavor to your salad. Now it’s time to bring everything together. Fluff the cooled quinoa with a fork and add it to the large mixing bowl with the veggies and beans. Pour the dressing over the salad mixture. Gently toss all the ingredients together until everything is well combined. Taste the salad and adjust the seasoning if needed. You can add more salt, pepper, or lime juice for extra flavor. Serve immediately or refrigerate it for 30 minutes to let the flavors meld together. For the full recipe, refer to the main ingredients and steps above. To make sure your quinoa is not mushy, rinse it well. This clears off the saponins, which can make quinoa bitter. Use a fine mesh strainer for best results. Cook quinoa in vegetable broth for extra flavor. - Temperature: Start with medium-high heat to boil. - Cooking time: Reduce heat to low and cover for 15-20 minutes. Keep an eye on it so it doesn’t overcook. After cooking, let it sit covered for 5 minutes. Then fluff it with a fork. Adjusting the seasoning can make a big difference. If you want a kick, add more chili powder. You can also try fresh jalapeños for some heat. - Tips: Taste as you go. This helps you find the right balance. - Adding heat: A pinch of cayenne can spice it up too. Try adding lime zest for a bright touch. An attractive salad makes it more fun to eat. Serve it in a large bowl to show off those colorful ingredients. - Serving suggestions: Layer the salad for a beautiful look. - Garnishing techniques: Top with extra cilantro and lime wedges. This adds freshness and color. For a crunchy touch, sprinkle some tortilla strips on top. For the full recipe, check the provided link. {{image_2}} You can easily change some ingredients in the Tex Mex quinoa salad. For a different flavor, try using other beans or grains. Instead of black beans, you could use pinto beans or chickpeas. If you want to switch the quinoa, try brown rice or farro. Both provide great texture and taste. Seasonal produce options can also add freshness. In summer, use ripe tomatoes and fresh corn. In fall, consider adding roasted sweet potatoes or butternut squash. These swaps keep the salad vibrant and exciting. This salad is naturally vegan and gluten-free. To ensure it fits your needs, check all labels. Some dressings may contain hidden gluten or dairy. You can make a simple dressing with olive oil and lime juice. This keeps it tasty and safe for all diets. If you want a creamier dressing, try a dairy-free option. You can blend avocado with lime juice and olive oil. This makes a rich dressing that is still healthy and delicious. If you want to enhance flavors, consider adding cheese alternatives. Nutritional yeast gives a cheesy flavor without dairy. You can also add vegan cheese shreds for a fun twist. More herbs and spices can elevate your salad. Fresh cilantro and diced jalapeños add a kick. You might also try adding smoked paprika or garlic powder to the mix. These simple enhancements can create a unique taste in your Tex Mex quinoa salad. For the full recipe, check out the [Full Recipe]. To keep your Tex Mex quinoa salad fresh, follow these tips. First, place any leftovers in an airtight container. This helps prevent moisture loss and keeps the flavors strong. Store the salad in the fridge. It will last for about 3 to 5 days. Always check for any odd smells or colors before eating. If you want to save the salad for later, freezing works well. Start by placing the salad in a freezer-safe container. Leave some space at the top, as the salad will expand when frozen. You can freeze it for up to 3 months. When you're ready to eat it, thaw the salad overnight in the fridge. After thawing, check the texture. If it's too wet, drain some liquid. Toss it gently to mix everything again. Your Tex Mex quinoa salad will still taste great! For the full recipe, refer back to the detailed instructions provided. Tex Mex Quinoa Salad is a vibrant dish packed with flavor and nutrients. It combines quinoa with black beans, corn, fresh veggies, and spices. Here’s what you’ll find in this colorful salad: - 1 cup quinoa, rinsed - 1 can (15 oz) black beans, drained and rinsed - 1 cup corn kernels (fresh or frozen) - 1 bell pepper (red or yellow), diced - 1 cup cherry tomatoes, halved - 1 avocado, diced - 1/4 cup red onion, finely chopped - 1/4 cup fresh cilantro, chopped - Juice of 2 limes - 2 tablespoons olive oil - 1 teaspoon cumin - 1 teaspoon chili powder - Salt and pepper to taste This dish is easy to make and is perfect for lunch or dinner. Yes, you can meal prep this salad! It holds well in the fridge. To prepare in advance, follow these tips: - Cook the quinoa and let it cool. - Chop and store the veggies separately. - Mix the salad just before eating to keep it fresh. - Use airtight containers to store portions. By prepping ahead, you save time and enjoy a healthy meal all week. There are many ways to customize this salad. Here are some popular changes: - Swap black beans for kidney or pinto beans. - Use quinoa blends for varied textures. - Add jalapeños for some heat. - Try adding different veggies like cucumbers or zucchini. These swaps keep the salad exciting and fresh every time you make it. Yes, this salad fits many dietary needs. Here’s how: - Vegan: All ingredients are plant-based. - Gluten-free: Quinoa is naturally gluten-free. - Low-carb: Reduce quinoa and add more veggies for a lower carb count. This salad is versatile and can cater to various diets without losing flavor. If you want to boost the protein, consider these options: - Add grilled chicken or shrimp for a meat option. - Mix in tofu or tempeh for a plant-based boost. - Include nuts or seeds like pumpkin seeds or sunflower seeds. These additions make the salad even more filling and nutritious. Absolutely! You can swap quinoa for other grains. Here are some alternatives: - Brown rice for a heartier texture. - Farro for a nutty flavor. - Bulgur for a quick-cooking option. Feel free to experiment with grains to find your favorite combination. Check out the Full Recipe for more details on making this delicious salad! This Tex Mex Quinoa Salad blends wholesome ingredients like quinoa, beans, and fresh veggies. You learned how to cook the quinoa, prep the salad, and create a zesty dressing. I shared tips for perfecting the flavor and presented variations to suit your taste. In closing, this salad is versatile and easy to make. It's filling, healthy, and great for meal prep. Enjoy trying different flavors and ingredients. Your kitchen adventures await!](https://easycookingbite.com/wp-content/uploads/2025/06/e3cd0c88-0bac-4a0f-bb2d-c9726295bcaa-300x300.webp)

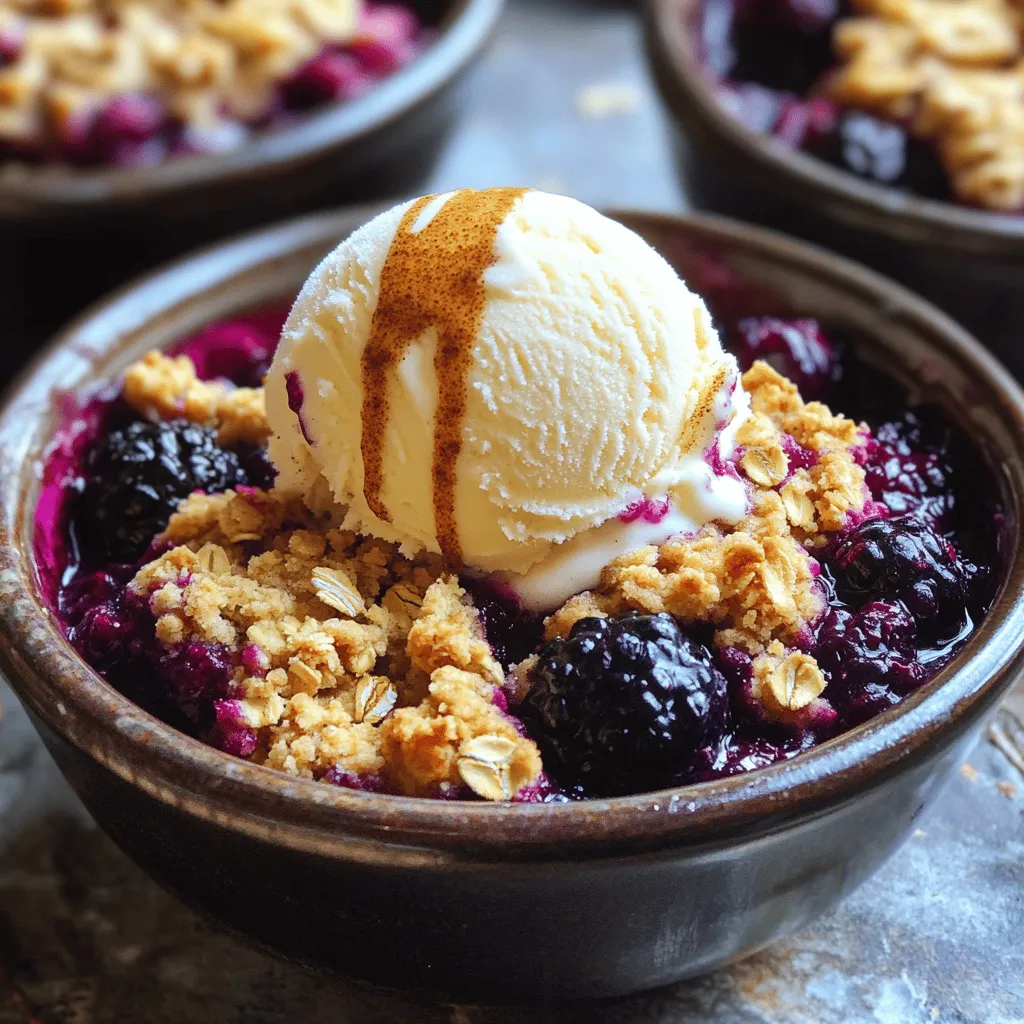
Blackberry Cobbler Crumble Delightful and Simple Recipe
Are you ready to indulge in a warm, sweet treat? This Blackberry Cobbler Crumble is easy to make and perfect for any occasion. With…