Latest & Greatest
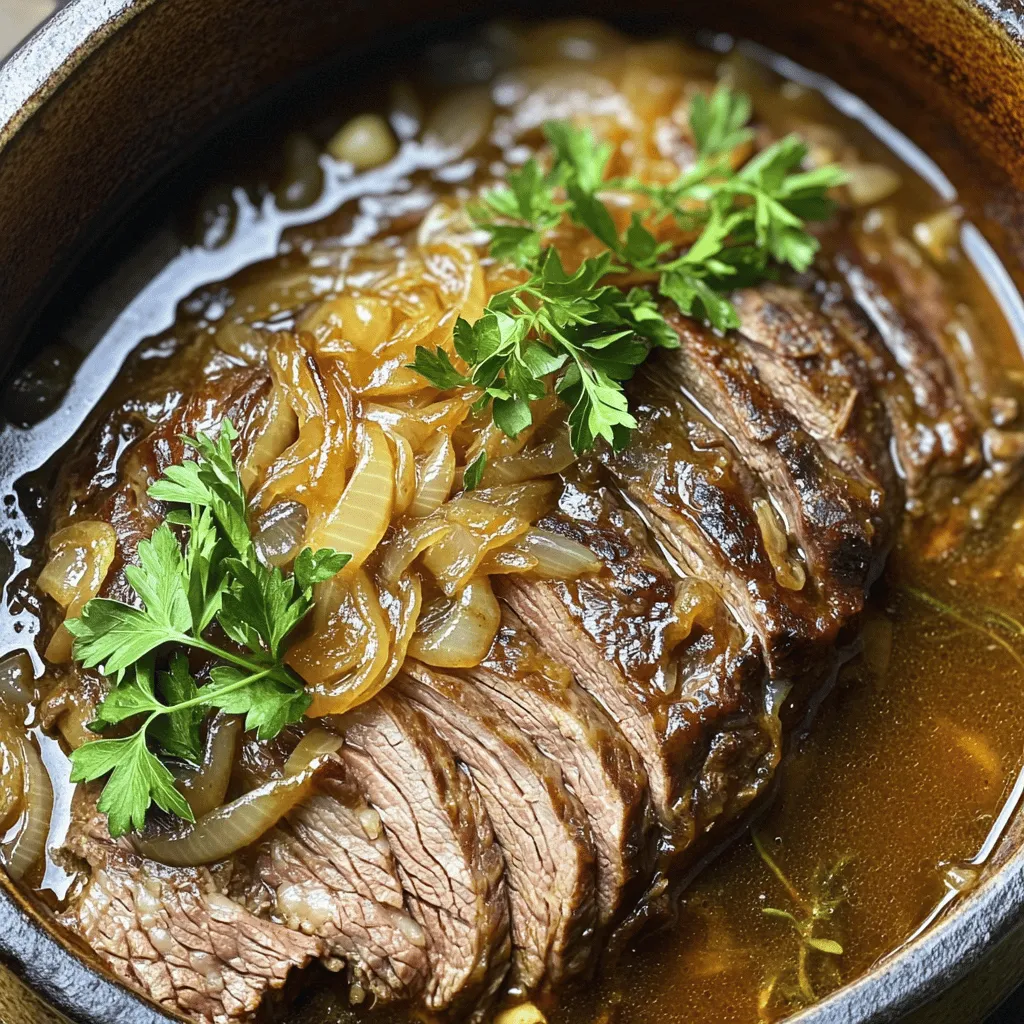
Savory French Onion Pot Roast Tender and Flavorful Dish
Are you ready to impress your family with a dish they’ll rave about? Savory French Onion Pot Roast brings the
Read more…
Lobster Tails with Garlic Herb Butter Sauce Delight
Dive into a delicious culinary adventure with my Lobster Tails with Garlic Herb Butter Sauce Delight. This dish is perfect
Read more…
Cowboy Butter Chicken Linguine Tasty and Simple Dish
Craving a dish that’s bursting with flavor but easy to make? Look no further! My Cowboy Butter Chicken Linguine combines
Read more…
Refreshing White Sangria Simple and Tasty Recipe
Summer is here, and there’s nothing quite like a refreshing glass of white sangria to cool you down. This simple
Read more…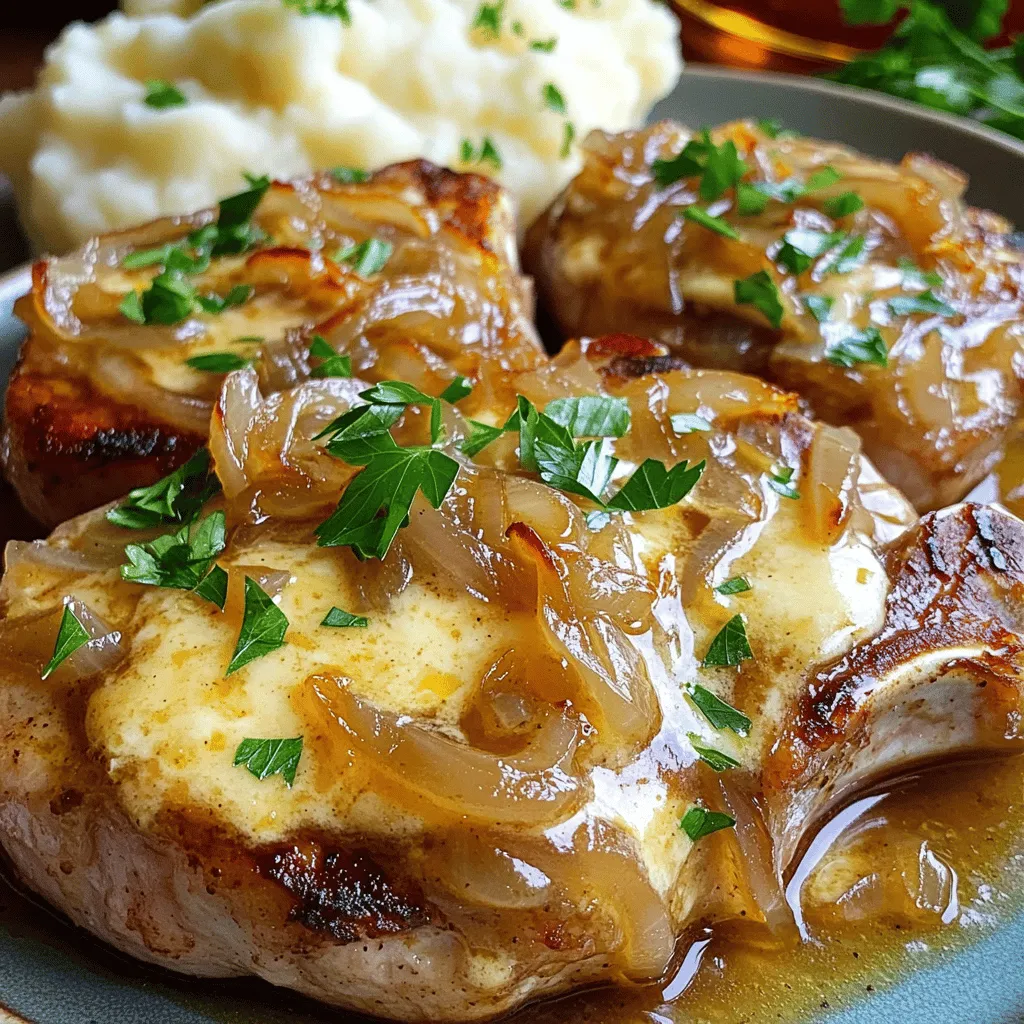
French Onion Smothered Pork Chops Flavorful and Easy
Looking to impress at dinner tonight? Let me introduce you to French Onion Smothered Pork Chops. This dish combines juicy
Read more…
Cowboy Pasta Hearty and Flavorful Weeknight Meal
If you crave a hearty and flavorful meal, look no further than Cowboy Pasta! This dish combines savory beef, pasta,
Read more…
Crockpot Butter Chicken Simple Comfort Food Recipe
Are you craving a warm, comforting meal that’s easy to prepare? Look no further! My Crockpot Butter Chicken recipe offers
Read more…
Cajun Chicken Stuffed Shells Flavorful Dinner Recipe
Ready for a dinner that packs a flavorful punch? Cajun Chicken Stuffed Shells are your answer! In this blog post,
Read more…browse recipes
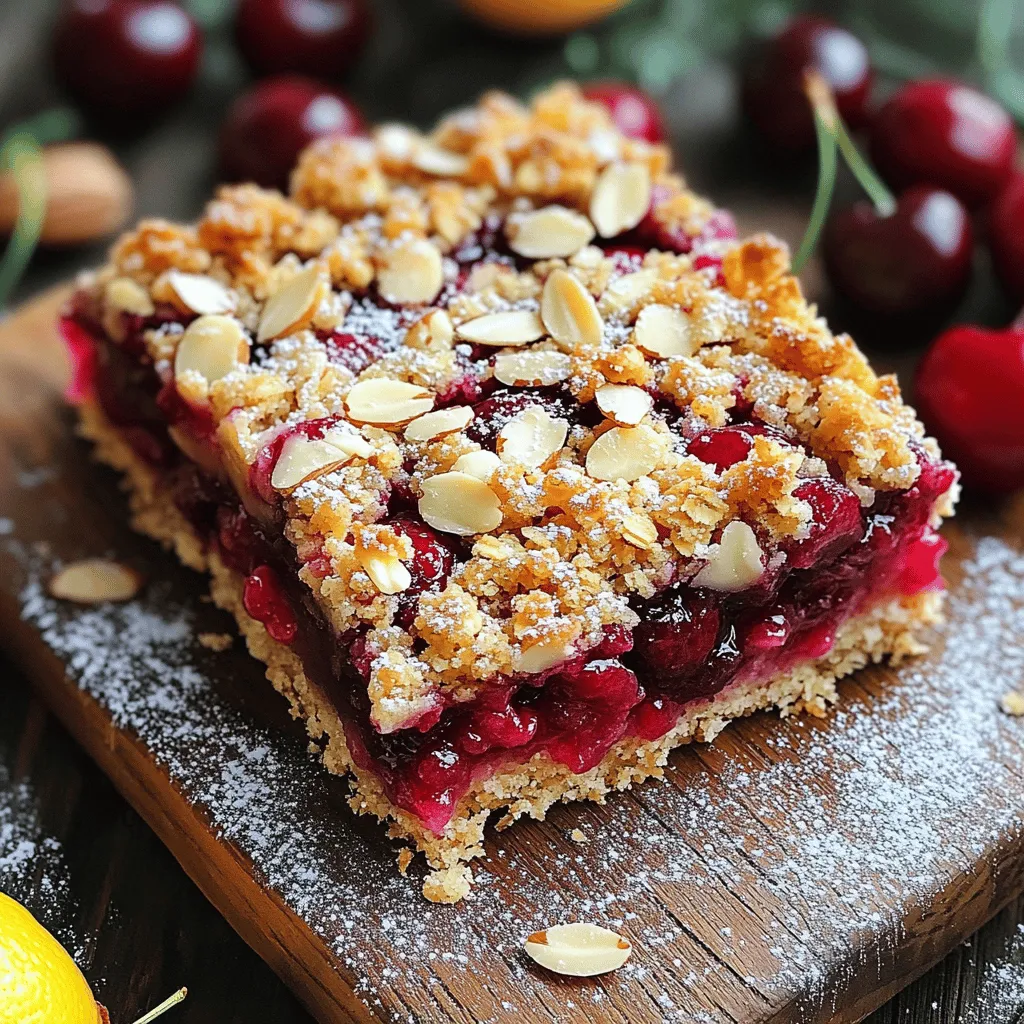
Cherry Almond Crumble Bars Simple and Tasty Delight
Craving a sweet treat that’s easy to make? You’re in the right place! These Cherry Almond Crumble Bars combine the tartness of cherries with…
My Latest Drinks
Strawberry Cheesecake Smoothie Creamy Refreshing Treat
Craving something delicious and cool? The Strawberry Cheesecake Smoothie is your answer! It blends creamy cheesecake flavors with sweet strawberries Read Full RecipeMocktail Pink Punch Refreshing and Easy Recipe
Are you ready to impress your guests with a delightful drink? This Mocktail Pink Punch recipe is both refreshing and Read Full RecipeBlue Lagoon Tropical Lemonade Refreshing and Zesty Drink
Looking for a drink that’s both refreshing and fun? Say hello to Blue Lagoon Tropical Lemonade! This colorful beverage packs Read Full RecipePumpkin Spice Coffee Creamer Flavorful Fall Treat
Are you ready to embrace the cozy vibes of autumn? In this blog post, I’ll guide you through making your Read Full RecipeApple Cider Margarita Mocktail Refreshing Fall Drink
Fall is here, and that means it’s the perfect time for a cozy drink! The Apple Cider Margarita Mocktail offers Read Full RecipePumpkin Spice Latte Copycat Cozy and Comforting Recipe
Craving that warm, cozy feeling of fall? You can enjoy a delicious Pumpkin Spice Latte at home! In this article, Read Full Recipe
My Latest Dinners
White Bean Soup Simple and Hearty Delight
Looking for a warm and filling meal? Let me introduce you to white bean soup! This simple and hearty delight Read Full RecipeGarlic Herb Roasted Sweet Potatoes Flavorful Side Dish
Looking for a side dish that’s both tasty and easy to make? Garlic Herb Roasted Sweet Potatoes are the answer! Read Full RecipeOne Pot Beef Taco Pasta Easy and Flavorful Meal
Looking for a quick and tasty meal? One Pot Beef Taco Pasta is the perfect dish! This recipe packs bold Read Full RecipeGarlic Chicken Zucchini Noodles Stir Fry Delight
Are you ready for a tasty twist on dinner? My Garlic Chicken Zucchini Noodles Stir Fry is a quick and Read Full RecipeStuffed Italian Meatloaf Easy and Tasty Recipe
Are you ready to elevate your dinner game? This Stuffed Italian Meatloaf is both easy and tasty! In this article, Read Full RecipeOne Pot French Onion Pasta Flavorful Comfort Dish
Looking for a cozy dinner that warms your soul? Try my One Pot French Onion Pasta! This creamy, rich dish Read Full Recipe
hey,
i’m !
I’m so happy you’re here!
Every dish I share is made with love and care. I hope they bring you the same comfort and joy they bring me. Let’s make memories, one recipe at a time.
Creamy Lemon Butter Chicken Simple and Flavorful Dish
If you’re craving a dish that’s both simple and packed with flavor, you’ve come to the right place! Creamy Lemon Butter Chicken combines easy…






![- 1 pound fresh strawberries, hulled and sliced - 1/3 cup granulated sugar - 1 cup heavy whipping cream - 1/2 cup powdered sugar - 1 teaspoon vanilla extract - 1 package (14.1 ounces) of store-bought shortcake biscuits - 1/2 cup Greek yogurt (optional for creaminess) - Fresh mint leaves for garnish Using fresh strawberries makes this dessert bright and sweet. The sugar helps the berries release their juices. It gives your cake a nice flavor. The heavy cream and powdered sugar create a light and fluffy whipped topping. The vanilla adds a bit of warmth to the mix. The store-bought shortcake biscuits save time and keep it easy. You can use Greek yogurt for extra creaminess if you like. Fresh mint leaves add a nice touch on top. They also give a fresh taste that pairs well with strawberries. - Mixing bowls - Whisk or hand mixer - Baking dish (8-inch square or round) - Plastic wrap You will need a few simple tools. Mixing bowls help you combine the ingredients. A whisk or hand mixer is great for whipping the cream. The baking dish holds all the layers together. Finally, plastic wrap keeps your cake fresh while it chills in the fridge. For the full recipe, check out the Berry Bliss Strawberry Shortcake Icebox Cake 🥯. - First, slice 1 pound of fresh strawberries. - Place them in a medium bowl. - Sprinkle 1/3 cup of granulated sugar over the strawberries. - Toss the berries gently. - Let them sit for about 20 minutes. - This helps the strawberries release their sweet juices. - In a large bowl, combine 1 cup of heavy whipping cream, 1/2 cup of powdered sugar, and 1 teaspoon of vanilla extract. - Use a whisk or hand mixer to whip the mixture. - Whip until soft peaks form. - If you want creaminess, fold in 1/2 cup of Greek yogurt gently. - This adds a rich texture that makes the cake extra yummy. - Grab a biscuit from the package of shortcake biscuits. - Dip it briefly in the strawberry juice from the bowl. - Place the dipped biscuit at the bottom of an 8-inch baking dish. - Spread a layer of whipped cream over the biscuit. - Add a layer of the macerated strawberries on top. - Repeat this process, layering biscuits, whipped cream, and strawberries. - Keep going until you reach the top of the dish. - Finish with a final layer of whipped cream. - Decorate with a few whole strawberries. - Cover the dish with plastic wrap and refrigerate for at least 4 hours. - For best results, let it chill overnight. - Before serving, add fresh mint leaves for a nice touch. Check the [Full Recipe] for all the details. Chilling is key for a great icebox cake. When you chill the cake, it lets the flavors blend well. The biscuits soften and soak up all the yummy juices. I suggest letting it sit overnight for the best taste. If you want a different texture for your whipped cream, try using a hand mixer. You can also use an electric mixer if you prefer a quicker way. To make your cake pop with flavor, add lemon zest or a little lemon extract. This gives a fresh taste that contrasts nicely with the strawberries. You can also use flavored biscuits instead of plain ones. Strawberry or vanilla biscuits add an extra layer of flavor to your cake. Garnishing makes your cake look fantastic. Use fresh mint leaves on top for a vibrant touch. You can also sprinkle some crushed biscuits for added crunch. When serving at a party, cut the cake into squares. Place each piece on a colorful plate for a fun display. You can even add a drizzle of strawberry sauce on the plate for a nice touch. {{image_2}} You can switch up the strawberries for other berries. Blueberries and raspberries work great. They add unique flavors and colors. You can also use seasonal fruits like peaches or cherries. Just slice them thin for even layers. This makes your cake even more exciting! If you need a gluten-free version, use gluten-free biscuits. Many brands offer tasty options that fit this need. For a vegan cake, replace heavy cream with coconut cream. It whips up nicely and adds a tropical twist. Both options keep the cake delicious and enjoyable for everyone. Get creative with your layers! You can use different creams or fillings. Consider a layer of chocolate mousse for a rich taste. You can also add flavored creams like lemon or almond. This keeps each bite interesting and packed with flavor. Use your imagination to make a one-of-a-kind dessert! For the full recipe, check out the Berry Bliss Strawberry Shortcake Icebox Cake. To keep your Strawberry Shortcake Icebox Cake fresh, store it in the fridge. Use an airtight container or cover it tightly with plastic wrap. This will prevent it from drying out or absorbing other smells in the fridge. Always try to keep it away from strong-smelling foods. If you want to save some cake for later, freezing works great. Cut the cake into slices and wrap each piece in plastic wrap. Then, place them in a freezer-safe bag or container. This keeps the cake fresh for up to three months. When you want to enjoy a slice, take it out and let it thaw in the fridge overnight. For the best quality, eat the cake within three to four days when stored in the fridge. After this time, the biscuits may become mushy, and the flavors can fade. Signs that the cake is no longer good include an off smell or a change in texture. If it looks or smells funny, it’s best to toss it. Enjoy your cake while it’s fresh! Yes, you can use frozen strawberries. Just remember to thaw them first. Drain off excess juice to avoid sogginess. Frozen strawberries can be a bit softer, but they still taste great. This choice can save time, especially when fresh strawberries are out of season. Let the cake chill for at least 4 hours. I recommend overnight for the best flavor. This cooling time allows the biscuits to soak in the juicy strawberry goodness. The longer it sits, the better it tastes. You will enjoy a creamy and delightful dessert. If you need a substitute for heavy whipping cream, try coconut cream. It adds a nice flavor and works well in desserts. You can also use a non-dairy whipped topping for a lighter option. Greek yogurt can add creaminess, too, if mixed in. Yes! You can prepare this icebox cake a day or two in advance. Store it in the fridge until you are ready to serve. This makes it perfect for parties or gatherings. Just remember to garnish it with fresh mint right before serving for a pop of color. For the full recipe, check out the Berry Bliss Strawberry Shortcake Icebox Cake 🥯. This blog post covered how to make a delicious icebox cake. We discussed key ingredients, helpful tools, and step-by-step instructions. I shared tips for the best flavor and texture, as well as fun variations. Remember, you can customize the cake for different diets and tastes. Finally, store it correctly to enjoy later. Enjoy creating your icebox cake and impressing friends and family with your tasty treat.](https://easycookingbite.com/wp-content/uploads/2025/06/440830f9-bee2-4e33-a49b-cf581d024dc3-300x300.webp)

![- 2 boneless, skinless chicken breasts, diced - 1 tablespoon olive oil - 1 medium onion, diced - 2 cloves garlic, minced - 1 bell pepper (any color), diced - 1 cup corn (fresh or frozen) - 1 can (15 oz) black beans, rinsed and drained - 2 teaspoons taco seasoning - 1 teaspoon smoked paprika - Salt and pepper to taste - 1 cup diced tomatoes (fresh or canned) - 1 cup shredded cheddar cheese - Fresh cilantro, chopped (for garnish) - Lime wedges (for serving) - Ensure even cooking of chicken. Cut the chicken into small, uniform pieces. This helps it cook evenly. - Properly rinse and drain beans. Rinsing removes excess salt and helps avoid a mushy texture. - Fresh vs. canned tomatoes. Fresh tomatoes add brightness, but canned tomatoes save time and still taste great. Use what fits your needs. This list of ingredients makes the Tex Mex Chicken Skillet a simple yet tasty meal. Each part plays a role in the dish's overall flavor. Enjoy experimenting with these tips as you prepare your meal. For the complete recipe, check out the Full Recipe. 1. Start by heating the olive oil in a large skillet over medium heat. 2. Add the diced chicken breasts and sprinkle with salt, pepper, taco seasoning, and smoked paprika. 3. Cook the chicken for about 5-7 minutes until it is browned and cooked through. You want it golden and juicy. 1. Next, add the diced onion and minced garlic. Cook for another 2-3 minutes. This step brings out great flavors. 2. Stir in the diced bell pepper and corn. Cook for 4-5 minutes until the pepper is tender. 3. Then, add the rinsed black beans and diced tomatoes. Mix everything well. Let it simmer for about 5 minutes. This helps all the flavors blend nicely. 1. Now, sprinkle shredded cheddar cheese over the mixture. Cover the skillet and let it melt for about 2-3 minutes. This makes it creamy and rich. 2. Once the cheese is melted, remove the skillet from heat. Garnish with fresh cilantro for a burst of color and flavor. 3. Serve hot with lime wedges on the side. The lime adds a nice zesty kick to your dish. For the full recipe, check the section above. To get the best flavor from your Tex Mex Chicken Skillet, focus on your seasoning. Use fresh herbs when possible. They add a bright taste. Always season your chicken well before cooking. This helps lock in moisture. To avoid dry chicken, cook it on medium heat. This will help it stay juicy. Don’t rush the cooking process. A few extra minutes can make a big difference. If you cut the chicken too soon, it might lose its juices. For side dishes, I love serving this skillet with rice or warm tortillas. Both soak up the tasty sauce well. You can also add a fresh salad for a crunchy contrast. For a fun twist, turn the skillet meal into tacos. Just spoon the mixture onto tortillas and add your favorite toppings. Feel free to customize servings! You can add more veggies like zucchini or spinach. For a kick, toss in some jalapeños. Each addition can make the dish your own. For the best results, use a large, heavy skillet. A cast-iron skillet holds heat well, giving an even cook. Alternatively, a non-stick skillet is great for easy clean-up. Useful kitchen tools include a sharp knife for quick chopping and a sturdy spatula for stirring. A lid is handy for melting cheese evenly. These tools make cooking smooth and fun. {{image_2}} You can use different proteins in this dish. If you want a tasty change, try turkey or shrimp. Both cook quickly and absorb the flavors well. For vegetarian options, use tofu or tempeh. Both give you protein while keeping it meat-free. To spice things up, add jalapeños or cayenne pepper. This will bring heat and excitement to your skillet. If you like veggies, toss in zucchini or spinach. They add color and nutrients. Don’t be shy to mix in your favorites! You can serve this dish in many ways. A skillet meal is quick and fun, but you can also bake it as a casserole. Just add a bit more cheese and bake until golden. Another option is to make wraps or tacos. Just fill tortillas with the mixture for a great handheld meal. For the full recipe, check out the [Full Recipe]. Store your Tex Mex Chicken Skillet leftovers in a safe way. Use airtight containers to keep the food fresh. Glass or plastic containers with tight lids work well. Let the dish cool down before sealing it. This helps prevent moisture build-up inside. Freezing this dish is simple. Place the cooled chicken skillet in freezer-safe bags or containers. Remove as much air as you can to avoid freezer burn. Label the bags with the date for easy tracking. To thaw, move it to the fridge overnight. When ready to eat, reheat on the stove until hot. You can also use a microwave. In the fridge, your Tex Mex Chicken Skillet lasts about 3 to 4 days. In the freezer, it stays good for up to 3 months. Watch for signs of spoilage like off smells or changes in color. If it looks or smells bad, toss it out. Enjoy your tasty meal safely! The Tex Mex Chicken Skillet takes about 30 minutes to make. You need 15 minutes to prep the ingredients. Cooking takes another 15 minutes. This quick time makes it a great weeknight meal. Yes, you can make this dish ahead of time. Cook it fully and let it cool. Store it in an airtight container in the fridge. It lasts for three to four days. Just reheat it on the stove or in the microwave. This helps save time on busy nights. If you don’t have taco seasoning, you can make your own. Combine chili powder, cumin, garlic powder, and onion powder. Use equal parts for a tasty mix. You can also try other spice blends like fajita seasoning. These options add great flavor to your dish. For more tips, check the Full Recipe. We covered the key ingredients, from chicken to garnishes, and how to cook them well. I shared tips to keep your chicken juicy and your flavors strong. You learned about variations for proteins and serving styles, plus storage tips to keep leftovers fresh. Remember, cooking is about creativity and fun. With these steps, you can make a delicious Tex Mex Chicken Skillet that suits your taste. Now, get cooking and enjoy your meal!](https://easycookingbite.com/wp-content/uploads/2025/07/4d2fa07f-b169-4cf2-be53-9f50c9082555-300x300.webp)

