Latest & Greatest
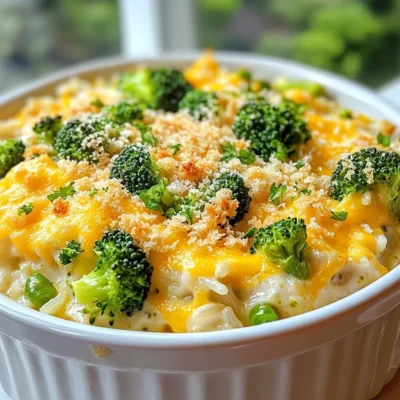
Cheesy Broccoli Chicken Rice Casserole Delight
If you’re craving a warm and hearty meal, this Cheesy Broccoli Chicken Rice Casserole is your answer! With tender chicken,
Read more…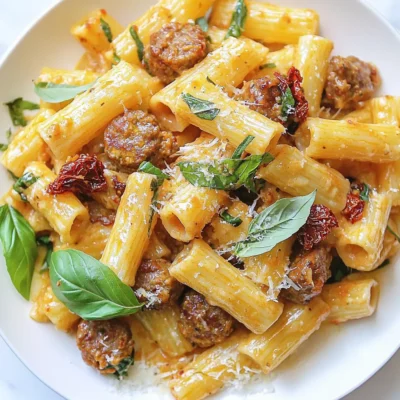
Sun Dried Tomato Sausage Rigatoni Flavorful Delight
Are you ready to try a delicious pasta dish? My Sun Dried Tomato Sausage Rigatoni will bring joy to your
Read more…
Crockpot Lemon Garlic Chicken Flavorful Dinner Delight
Are you ready to make dinner time a breeze? My Crockpot Lemon Garlic Chicken is a simple, tasty dish that
Read more…
Chicken Orzo Skillet Simple and Tasty Recipe
Are you ready for a meal that’s both simple and delicious? In this blog post, I’ll share my Chicken Orzo
Read more…
Jalapeno Glazed Chicken Tenderloin Flavorful Dish
Looking to spice up your dinner routine? This Jalapeno Glazed Chicken Tenderloin is a must-try! With juicy chicken tenderloins paired
Read more…
Hamburger Potato Casserole Delightful Comfort Meal
Welcome to the world of comfort food! In this post, I’ll show you how to make a Hamburger Potato Casserole
Read more…
Trail Mix Breakfast Cookies Nutritious and Easy Recipe
Looking for a delicious and nutritious breakfast? These Trail Mix Breakfast Cookies are perfect for you! They combine wholesome ingredients
Read more…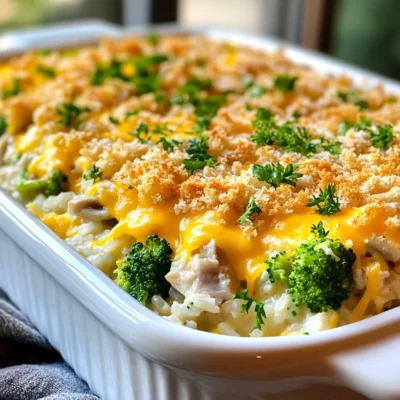
Savory Chicken and Rice Casserole Simple and Tasty
Are you craving a warm, satisfying meal that’s both simple and delicious? Look no further! This Savory Chicken and Rice
Read more…browse recipes
![- Bell peppers and their preparation Use 4 large bell peppers of any color. Cut off the tops and remove the seeds. Lightly brush the outside with olive oil. This helps them stay moist while baking. - Ground turkey and additional protein options You need 1 pound of ground turkey. For a different taste, you can swap it for chicken, beef, or plant-based meat. - Essential herbs and spices Add 1 teaspoon of cumin, 1 teaspoon of chili powder, and 1/2 teaspoon of smoked paprika. These spices give the dish a warm, rich flavor. Don’t forget to add salt and pepper to taste. - Optional toppings for serving Top your stuffed peppers with 1 cup of shredded cheese, like cheddar or Monterey Jack. Fresh cilantro adds a nice touch. You can also serve with a lime wedge for extra zest. For the full recipe, check out the details above. Prepping the bell peppers First, choose your bell peppers. I like using red, yellow, and green ones. Cut off the tops and take out the seeds. You want them hollow for stuffing. Brush the outside lightly with olive oil. This helps them roast nicely. Cooking the ground turkey Next, heat a medium skillet on medium heat. Add one pound of ground turkey. Cook it until it's brown, about five to seven minutes. Use a wooden spoon to break it apart as it cooks. This step adds flavor and keeps the turkey moist. Combining the filling ingredients Once the turkey is browned, add the filling. Mix in one cup of cooked quinoa, one can of black beans (drained and rinsed), one cup of corn, and one cup of diced tomatoes. Then add one teaspoon of cumin, one teaspoon of chili powder, and half a teaspoon of smoked paprika. Don’t forget salt and pepper to taste. Stir everything together and let it cook for another five minutes. Stuffing the peppers Now it’s time to fill the peppers. Carefully spoon the turkey mixture into each pepper. Pack it tightly to make sure they are full. Top each pepper with half of a cup of shredded cheese. Baking covered and uncovered Cover your baking dish with foil. Bake the stuffed peppers at 375°F (190°C) for 30 minutes. After that, take off the foil and bake them for another 10-15 minutes. You want the peppers to be tender and the cheese bubbly and golden. Cooling and garnishing When the peppers are done, take them out of the oven. Let them cool for a few minutes. This makes them easier to handle. Finally, garnish with fresh cilantro for a pop of color and flavor. Serve them up and enjoy! For the full recipe, check out the link above. To ensure even cooking, choose bell peppers of the same size. This helps them cook evenly. Also, make sure to pack the filling tightly. This keeps the peppers from falling over. For the perfect texture, don’t skip the pre-baking step. Bake the stuffed peppers covered for the first part of the time. This helps them soften. When you uncover them, the cheese gets golden. You want a nice, crispy top! For plate presentation, use a colorful platter. Stack the stuffed peppers upright for a fun look. Garnish with fresh cilantro and a lime wedge. This adds a bright touch. Pair your stuffed peppers with a light salad or some rice. A side of guacamole or chips adds crunch. You could even serve them with a zesty salsa for a flavor boost. Watch out for overfilling your peppers. This can cause them to spill over. Underfilling is also a mistake. You want them full but not overflowing. Keep an eye on the cooking times. If they bake too long, they can get mushy. Check them at the 30-minute mark. You want them tender but still firm enough to hold their shape. For more details, check out the Full Recipe. {{image_2}} You can easily adapt this recipe for different diets. For a vegetarian or vegan option, replace the ground turkey with lentils or chickpeas. These options provide protein and are tasty. Use quinoa as a base. You can also add veggies like mushrooms or zucchini for more texture. If you need gluten-free options, this recipe is already safe! All the ingredients are gluten-free. Just double-check your spice blends and sauces to ensure they are gluten-free too. To boost flavor, think about adding spices or sauces. A splash of hot sauce can give your peppers a nice kick. You could also mix in some taco seasoning for a fun twist. Creative ingredient swaps can change the dish. For instance, try adding olives or capers for a briny flavor. You can also use brown rice or farro instead of quinoa for a different texture. You can explore different styles with stuffed peppers. For a Mexican flair, add black beans, corn, and top with avocado slices. You could also mix in salsa for a fresh taste. For a Mediterranean twist, use feta cheese and add olives or artichokes. You can even substitute the ground turkey with lamb. This gives a rich and savory flavor that pairs well with herbs like oregano and thyme. These variations bring new life to stuffed bell peppers with ground turkey. Try them out for fun and tasty meals! For the complete recipe, check out the [Full Recipe]. To store leftovers safely, let the peppers cool first. Place them in an airtight container. You can keep them in the fridge for up to three days. When you want to reheat them, use the oven to keep them moist. Heat at 350°F for about 15-20 minutes, or until warm. This method ensures even heating without drying them out. If you want to freeze stuffed peppers, cool them completely. Wrap each pepper tightly in plastic wrap. Then, place them in a freezer-safe bag. They can last up to three months in the freezer. When ready to enjoy, take them out and thaw overnight in the fridge. Reheat in the oven at 350°F for 25-30 minutes. Cooked stuffed peppers last about three to four days in the fridge. Always check for freshness before eating. Signs of spoilage include a sour smell or mushy texture. If you notice either, it’s best to toss them out. Keeping an eye on these signs helps you enjoy your meal safely. Yes, you can prepare stuffed bell peppers in advance. Assemble the peppers and cover them. Store them in the fridge for up to 24 hours. When ready to cook, just pop them in the oven. This saves time on busy days. You can swap ground turkey for several other proteins. Ground chicken is a great choice. You could also use lean beef or pork. For a vegetarian option, try lentils or mushrooms. These options keep the dish tasty. The peppers are done when they are tender. You can test them with a fork. The cheese should be bubbly and slightly golden. This usually takes about 40 to 45 minutes in the oven. This recipe is not low-carb due to rice and beans. However, you can make it low-carb. Replace quinoa with cauliflower rice or skip beans. This keeps the flavor while lowering carbs. Absolutely! You can use any cheese you like. Mozzarella or feta cheese add unique flavors. Feel free to experiment with your favorites for a twist. Just ensure it melts well. For the full recipe, check out the details above. Stuffed bell peppers are easy and fun to make. We covered ingredients, cooking steps, and storage tips. Remember to adjust flavors to your liking, and don't fear exploring new variations. Cooking should be an adventure. Keep practicing and enjoy the tasty rewards. Use these insights to impress your family and friends with your cooking skills. You can serve healthy meals without stress. Embrace the whole process and create your perfect stuffed peppers!](https://easycookingbite.com/wp-content/uploads/2025/05/f5facf56-13d6-434d-b444-26971d31e743.webp)
Stuffed Bell Peppers with Ground Turkey Delight
Are you ready to impress your family with a delicious and healthy meal? Stuffed bell peppers with ground turkey are a hearty option that…
My Latest Drinks
Strawberry Cheesecake Smoothie Creamy Refreshing Treat
Craving something delicious and cool? The Strawberry Cheesecake Smoothie is your answer! It blends creamy cheesecake flavors with sweet strawberries Read Full RecipeMocktail Pink Punch Refreshing and Easy Recipe
Are you ready to impress your guests with a delightful drink? This Mocktail Pink Punch recipe is both refreshing and Read Full RecipeBlue Lagoon Tropical Lemonade Refreshing and Zesty Drink
Looking for a drink that’s both refreshing and fun? Say hello to Blue Lagoon Tropical Lemonade! This colorful beverage packs Read Full RecipePumpkin Spice Coffee Creamer Flavorful Fall Treat
Are you ready to embrace the cozy vibes of autumn? In this blog post, I’ll guide you through making your Read Full RecipeApple Cider Margarita Mocktail Refreshing Fall Drink
Fall is here, and that means it’s the perfect time for a cozy drink! The Apple Cider Margarita Mocktail offers Read Full RecipePumpkin Spice Latte Copycat Cozy and Comforting Recipe
Craving that warm, cozy feeling of fall? You can enjoy a delicious Pumpkin Spice Latte at home! In this article, Read Full Recipe
My Latest Dinners
White Bean Soup Simple and Hearty Delight
Looking for a warm and filling meal? Let me introduce you to white bean soup! This simple and hearty delight Read Full RecipeGarlic Herb Roasted Sweet Potatoes Flavorful Side Dish
Looking for a side dish that’s both tasty and easy to make? Garlic Herb Roasted Sweet Potatoes are the answer! Read Full RecipeOne Pot Beef Taco Pasta Easy and Flavorful Meal
Looking for a quick and tasty meal? One Pot Beef Taco Pasta is the perfect dish! This recipe packs bold Read Full RecipeGarlic Chicken Zucchini Noodles Stir Fry Delight
Are you ready for a tasty twist on dinner? My Garlic Chicken Zucchini Noodles Stir Fry is a quick and Read Full RecipeStuffed Italian Meatloaf Easy and Tasty Recipe
Are you ready to elevate your dinner game? This Stuffed Italian Meatloaf is both easy and tasty! In this article, Read Full RecipeOne Pot French Onion Pasta Flavorful Comfort Dish
Looking for a cozy dinner that warms your soul? Try my One Pot French Onion Pasta! This creamy, rich dish Read Full Recipe
hey,
i’m !
I’m so happy you’re here!
Every dish I share is made with love and care. I hope they bring you the same comfort and joy they bring me. Let’s make memories, one recipe at a time.
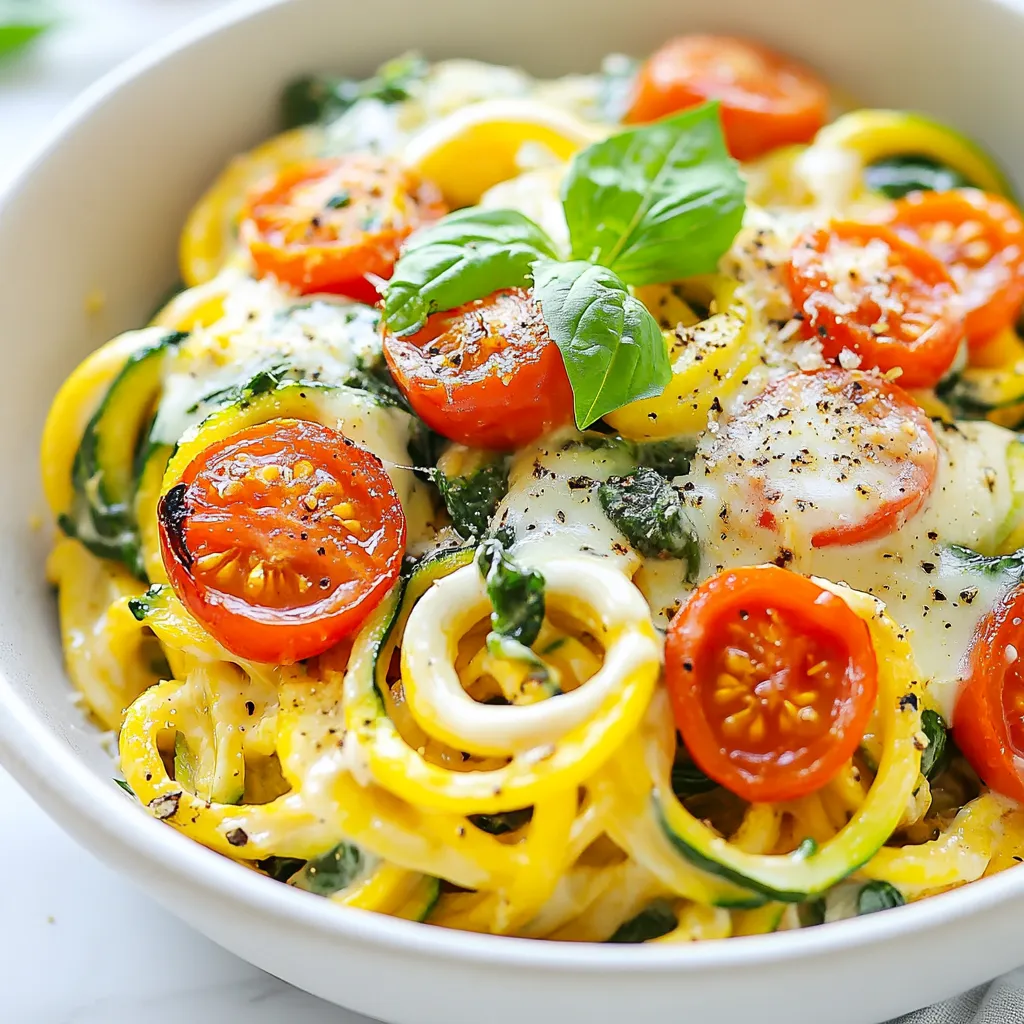
Keto Tuscan Zucchini Noodles Flavorful and Simple Meal
Looking for a quick and tasty meal? You’ll love these Keto Tuscan Zucchini Noodles! This dish is simple, flavorful, and perfect for anyone wanting…



![To make Coconut Mango Chia Pudding, gather these ingredients: - 1 cup coconut milk (canned or carton) - 1 cup ripe mango, pureed (plus extra for topping) - 1/4 cup chia seeds - 2 tablespoons maple syrup (or honey) - 1 teaspoon vanilla extract - Pinch of salt - Toasted coconut flakes (for garnish) - Fresh mint leaves (for garnish) You can change some ingredients based on your taste or needs. Here are some options: - Coconut Milk: Use almond milk or oat milk if you prefer a different flavor. - Mango: Swap mango with pureed banana or peach for a twist. - Maple Syrup: Honey or agave syrup works great as sweeteners. - Chia Seeds: Use ground flaxseeds for a similar texture. Each ingredient in this pudding offers great health perks: - Coconut Milk: Rich in healthy fats, coconut milk helps keep you full longer. - Chia Seeds: Packed with fiber, protein, and omega-3 fatty acids, they aid digestion. - Mango: This fruity delight is high in vitamins A and C, boosting your immune system. - Maple Syrup: A natural sweetener, it has antioxidants that support health. Using these ingredients, you not only create a tasty dish but also nourish your body. For the full recipe, check out the detailed instructions to make this delightful treat. To start, gather your ingredients. You will need coconut milk, ripe mango, chia seeds, maple syrup, vanilla extract, and a pinch of salt. In a mixing bowl, combine the coconut milk, mango puree, maple syrup, vanilla, and salt. Whisk until smooth. Next, add the chia seeds. Stir them in well to spread them evenly. This mix will become your pudding. Once you have mixed everything, cover the bowl with plastic wrap. Place it in the fridge for at least four hours. For the best results, chill it overnight. This time allows the chia seeds to soak up the liquid. They will swell and create a thick, creamy texture. If you want a smooth pudding, make sure to whisk well. Stir after the chilling time too. This helps break up any clumps of chia seeds. If you find it too thick, add a bit more coconut milk. This will help you achieve the texture you love. Enjoy your Coconut Mango Chia Pudding! For detailed steps, check out the Full Recipe. To make a smooth mango puree, choose ripe mangoes. A ripe mango feels soft when you gently squeeze it. Cut the mango, remove the pit, and scoop out the flesh. Place the flesh in a blender or food processor. Blend until smooth and creamy. You can add a splash of coconut milk to help it blend. Taste and adjust sweetness if needed. This puree brings a fresh, sweet flavor to the pudding. If you have leftovers, store them in an airtight container. This keeps the pudding fresh and tasty. Place it in the fridge and eat within three days. The chia seeds will continue to soak up liquid, thickening the pudding. If it gets too thick, stir in a bit of coconut milk before serving. For a stunning presentation, serve the pudding in clear cups or glasses. This shows off the beautiful layers of coconut and mango. Add a drizzle of mango puree on top just before serving. Sprinkle toasted coconut flakes and fresh mint leaves for color. You can also layer different flavors or toppings to make it more fun. Enjoy your beautiful and tasty Coconut Mango Chia Pudding! For the full recipe, check the previous section. {{image_2}} This recipe is already vegan and gluten-free! Use coconut milk and maple syrup, and you have a perfect treat. Chia seeds are naturally gluten-free and safe for everyone. You can enjoy this pudding without any worry. Want to add more taste? Try a splash of vanilla or lime juice. Vanilla gives a warm flavor, while lime adds a zesty kick. You can mix them into the coconut milk before adding chia seeds. These small changes can make a big difference! You can switch up the fruit too! Berries like strawberries or blueberries pair well. Pineapple is another great choice for a tropical twist. Simply chop the fruit and mix it in or layer it on top when you serve. It makes each bite exciting! For the complete recipe, check out [Full Recipe]. Enjoy experimenting with these variations! To keep your coconut mango chia pudding fresh, store it in airtight containers. Glass jars work great for this. Make sure to seal them tightly to avoid any air or moisture getting in. If you use plastic containers, ensure they are safe for food storage. Keep the pudding in the fridge until you're ready to eat. This pudding lasts for about 3 to 5 days in the fridge. If you want to reheat it, you can gently warm it on the stove. Add a splash of coconut milk to keep it creamy. Stir while heating to ensure it warms evenly. However, many enjoy it cold, so you might not need to reheat it at all. You can freeze coconut mango chia pudding for later use. Use freezer-safe containers or zip-top bags. Pour the pudding in, but leave some space at the top for expansion. It can last for up to 2 months in the freezer. When you're ready to eat, thaw it in the fridge overnight. After thawing, stir well to mix the texture back together. Enjoy this delicious treat whenever you want! For the full recipe, check out the earlier section. Coconut Mango Chia Pudding lasts about 4 to 5 days in the fridge. Keep it in a sealed container to stay fresh. The chia seeds will keep absorbing liquid, so the pudding may thicken over time. If it gets too thick, just stir in a bit of coconut milk to loosen it. Yes, you can use other types of milk. Almond milk, oat milk, or soy milk work well. Each option gives a different flavor, but they will still taste great. Just make sure to choose unsweetened milk if you want to control the sweetness. This way, the mango and maple syrup can shine through. Absolutely! This recipe is perfect for meal prep. You can make a batch and store it in the fridge for quick breakfasts or snacks. Just portion it into small jars or containers. This makes it easy to grab on busy mornings. Plus, it stays tasty for several days, which is a big win. For the full recipe, check the section above. This article covered how to make Coconut Mango Chia Pudding from start to finish. You learned about key ingredients, step-by-step instructions, and helpful tips for perfecting your dish. We also explored delicious variations, storage methods, and answered common questions. Creating this pudding is easy and fun. You can customize it to fit your needs or preferences. Enjoy making it and sharing it with friends and family. This healthy treat will impress everyone. Dive into your cooking and savor each bite!](https://easycookingbite.com/wp-content/uploads/2025/06/e154021d-2d92-4de6-89cd-43705026cc05-300x300.webp)
![The berry smoothie bowl is a tasty treat that packs a punch. It takes only ten minutes to make. This recipe serves two and is perfect for breakfast or a snack. You will blend fruit, yogurt, and milk to create a creamy base. Then, you can add your favorite toppings for extra flavor and fun. Check out the full recipe above for all the details. To make a great berry smoothie bowl, you need the following key ingredients: - 1 cup frozen mixed berries (strawberries, blueberries, raspberries) - 1 banana, sliced - ½ cup Greek yogurt (or dairy-free alternative) - ½ cup almond milk (or any milk of choice) - 1 tablespoon honey or maple syrup (optional) These ingredients give you a smooth and creamy base, full of flavor and nutrients. The berries add sweetness and vibrant color. The banana helps thicken the mix while adding a natural sweetness. Greek yogurt gives it a creamy texture and adds protein. Almond milk makes the mix easy to blend. You can also use some optional ingredients to boost your smoothie bowl: - Fresh berries for topping - Sliced banana for extra sweetness - Granola for crunch - Chia seeds for added nutrition - Shredded coconut for a tropical twist - Mint leaves for a fresh touch These extras allow you to customize your bowl. You can create a different flavor or texture with each topping you choose. Enjoy mixing and matching to find your favorite combination! To make your berry smoothie bowl, start with the right ingredients. Gather these items: - 1 cup frozen mixed berries (strawberries, blueberries, raspberries) - 1 banana, sliced - ½ cup Greek yogurt (or a dairy-free alternative) - ½ cup almond milk (or any milk you like) - 1 tablespoon honey or maple syrup (optional) In a high-speed blender, add the frozen mixed berries, sliced banana, Greek yogurt, almond milk, and honey or maple syrup. Ensure the blender is clean for the best taste. Blend the mixture on high until it is smooth and creamy. You want no lumps. If the smoothie is too thick, add a little more almond milk. This will help you reach the perfect consistency. You can stop and scrape down the sides to mix everything well. Pour the smoothie mixture into a bowl. This is where you can show your creativity. Use your favorite toppings to make it look nice. I recommend adding fresh berries, sliced banana, granola, chia seeds, or shredded coconut. You can even use mint leaves for a pop of color. The Full Recipe provides all the steps and tips to make your bowl look great! When selecting berries, freshness is key. Look for bright colors and no soft spots. Choose berries that smell sweet. They should feel firm and plump. Frozen berries are great if fresh ones are not available. They keep their taste and nutrients well. Always wash fresh berries before use. This step helps remove dirt and pesticides. A good blender makes a big difference. Look for a high-speed blender that crushes ice easily. Brands like Vitamix or Ninja are popular choices. They blend smoothly and quickly. If you want to save money, a personal blender will work too. Just ensure it has enough power to mix frozen fruits. Presentation can make your bowl special. Use a wide bowl for easy topping placement. Pour the smoothie mixture gently to avoid splashing. Arrange your toppings in sections for a colorful look. Use fresh fruits, nuts, and seeds for texture. A sprinkle of chia seeds adds a nice touch. Finish with a mint leaf for a pop of color. Enjoy the beauty as much as the taste! {{image_2}} You can easily make this berry smoothie bowl dairy-free and vegan. To do this, just swap the Greek yogurt for a dairy-free alternative. Almond, coconut, or cashew yogurt works great. Use plant-based milk, like almond or oat milk, to keep it vegan. This way, you enjoy all the creamy goodness without any dairy. Get creative with flavor! For a tropical twist, add pineapple or mango to the mix. Blend these fruits with your berries for a sunny vibe. If you love chocolate, stir in cocoa powder or chocolate protein powder. You can also add nut butter, like almond or peanut, for a nutty flavor. These options keep your smoothie bowl exciting and fun! Seasonal toppings bring freshness and variety to your smoothie bowl. In summer, use fresh strawberries, blueberries, and peaches. In fall, consider pumpkin seeds or sliced apples. Winter can welcome pomegranate seeds or citrus slices. You can also add nuts, seeds, or granola for a crunchy texture. This keeps your bowl not only tasty but also colorful and appealing. Check out the Full Recipe for more ideas! If you have leftover smoothie bowl, store it in the fridge. Use an airtight container to keep it fresh. Smoothie bowls are best eaten within a day. After that, the texture may change. If you want to save it longer, freezing is a better option. You can freeze smoothie ingredients in advance to save time. Just prepare your fruit and yogurt. Place them in a freezer bag. Push out as much air as you can to avoid freezer burn. This makes it easy to blend your smoothie bowl later. When you’re ready, simply grab the bag and blend it frozen. It’s quick and easy! To keep your smoothie bowl fresh, store it properly. Always use clean tools when serving. This helps prevent spoilage. If you add toppings, keep them separate until you eat. Fresh fruit, nuts, or seeds can go bad quickly. Enjoy your delicious berry smoothie bowl from the [Full Recipe] with these easy tips! Smoothie bowls are great for your health. They pack a lot of nutrients. Here are some key benefits: - Vitamins and Minerals: Frozen mixed berries are rich in vitamins C and K. - Fiber: The fruit and yogurt add fiber, which helps digestion. - Protein: Greek yogurt boosts protein, keeping you full longer. - Antioxidants: Berries contain antioxidants that help your body fight free radicals. Eating a smoothie bowl can give you energy and improve your mood. Plus, they can help you reach your daily fruit intake. Yes, you can! Customizing your toppings makes your smoothie bowl unique. Here are some ideas for toppings: - Fresh Berries: Strawberries, blueberries, and raspberries add color and flavor. - Sliced Banana: Bananas add sweetness and creaminess. - Granola: Granola gives a nice crunch and adds fiber. - Chia Seeds: Chia seeds are rich in omega-3 fatty acids. - Shredded Coconut: Coconut adds a tropical taste. - Mint Leaves: Mint gives a fresh flavor and brightens the bowl. Feel free to mix and match. Use what you love! You can control the thickness of your smoothie bowl easily. Here’s how: - To Make Thicker: Use less liquid, like almond milk. You can also add more frozen fruit. - To Make Thinner: Add more liquid, like almond milk or water. Blend until you reach your desired consistency. Adjusting the thickness lets you enjoy your smoothie bowl just how you like it. For the full recipe, check out the Berry Bliss Smoothie Bowl! This blog post covered the right ingredients and steps for a tasty berry smoothie bowl. You learned essential ingredients, blending tips, and how to serve it nicely. I shared ways to pick the best berries and ideas for flavor twists. Remember, you can store leftovers and freeze extras for later. Smoothie bowls are healthy and fun to make. Enjoy creating your perfect blend and topping it just how you like! With practice, your smoothie bowls will impress everyone.](https://easycookingbite.com/wp-content/uploads/2025/05/b5c6bc92-ab02-44e1-b8b7-9023eda8c976-300x300.webp)
