Latest & Greatest

Maple Glazed Chicken with Brussels Sheet Pan Delight
If you’re craving a meal that’s both easy to make and delicious, you’re in the right place. My Maple Glazed
Read more…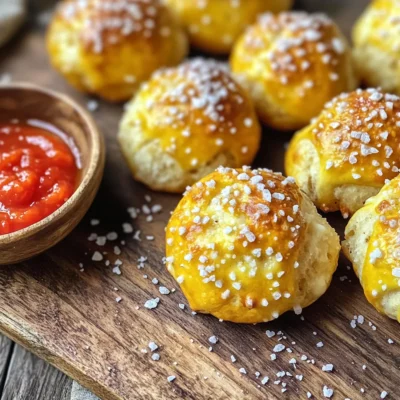
Garlic Parmesan Pretzel Bites Air Fryer Delight
Are you ready to elevate your snack game? In this guide, I’ll show you how to make Garlic Parmesan Pretzel
Read more…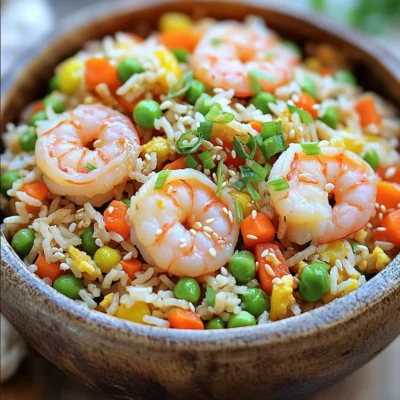
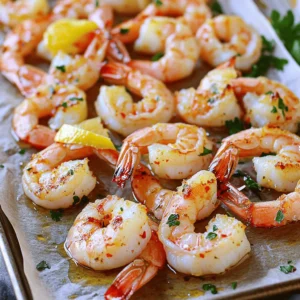
Shrimp Fried Rice Better Than Takeout Delight
Are you tired of takeout shrimp fried rice? You’re in the right place! My recipe is fresh, flavorful, and simple,
Read more…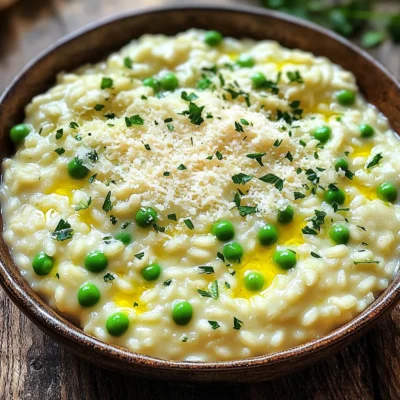
Creamy Parmesan Risotto One Pot Delightful Meal
Welcome to your next favorite dish: Creamy Parmesan Risotto One Pot Delightful Meal! This easy recipe will guide you step-by-step
Read more…
Caramel Apple Cheesecake Brownies Delightful Treat
Get ready for a treat that combines the best of fall flavors! My Caramel Apple Cheesecake Brownies are the perfect
Read more…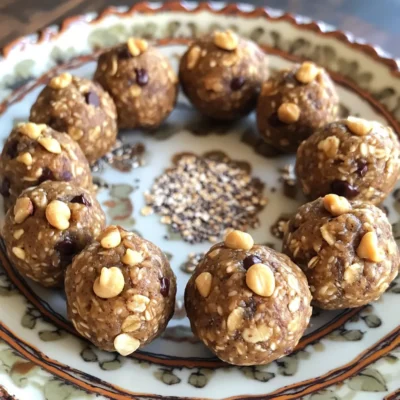
Peanut Butter Protein Balls High Protein Energizer
Looking for a tasty and easy snack that packs a protein punch? You’re in the right place! These Peanut Butter
Read more…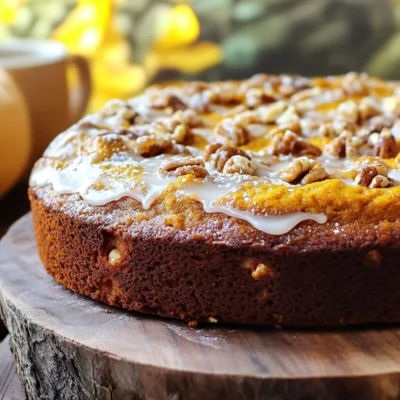
Pumpkin Spice Latte Coffee Cake Delightful Recipe
Are you ready to indulge in a warm slice of Pumpkin Spice Latte Coffee Cake? This delightful recipe combines the
Read more…
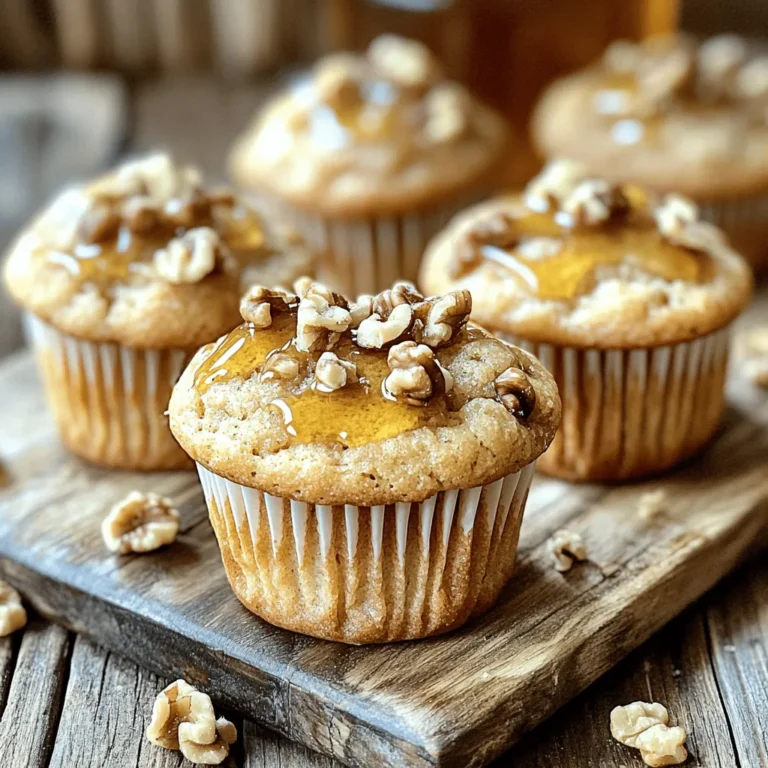
Pecan Pie Muffins Bakery Style Irresistible Treat
Are you ready for a sweet twist on a classic dessert? My Pecan Pie Muffins Bakery Style are the perfect
Read more…browse recipes

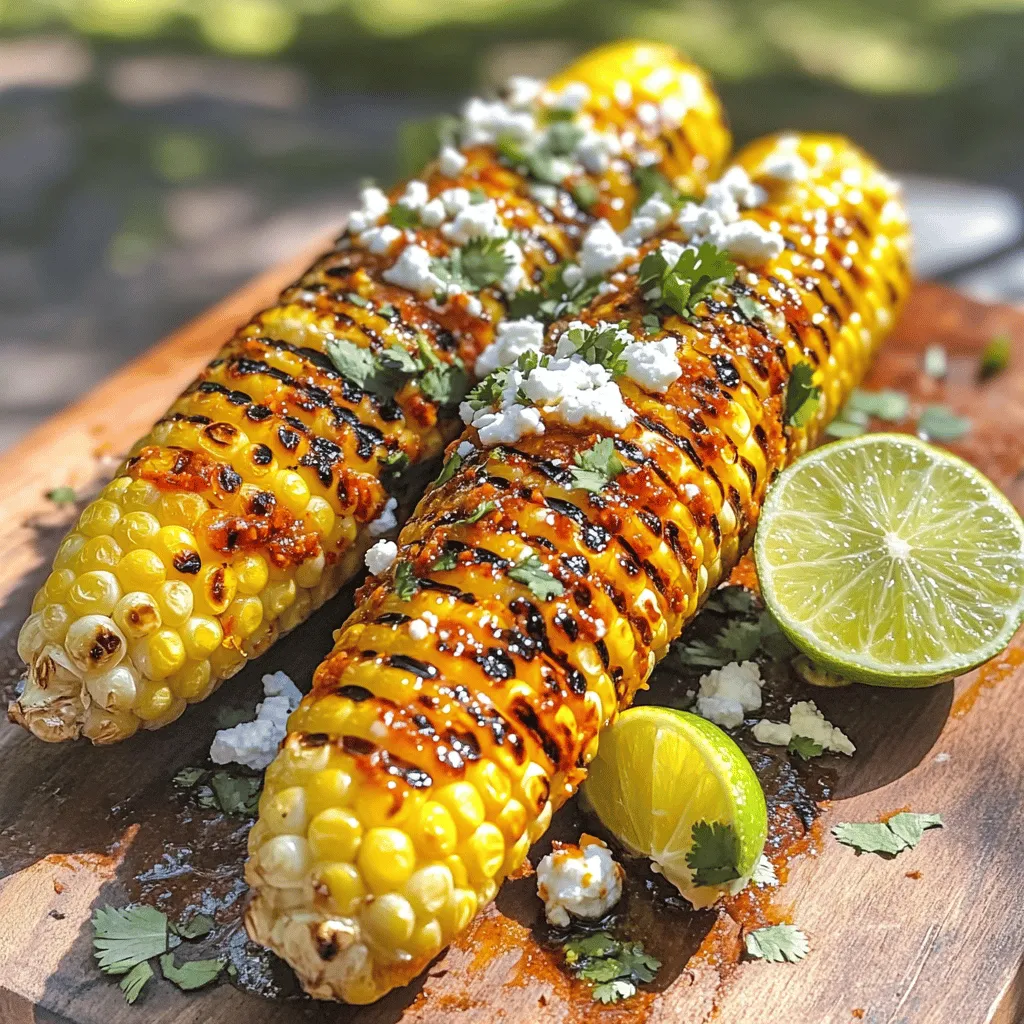
Chili Lime Grilled Corn Flavorful Summer Delight
Summer is the perfect time to fire up the grill and savor fresh flavors. One of my favorite treats is Chili Lime Grilled Corn.…
My Latest Drinks

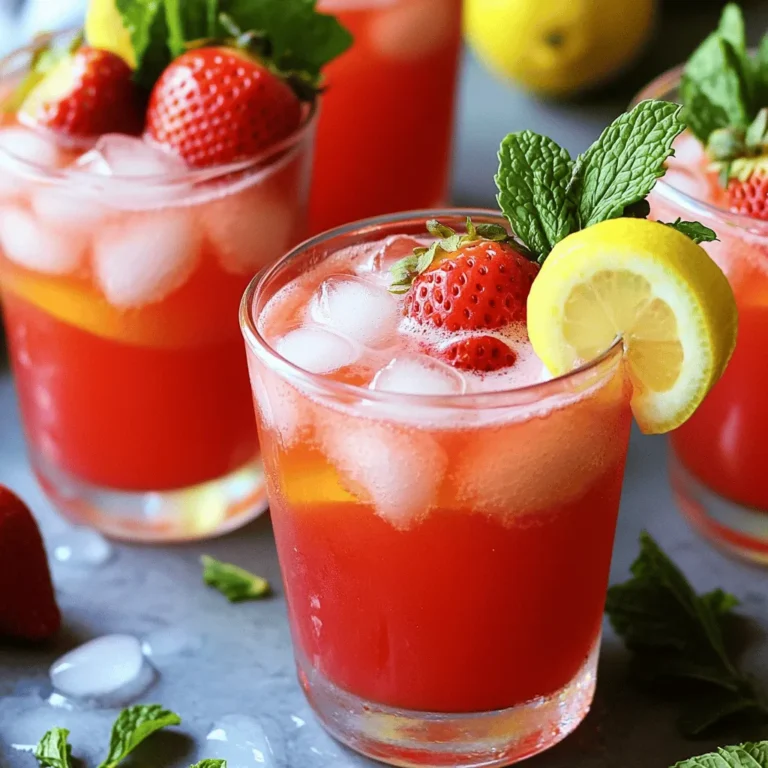
Strawberry Cheesecake Smoothie Creamy Refreshing Treat
Craving something delicious and cool? The Strawberry Cheesecake Smoothie is your answer! It blends creamy cheesecake flavors with sweet strawberries Read Full Recipe-
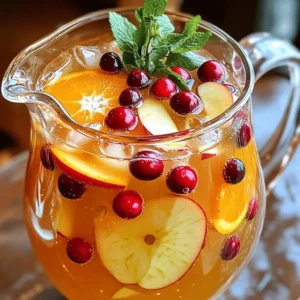
Mocktail Pink Punch Refreshing and Easy Recipe
Are you ready to impress your guests with a delightful drink? This Mocktail Pink Punch recipe is both refreshing and Read Full Recipe -
Blue Lagoon Tropical Lemonade Refreshing and Zesty Drink
Looking for a drink that’s both refreshing and fun? Say hello to Blue Lagoon Tropical Lemonade! This colorful beverage packs Read Full Recipe -
Pumpkin Spice Coffee Creamer Flavorful Fall Treat
Are you ready to embrace the cozy vibes of autumn? In this blog post, I’ll guide you through making your Read Full Recipe -
Apple Cider Margarita Mocktail Refreshing Fall Drink
Fall is here, and that means it’s the perfect time for a cozy drink! The Apple Cider Margarita Mocktail offers Read Full Recipe -
Pumpkin Spice Latte Copycat Cozy and Comforting Recipe
Craving that warm, cozy feeling of fall? You can enjoy a delicious Pumpkin Spice Latte at home! In this article, Read Full Recipe


My Latest Dinners
-
White Bean Soup Simple and Hearty Delight
Looking for a warm and filling meal? Let me introduce you to white bean soup! This simple and hearty delight Read Full Recipe -
Garlic Herb Roasted Sweet Potatoes Flavorful Side Dish
Looking for a side dish that’s both tasty and easy to make? Garlic Herb Roasted Sweet Potatoes are the answer! Read Full Recipe -
One Pot Beef Taco Pasta Easy and Flavorful Meal
Looking for a quick and tasty meal? One Pot Beef Taco Pasta is the perfect dish! This recipe packs bold Read Full Recipe -
Garlic Chicken Zucchini Noodles Stir Fry Delight
Are you ready for a tasty twist on dinner? My Garlic Chicken Zucchini Noodles Stir Fry is a quick and Read Full Recipe -
Stuffed Italian Meatloaf Easy and Tasty Recipe
Are you ready to elevate your dinner game? This Stuffed Italian Meatloaf is both easy and tasty! In this article, Read Full Recipe -
One Pot French Onion Pasta Flavorful Comfort Dish
Looking for a cozy dinner that warms your soul? Try my One Pot French Onion Pasta! This creamy, rich dish Read Full Recipe


hey,
i’m !
I’m so happy you’re here!
Every dish I share is made with love and care. I hope they bring you the same comfort and joy they bring me. Let’s make memories, one recipe at a time.

![To make basil pesto chicken, gather these key items: - 4 chicken breasts (boneless, skinless) - 1 cup fresh basil leaves - 1/2 cup pine nuts (toasted) - 1/2 cup grated Parmesan cheese - 3 cloves garlic, minced - 1/2 cup extra virgin olive oil - Salt and pepper to taste - Juice of one lemon These ingredients create a rich and vibrant dish. The basil offers a fresh taste, while the Parmesan adds a nice depth. You can enhance your dish with these optional items: - 1 cup cherry tomatoes, halved (for garnish) - Fresh basil leaves, for garnish Garnishing with cherry tomatoes brightens the plate. Fresh basil leaves add even more fragrance. If you don’t have a specific ingredient, here are some great swaps: - Use walnuts instead of pine nuts for a different nutty flavor. - Swap Parmesan cheese with Pecorino Romano for a bolder taste. - Olive oil can be replaced with avocado oil for a lighter option. These substitutions keep the dish tasty and fun. You can adjust based on what you like or have at home. For the full recipe, check out the instructions above. To make basil pesto, gather fresh basil leaves, toasted pine nuts, Parmesan cheese, and garlic. Add these to a food processor. Pulse until finely chopped. Next, with the processor running, slowly drizzle in olive oil. This helps the pesto become smooth and creamy. Scrape down the sides as needed. Finally, add salt, pepper, and lemon juice to taste. Set your fresh pesto aside for later use. Prepare your chicken breasts by preheating the oven to 375°F (190°C). Pat the chicken dry with paper towels. This helps to get a nice sear. Season both sides with salt and pepper. Make sure to cover the chicken evenly. This step brings out the natural flavor of the meat. Heat a large oven-safe skillet over medium-high heat. Add a splash of olive oil to the pan. Once hot, add the seasoned chicken breasts. Sear each side for about 5 minutes, until golden brown. This locks in the juices. After browning, remove the skillet from heat. Spread a generous amount of basil pesto on each chicken breast. Transfer the skillet to the preheated oven. Bake for 20-25 minutes. Check that the chicken reaches an internal temperature of 165°F (74°C). When done, take it out and let it rest. Garnish with halved cherry tomatoes and fresh basil leaves before serving. You can find the full recipe [here]. To make great pesto, choose fresh basil. The brighter the green, the better the flavor. Use toasted pine nuts for a rich taste. Blend the nuts and basil first. This helps break them down well. Add garlic for a kick. Pour in olive oil slowly. This keeps your pesto smooth. Taste and adjust with salt, pepper, and lemon juice. Remember, you want a bold flavor that shines. To keep chicken juicy, watch the cooking time closely. Sear chicken breasts for just five minutes on each side. This gives a nice golden crust. Use a meat thermometer. Insert it into the thickest part. When it hits 165°F (74°C), your chicken is done. Let the chicken rest for a few minutes after baking. This helps the juices settle, making each bite tender. Make your dish look appetizing. Start with the chicken on a clean plate. Add a generous spoonful of pesto on top. Sprinkle halved cherry tomatoes around the chicken for color. Finish with fresh basil leaves for a pop of green. This not only looks great but adds extra flavor too. For a fun touch, serve with crusty bread or a light salad. Enjoy the beautiful meal you created! {{image_2}} You can play with your pesto to fit your taste. Instead of pine nuts, try walnuts or almonds for a different crunch. If you want a nut-free option, use sunflower seeds. You can mix in spinach or arugula with your basil for extra greens. For a twist, add sun-dried tomatoes for a rich flavor. Experiment with different cheeses too, like feta or goat cheese. Baking is great, but you can grill or pan-sear your chicken. Grilling adds a smoky taste that pairs well with pesto. If you choose to grill, marinate the chicken in pesto for a few hours for deeper flavor. For a quick method, you can also sauté the chicken in a skillet until cooked through. Each method gives you a unique flavor and texture. Basil pesto chicken shines with simple sides. Serve it with roasted vegetables like zucchini and bell peppers. A fresh salad with mixed greens and cherry tomatoes complements the dish well. For a heartier meal, pair it with pasta tossed in olive oil and garlic. You can even enjoy it with warm, crusty bread for a satisfying dinner. For the full recipe, check out the detailed instructions shared earlier. To store leftover Basil Pesto Chicken, let it cool first. Place the chicken in an airtight container. Cover it tightly and keep it in the fridge. This will keep the chicken fresh for up to three days. If you want to save it longer, consider freezing. You can freeze both the pesto and chicken. For the pesto, pour it into an ice cube tray. Once frozen, transfer the cubes to a zip-top bag. This way, you can use small amounts later. For the chicken, wrap each piece in plastic wrap before putting it in a freezer bag. It will last up to three months in the freezer. To reheat the chicken, take it out of the fridge or freezer. If frozen, let it thaw overnight in the fridge. Heat the oven to 350°F (175°C). Place the chicken in a baking dish and cover it with foil. Bake for about 20 minutes until warmed through. For the best taste, add fresh pesto on top just before serving. Enjoy your flavorsome meal from the Full Recipe! Yes, you can use store-bought pesto. It saves time and still tastes good. Just choose a brand with fresh ingredients. For the best flavor, look for a pesto that uses real basil and olive oil. Store-bought pesto works well when you are short on time. Still, making your own is easy and tasty. Boneless, skinless chicken breasts are the best choice. They cook evenly and stay tender. You can also use chicken thighs if you prefer more flavor. Thighs have more fat, which adds juiciness. Both options work with the basil pesto, so pick what you like. You can check the chicken’s internal temperature. Use a meat thermometer; it should read 165°F (74°C). If you don’t have a thermometer, cut into the thickest part. The meat should be white, not pink. This recipe ensures the chicken cooks well with the pesto. Enjoy your meal! Basil pesto chicken is easy and tasty. We covered all the key steps, from picking ingredients to cooking methods. Remember, fresh basil and the right chicken make a big difference. Use good storage tips to keep leftovers fresh. Experiment with flavors by trying different ingredients and serving ideas. Enjoy your creation and impress your friends and family with this simple yet delicious dish!](https://easycookingbite.com/wp-content/uploads/2025/05/795cd2de-ba71-4612-aae4-d9ef8b0f2c05-300x300.webp)
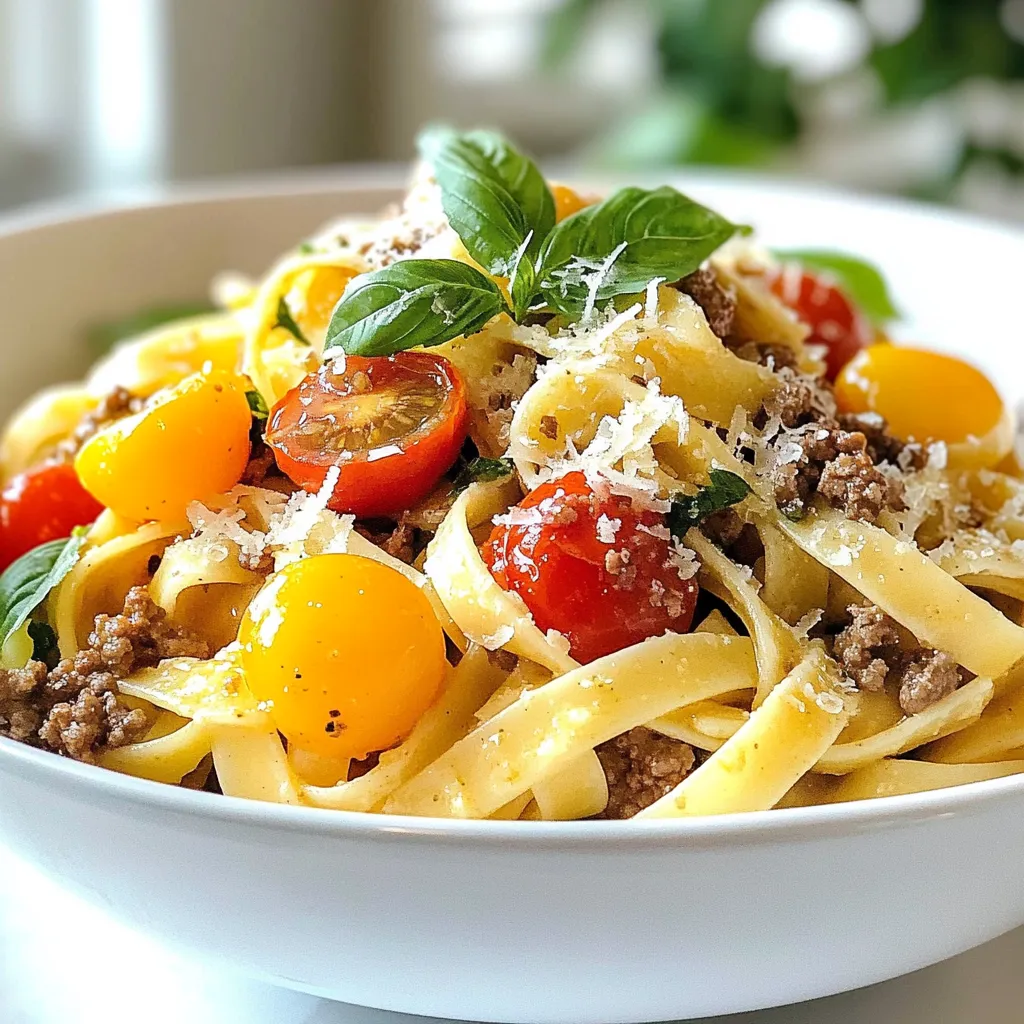
Garlic Beef Pasta Flavorful and Simple Dinner Recipe
Looking for a quick, delicious dinner? This Garlic Beef Pasta recipe is just what you need! With simple ingredients like fettuccine, ground beef, and…