Latest & Greatest
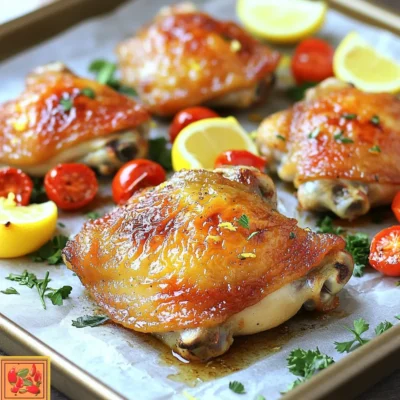
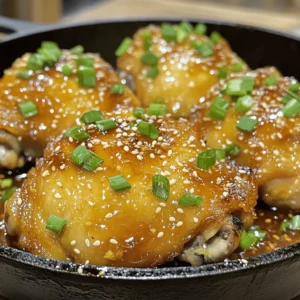
Lemon Garlic Herb Chicken Thighs Sheet Pan Delight
Get ready to savor a delicious meal with my Lemon Garlic Herb Chicken Thighs Sheet Pan Delight! This one-pan dish
Read more…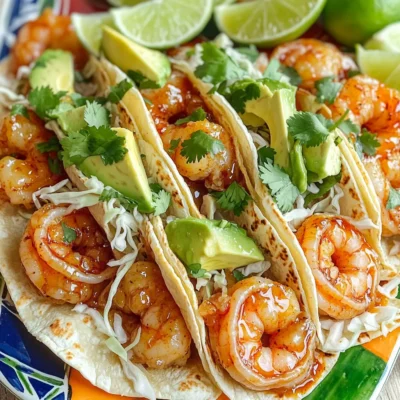
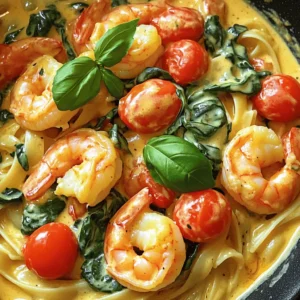
Scrumptious Sweet & Spicy Shrimp Tacos 15 Minutes
Are you ready for a quick and tasty meal? These Sweet & Spicy Shrimp Tacos can be on your table
Read more…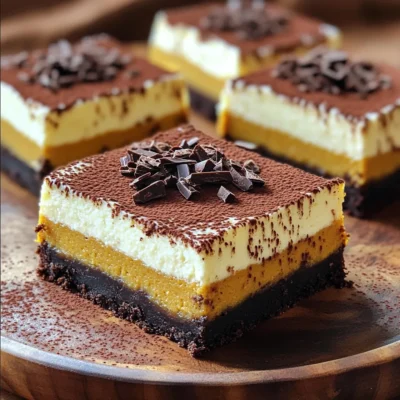
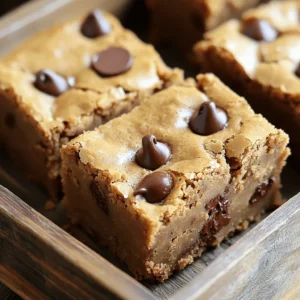
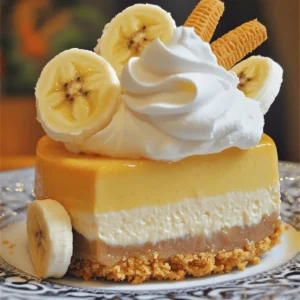
Chocolate Pumpkin Cheesecake Bars No-Bake Delight
Dive into a world of flavors with my no-bake Chocolate Pumpkin Cheesecake Bars! This sweet treat combines rich chocolate and
Read more…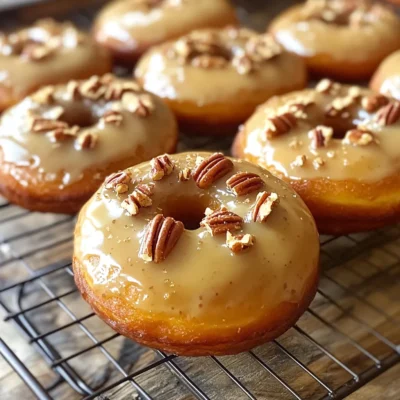
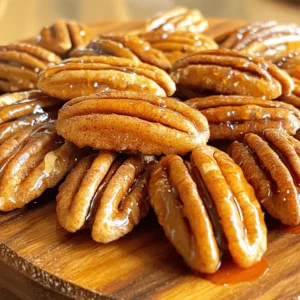
Maple Pecan Donuts with Glaze Bakery Style Recipe
Get ready to indulge in a delightful treat! This Maple Pecan Donuts with Glaze Bakery Style recipe will turn your
Read more…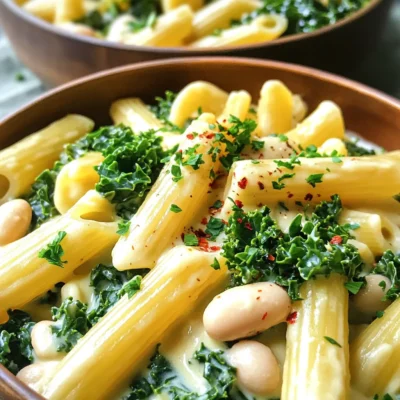
Creamy White Bean Kale Pasta One Pot Delight
Welcome to my kitchen, where cooking is easy and delicious! Today, I’m excited to share a dish that combines healthy
Read more…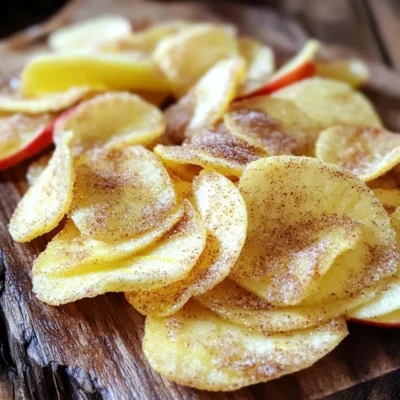
Air Fryer Cinnamon Sugar Apple Chips Tasty Snack
Craving a sweet snack that’s also healthy? You’ll love these Air Fryer Cinnamon Sugar Apple Chips! They’re easy to make
Read more…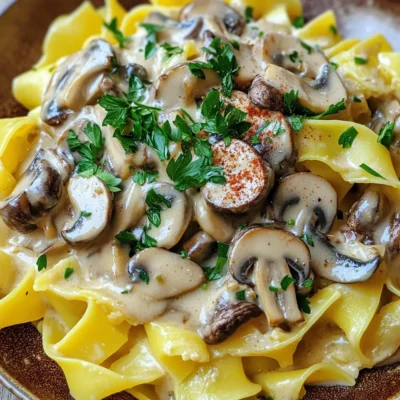
Mushroom Stroganoff Egg Noodles Slow Cooker Delight
Looking for a cozy meal that practically cooks itself? Discover my Mushroom Stroganoff Egg Noodles Slow Cooker Delight! This dish
Read more…
Garlic Butter Roasted Carrots Simple and Flavorful Dish
If you’re looking for a simple yet delicious side dish, garlic butter roasted carrots are the answer. These tender, sweet
Read more…browse recipes
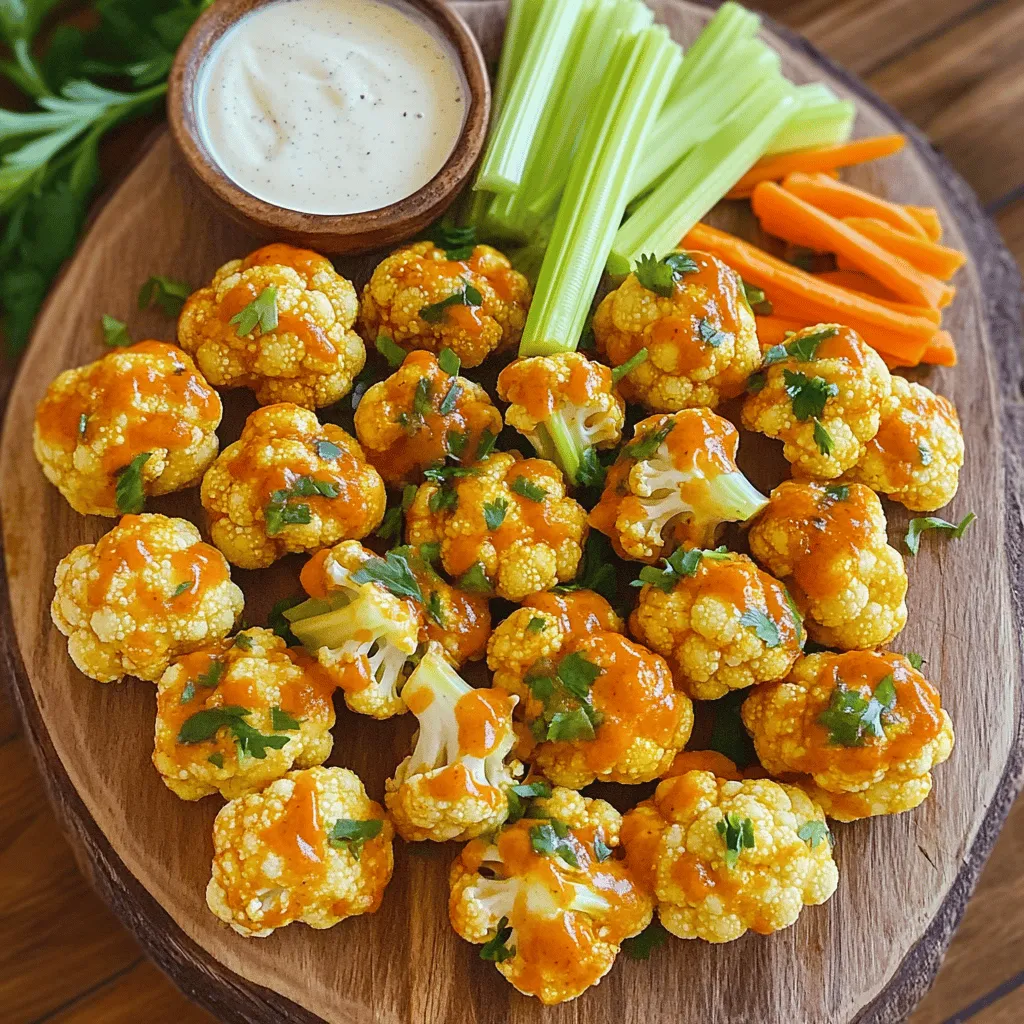
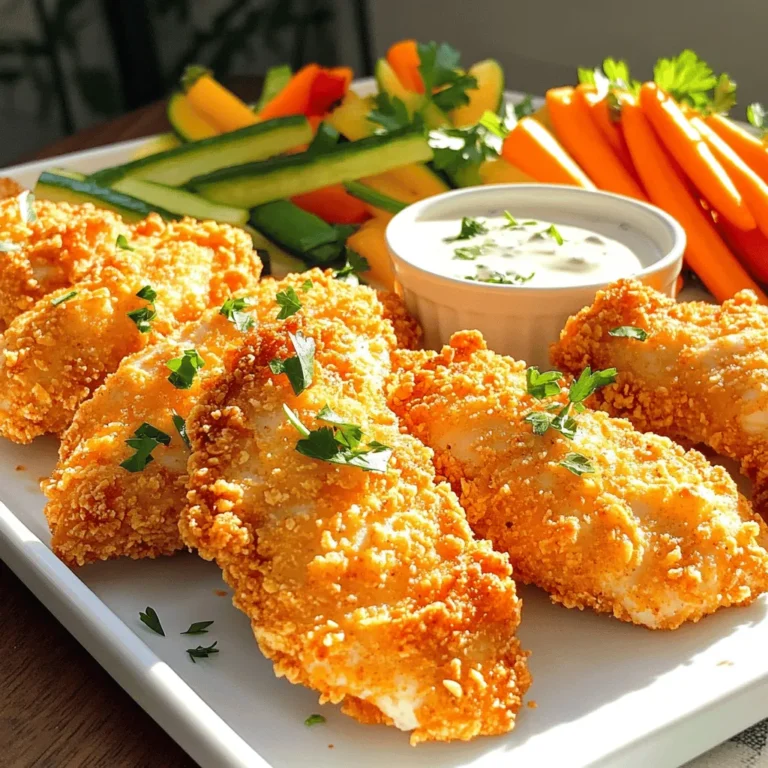
Buffalo Cauliflower Bites Tasty and Easy Snack Recipe
Looking for a tasty snack that’s easy to make? Try these Buffalo Cauliflower Bites! They give you all the bold, spicy flavor you crave…
My Latest Drinks

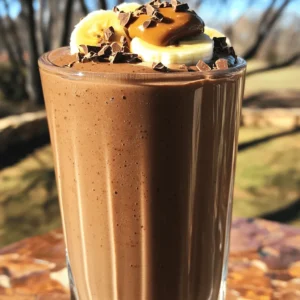
Strawberry Cheesecake Smoothie Creamy Refreshing Treat
Craving something delicious and cool? The Strawberry Cheesecake Smoothie is your answer! It blends creamy cheesecake flavors with sweet strawberries Read Full Recipe-
Mocktail Pink Punch Refreshing and Easy Recipe
Are you ready to impress your guests with a delightful drink? This Mocktail Pink Punch recipe is both refreshing and Read Full Recipe -
Blue Lagoon Tropical Lemonade Refreshing and Zesty Drink
Looking for a drink that’s both refreshing and fun? Say hello to Blue Lagoon Tropical Lemonade! This colorful beverage packs Read Full Recipe -
Pumpkin Spice Coffee Creamer Flavorful Fall Treat
Are you ready to embrace the cozy vibes of autumn? In this blog post, I’ll guide you through making your Read Full Recipe -
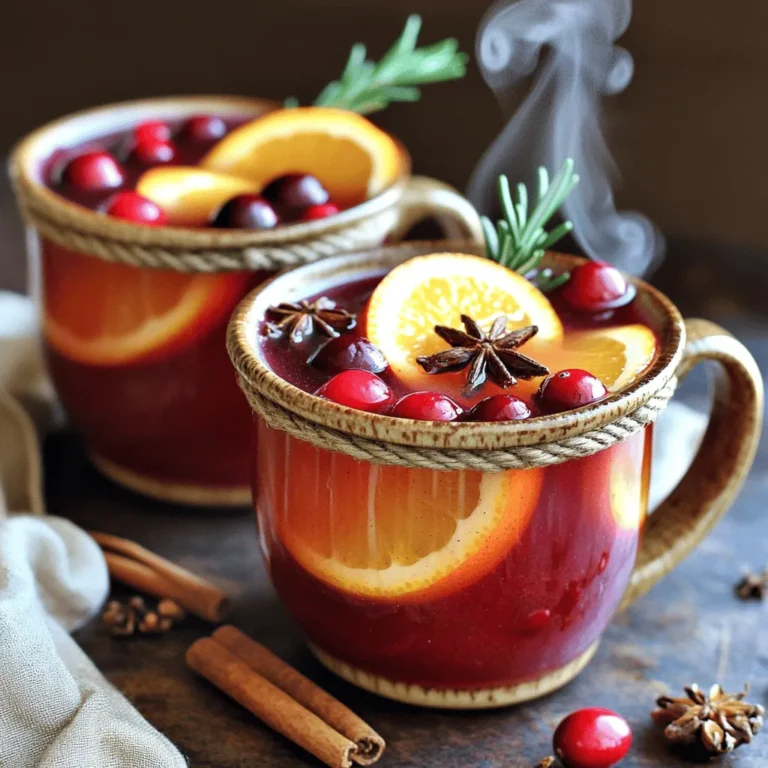
Apple Cider Margarita Mocktail Refreshing Fall Drink
Fall is here, and that means it’s the perfect time for a cozy drink! The Apple Cider Margarita Mocktail offers Read Full Recipe -
Pumpkin Spice Latte Copycat Cozy and Comforting Recipe
Craving that warm, cozy feeling of fall? You can enjoy a delicious Pumpkin Spice Latte at home! In this article, Read Full Recipe


My Latest Dinners
-
White Bean Soup Simple and Hearty Delight
Looking for a warm and filling meal? Let me introduce you to white bean soup! This simple and hearty delight Read Full Recipe -
Garlic Herb Roasted Sweet Potatoes Flavorful Side Dish
Looking for a side dish that’s both tasty and easy to make? Garlic Herb Roasted Sweet Potatoes are the answer! Read Full Recipe -
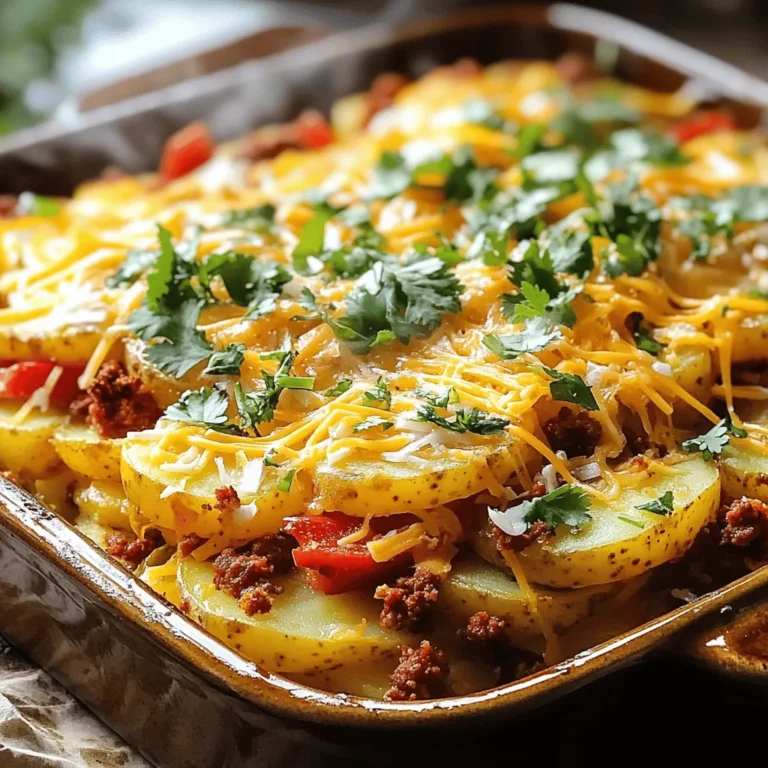
One Pot Beef Taco Pasta Easy and Flavorful Meal
Looking for a quick and tasty meal? One Pot Beef Taco Pasta is the perfect dish! This recipe packs bold Read Full Recipe -
Garlic Chicken Zucchini Noodles Stir Fry Delight
Are you ready for a tasty twist on dinner? My Garlic Chicken Zucchini Noodles Stir Fry is a quick and Read Full Recipe -
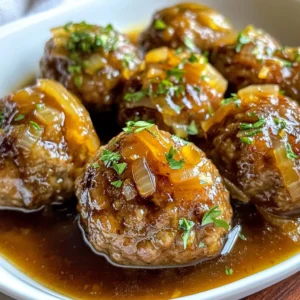
Stuffed Italian Meatloaf Easy and Tasty Recipe
Are you ready to elevate your dinner game? This Stuffed Italian Meatloaf is both easy and tasty! In this article, Read Full Recipe -
One Pot French Onion Pasta Flavorful Comfort Dish
Looking for a cozy dinner that warms your soul? Try my One Pot French Onion Pasta! This creamy, rich dish Read Full Recipe


hey,
i’m !
I’m so happy you’re here!
Every dish I share is made with love and care. I hope they bring you the same comfort and joy they bring me. Let’s make memories, one recipe at a time.

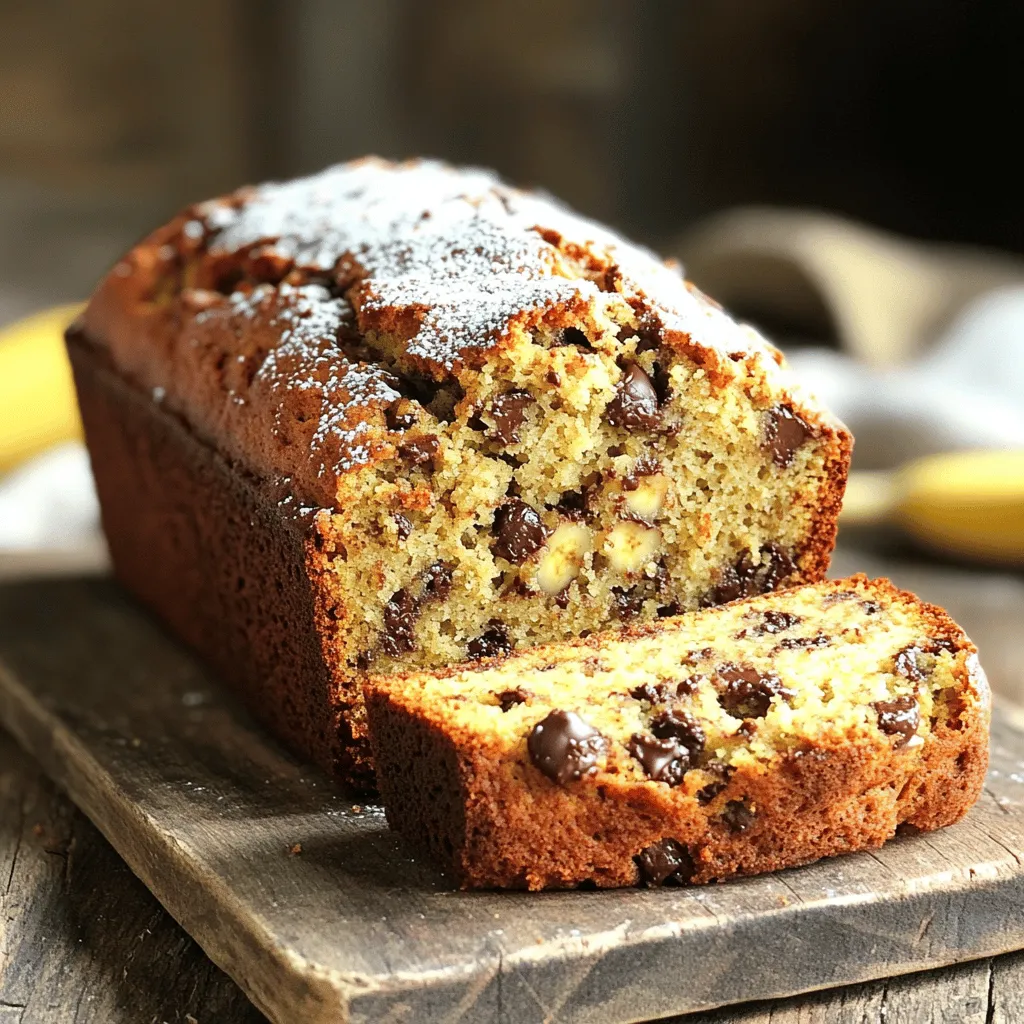
Chocolate Chip Banana Bread Moist and Delicious Treat
Are you ready to bake the most moist and delicious chocolate chip banana bread? This classic treat is perfect for breakfast or dessert. With…